Rejecting the Vendor
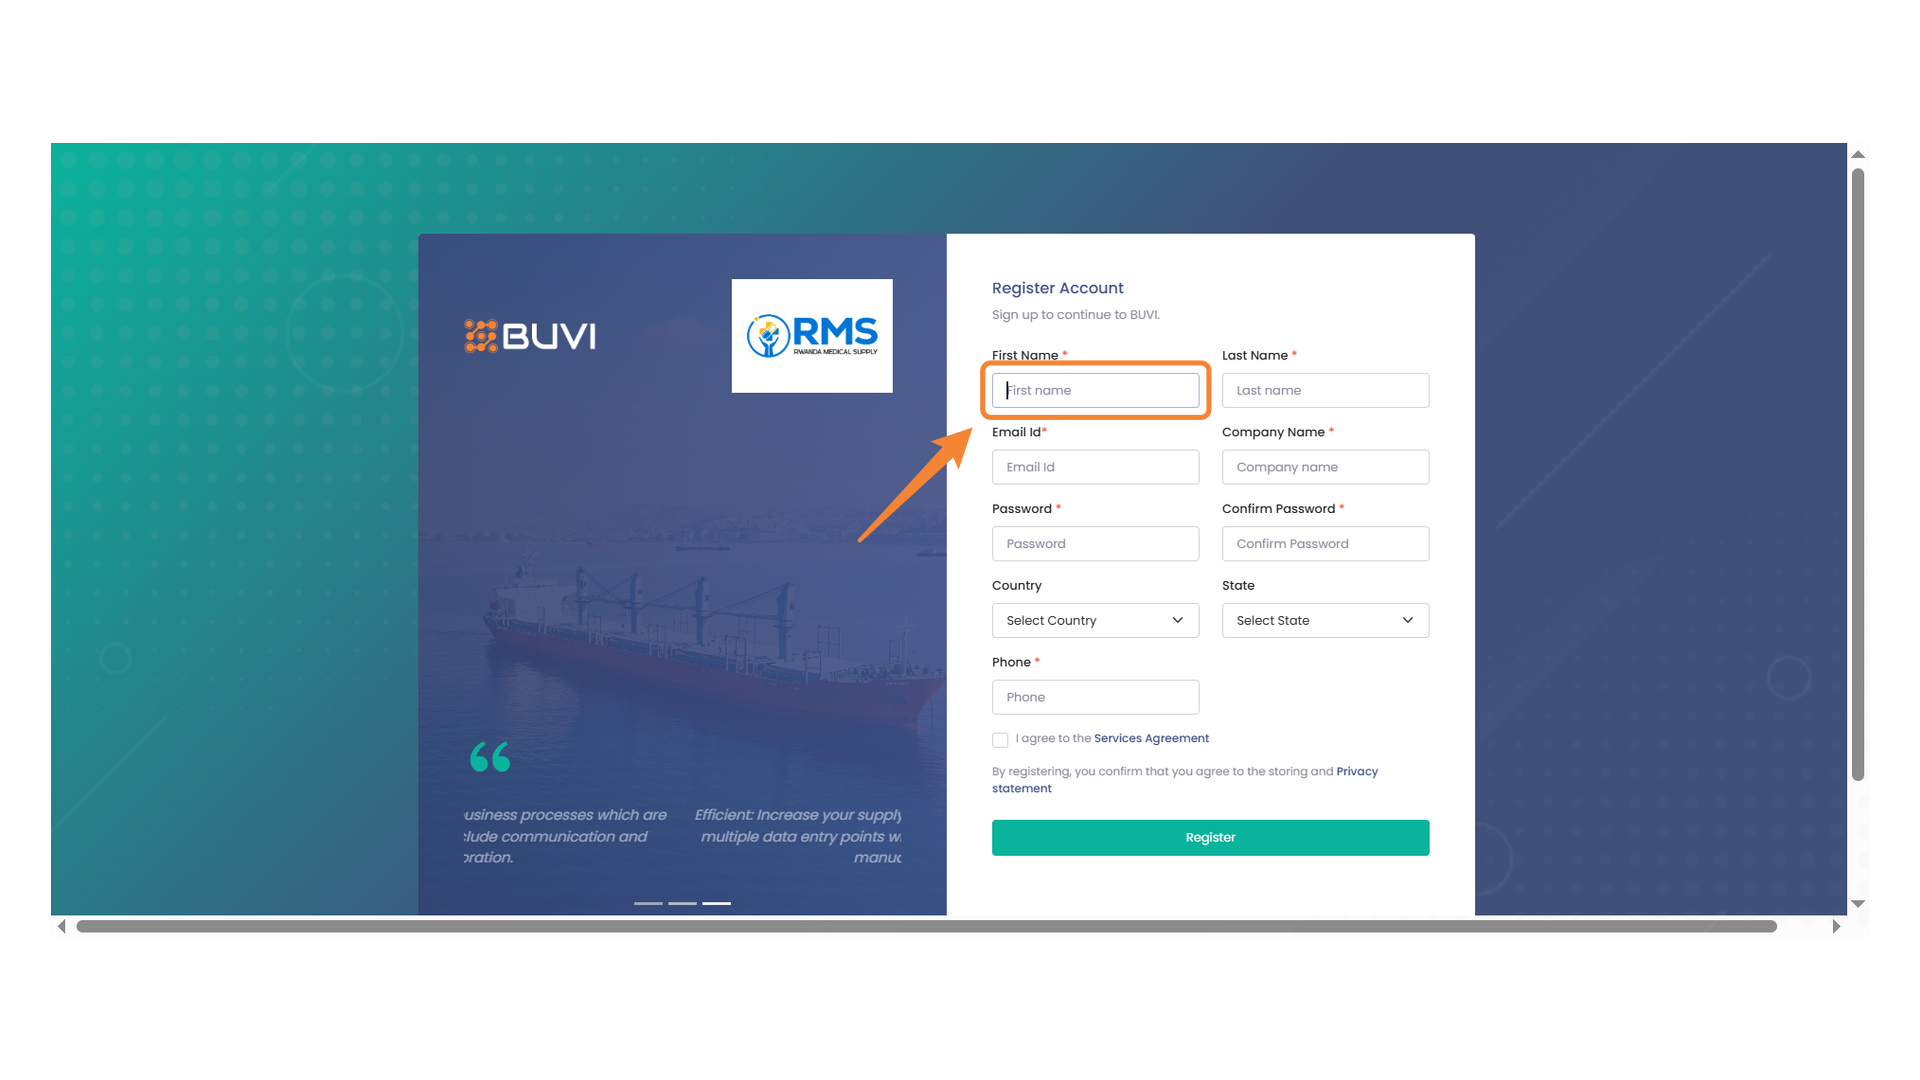
1. First Name Input Field
Enter your first name in the designated field to start the registration process.
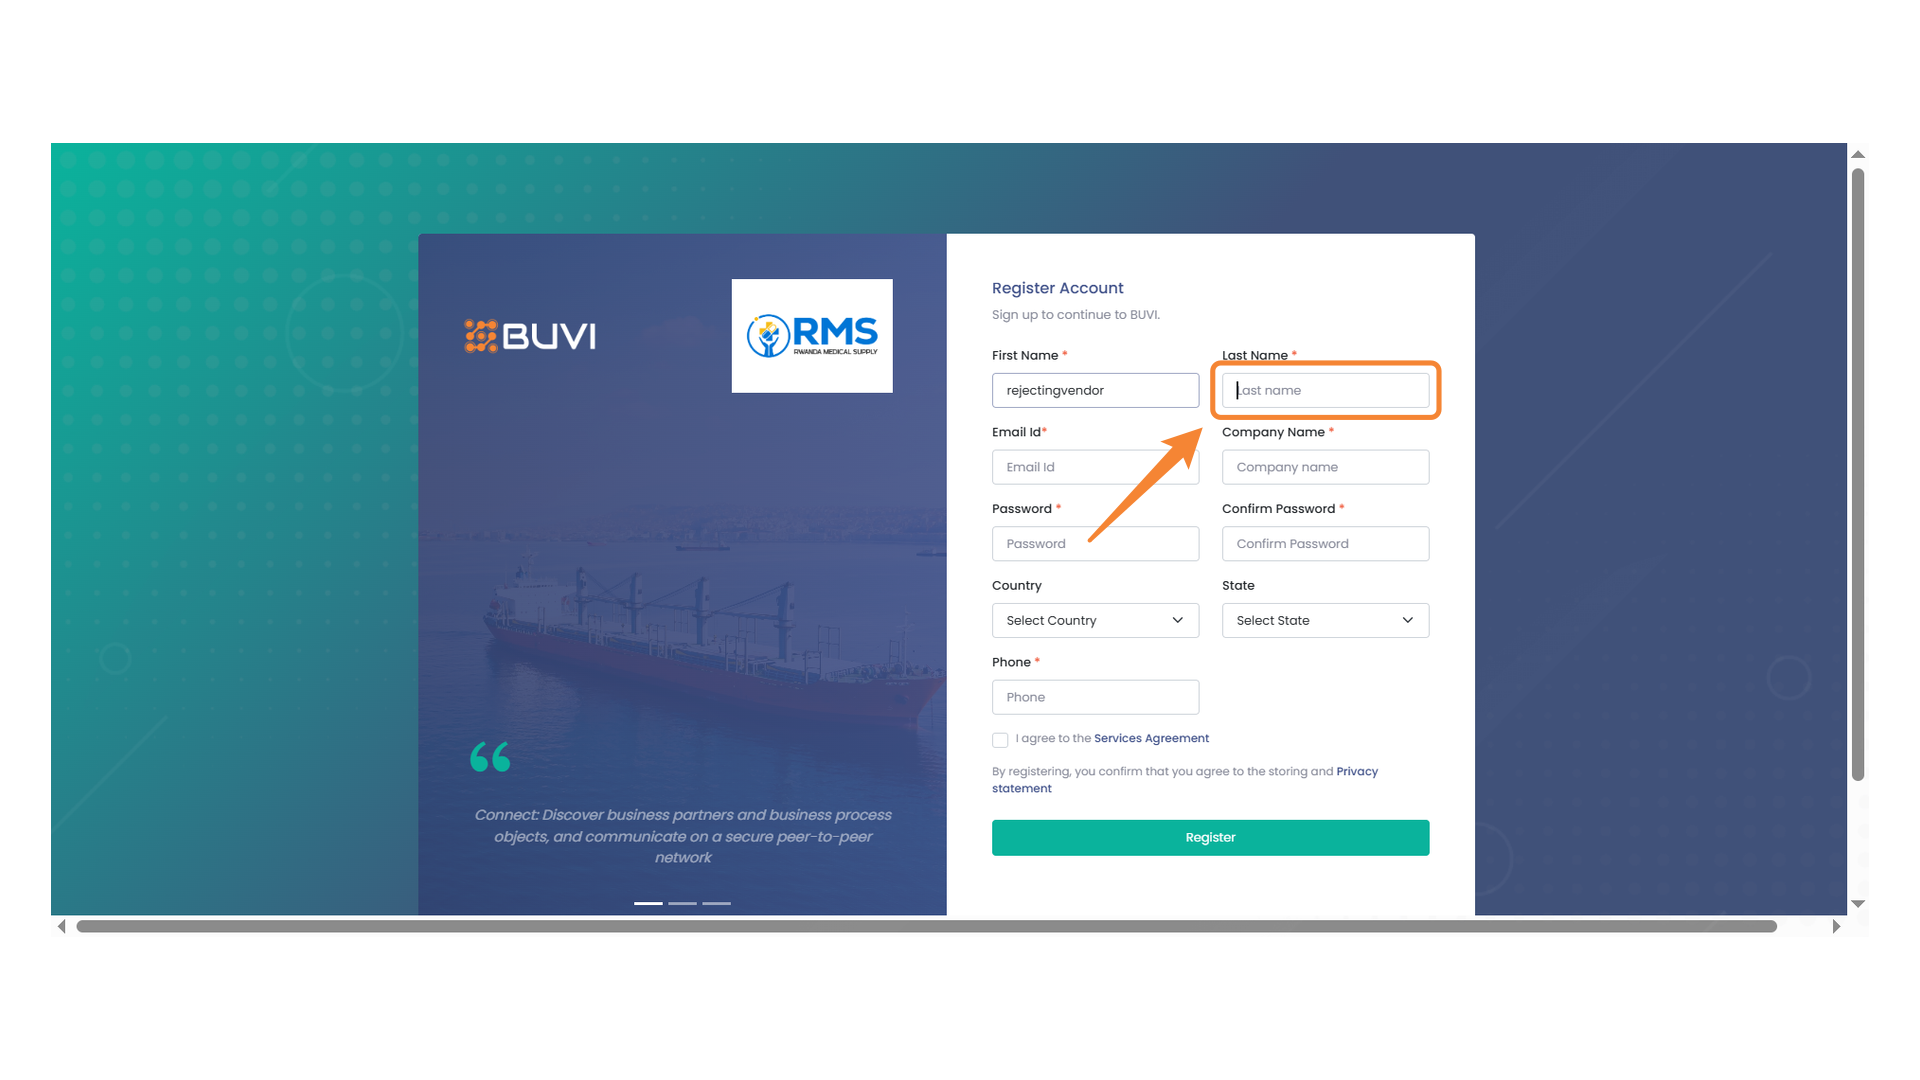
2. Last Name Field
Enter your last name into the designated field.
3. Email Input Field
Enter your email address in the provided field to complete the registration form.

4. Company Name Entry Field
Enter your company name in the provided field.

5. Password Entry Field
Enter your password in the provided field to continue with registration.

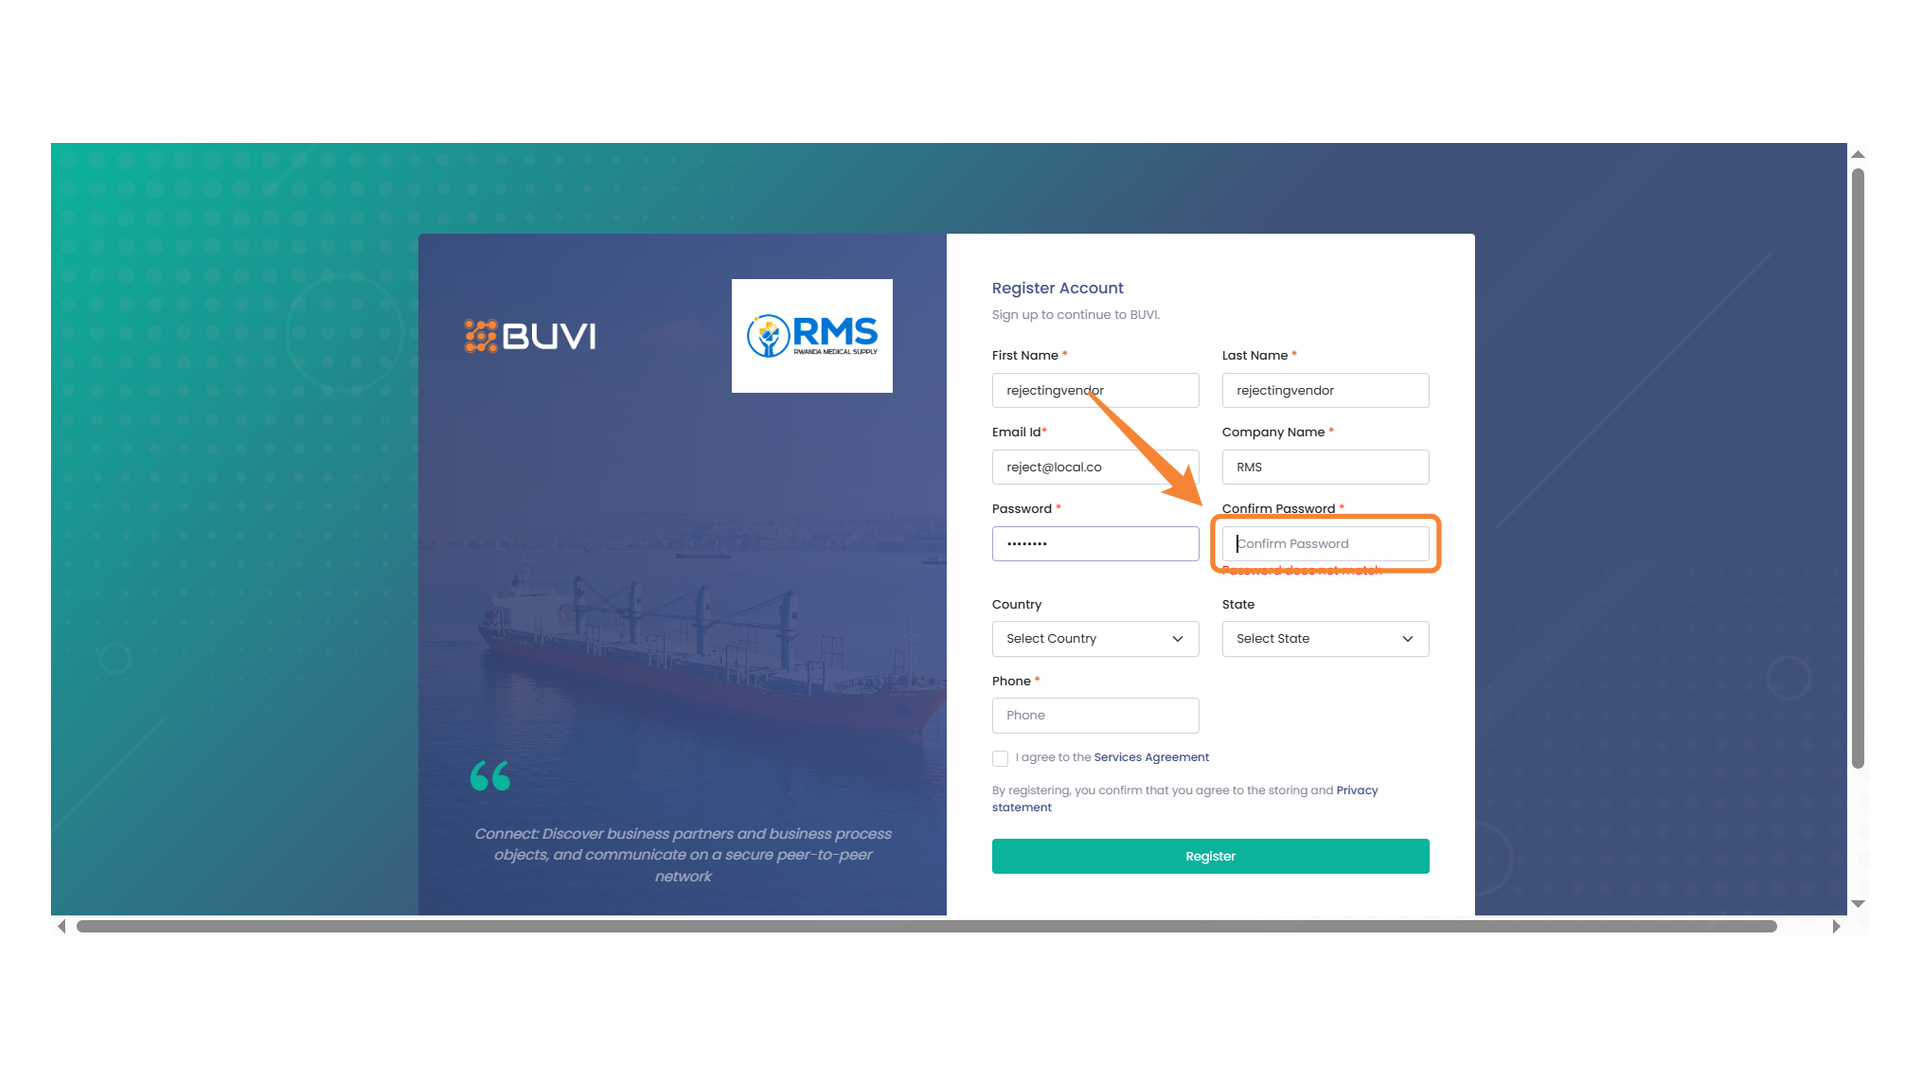
6. Confirm Password Field
Enter your password again to confirm it.
7. Country Selection Dropdown
Choose your country from the dropdown menu to proceed with registration.

8. State Selection Dropdown
Choose your state from the dropdown menu to proceed with the registration form.

9. Country and State Selection
Choose your country and state to proceed with the registration process.

10. Phone Number Input Field
Enter your phone number in the designated field.

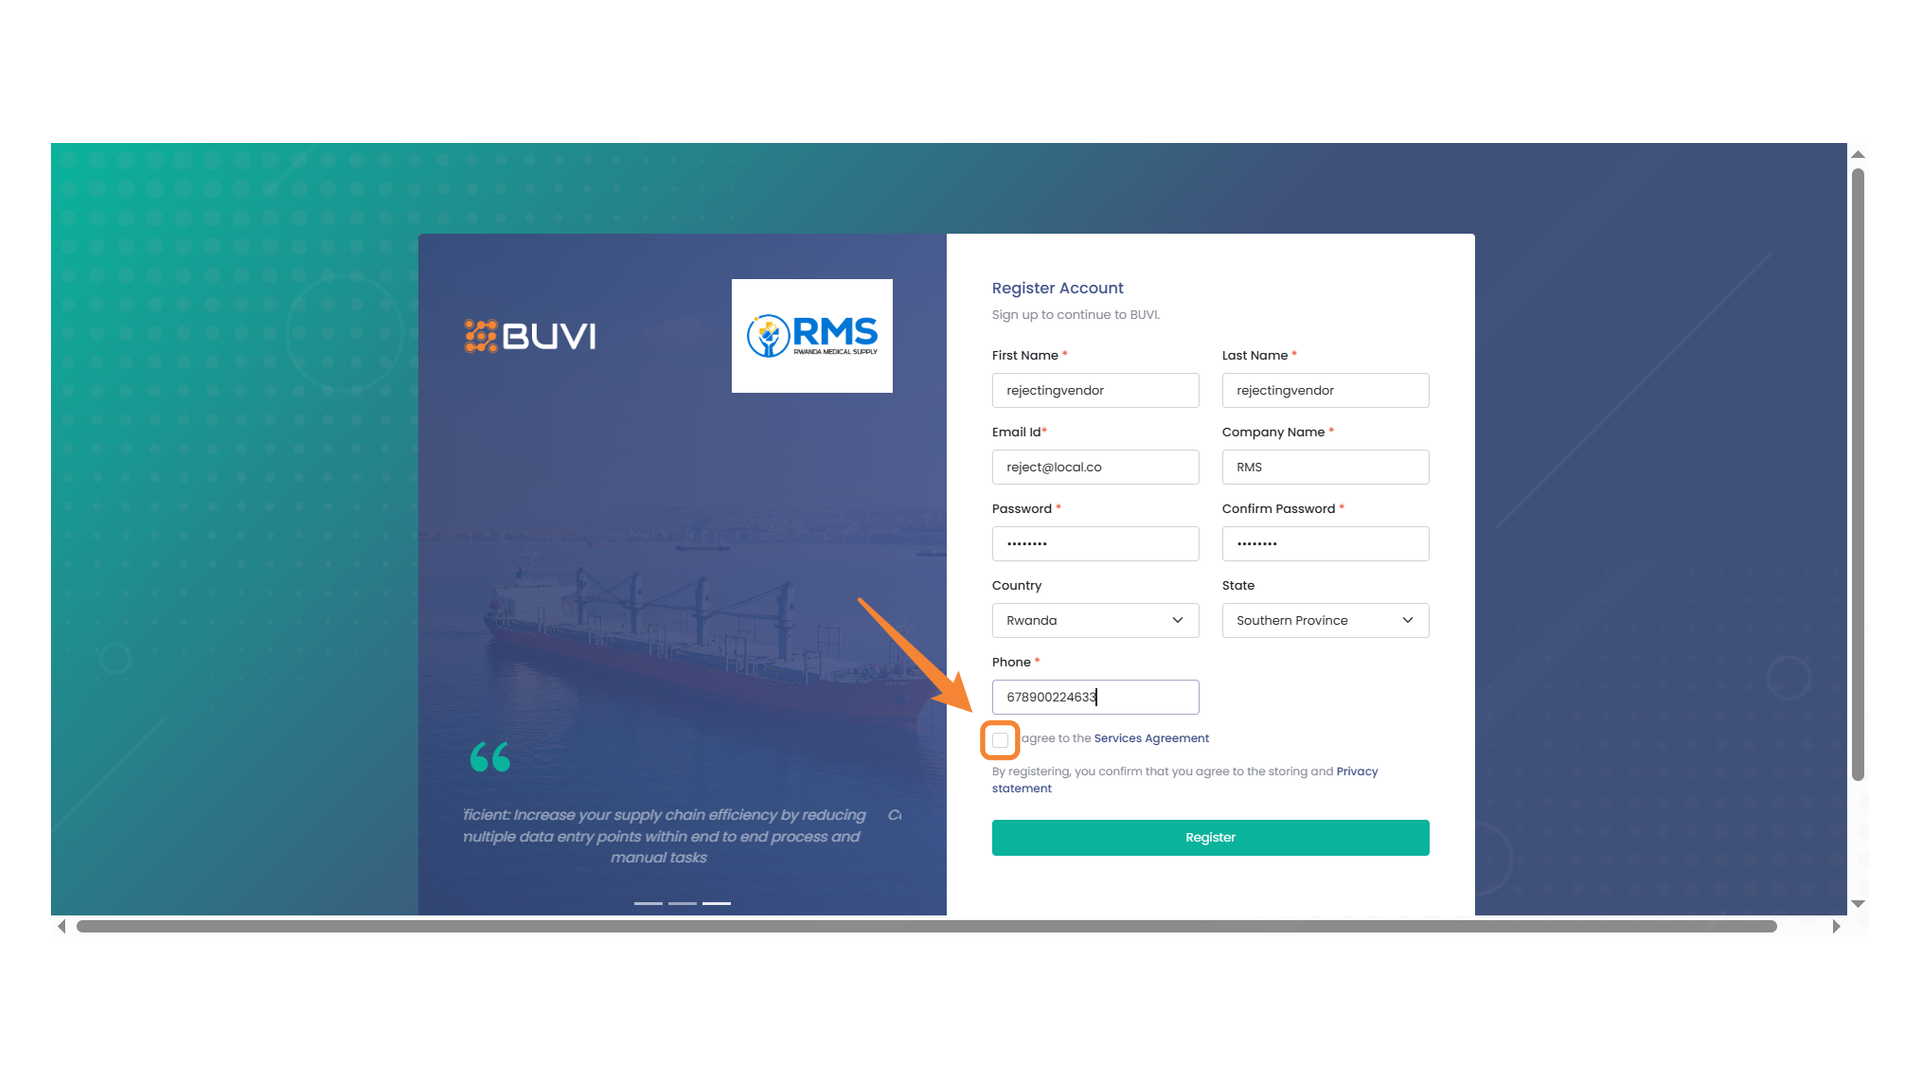
11. Agreement Checkbox
Ensure to check this box to agree to the Services Agreement before registering.
12. Registration Button
Click to submit your registration information.

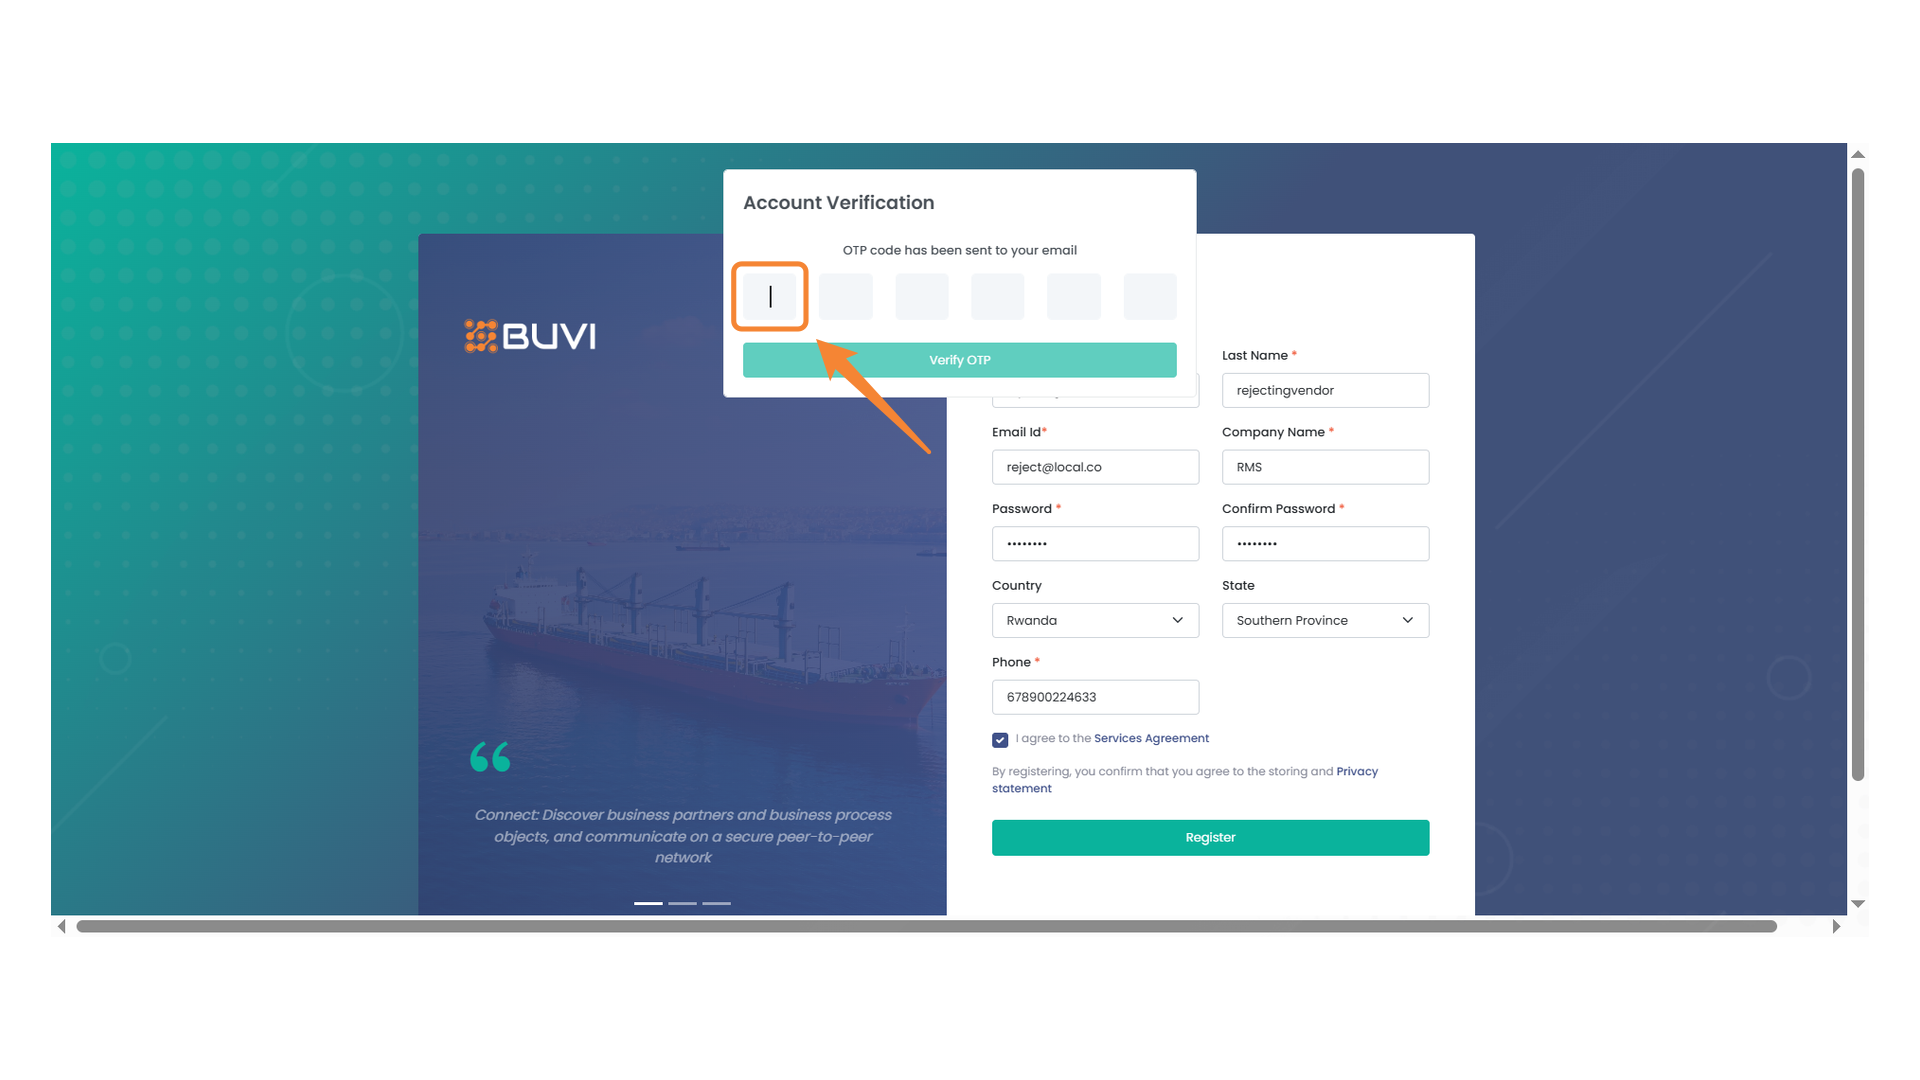
13. OTP Input Field
Enter the one-time password received in your email.
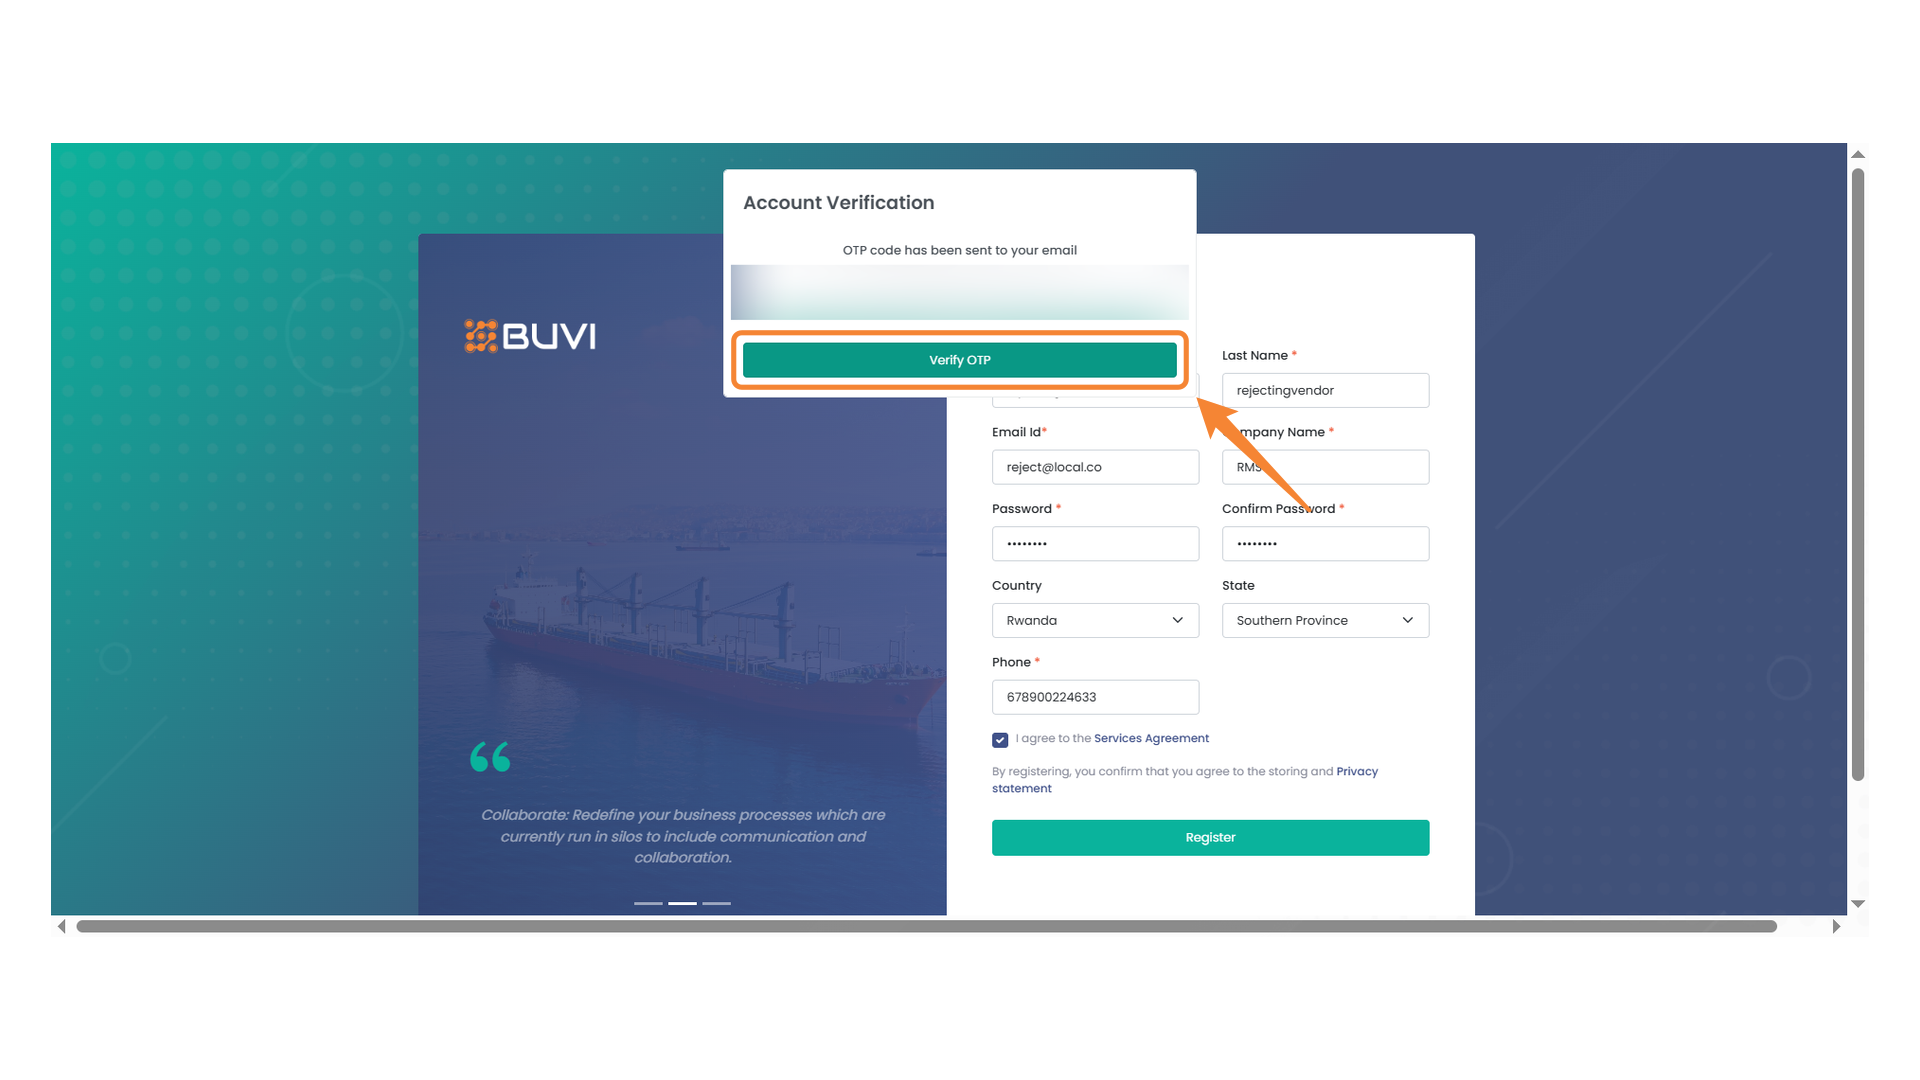
14. OTP Confirmation
Click the button to verify your OTP code and proceed with the account verification.
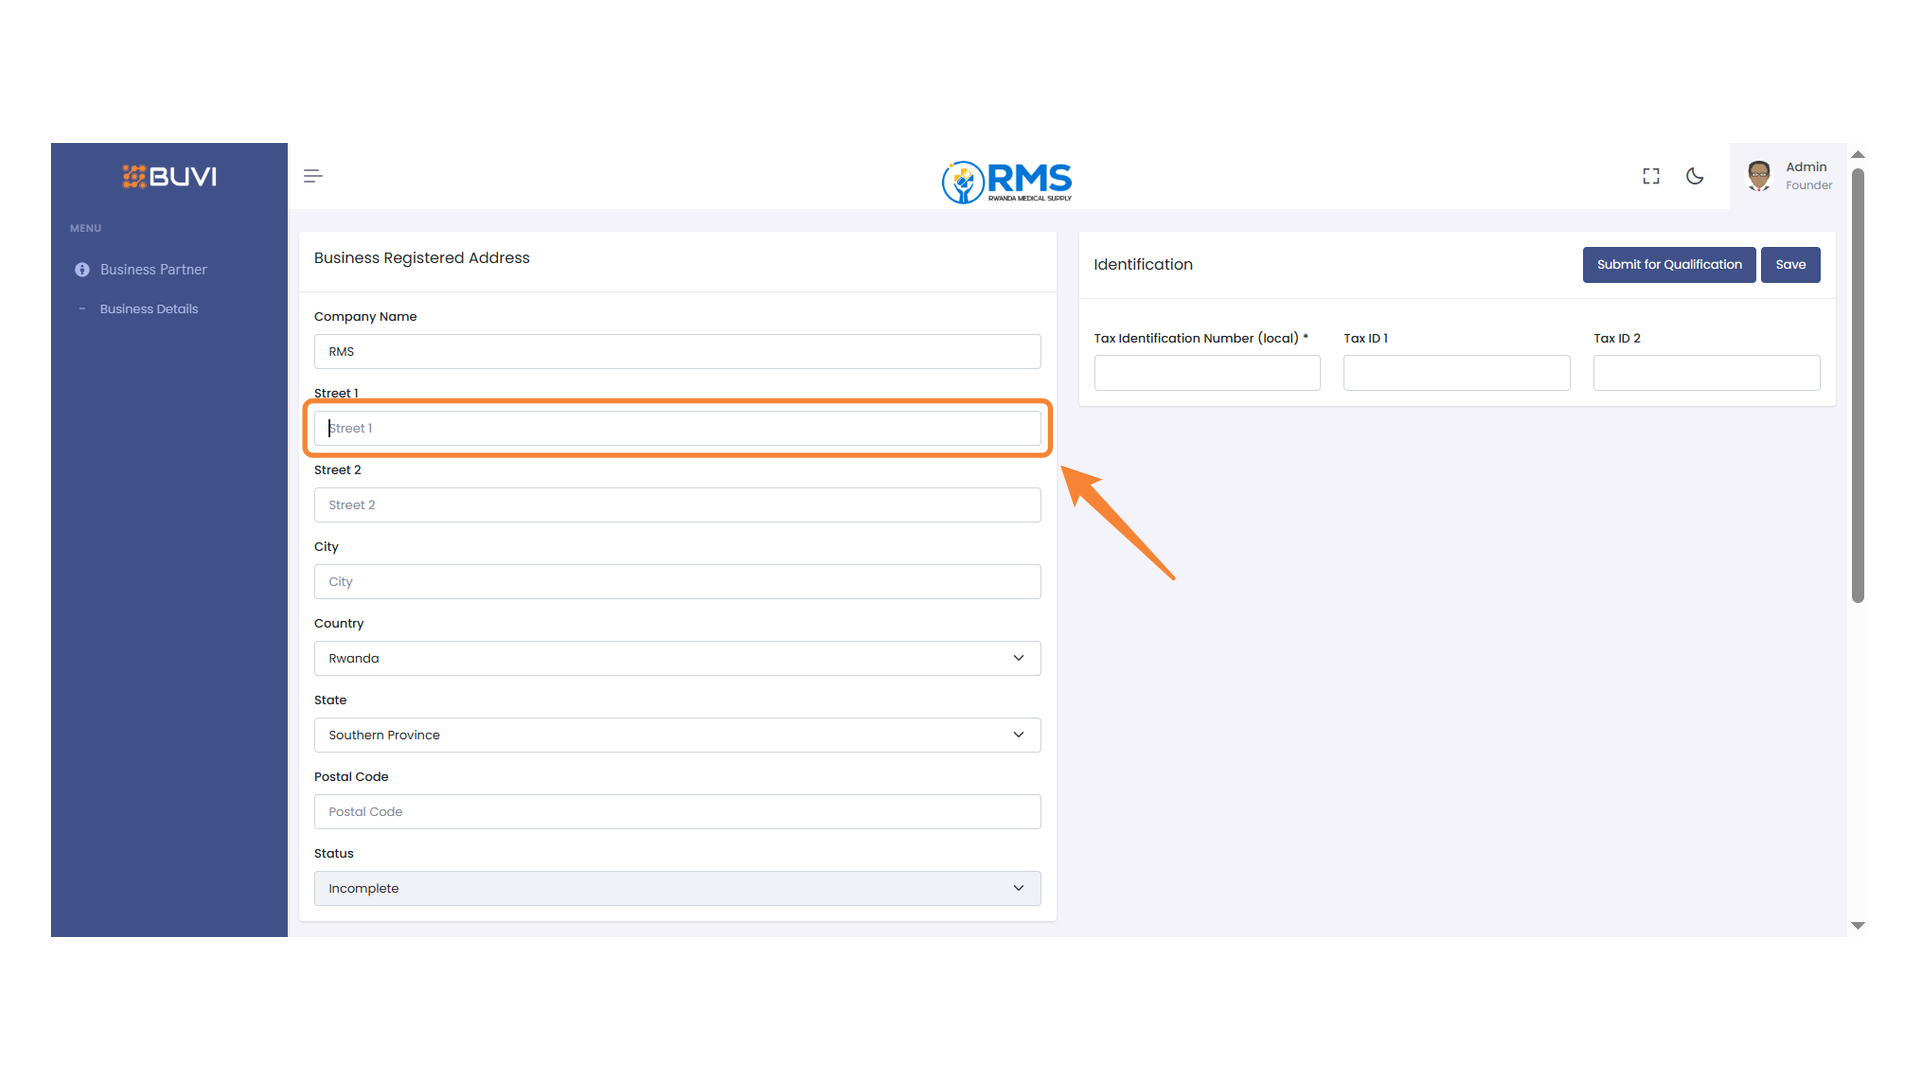
15. Street 1 Input Field
Enter the primary street address in this field.
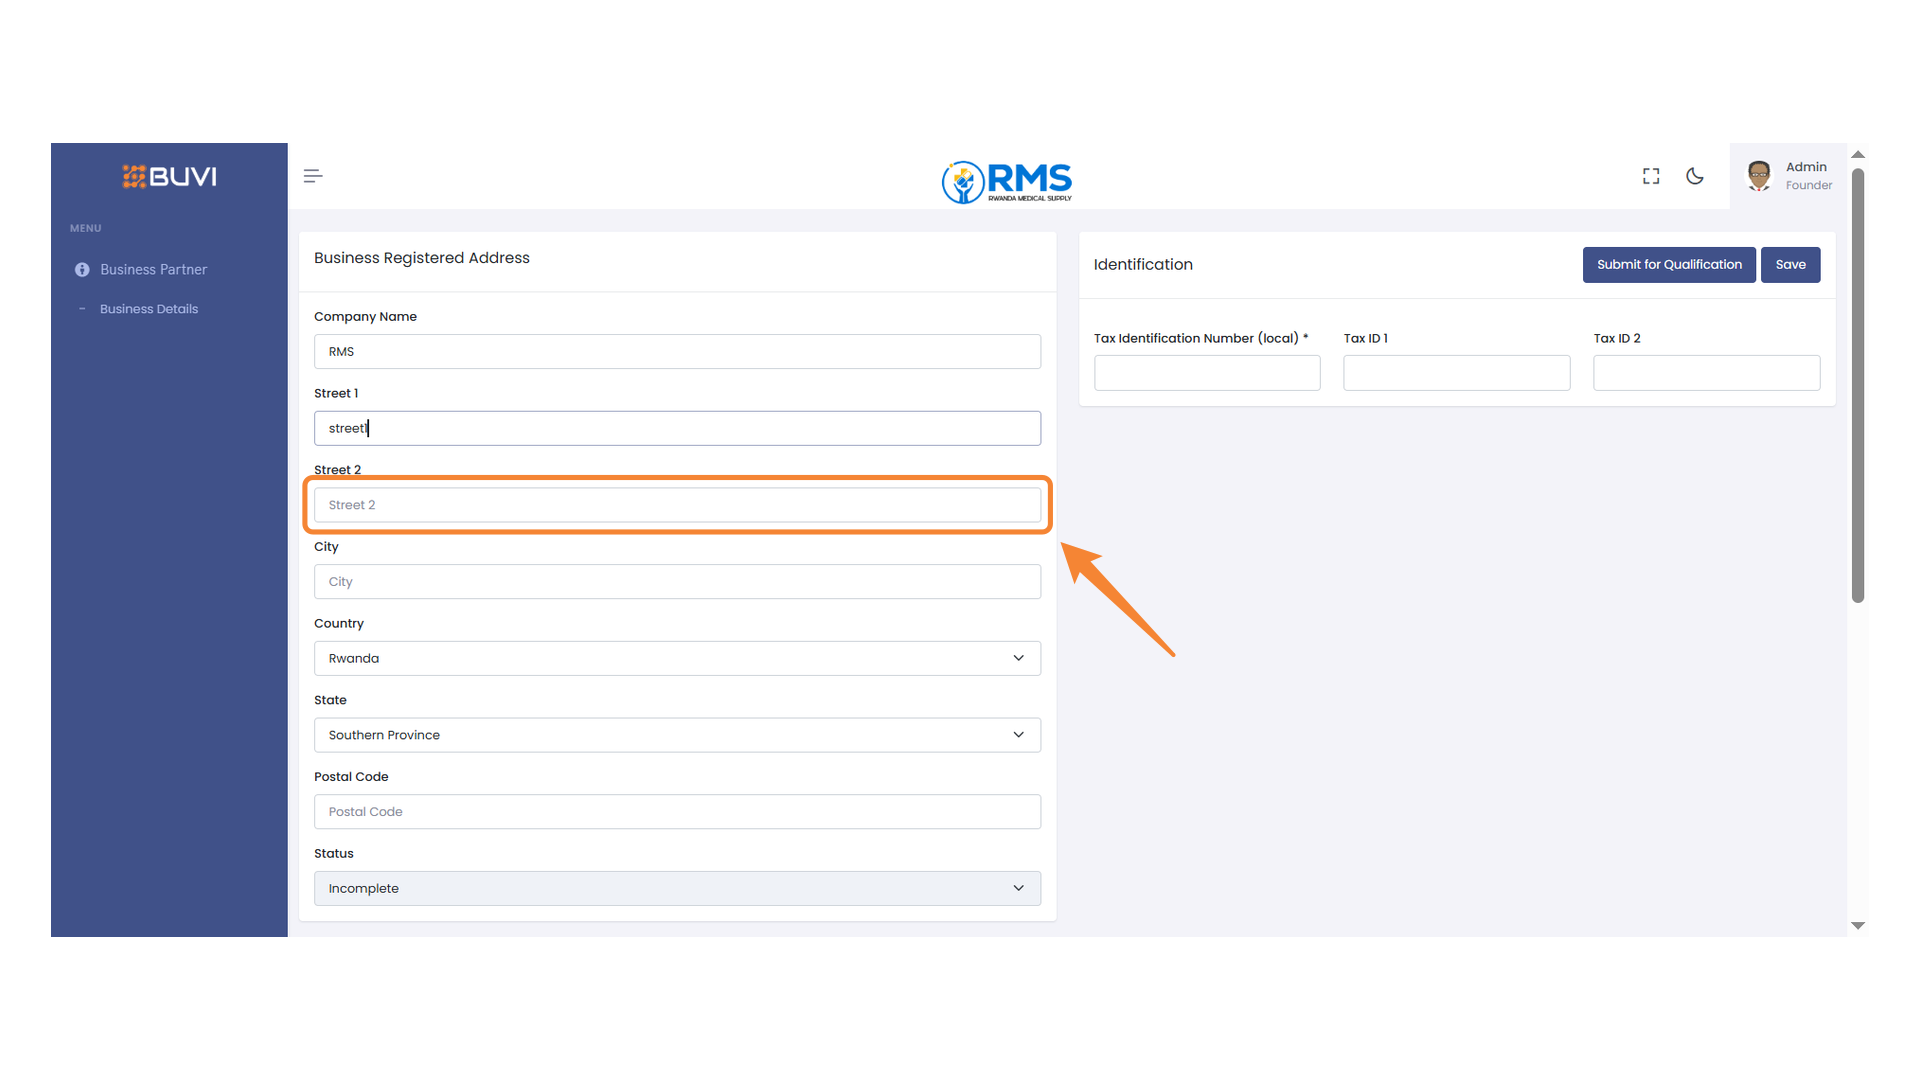
16. Street 2 Address Field
Enter the second street address in this field.
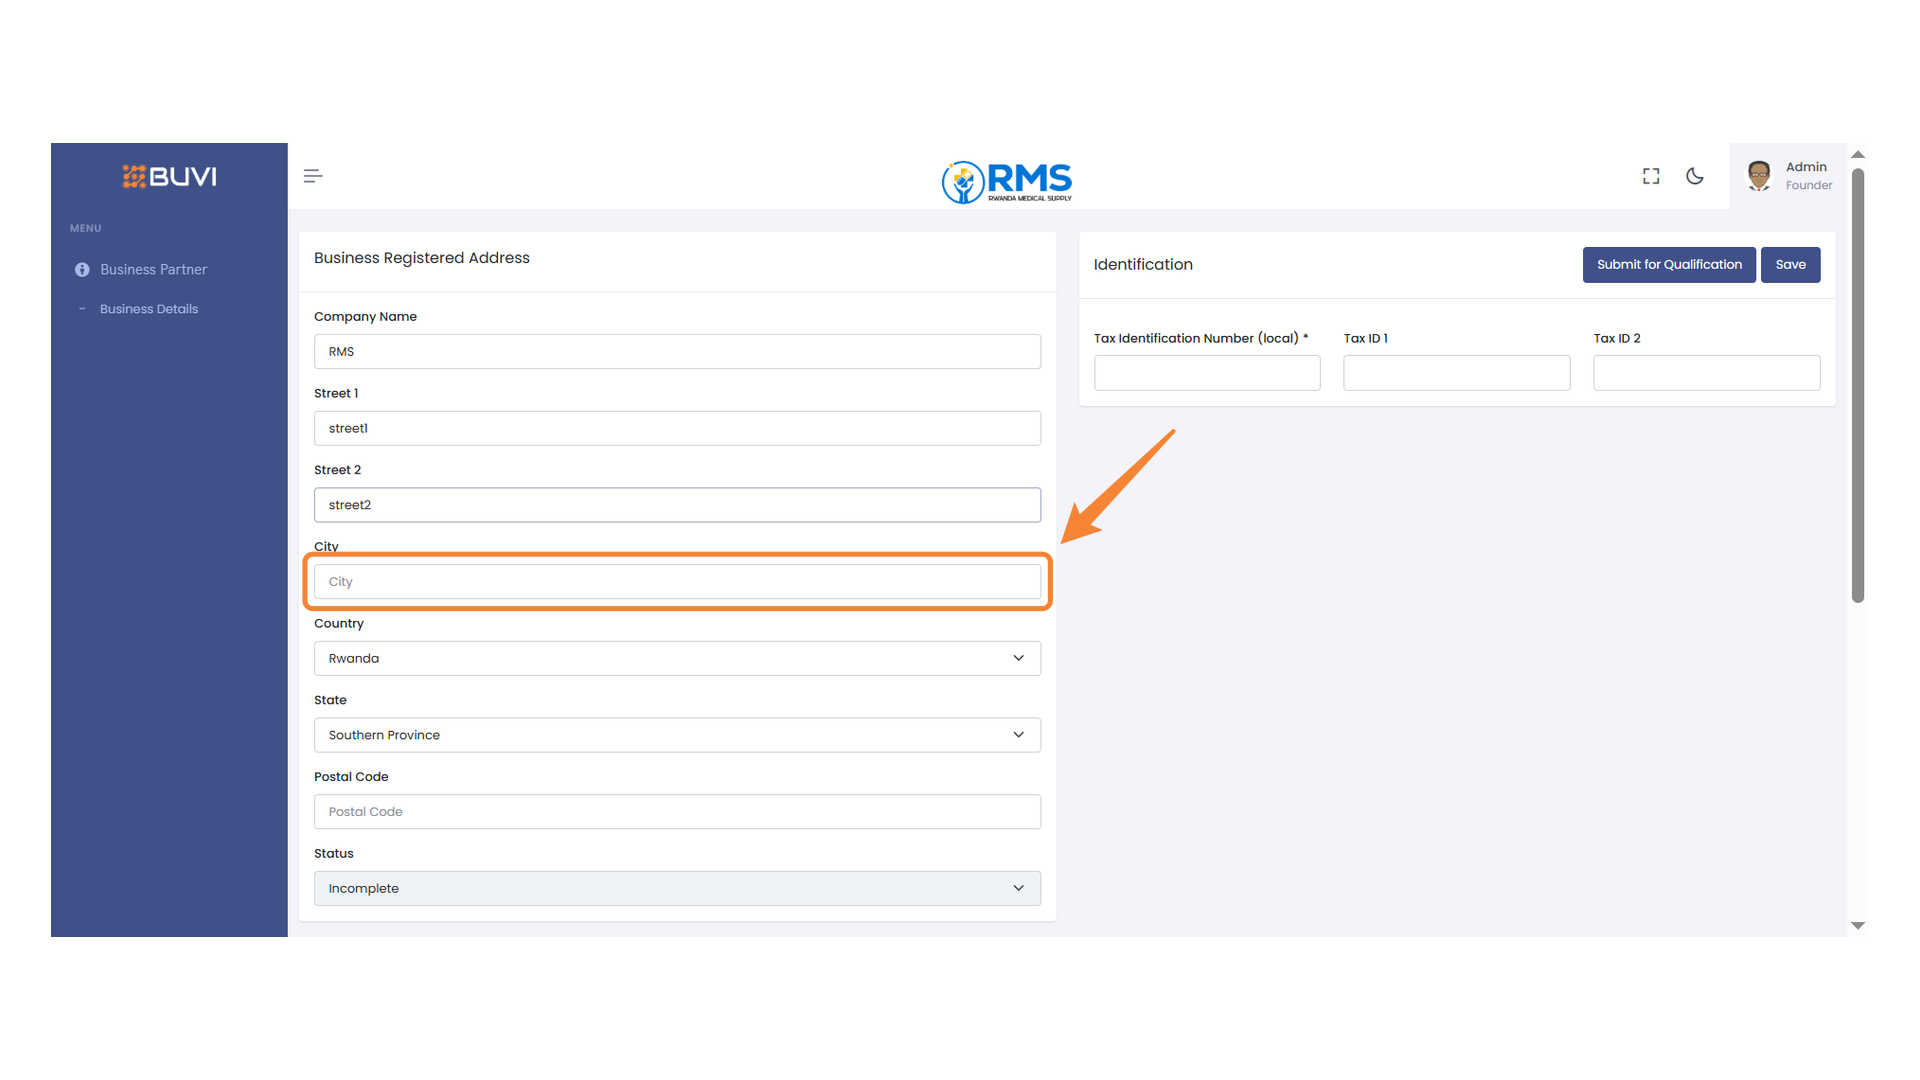
17. City Input Field
Enter the city name for the business address.
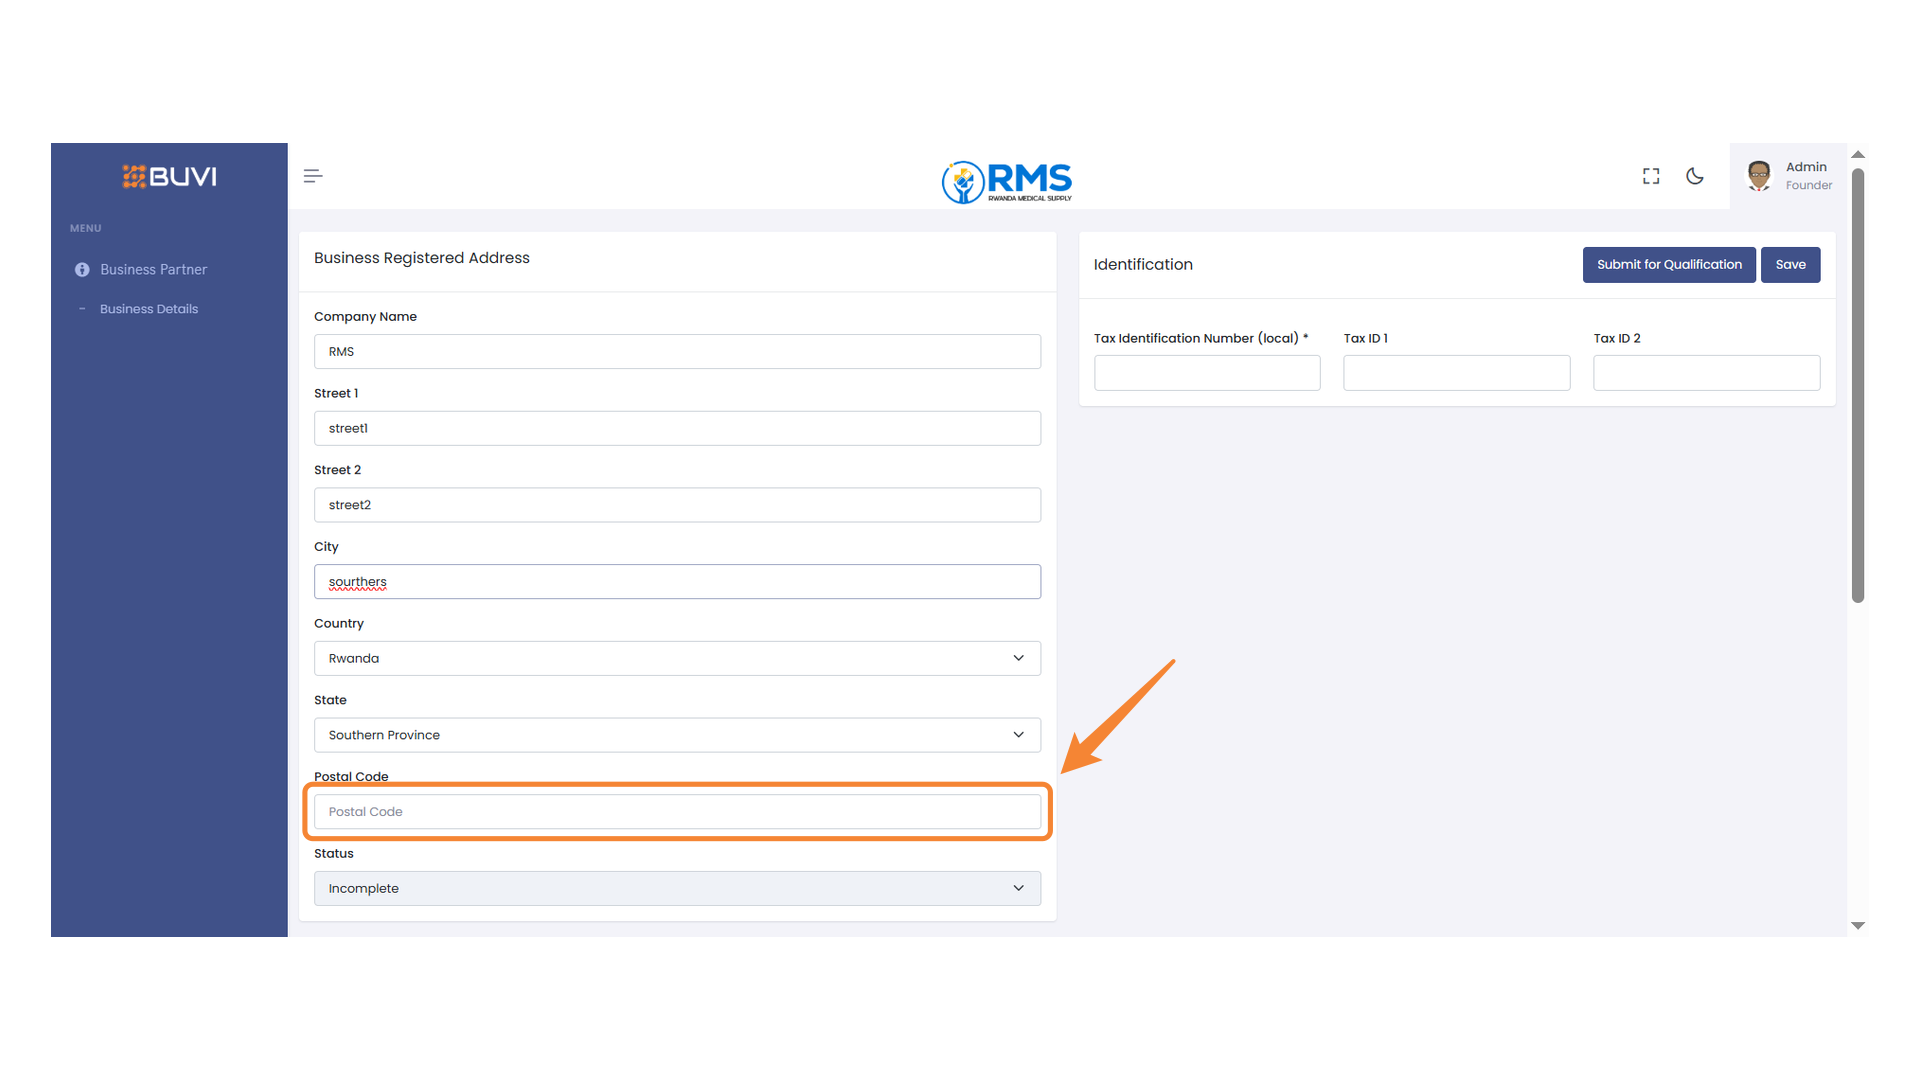
18. Postal Code Input Field
Enter the postal code for the business address.
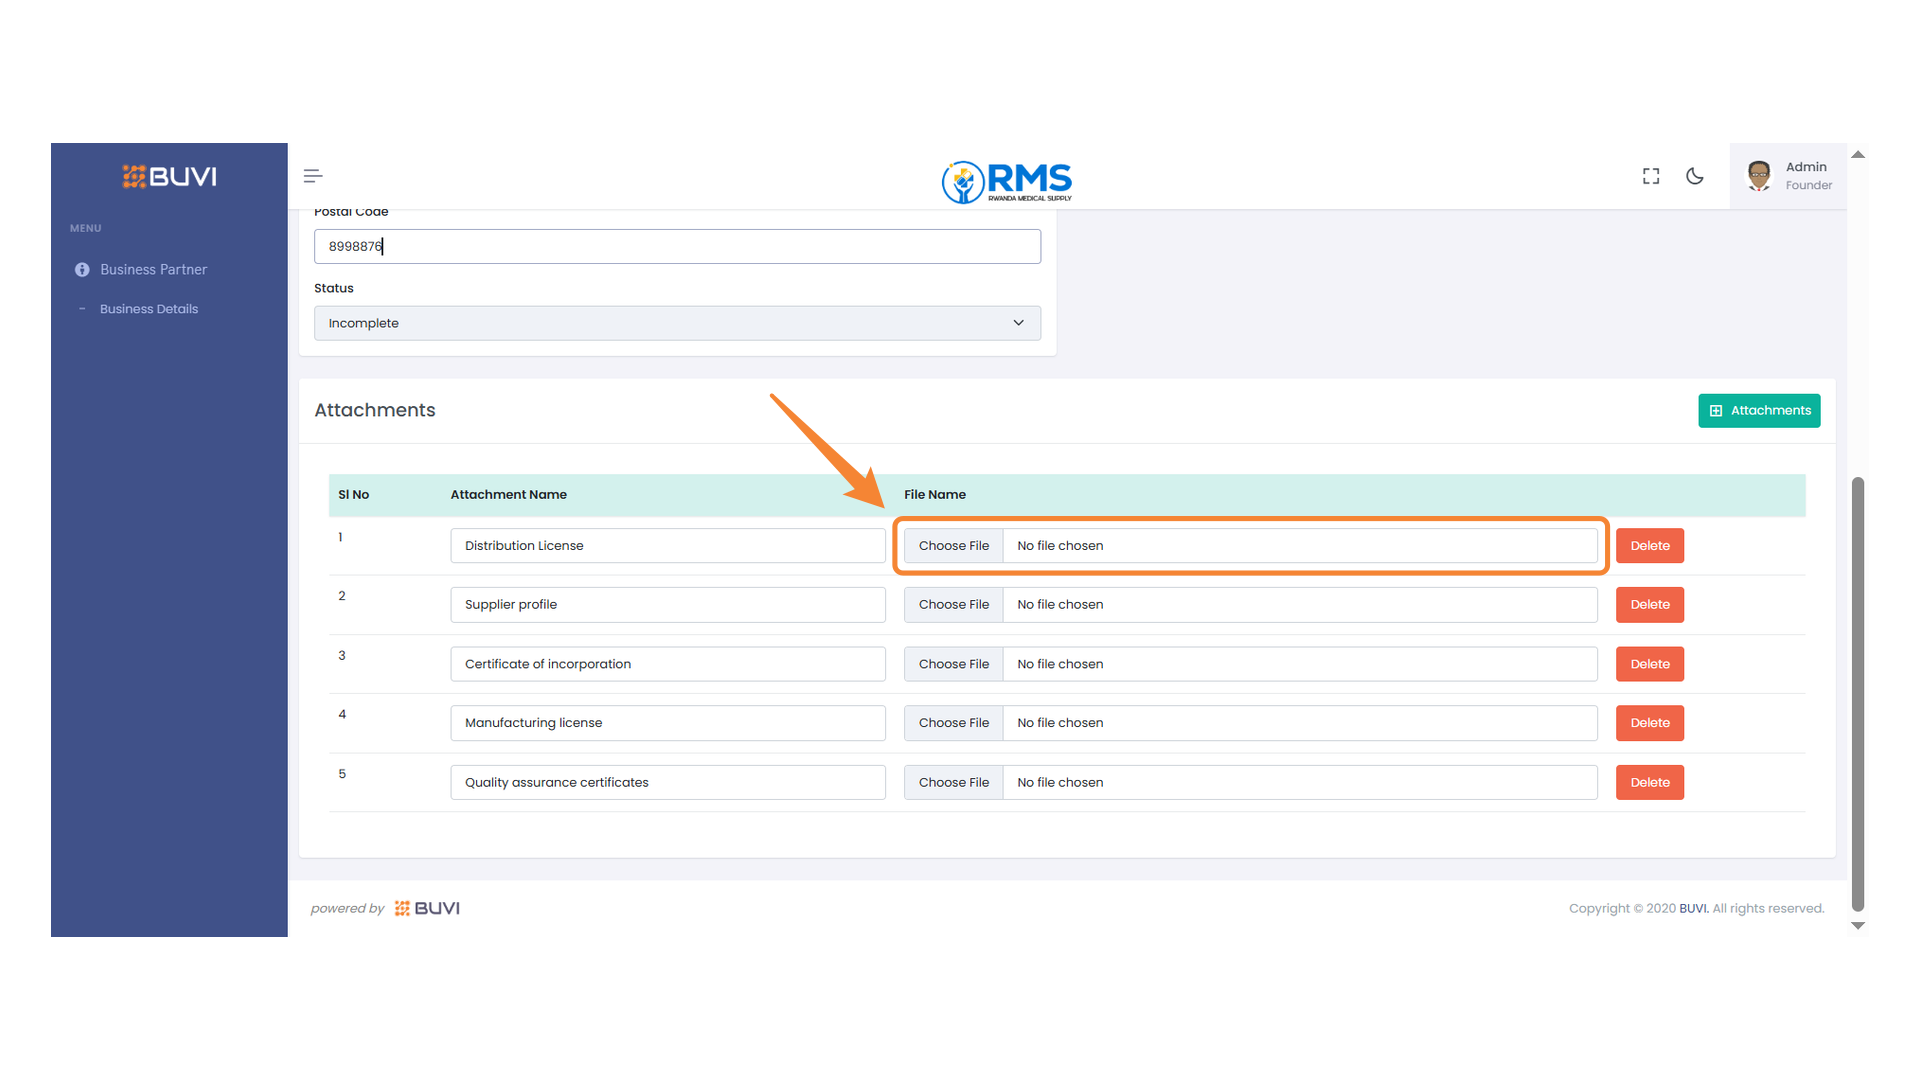
19. Upload Manufacturing License
Select the 'Choose File' button to upload the manufacturing license document.
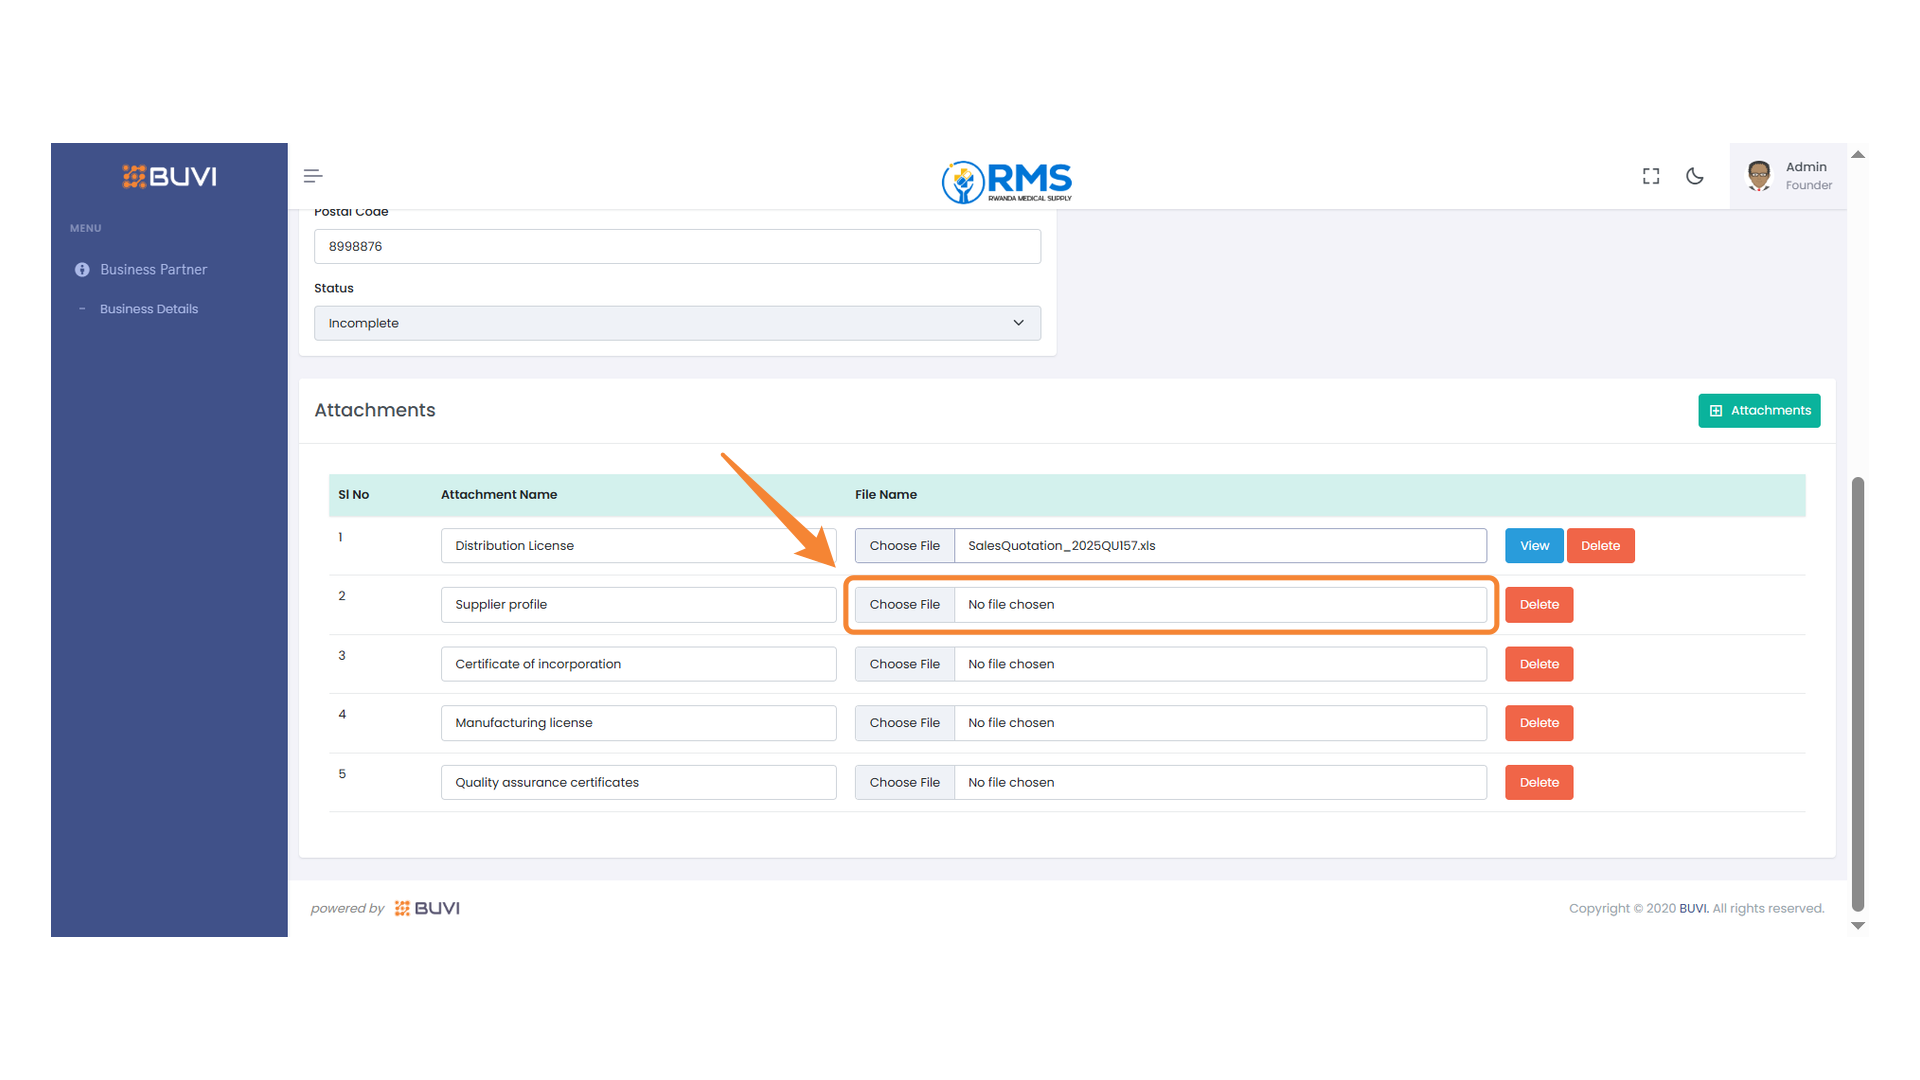
20. Attachment File Selection
Choose a file to upload for the Supplier profile attachment.
21. File Upload Section
Select a file to upload for the certificate of incorporation.

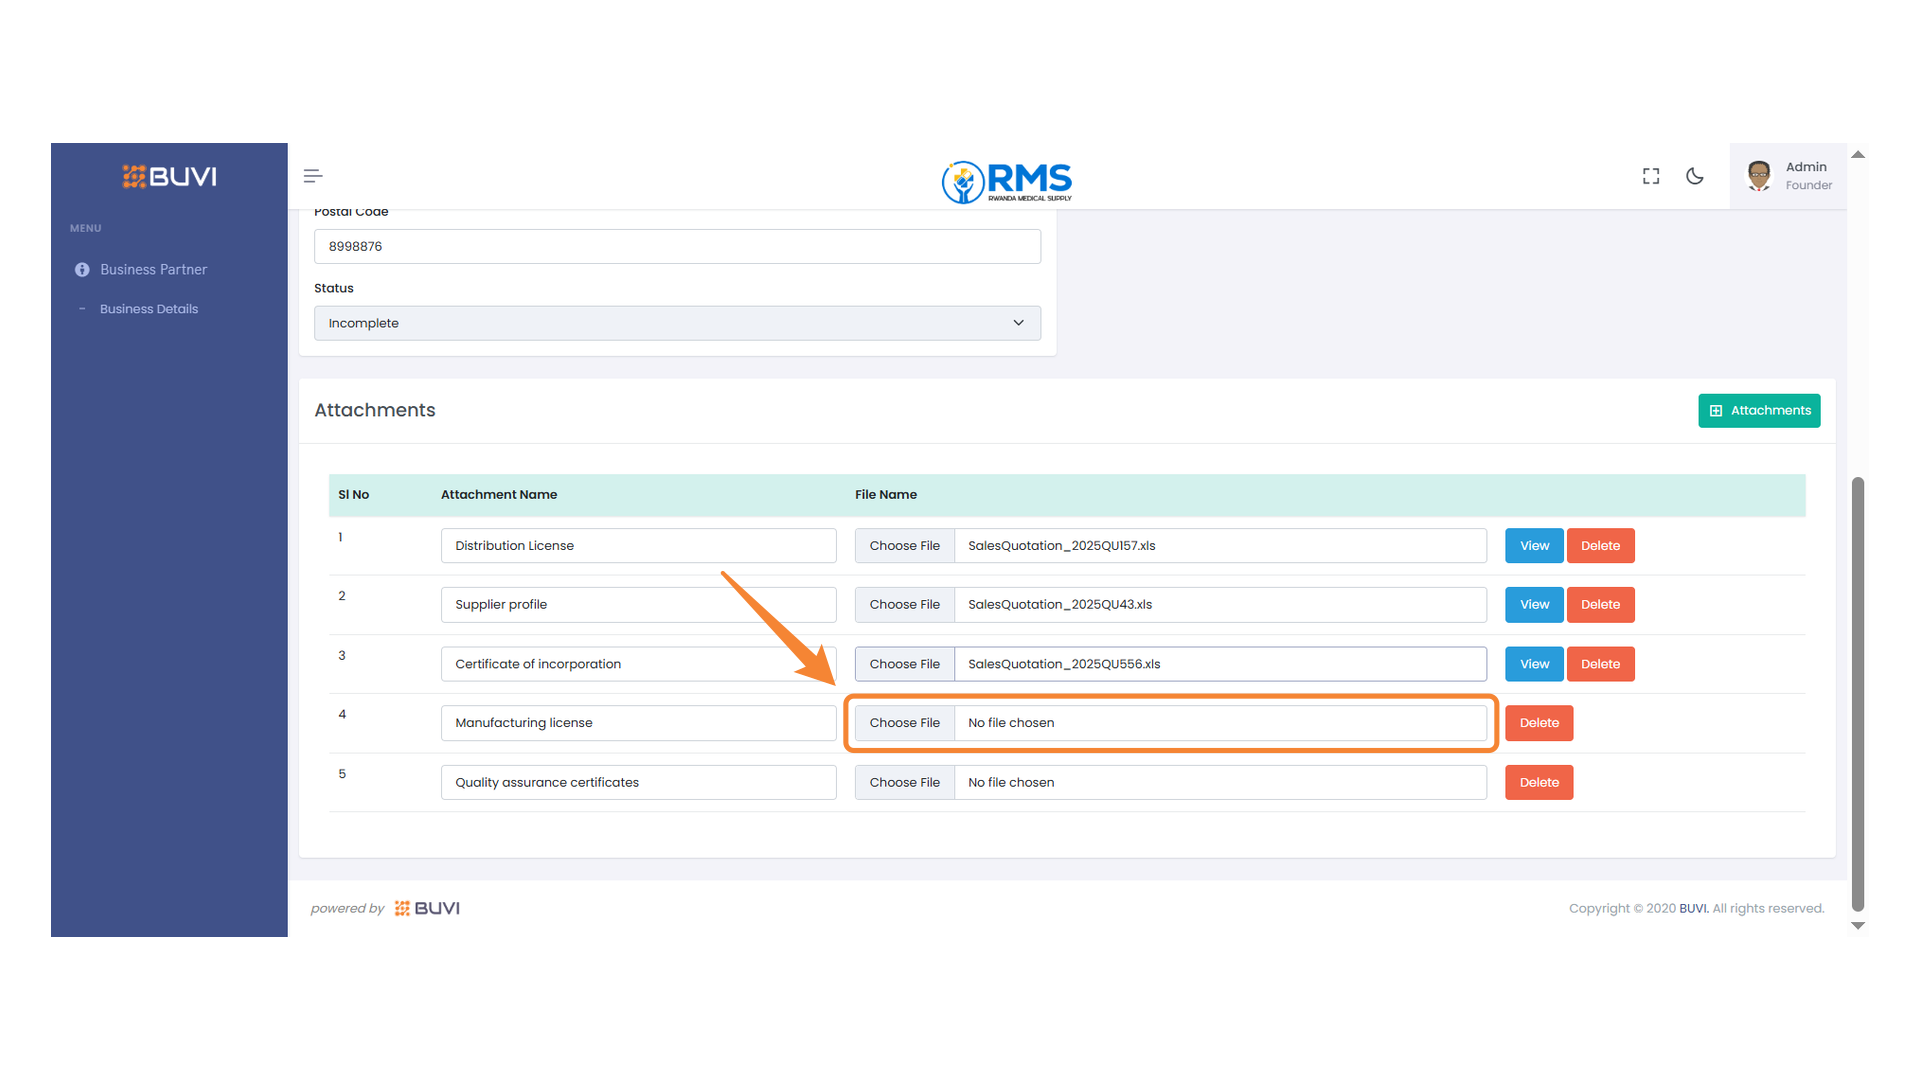
22. Manufacturing License File Upload
Select a file to upload for the manufacturing license.
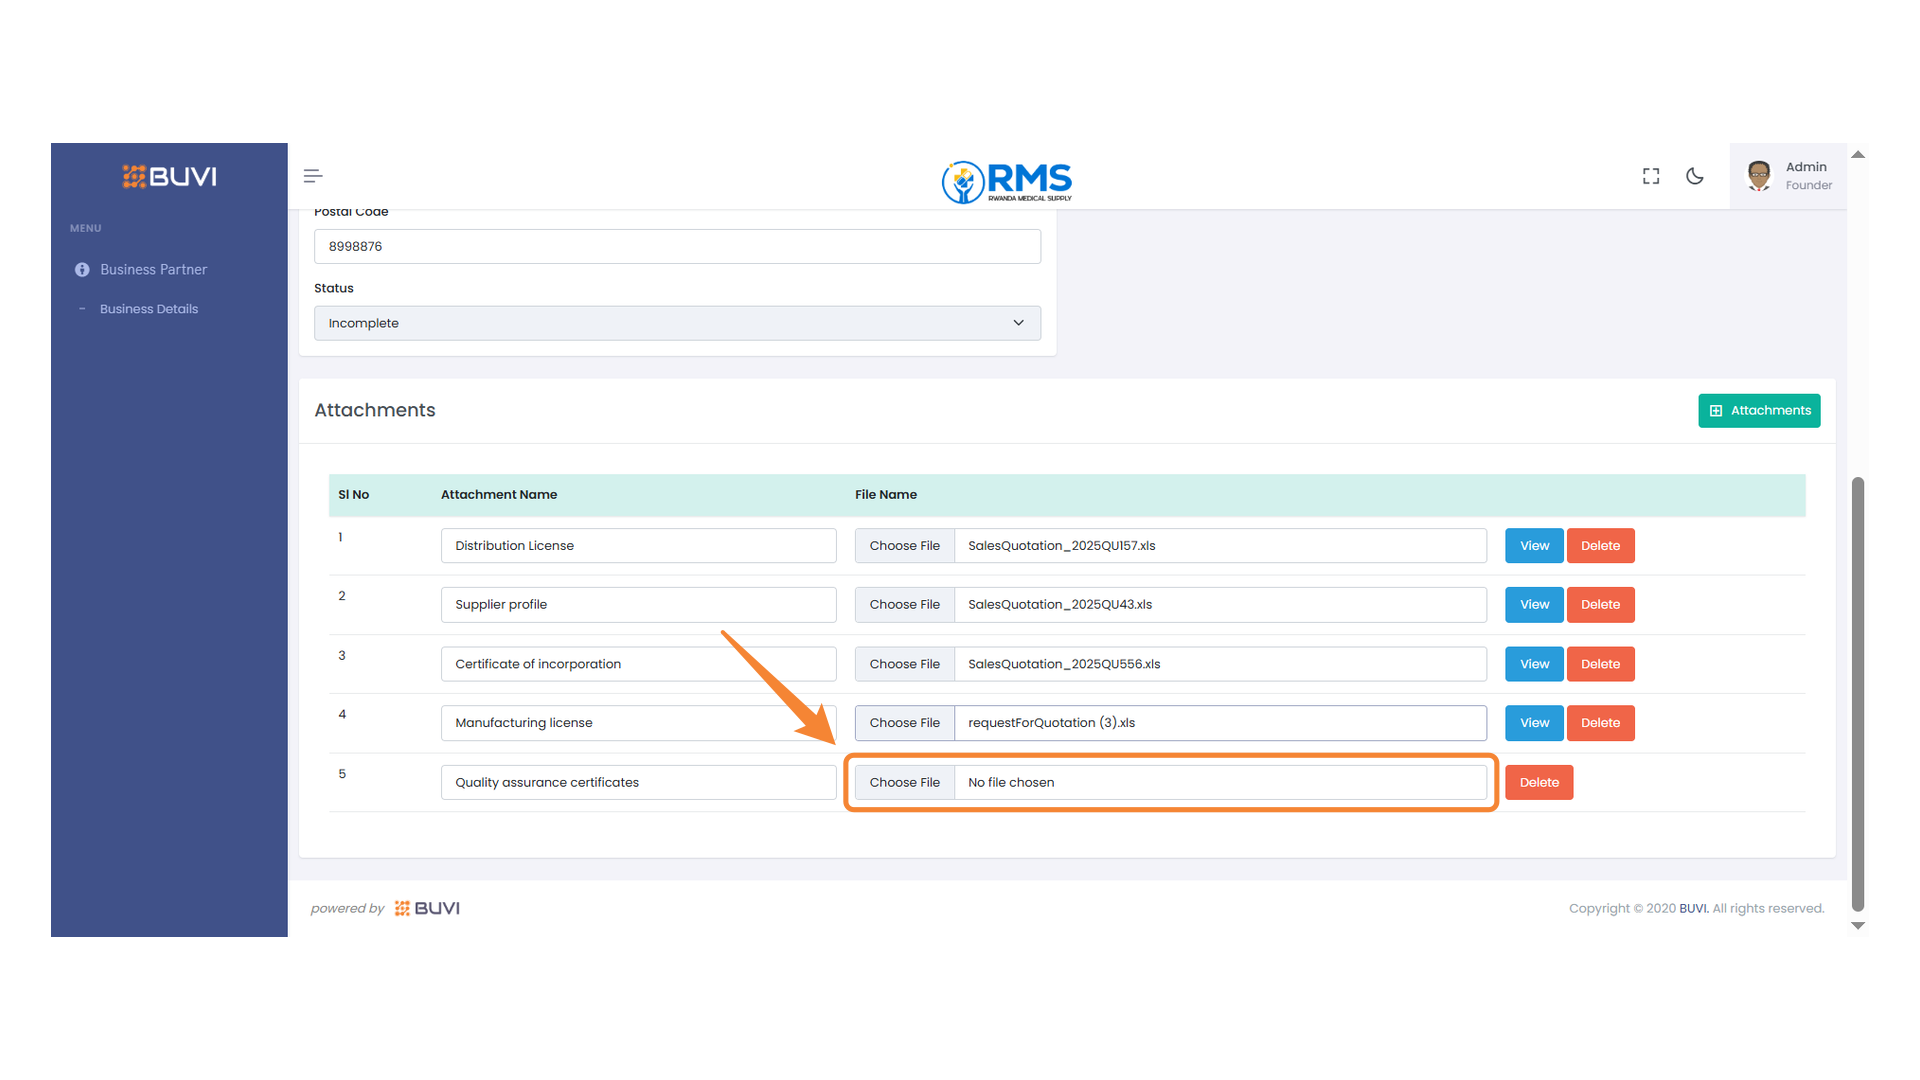
23. File Upload Section
Select a file for the quality assurance certificates by clicking the 'Choose File' button.
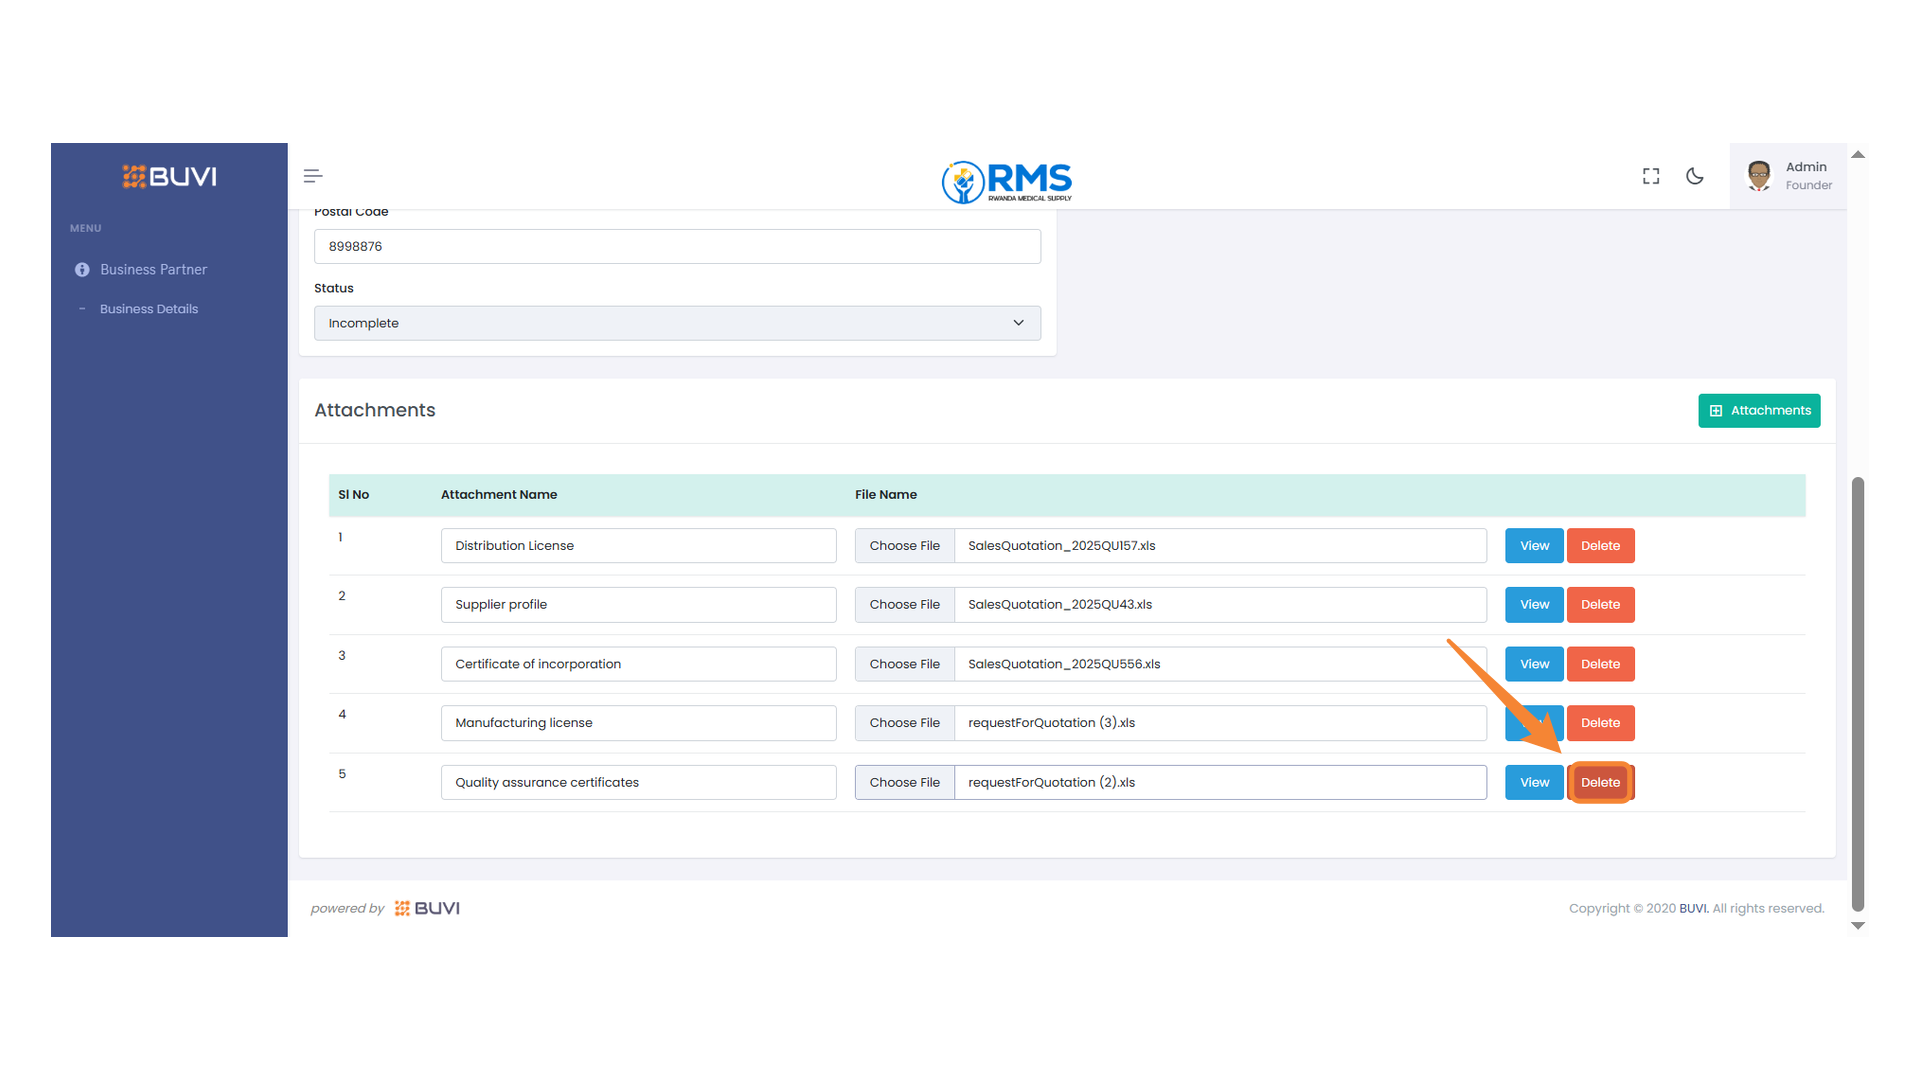
24. Delete Button
Press the delete button to remove the selected file from the list.
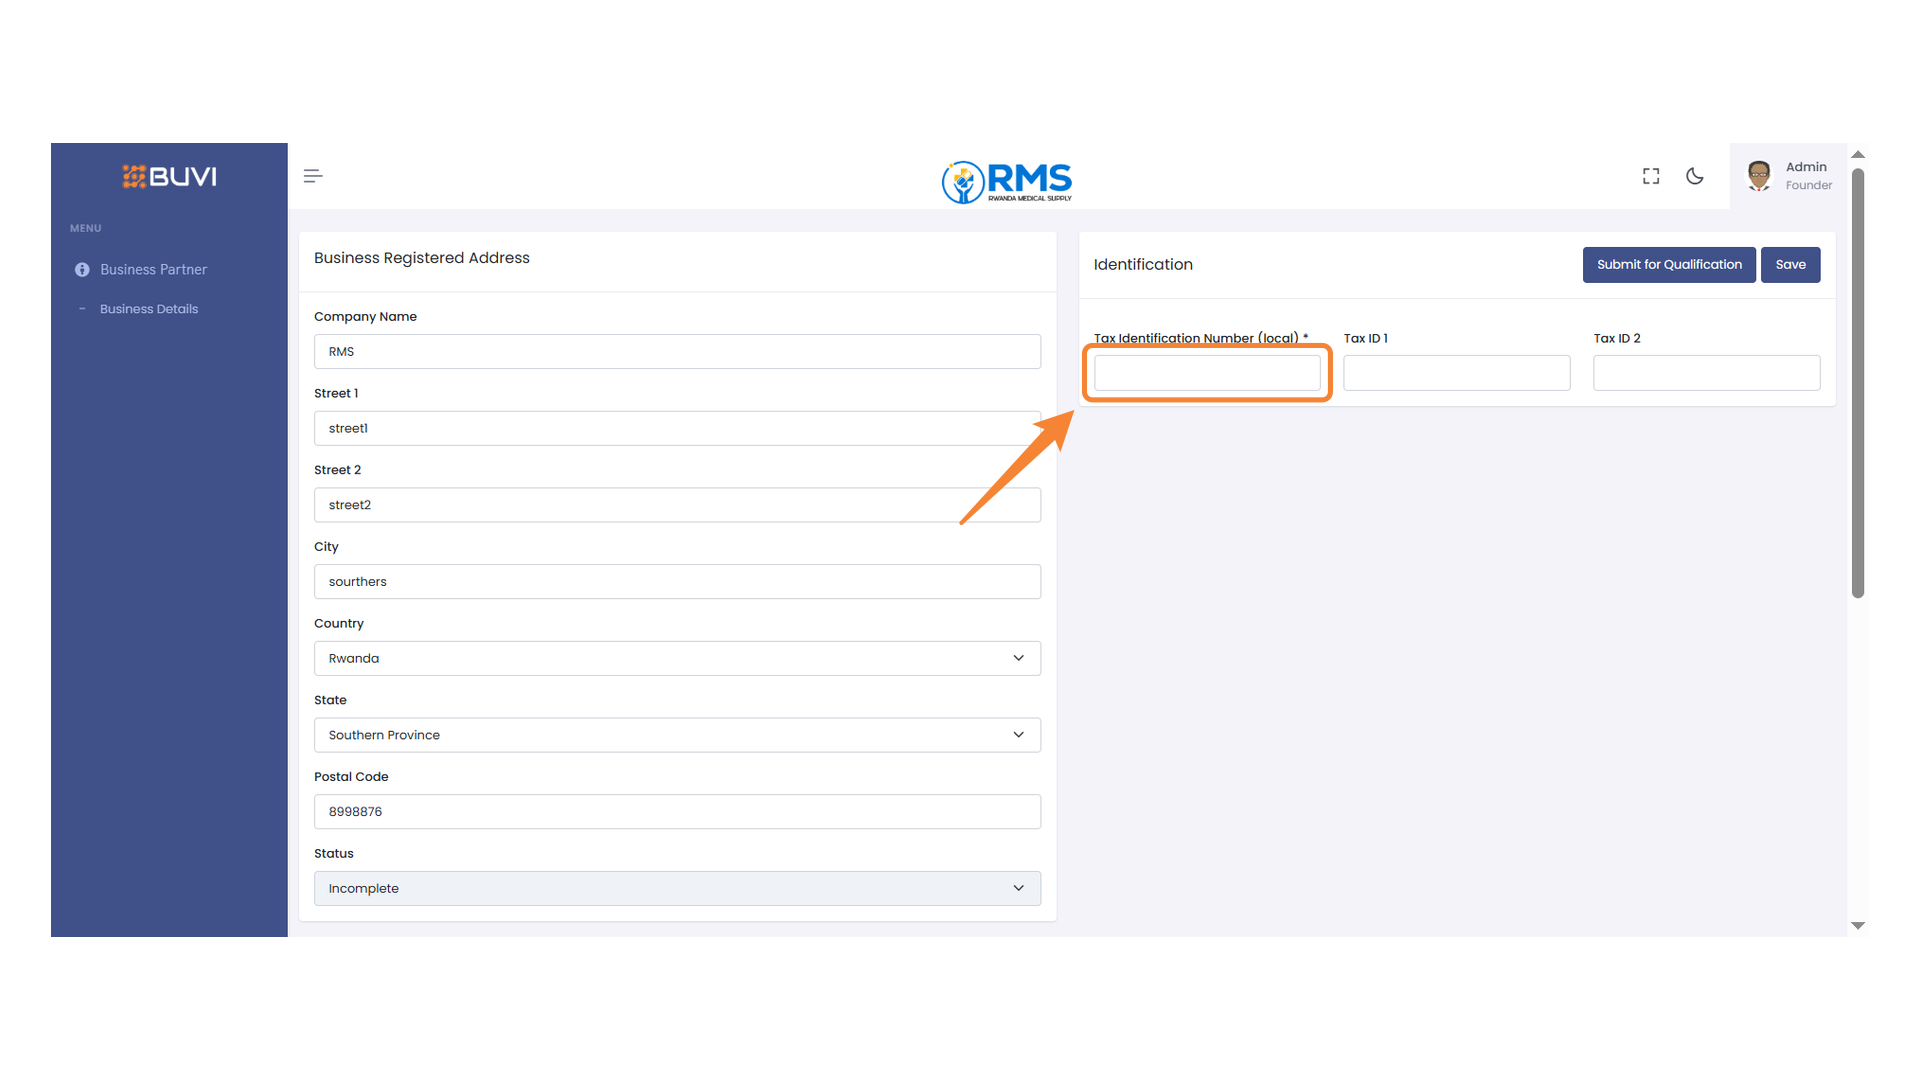
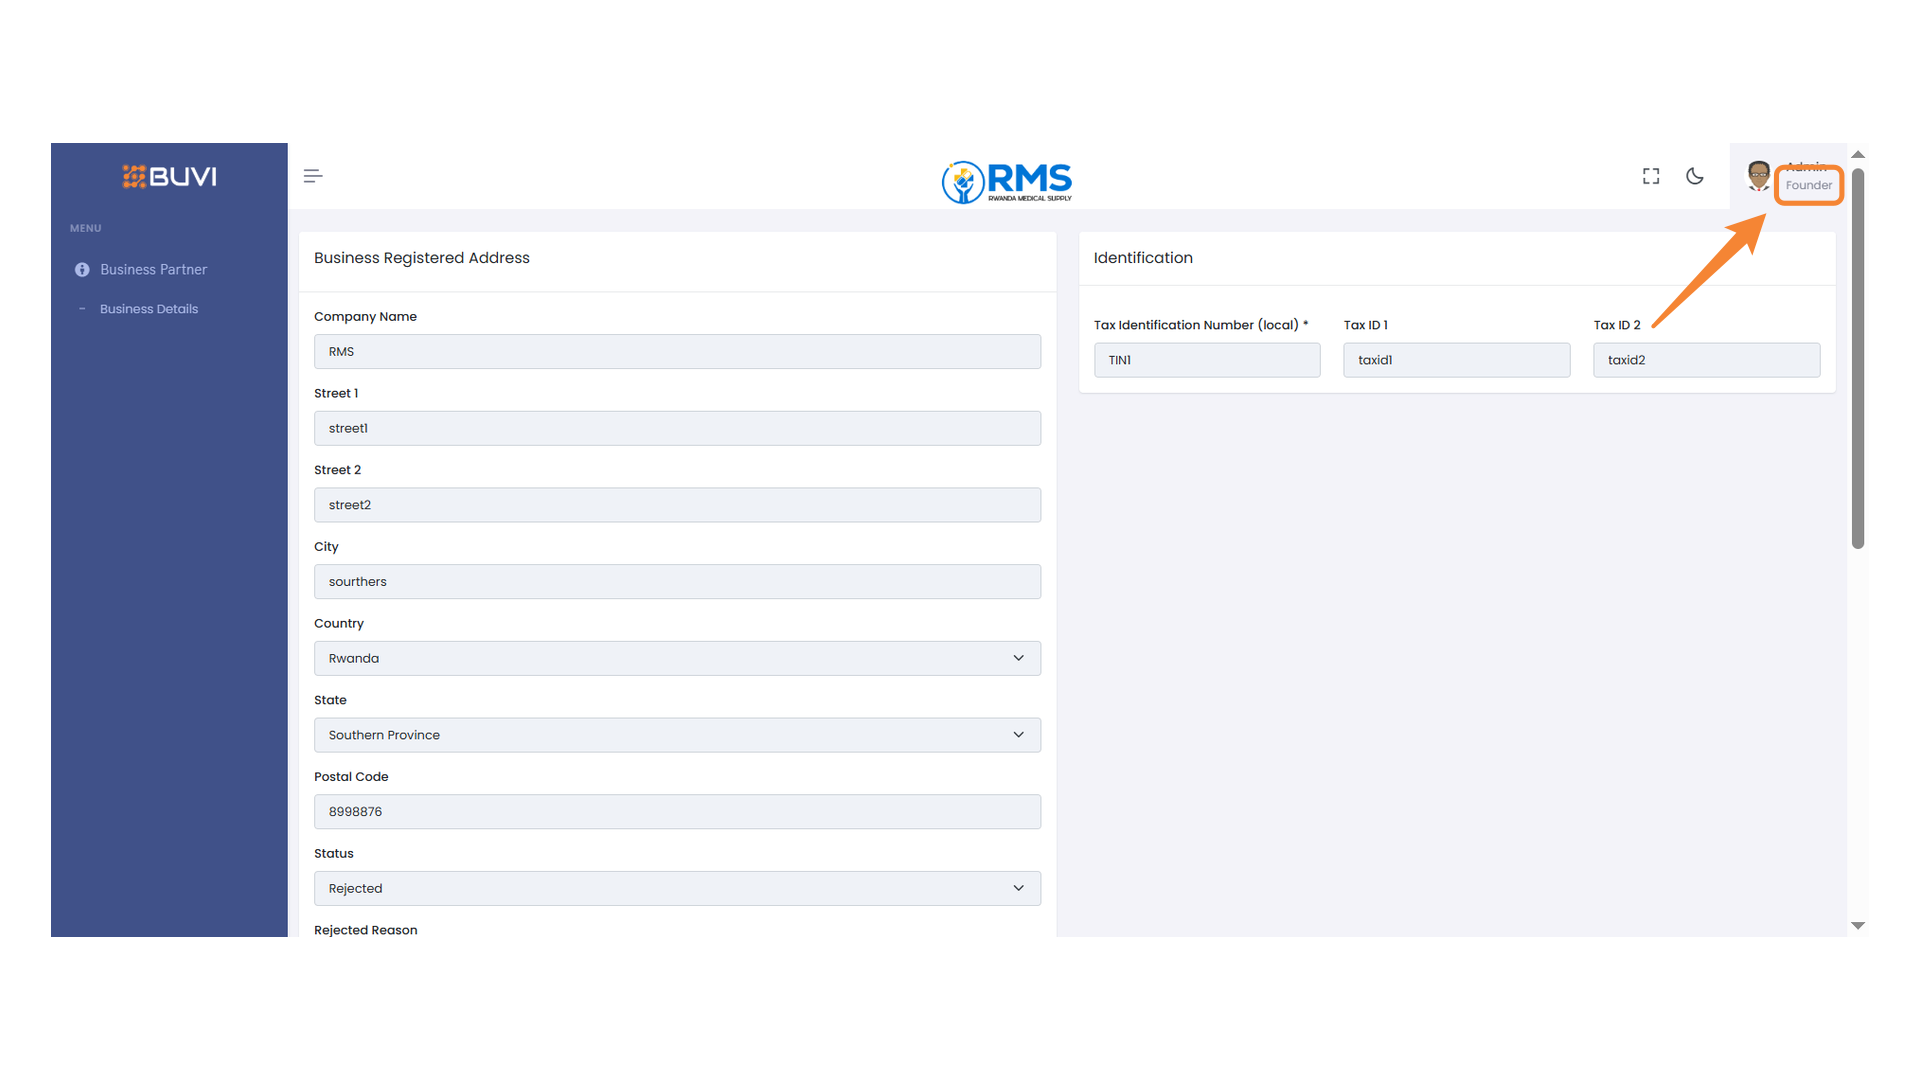
25. Input Field for Tax Identification Number
Enter the local tax identification number in the highlighted input field.
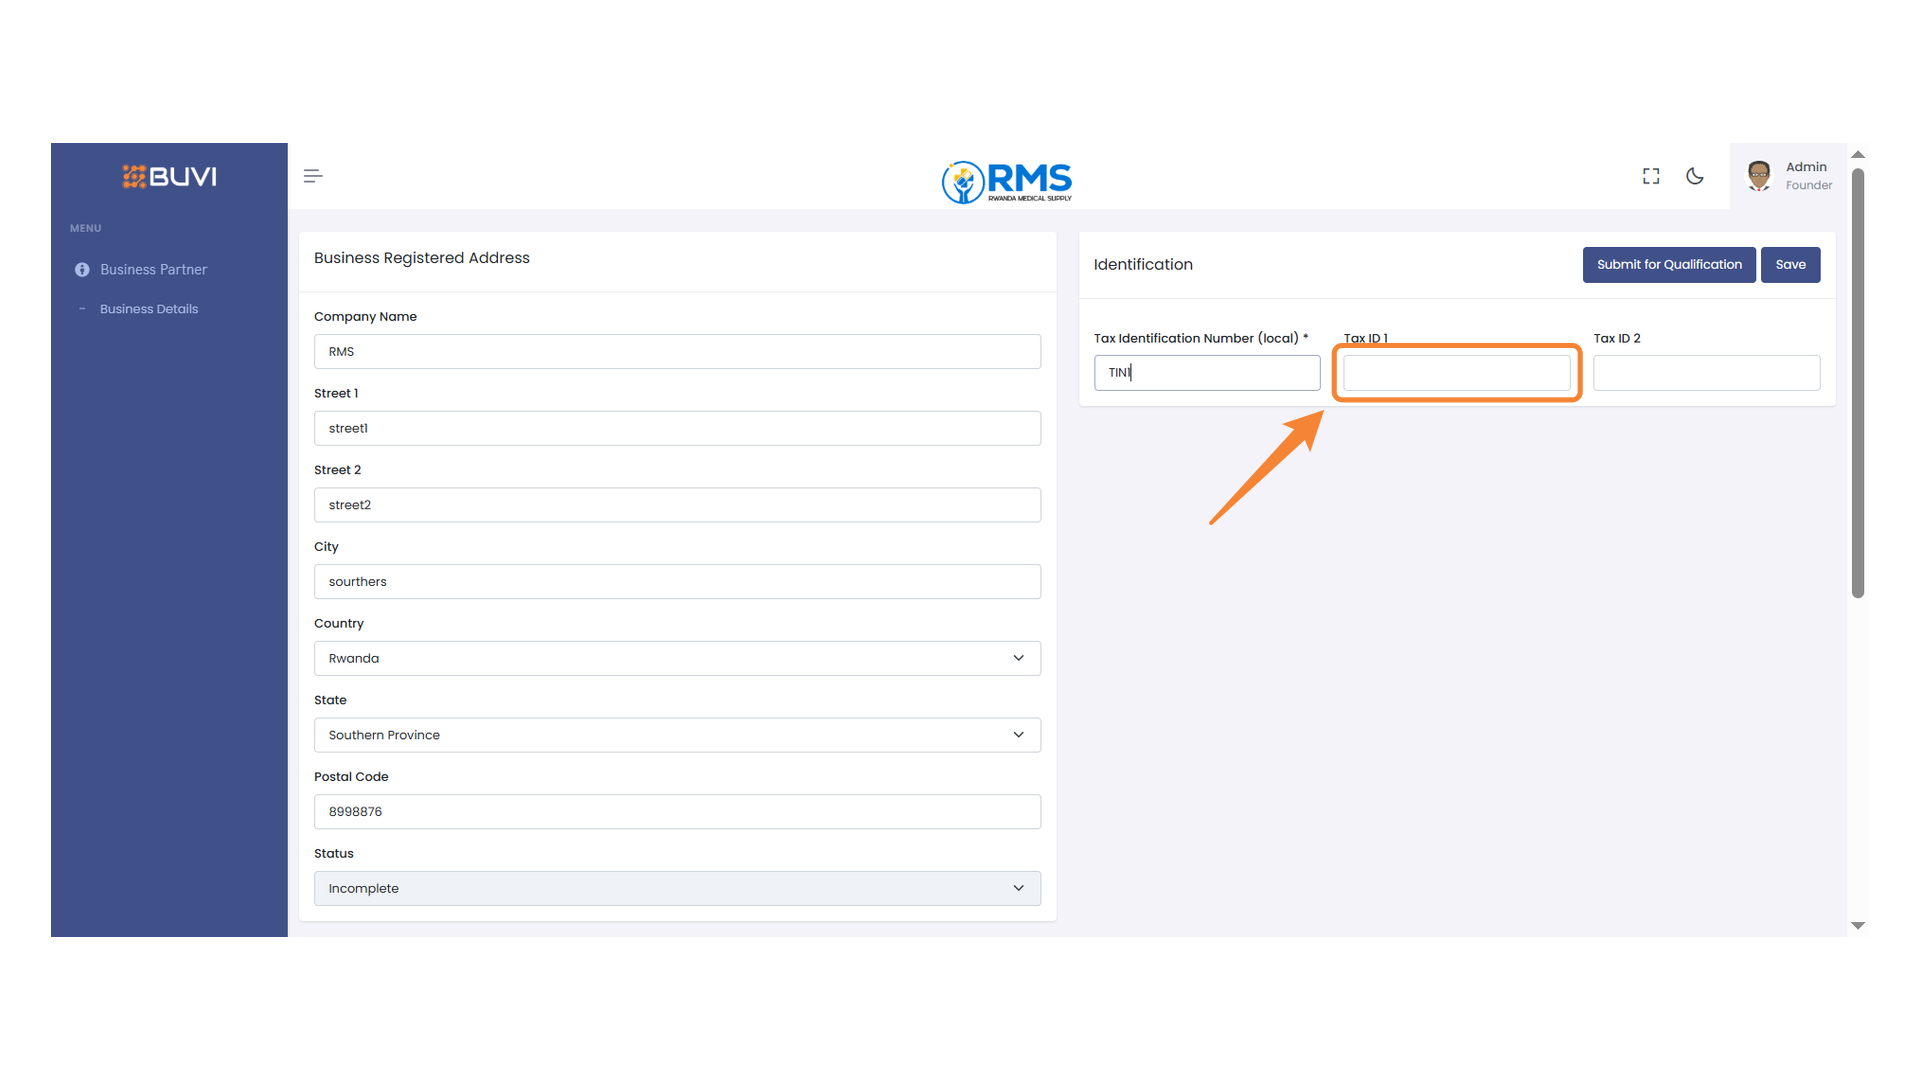
26. Tax ID Input Field
Enter the first tax identification number in the highlighted field.
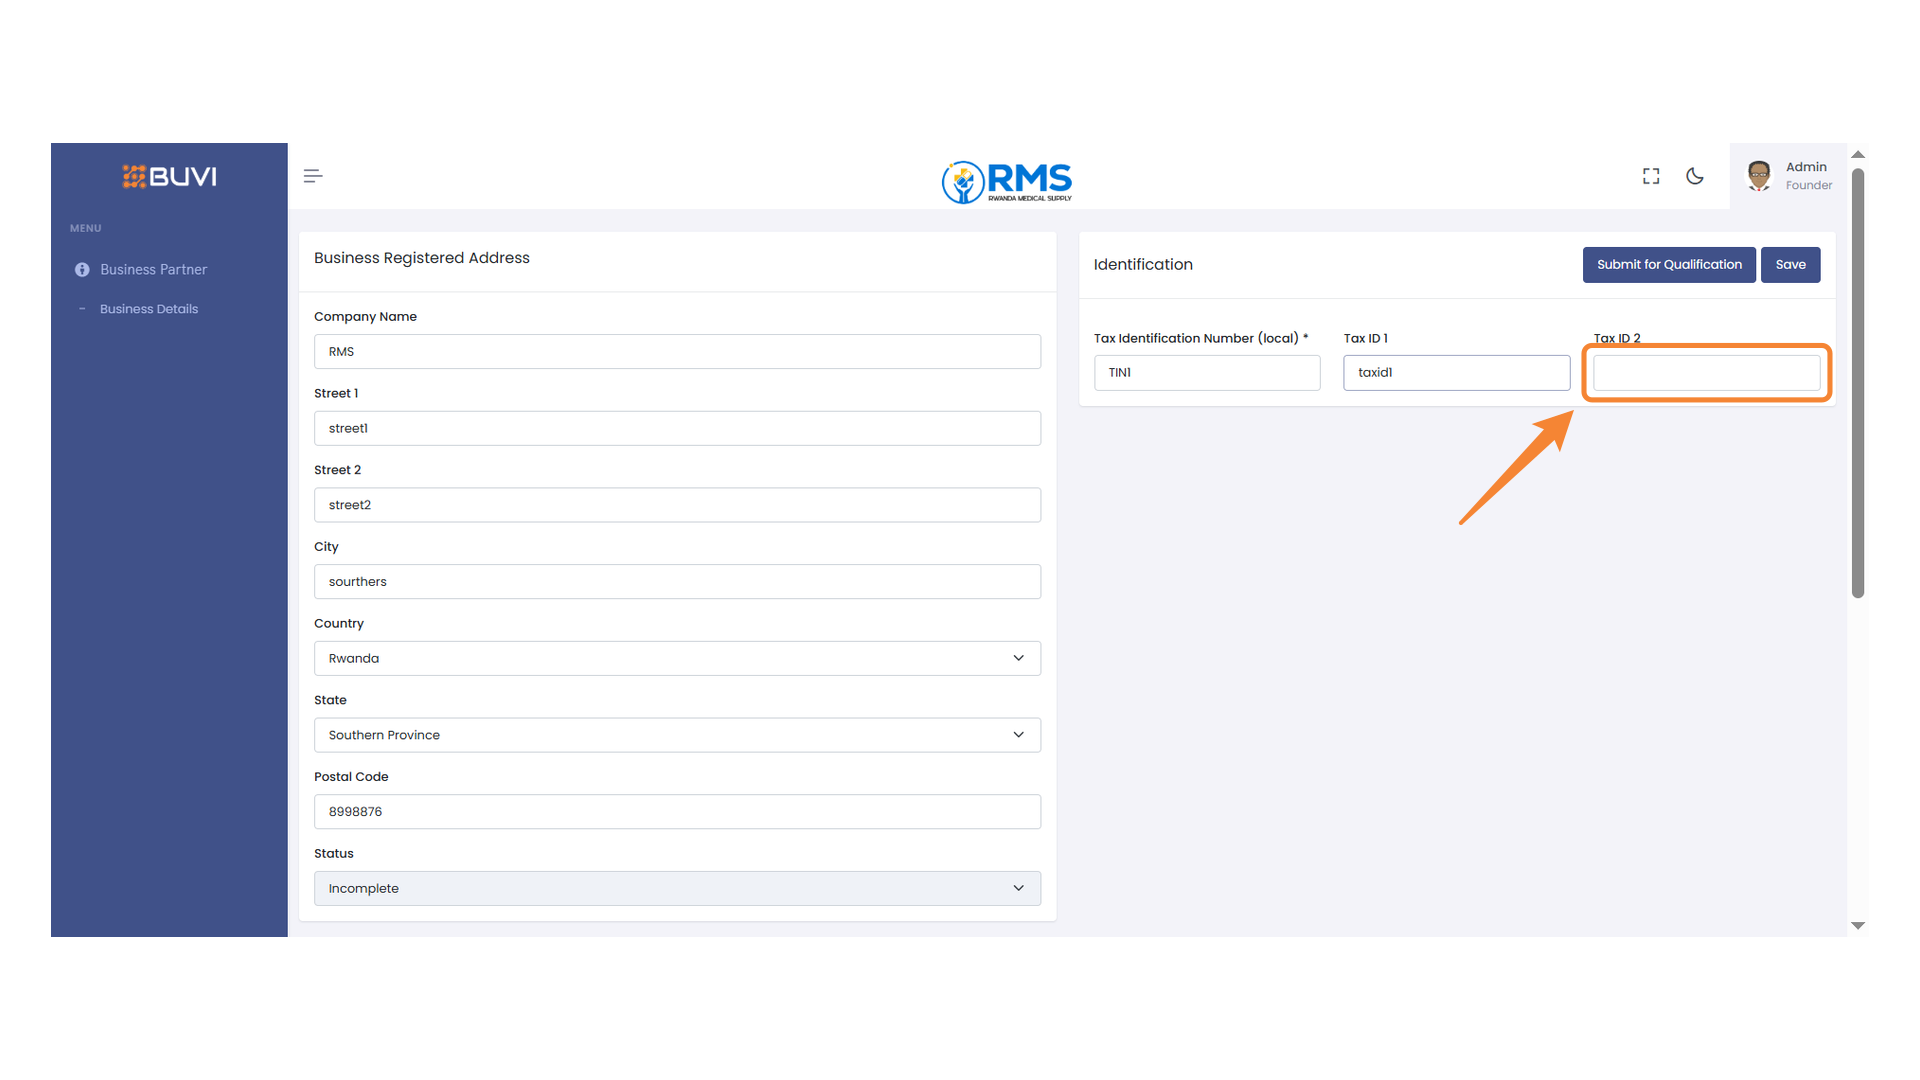
27. Tax ID Input Field
Enter the second Tax Identification Number in this field.
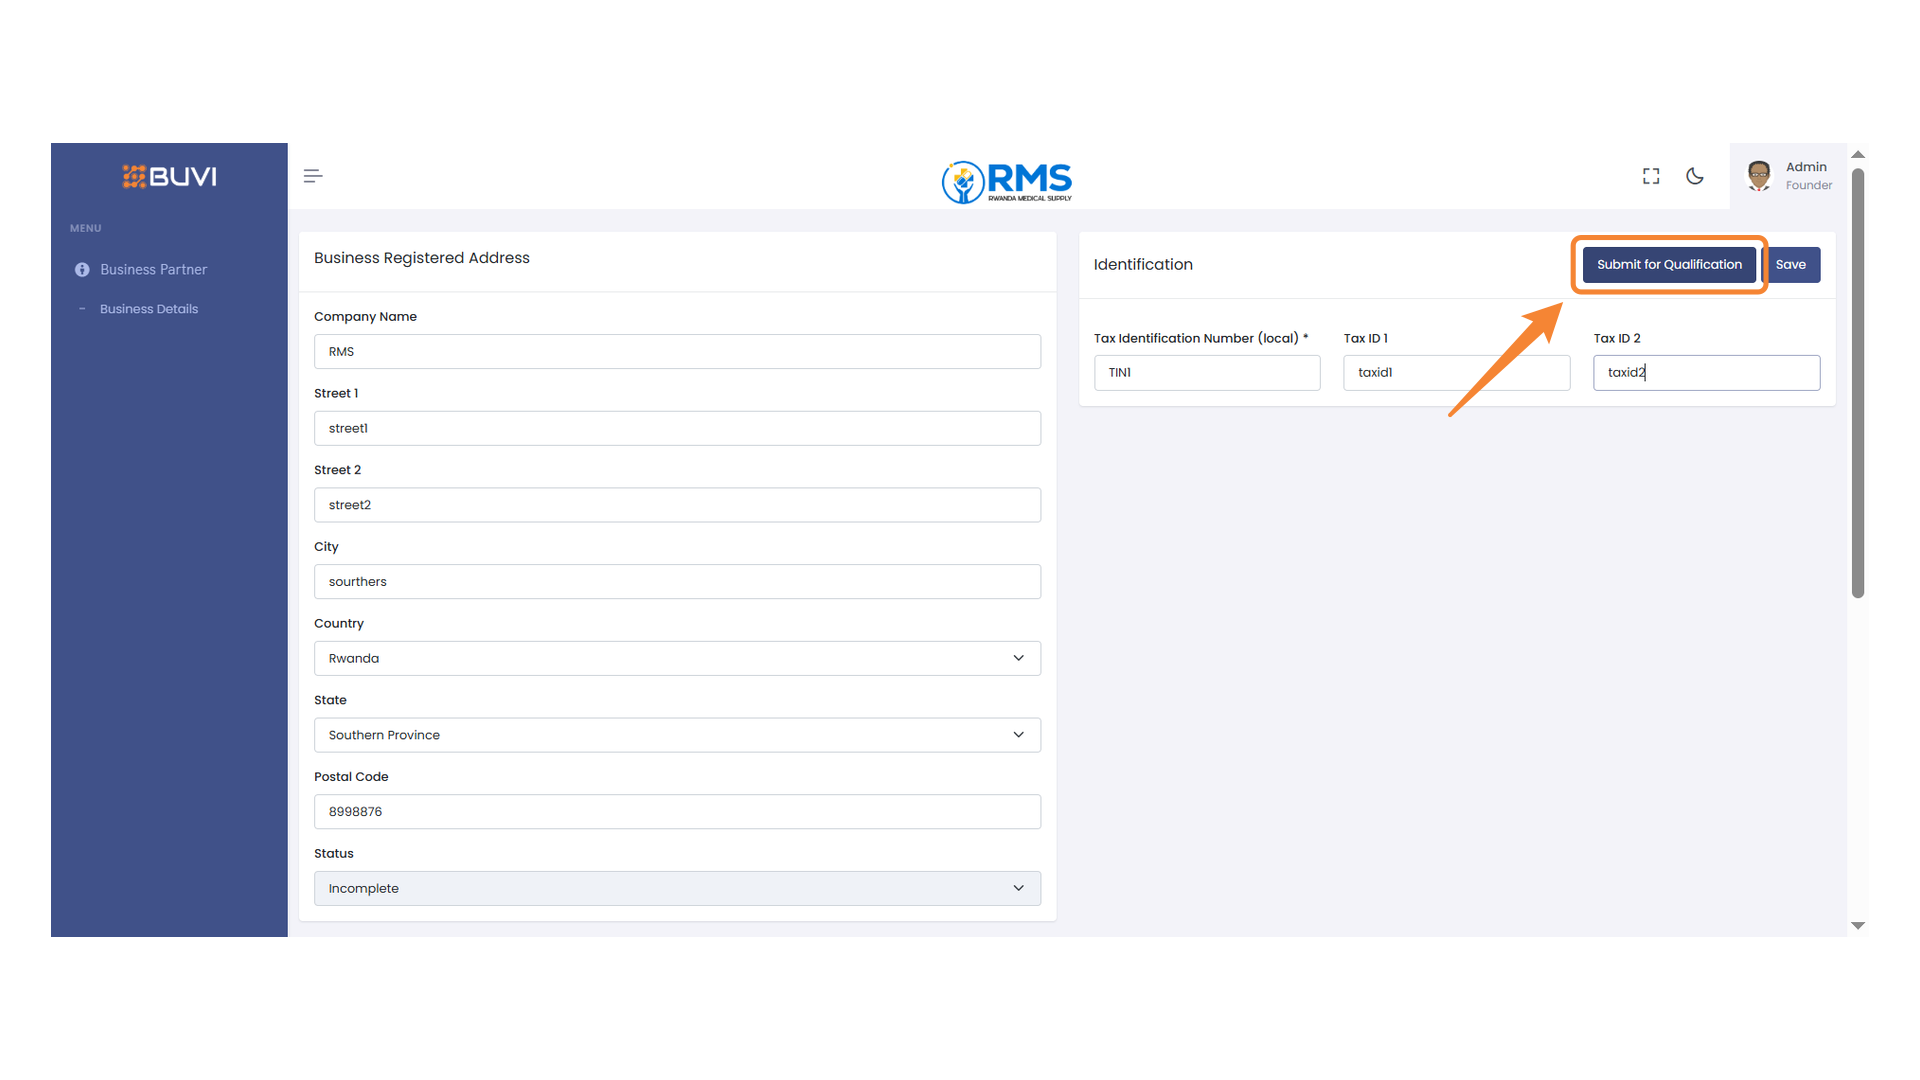
28. Qualification Submission Button
Click to submit your information for qualification.
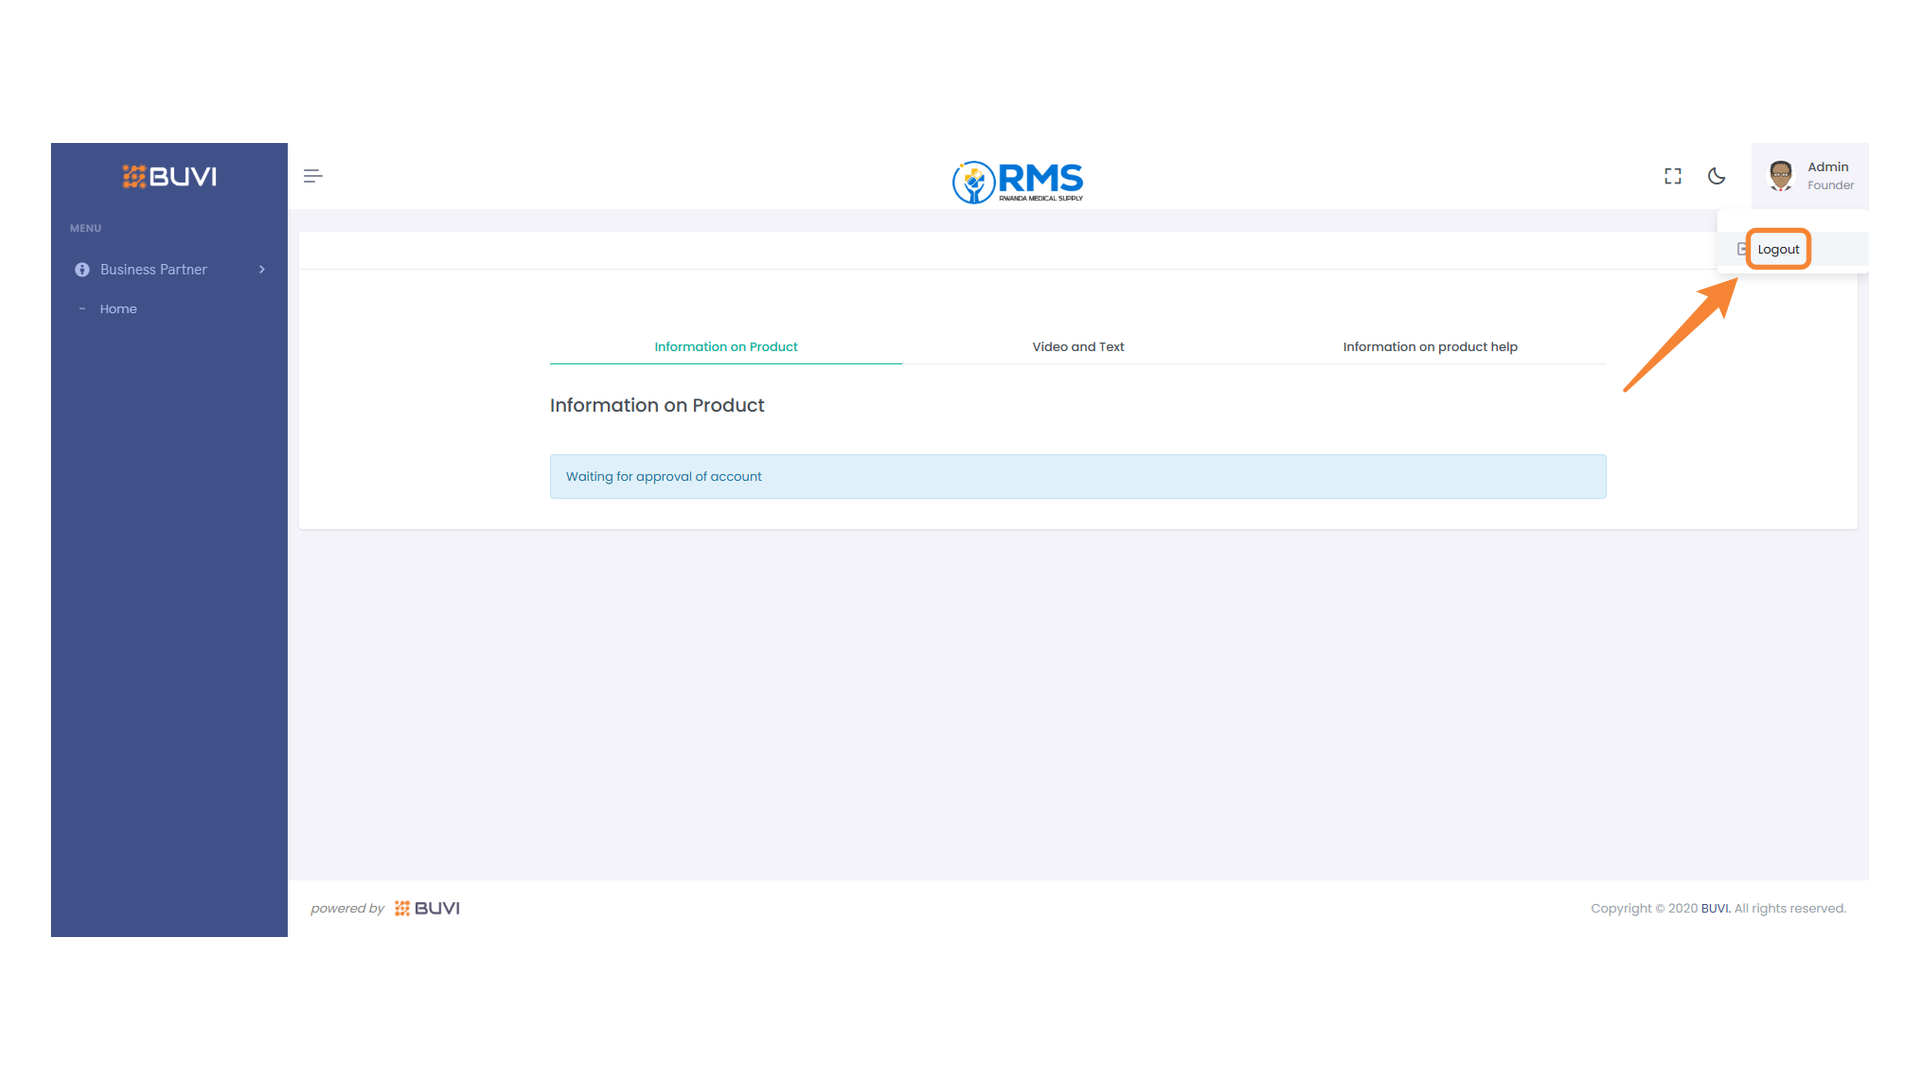
29. Profile Settings
Click on profile to logout from the system.

30. Logout Button
Click to log out of your account.
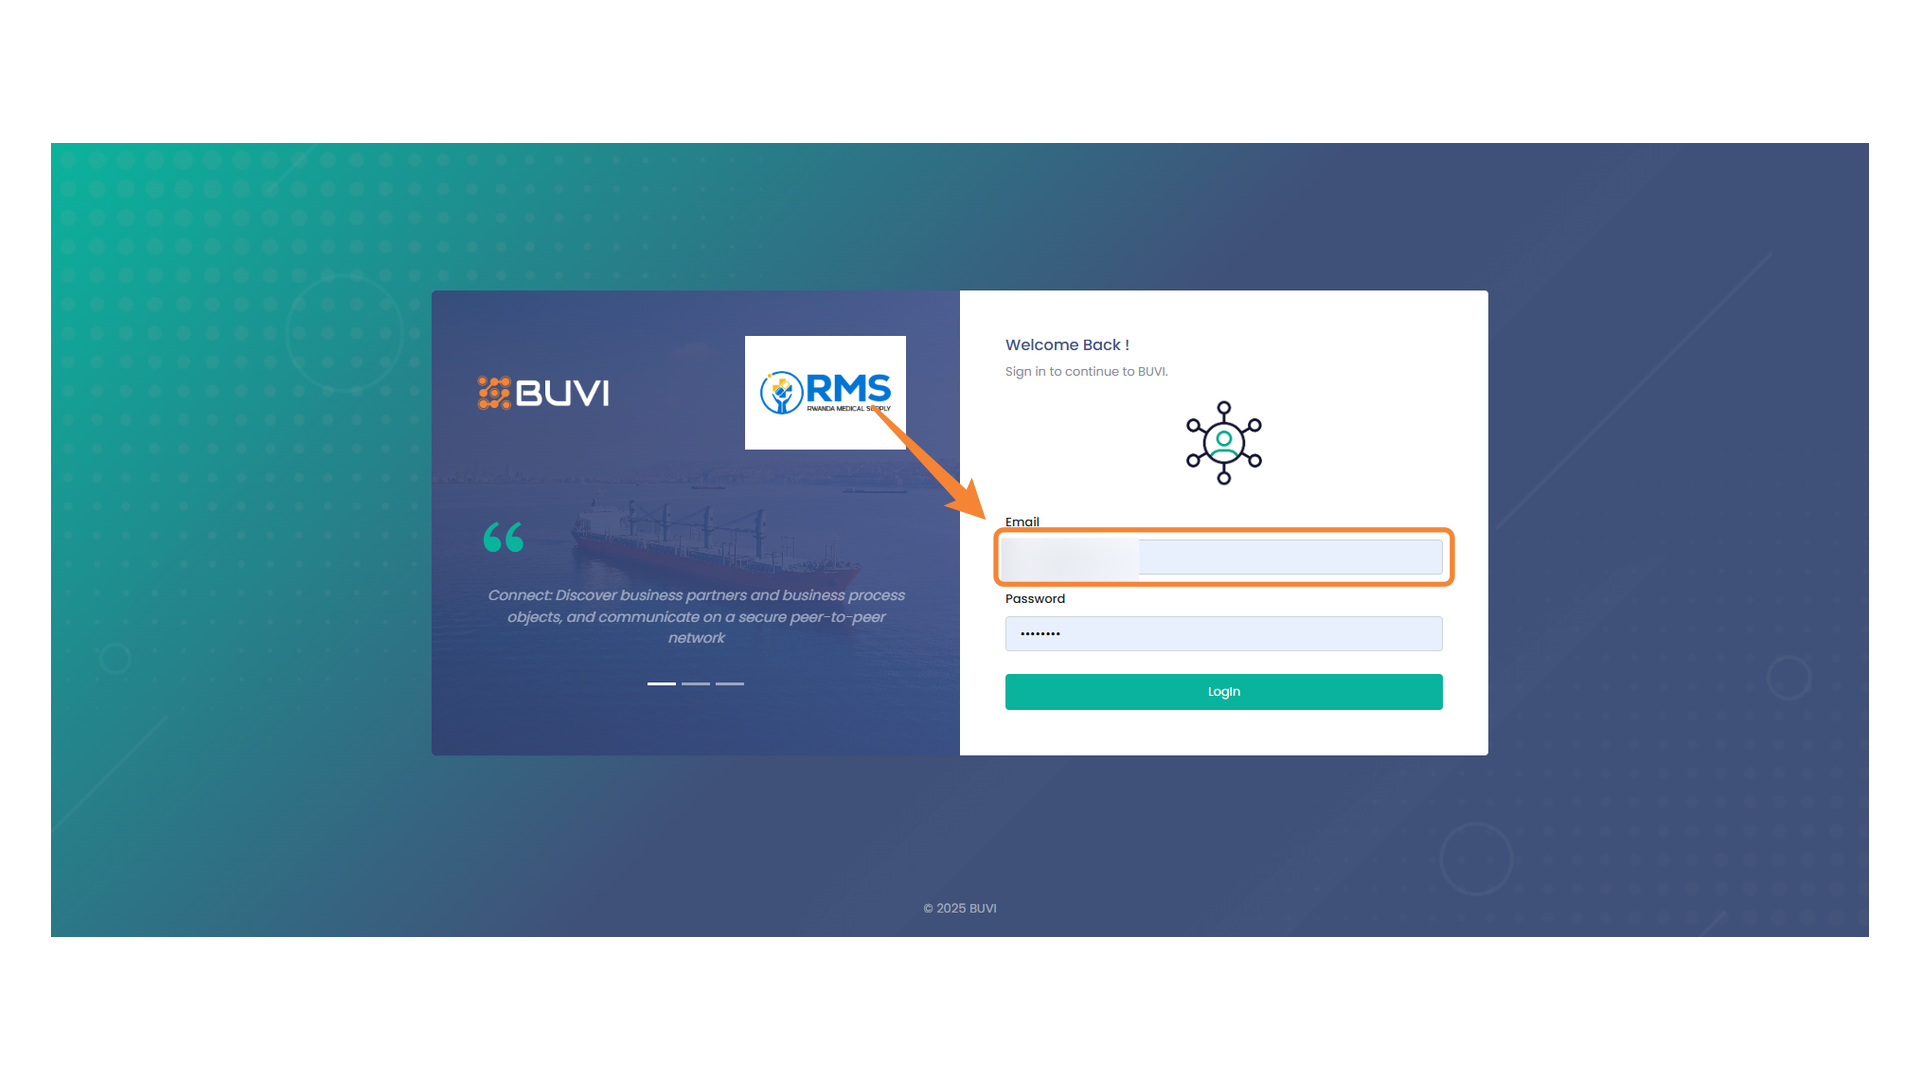
31. Email Input Field
Login with Admin user to review the new Vendor
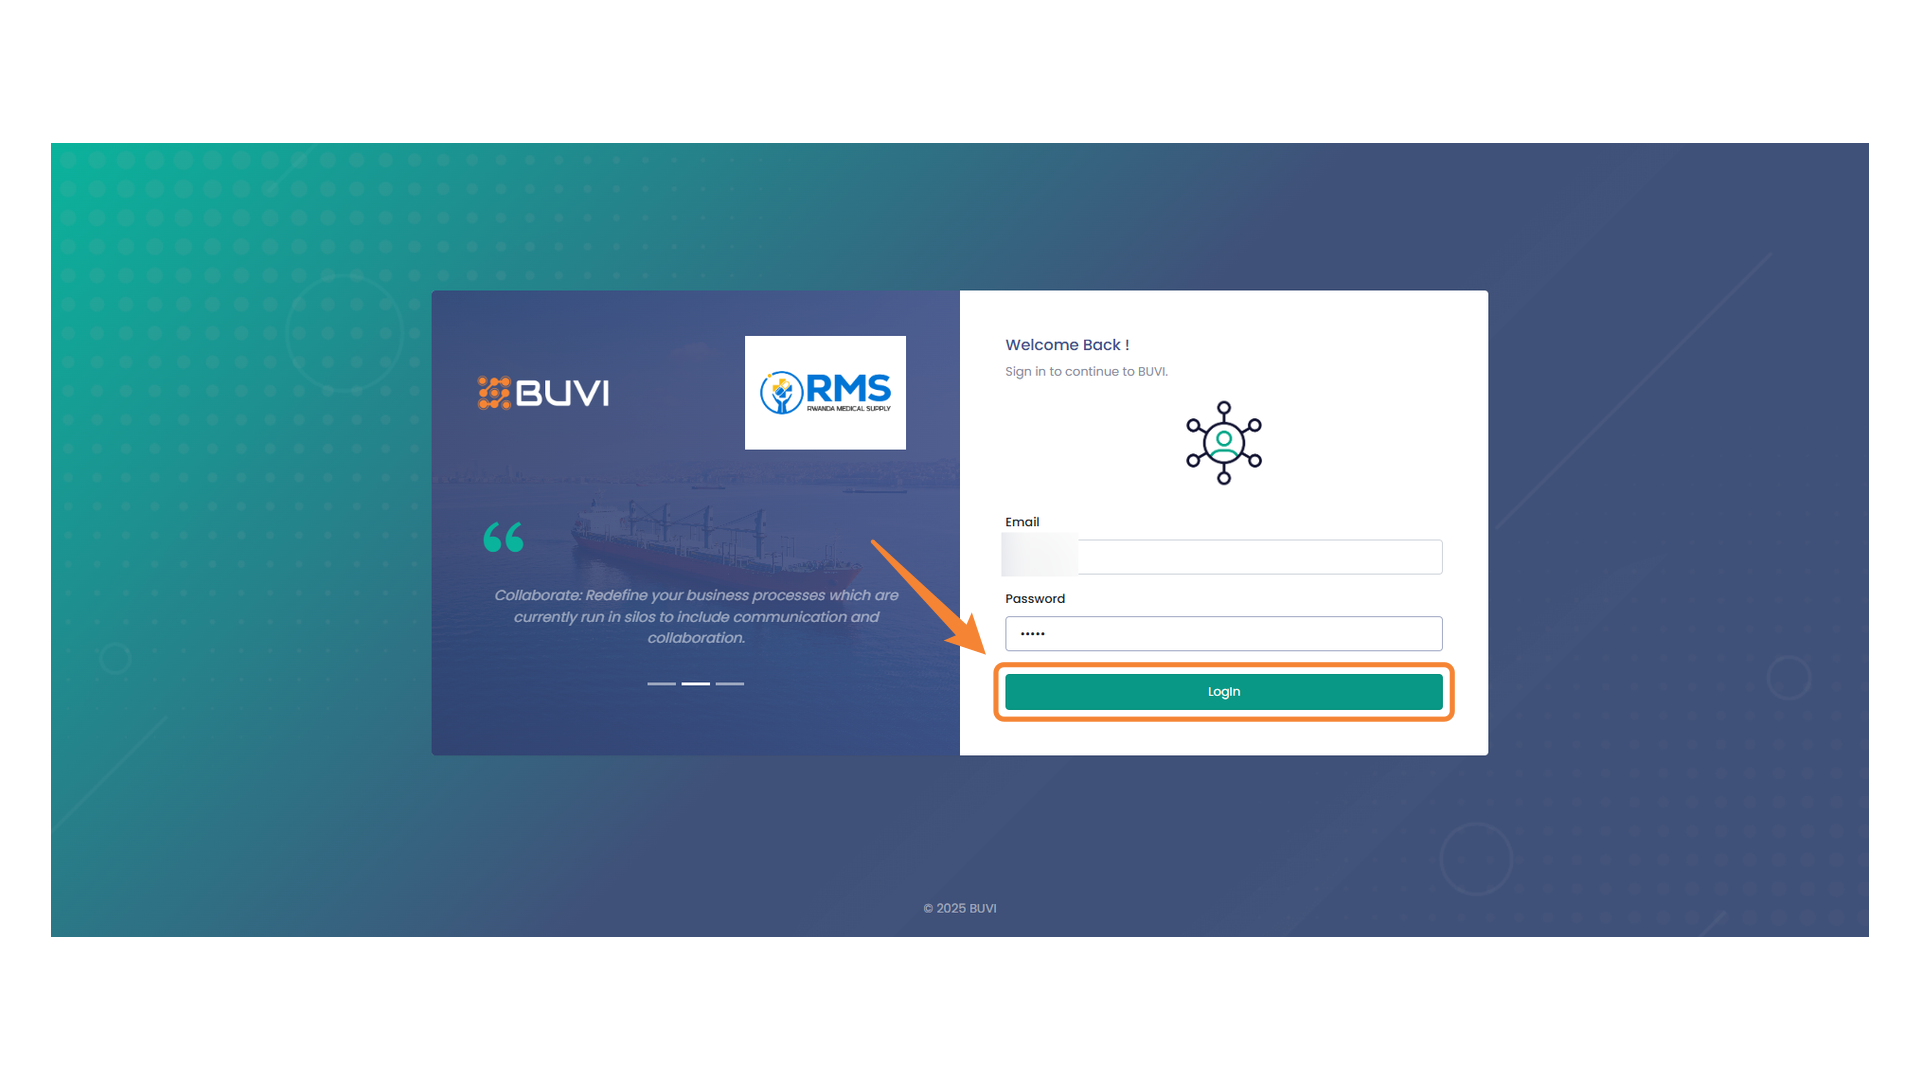
32. Login Button Highlighted
Click the button to log in to the platform.
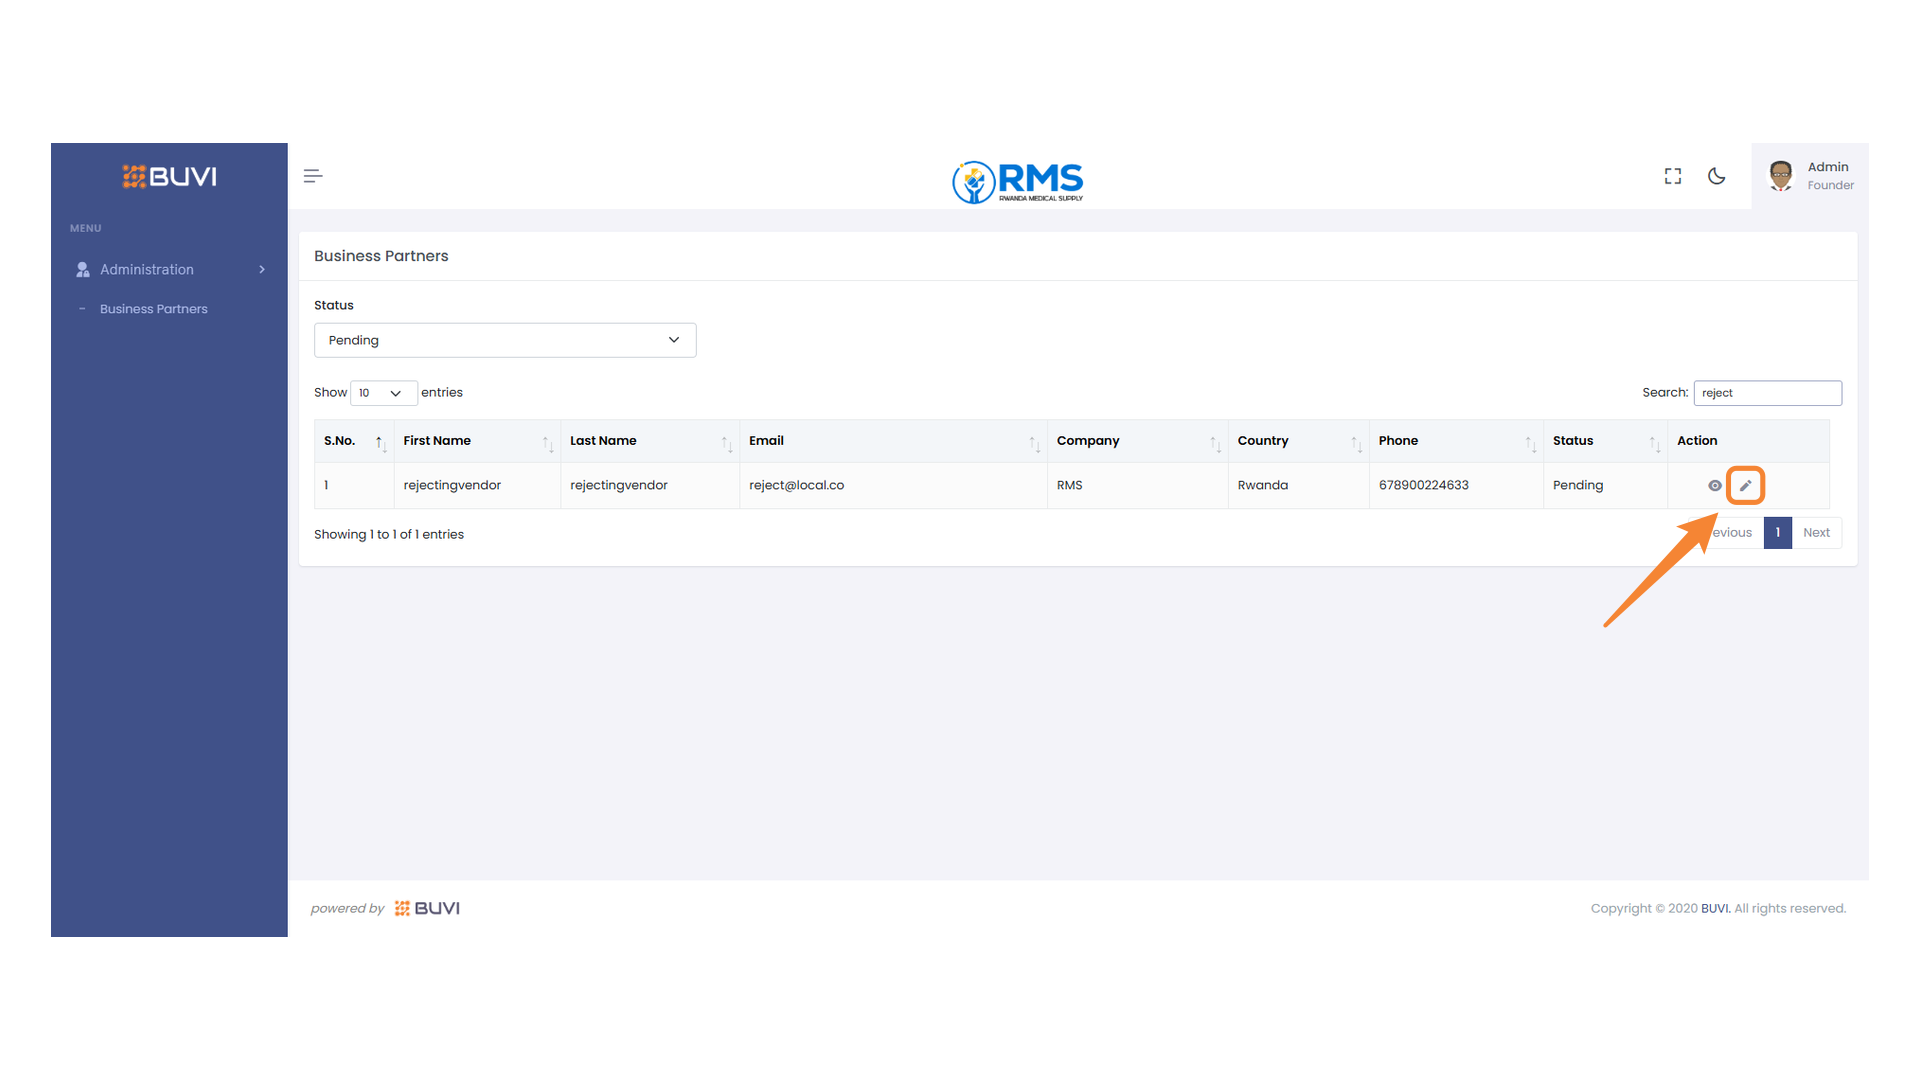
33. Business Partners Section
Access and manage the business partners details.

34. Search Bar
Enter keywords to filter through business partner entries.

35. Edit Vendor Details
Click on edit icon for this vendor.
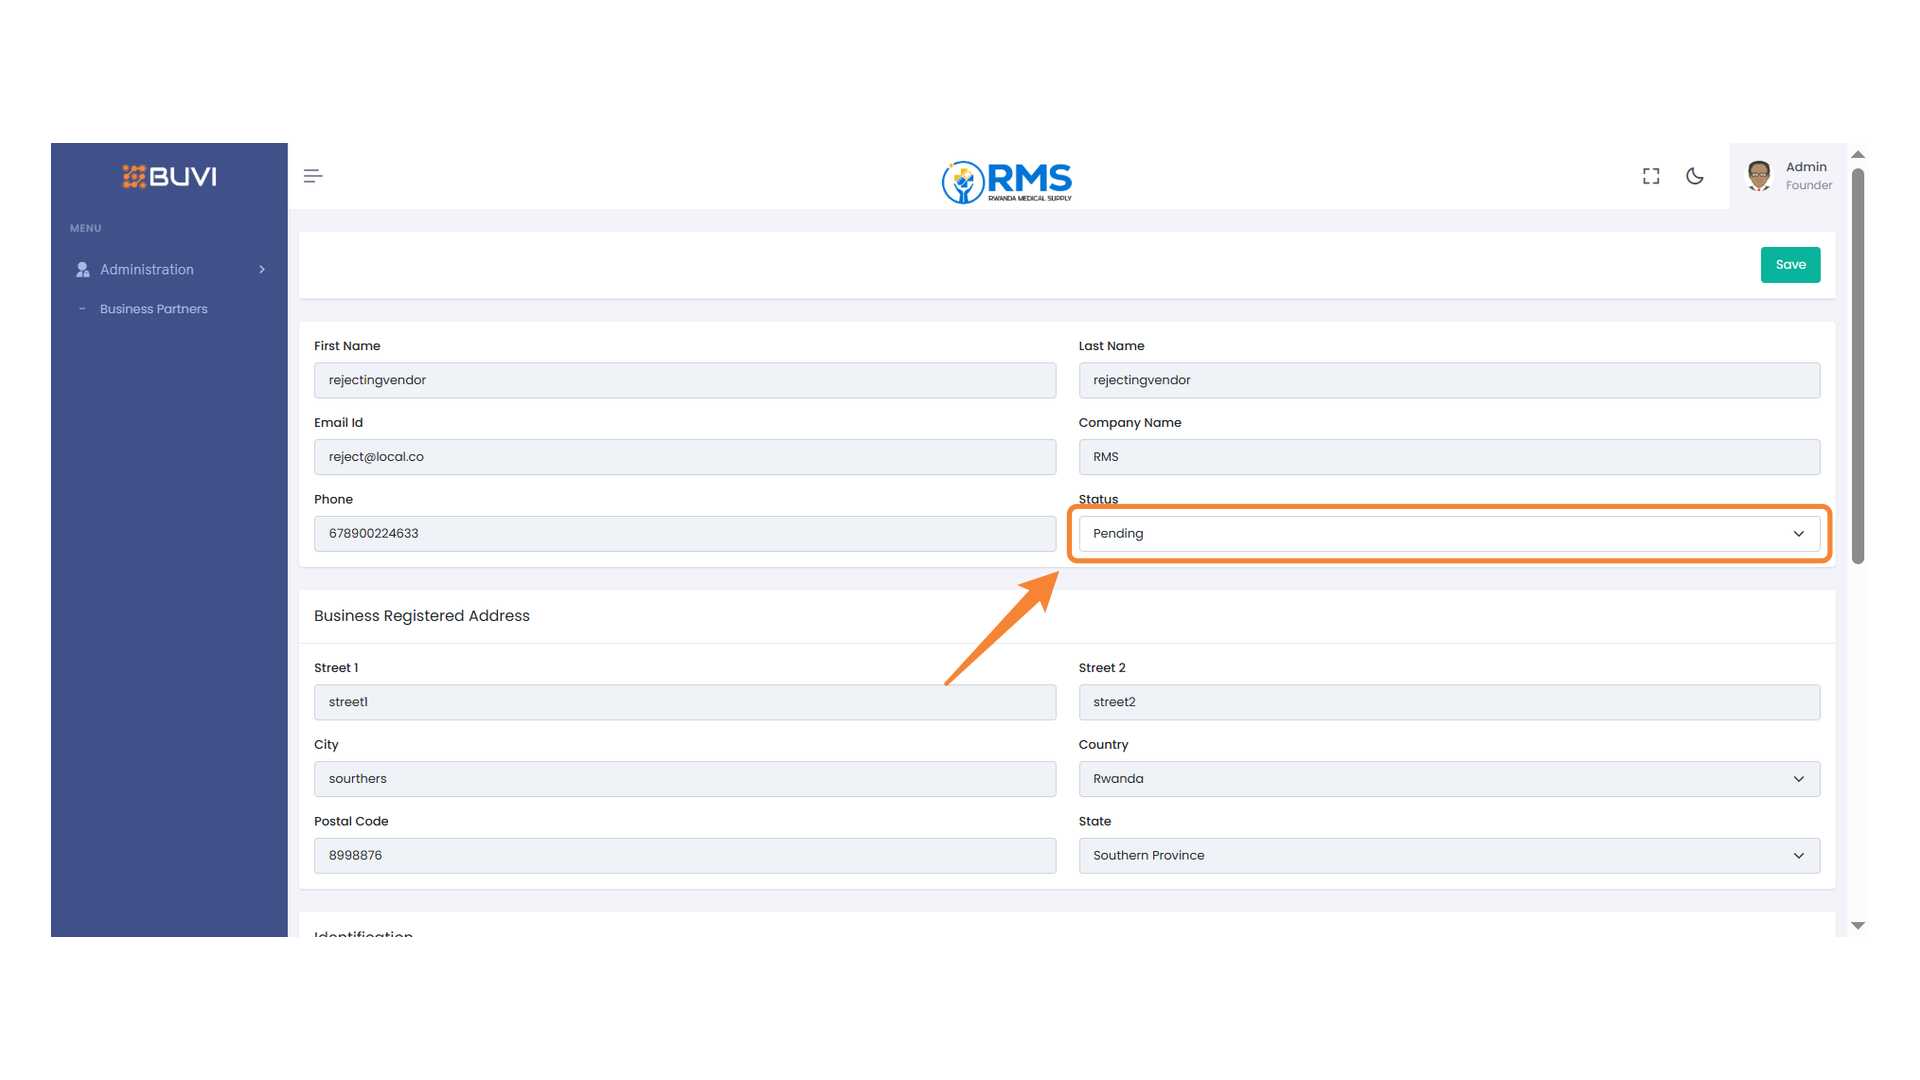
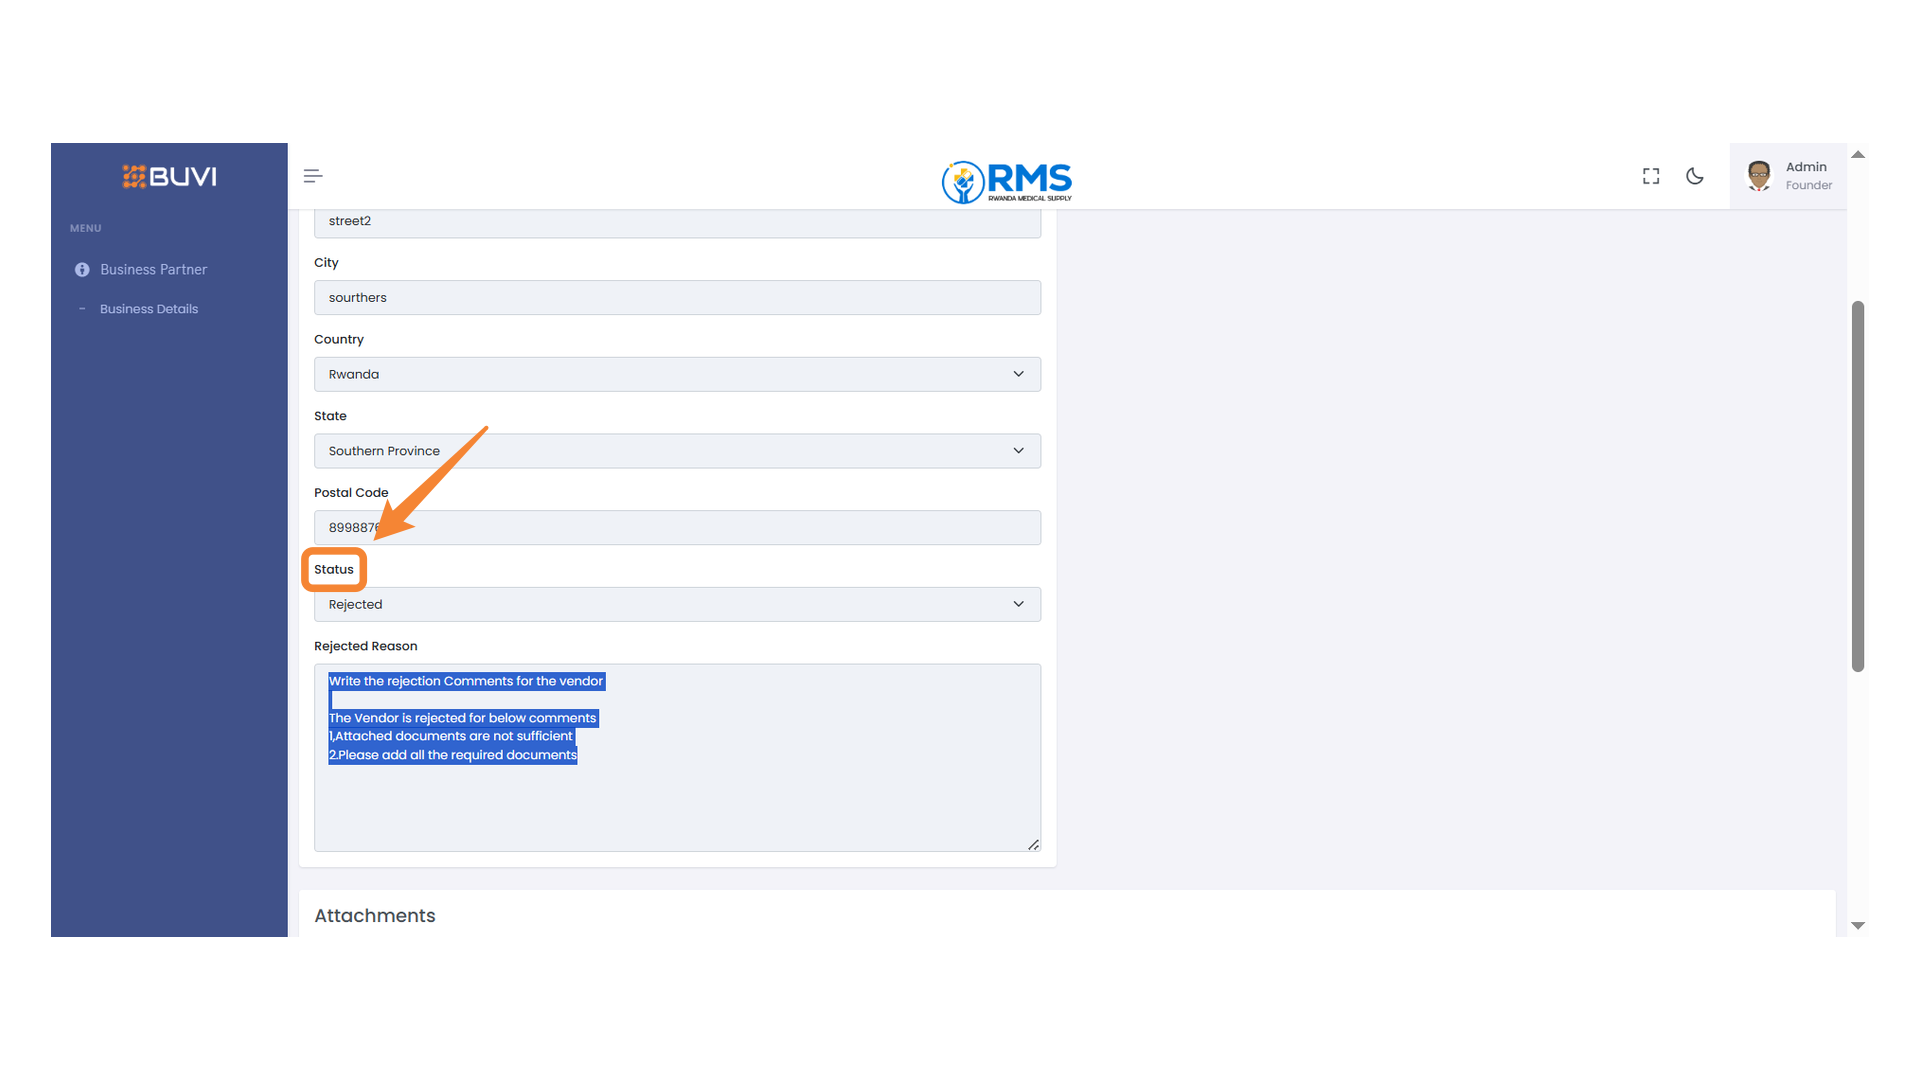
36. Vendor Status
Select the status of the vendor from the dropdown menu.
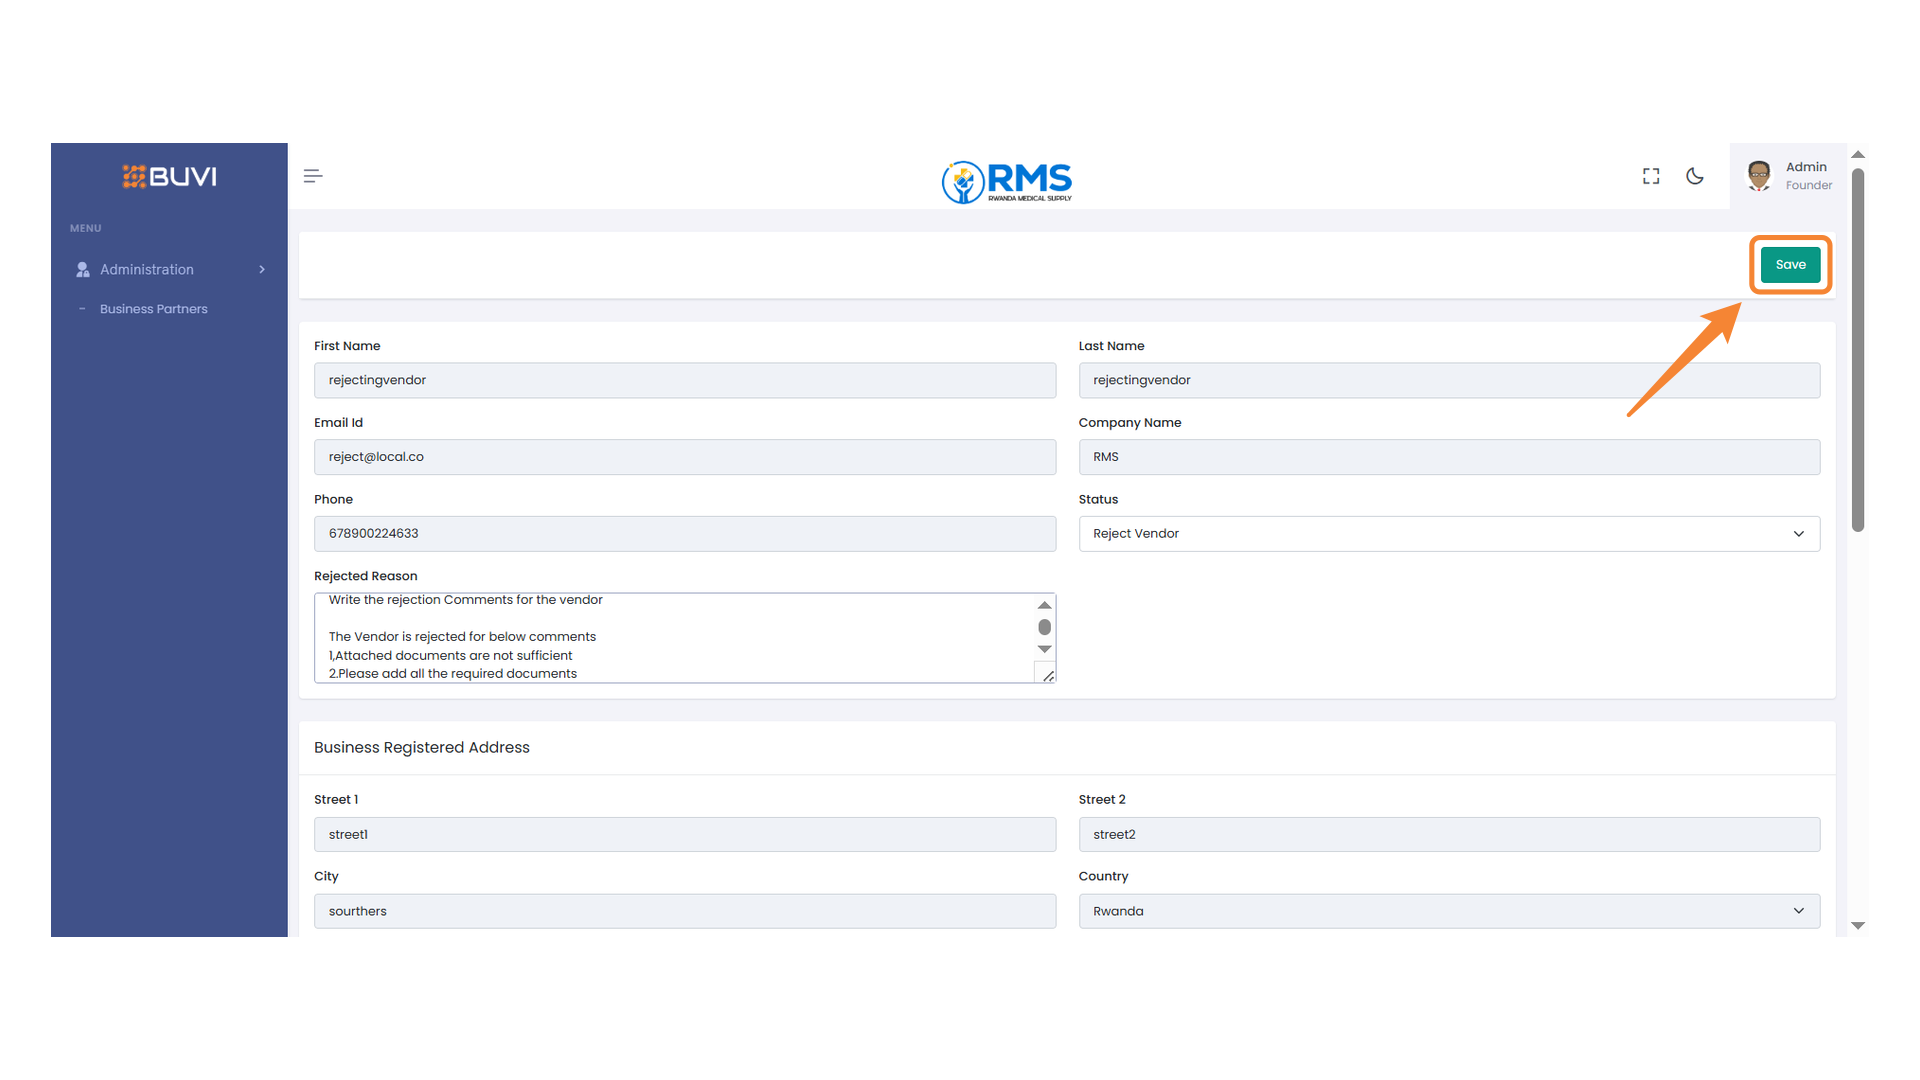
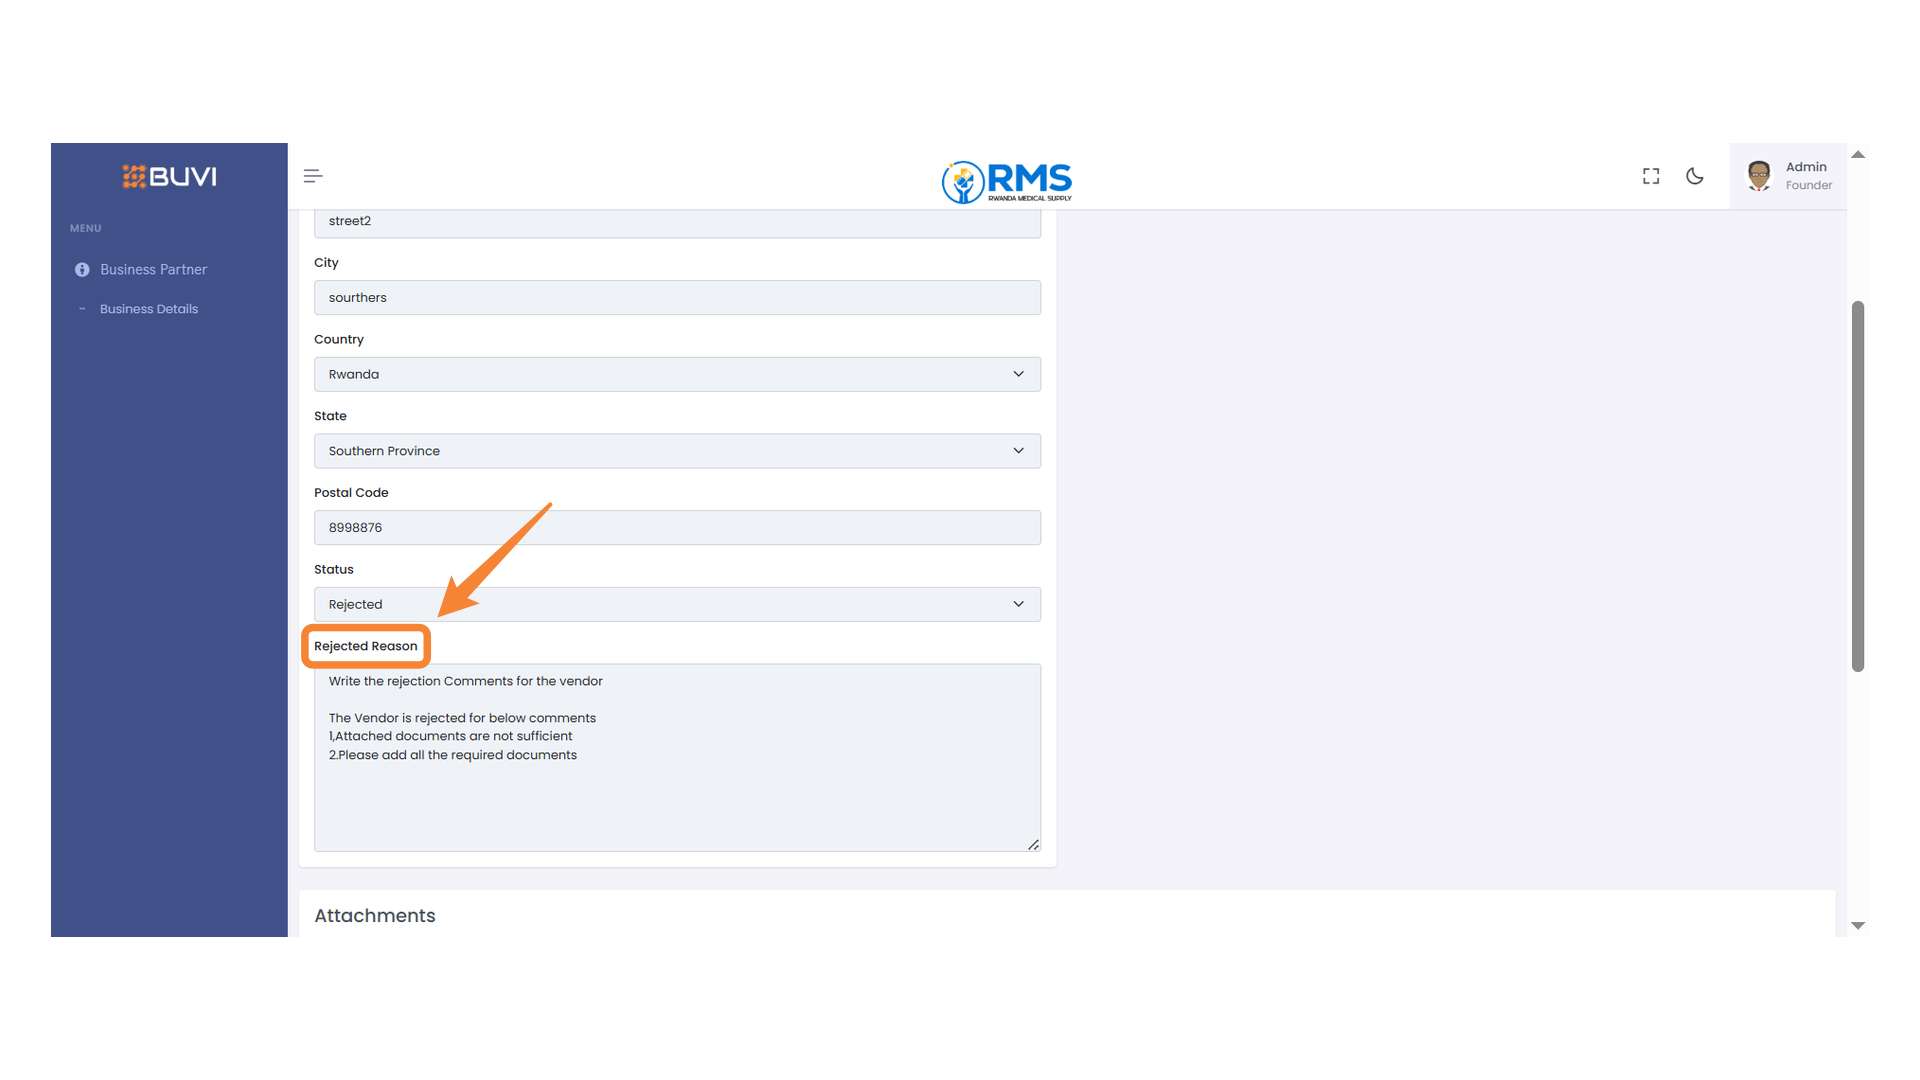
37. Rejected Reason Field
Enter the reason for rejection in this field.

38. Save Button
Press to save the changes made to the form.
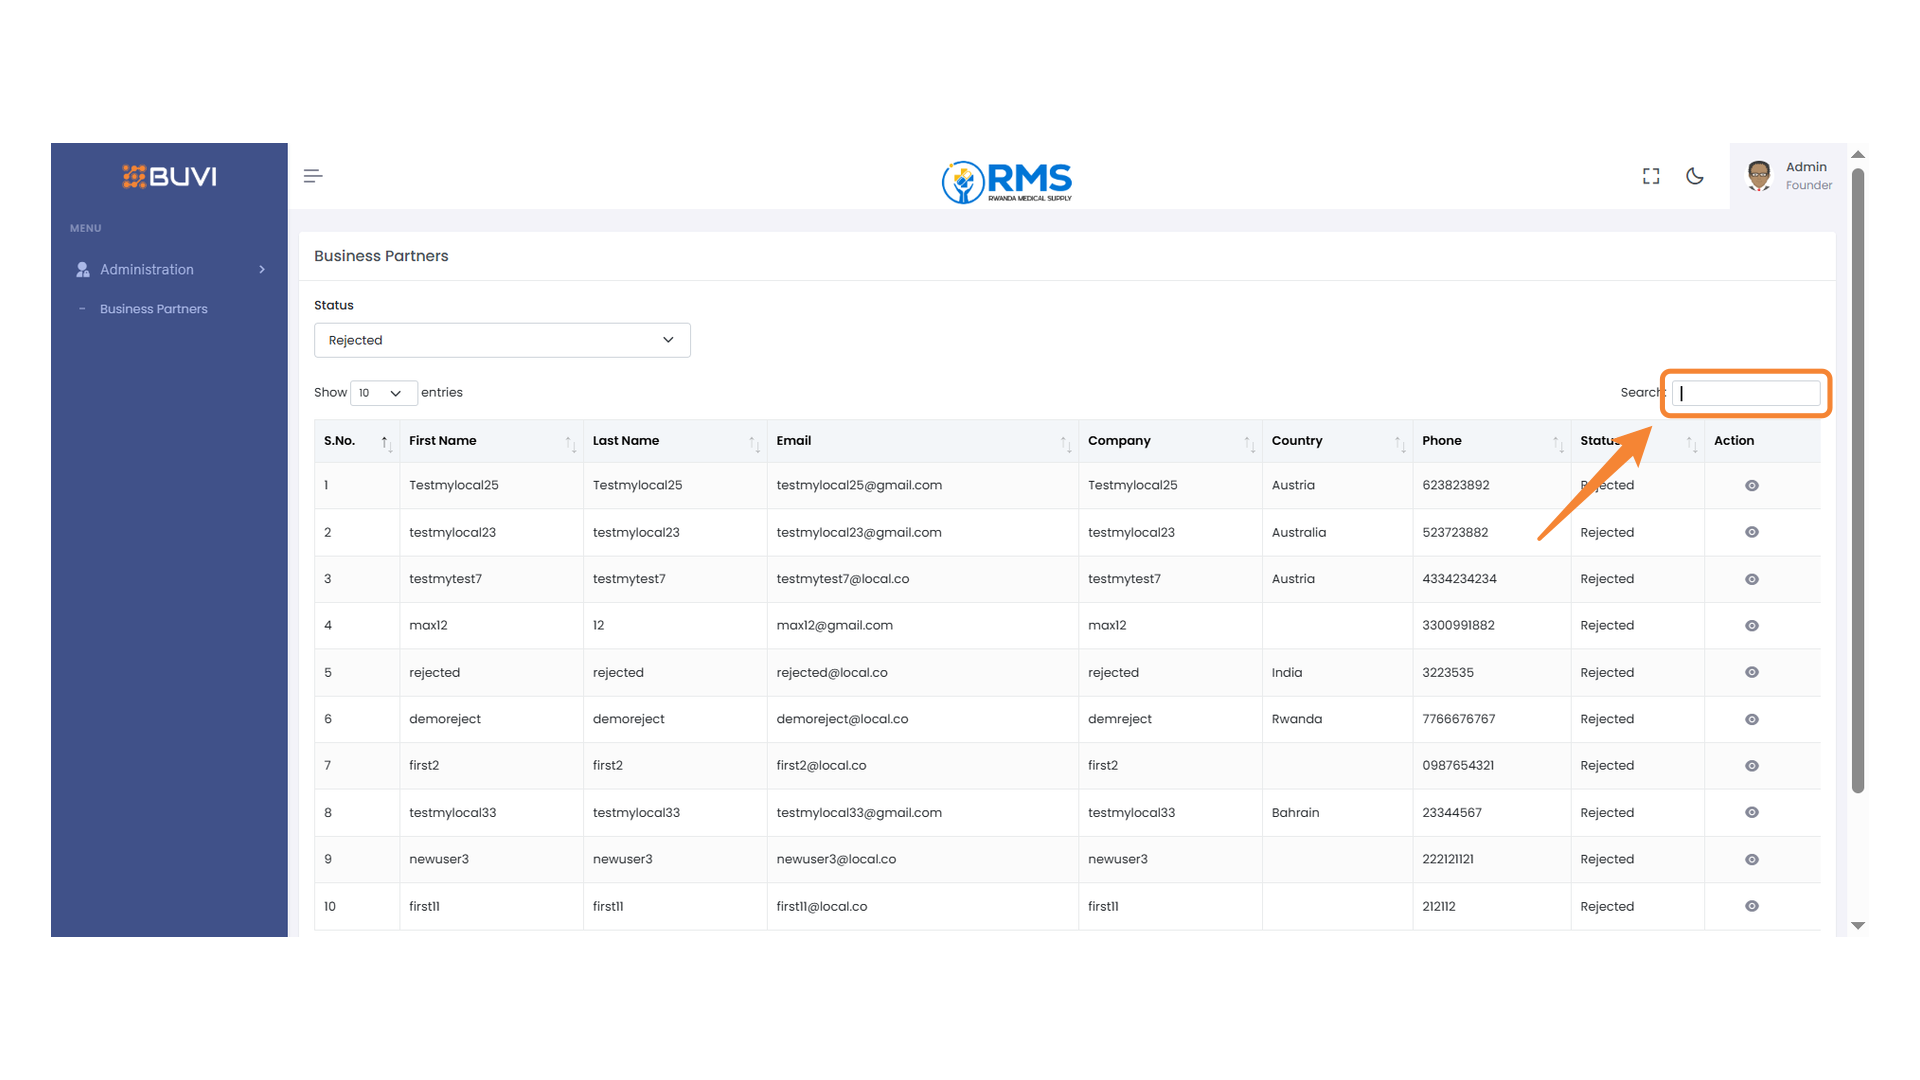
39. Status Dropdown Menu
Select a status filter to view corresponding business partners.

40. Search Bar
Enter a keyword to filter the table contents

41. Search Bar
Enter a keyword to search the list.
42. Highlighted Email Address
Observe the displayed email address for verification.
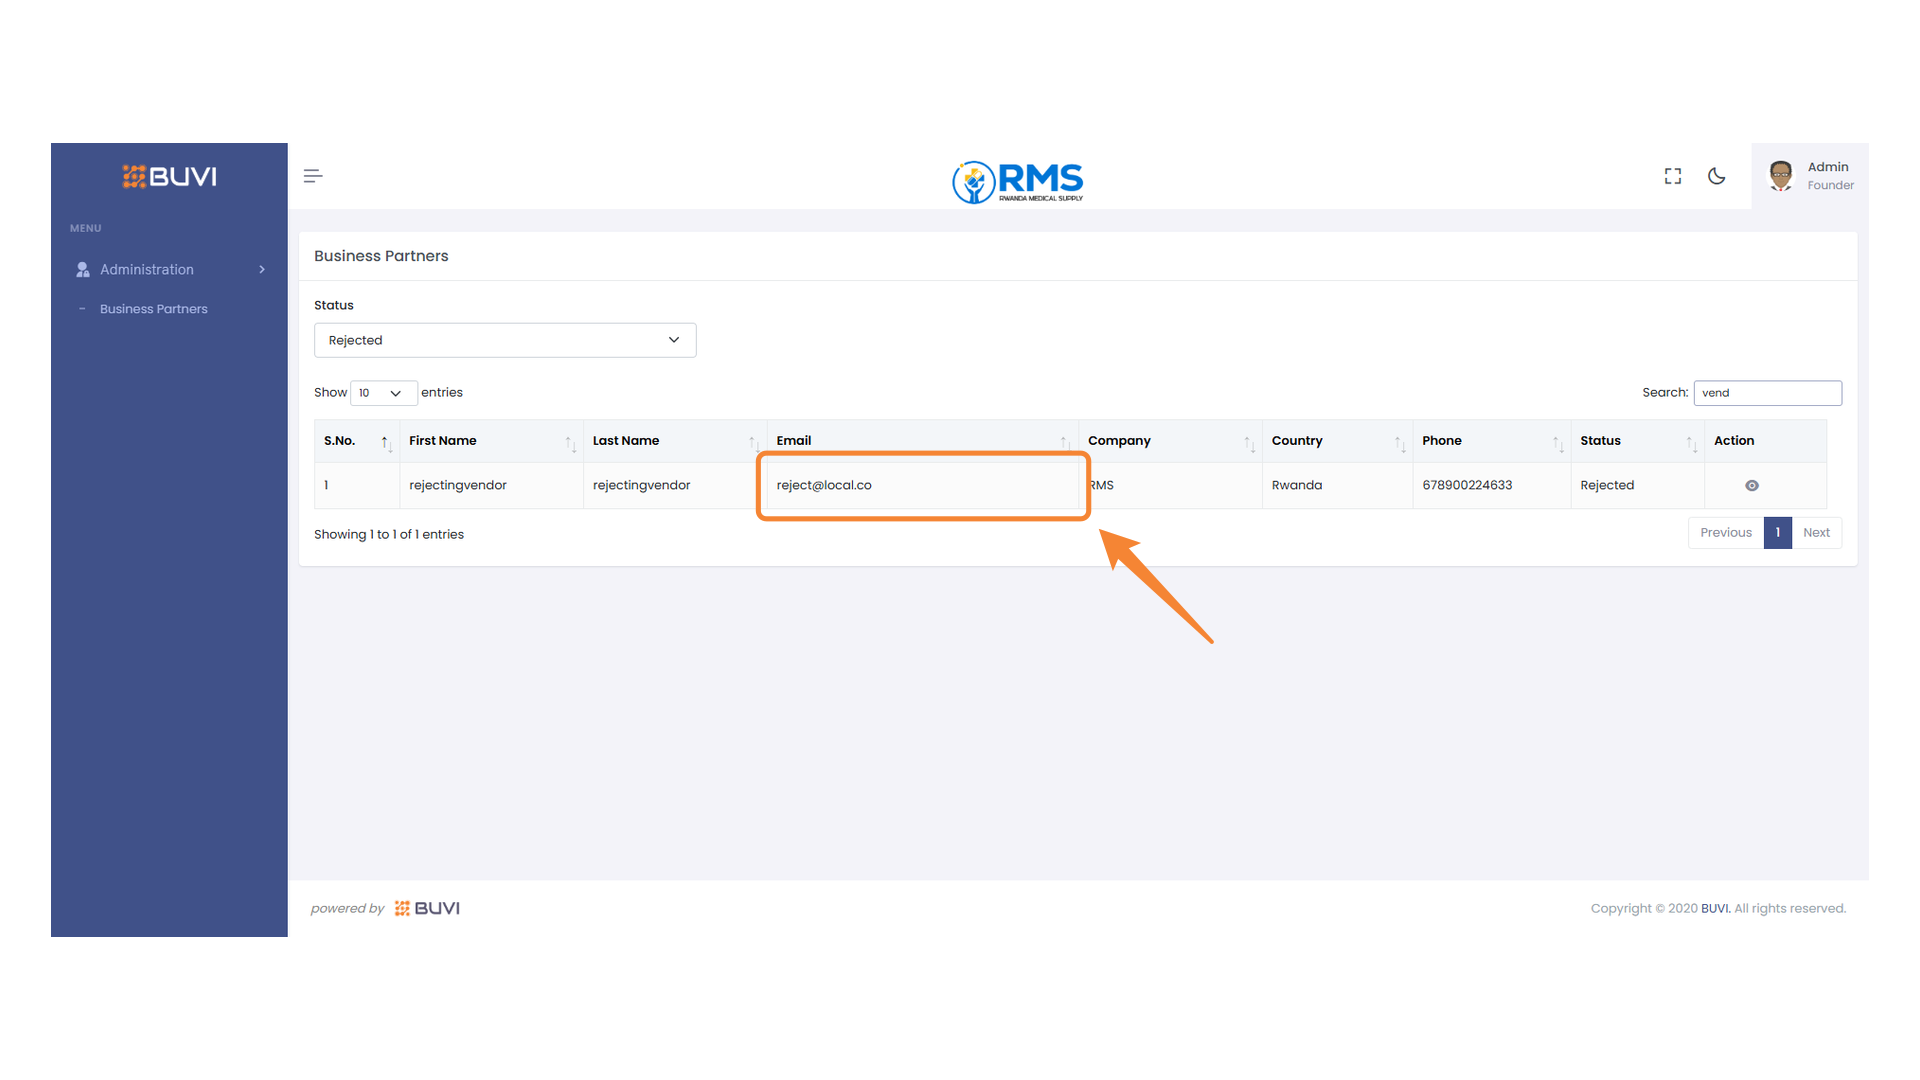
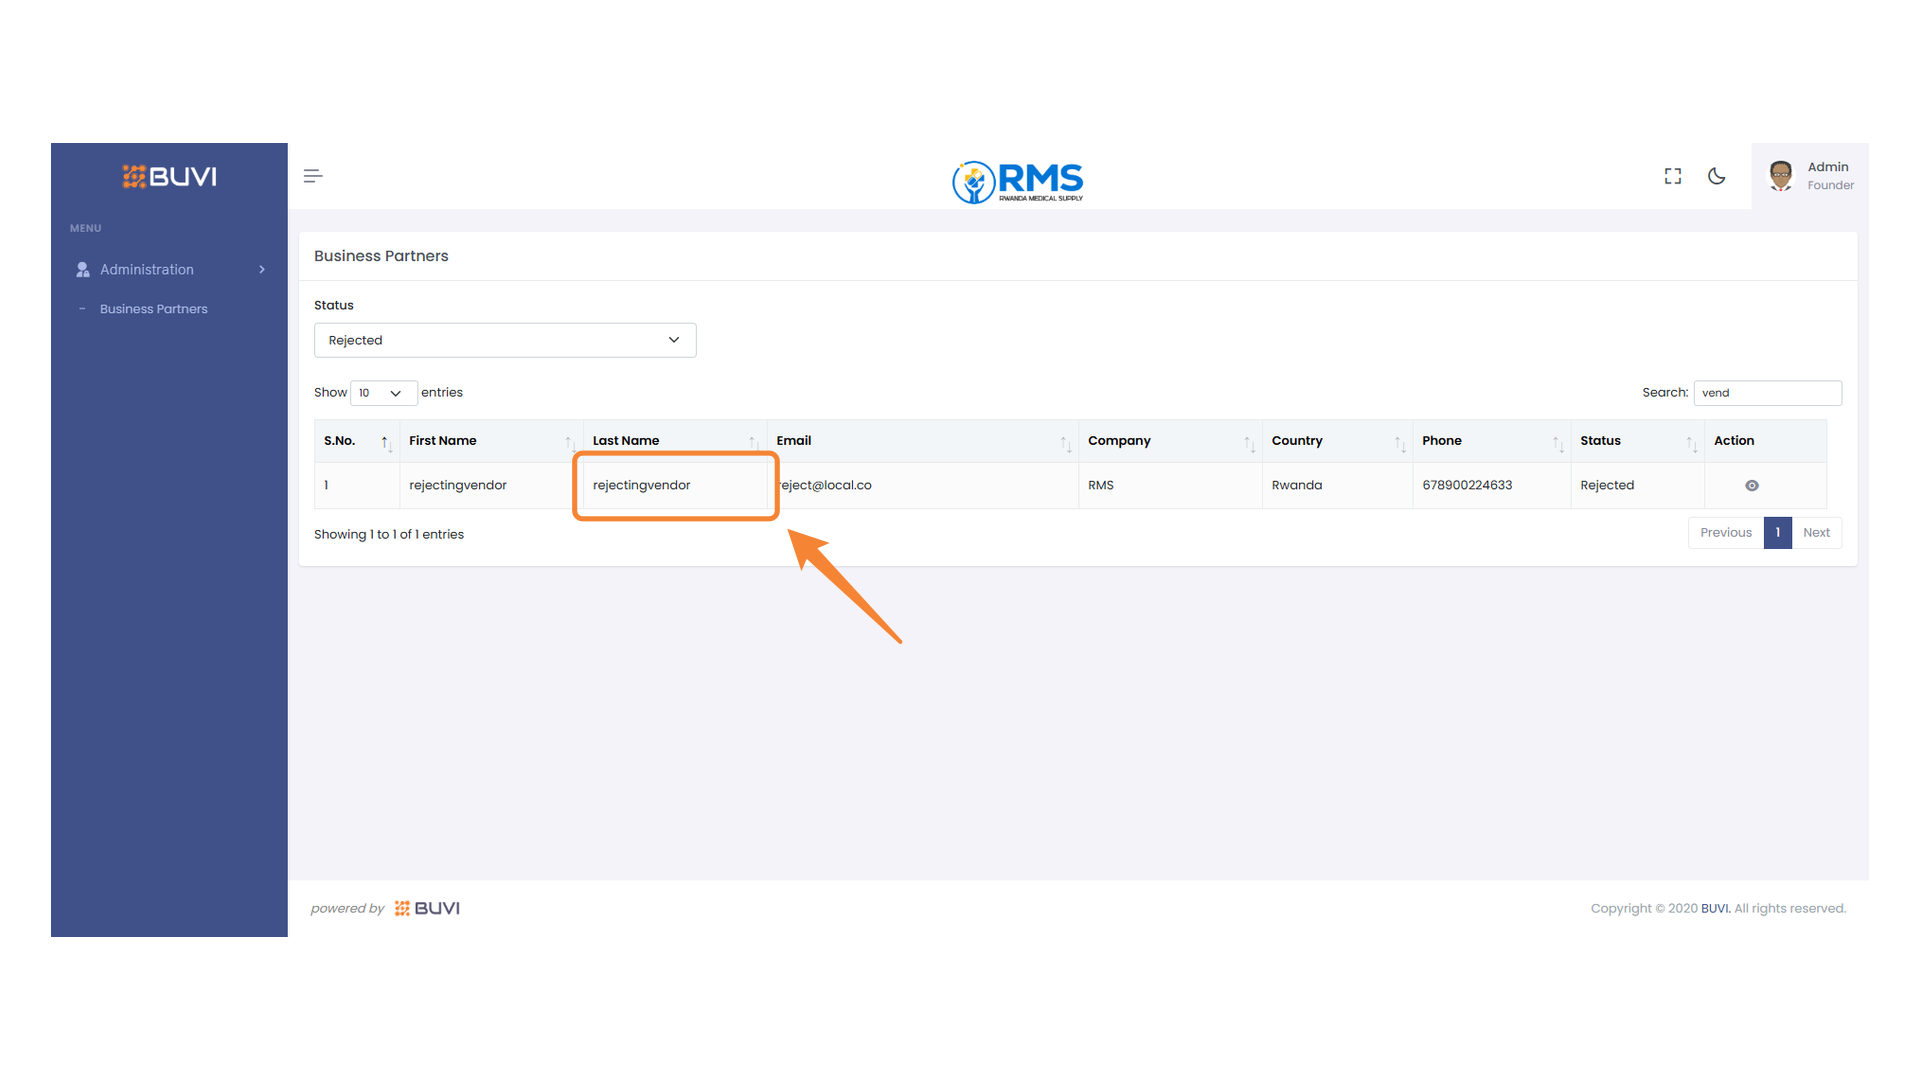
43. Vendor Rejection Entry
Inspect the highlighted entry for details about the rejected vendor.
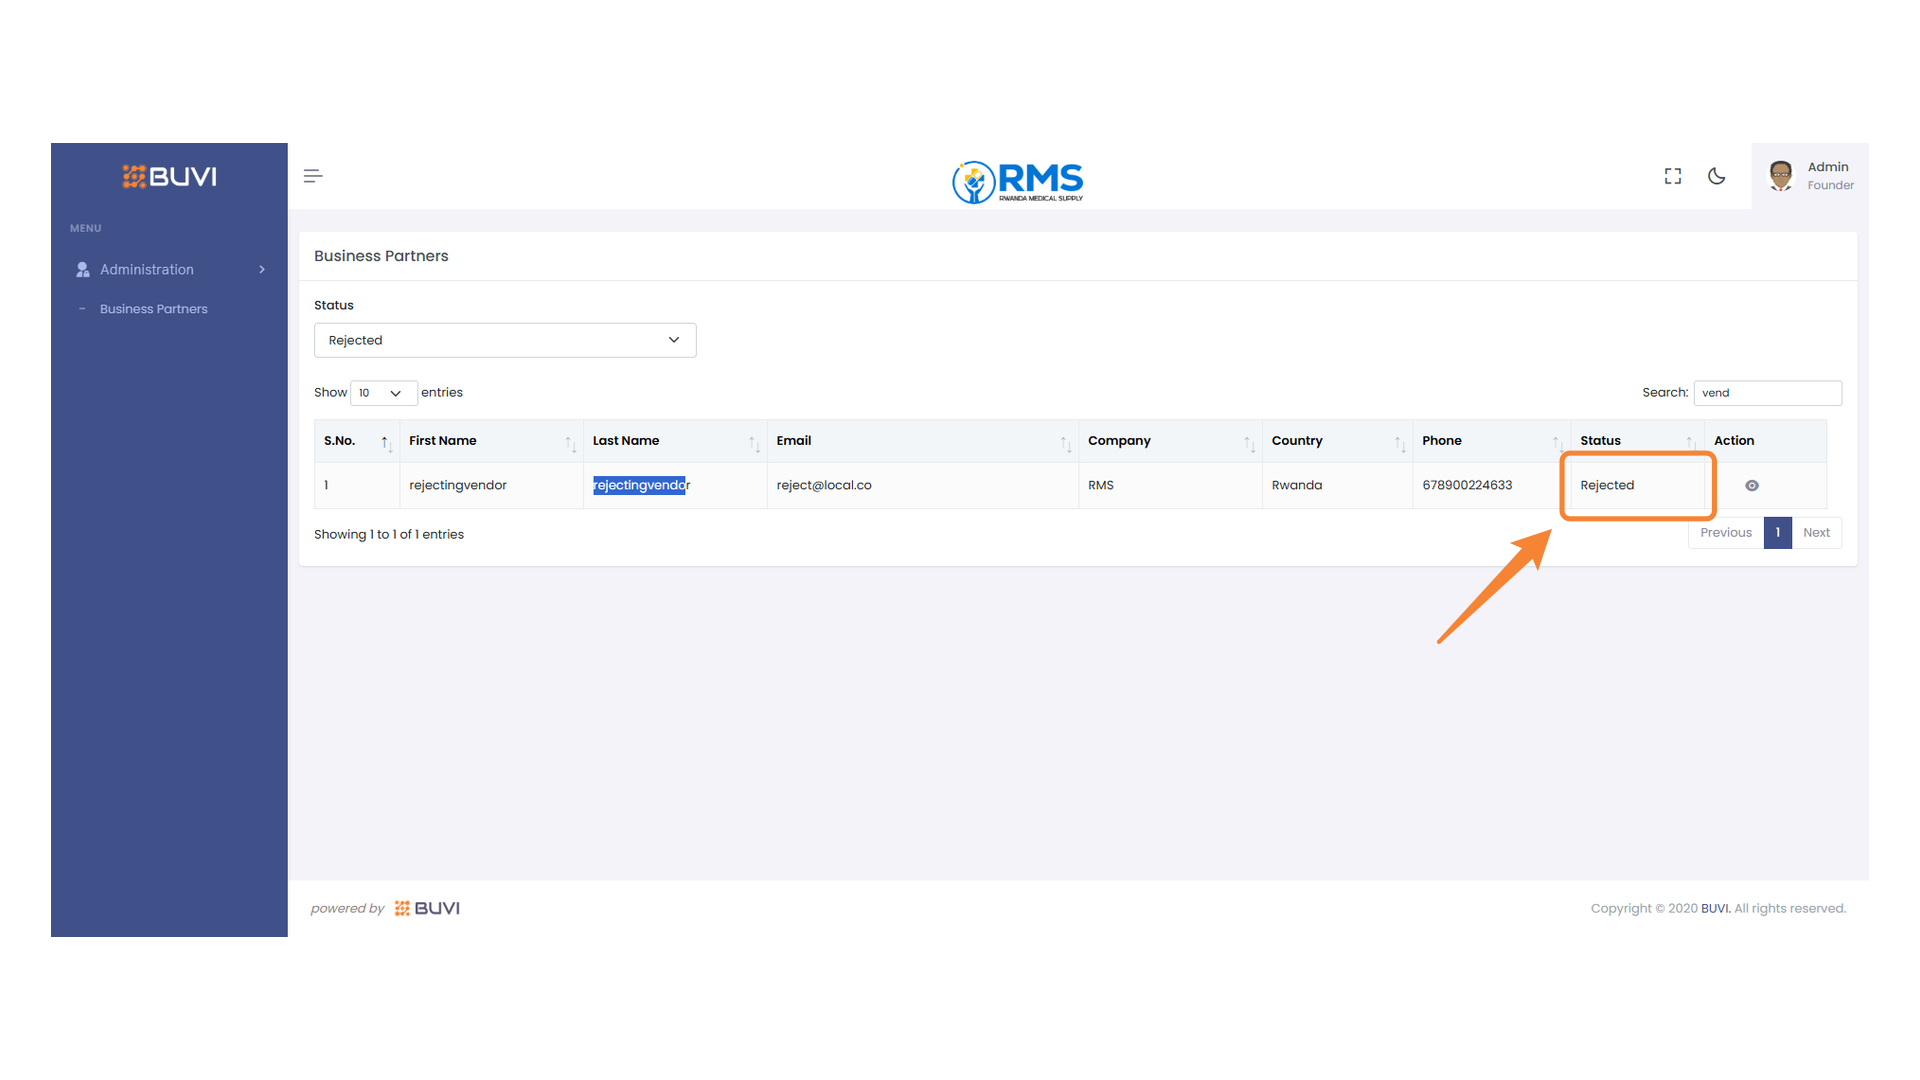
44. Status Indication
Identify the rejection status of the business partner.
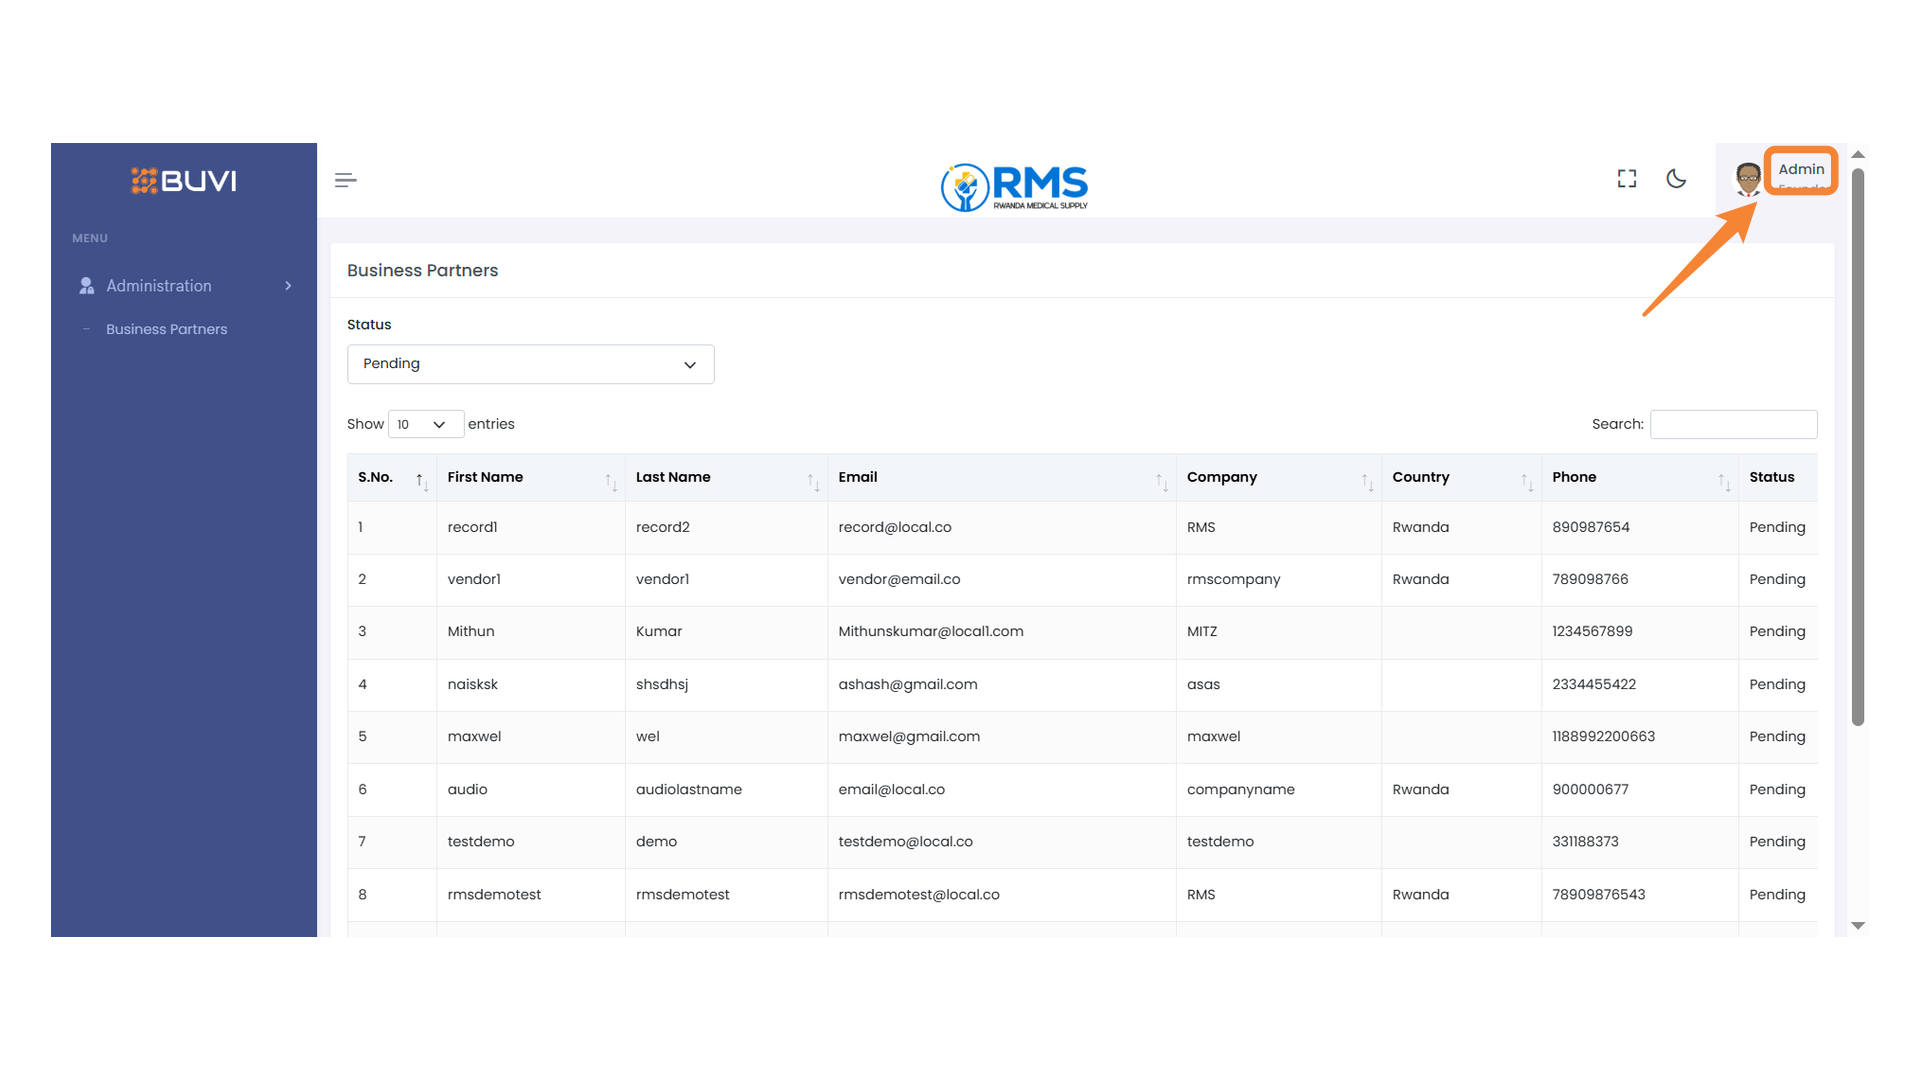
45. Admin Profile Icon
Click the admin profile icon to logout from the application.
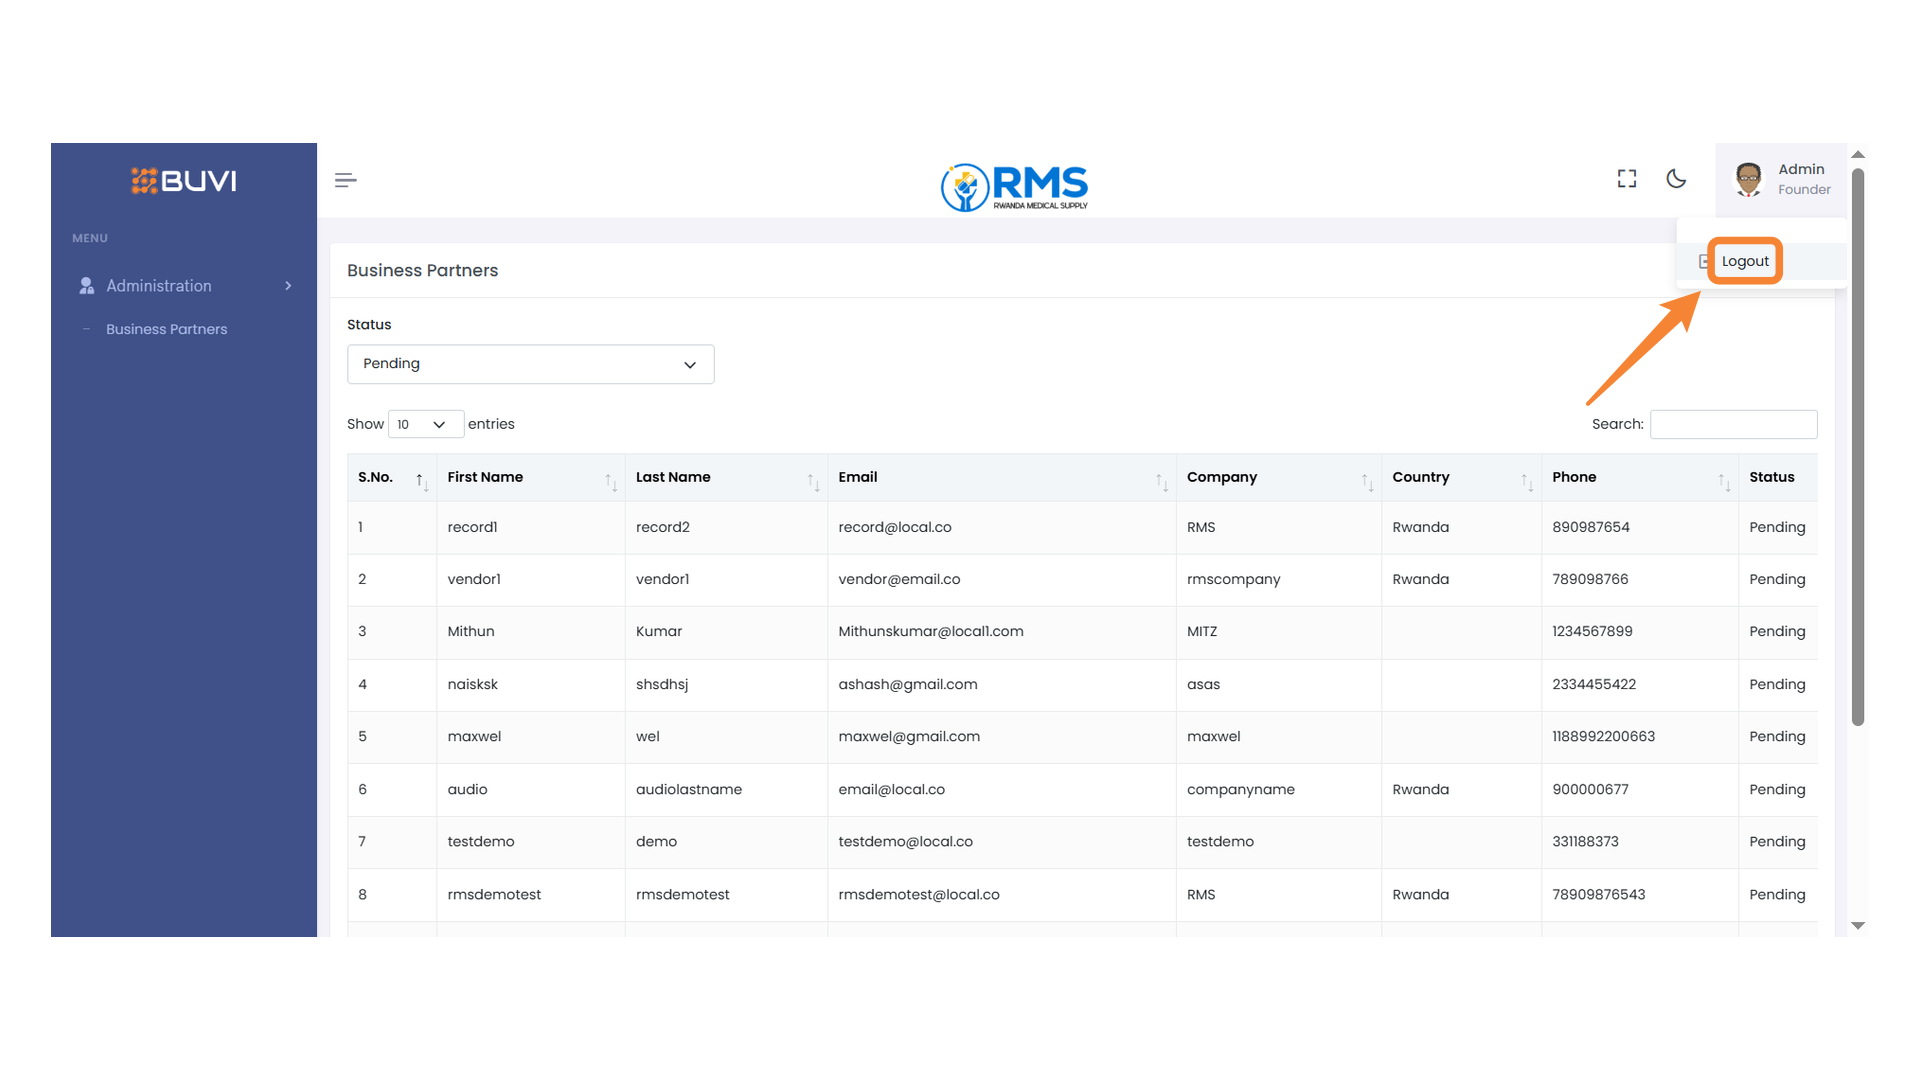
46. Logout Button
Click this button to log out of your account.
47. Vendor Login Portal
Enter your email and password to sign in to your Vendor account.
48. Login Button Interface
Click the button to sign in to your account.

49. Status Indicator
Check the current status displayed, which is marked as 'Rejected'.
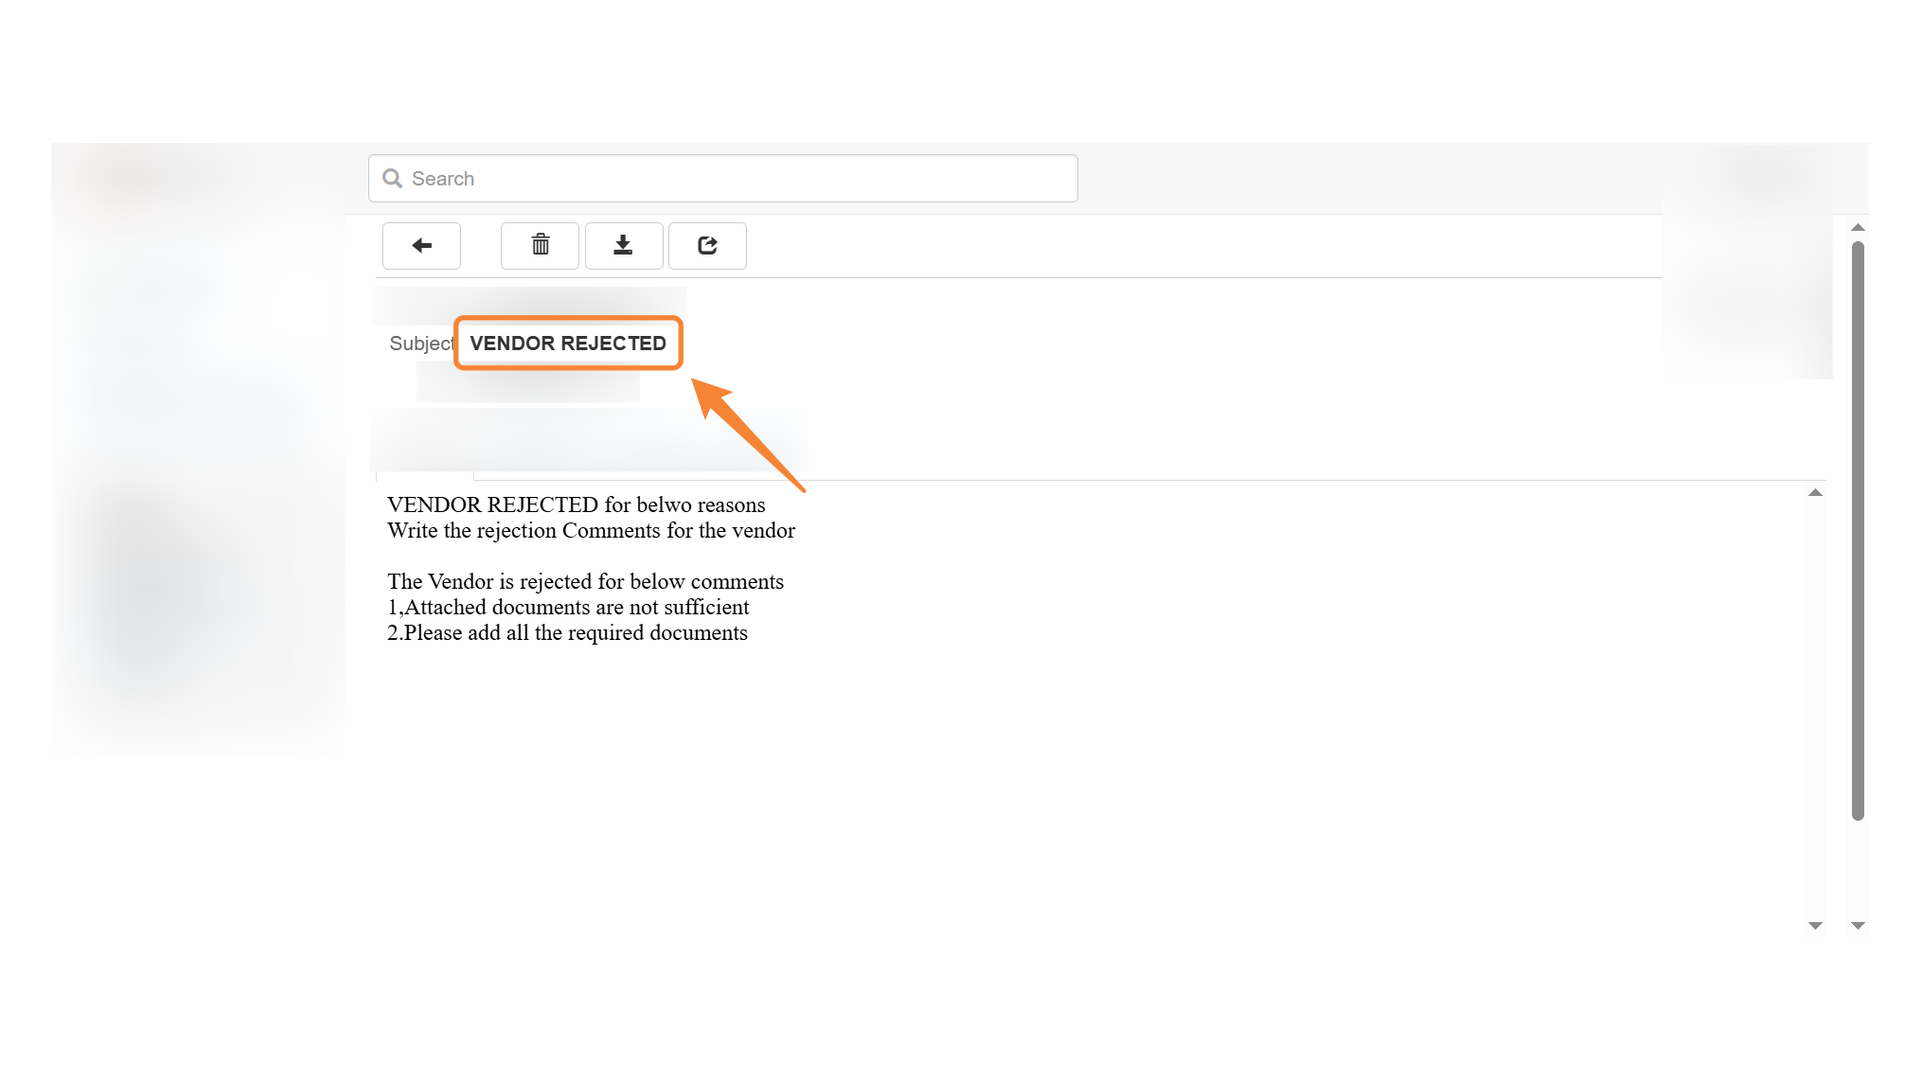
50. Vendor Rejection Section
Review the reasons for rejecting the vendor.
51. User Profile Information
Click on user profile.
52. Logout Button Highlight
Click to log out of the application.

53. Vendor Rejection Notification
An email will also be sent to the Vendor for Rejection