RFP-Sales Quotation(without approval workflow)
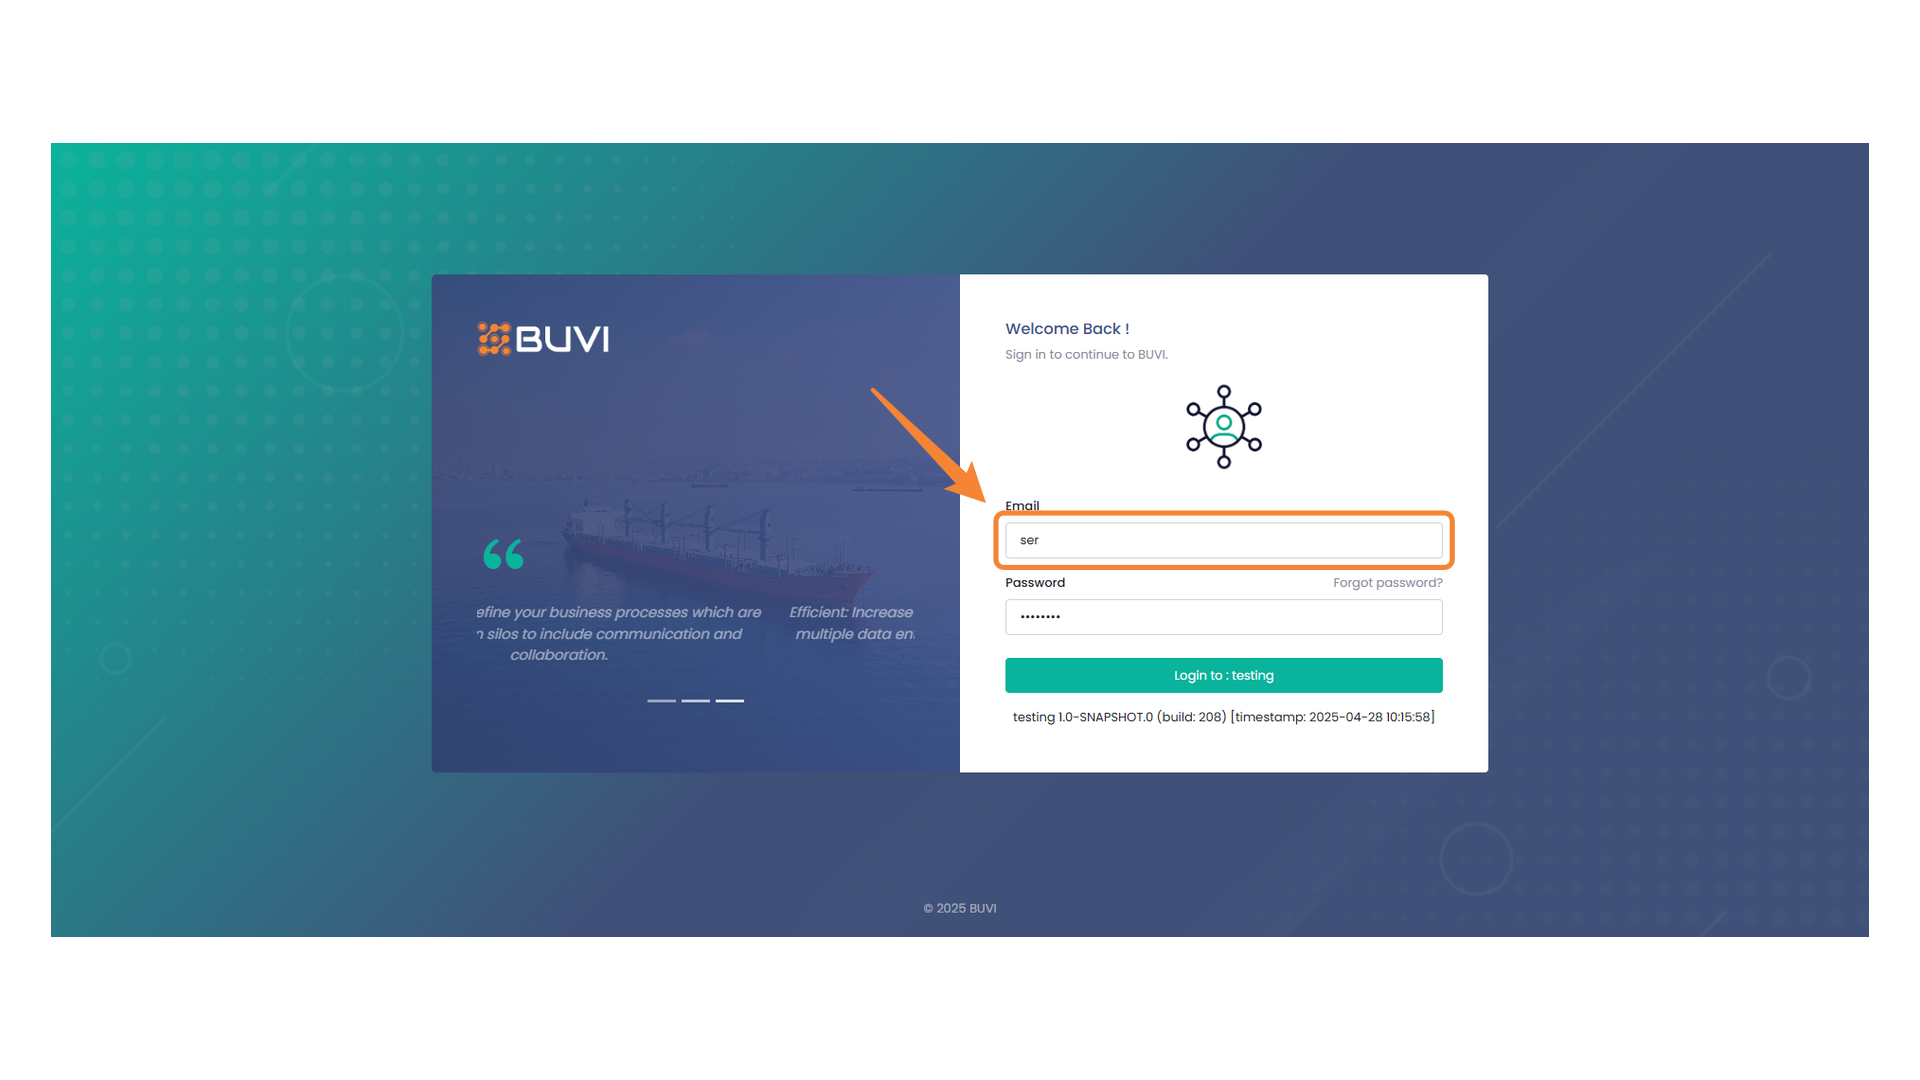
1. Login Email Input Field
Enter your email address in this field to sign in.
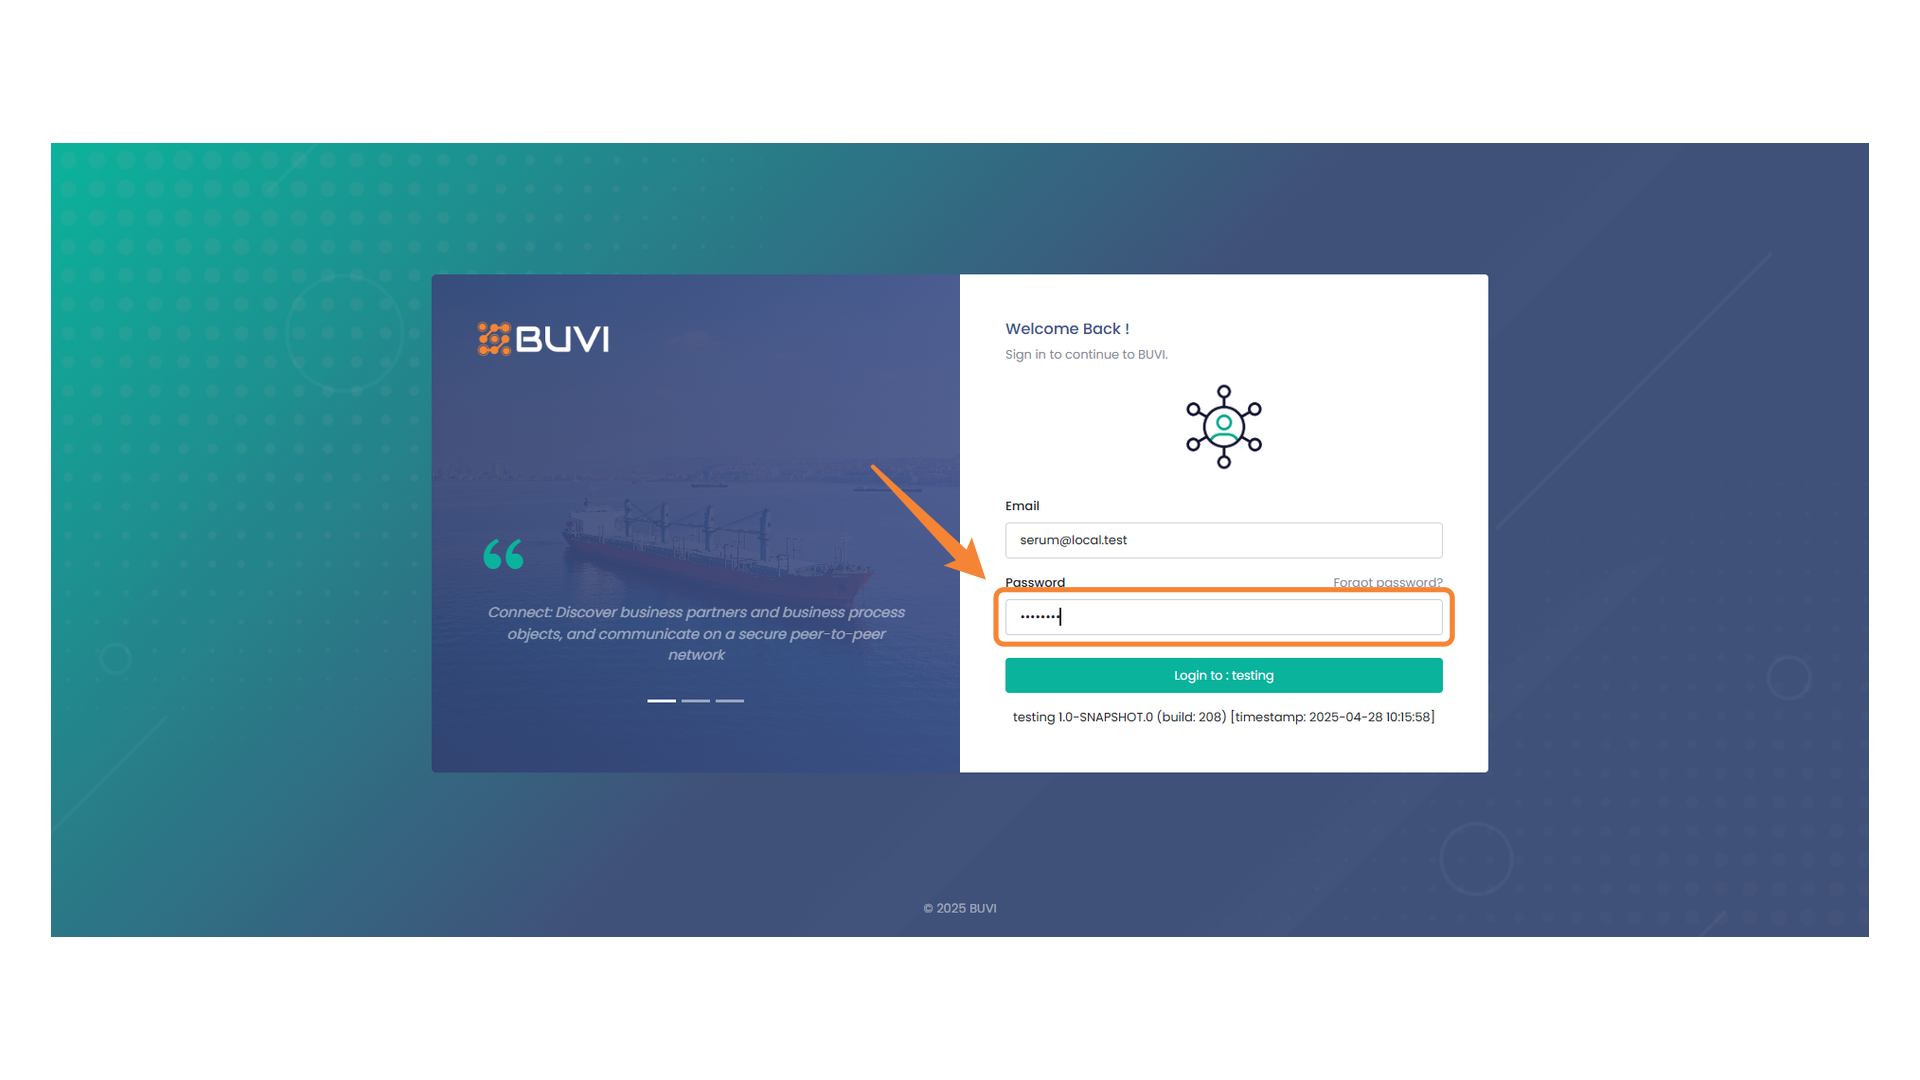
2. Password Field
Enter your password here to log in.
3. Login Interface Highlighted
Click the button to proceed with logging in to the testing environment.

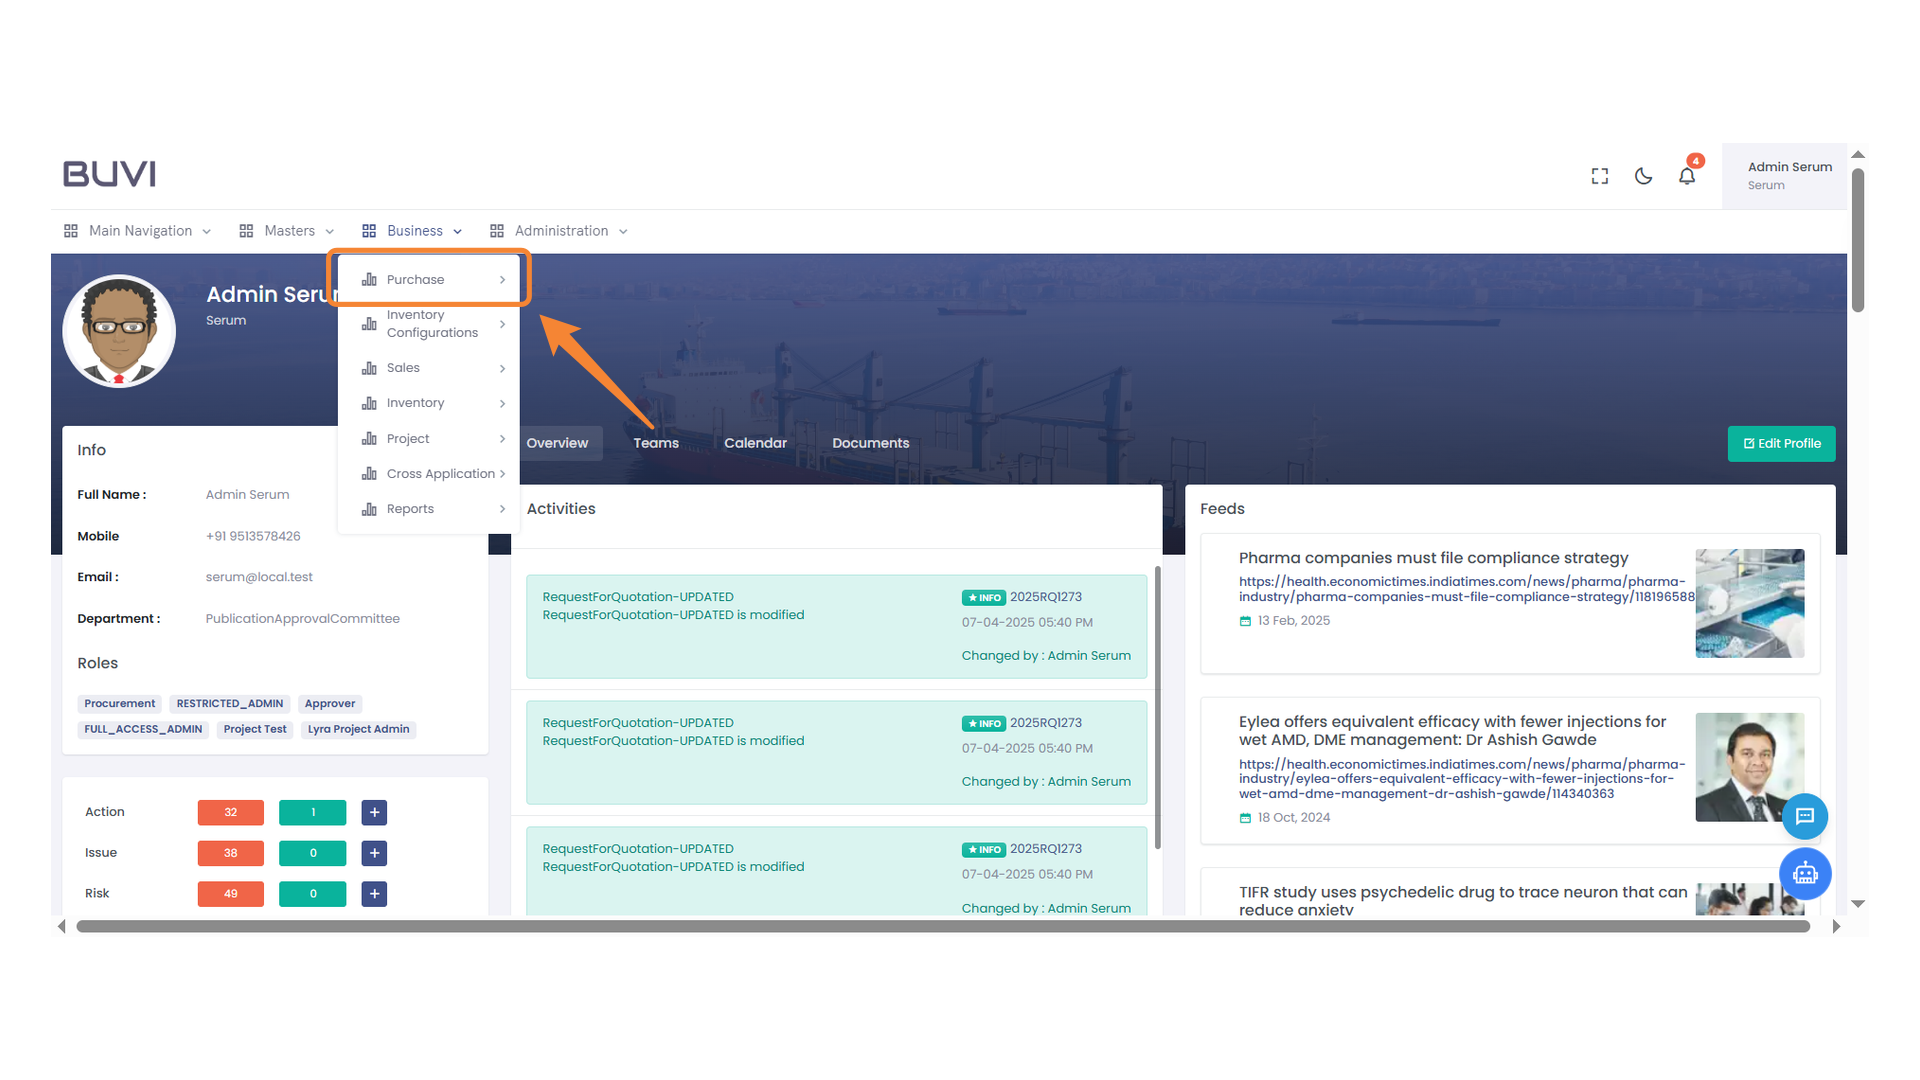
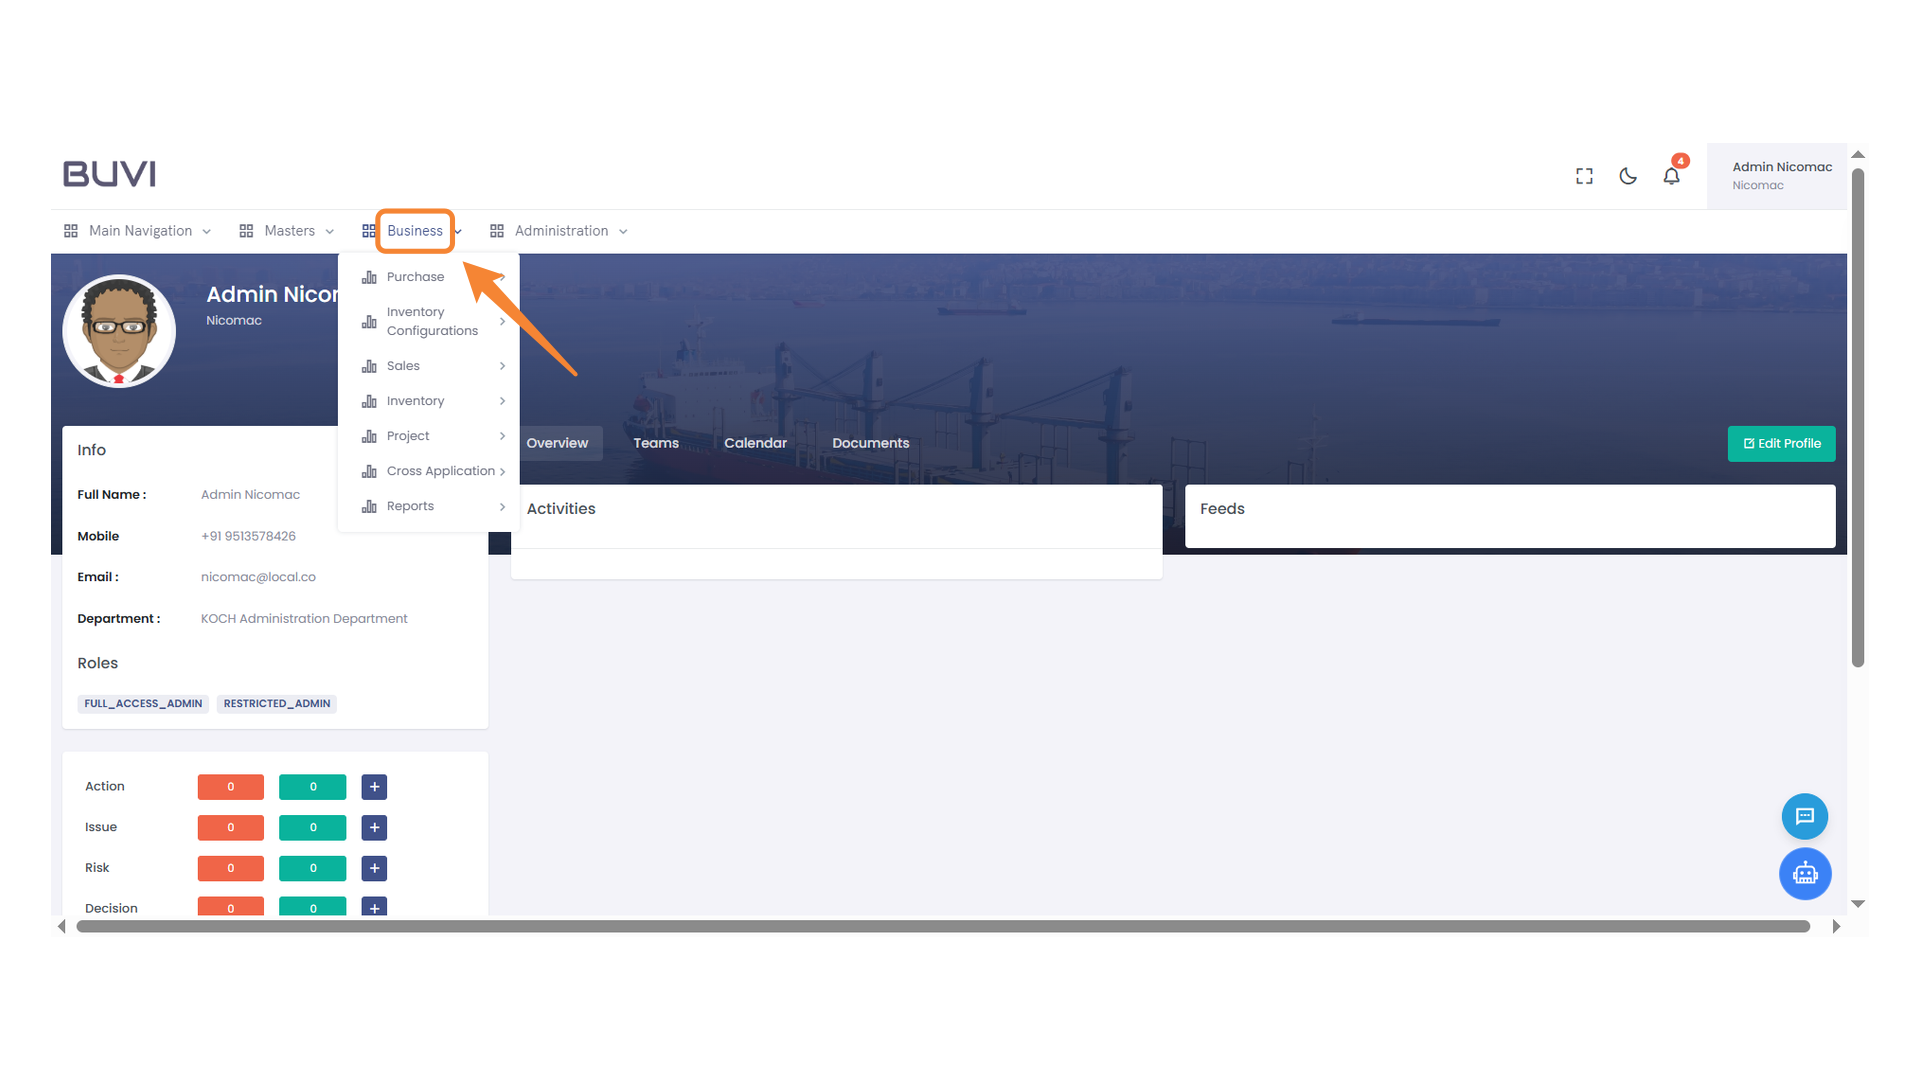
4. Business Menu
Explore the business-related options available in this section.

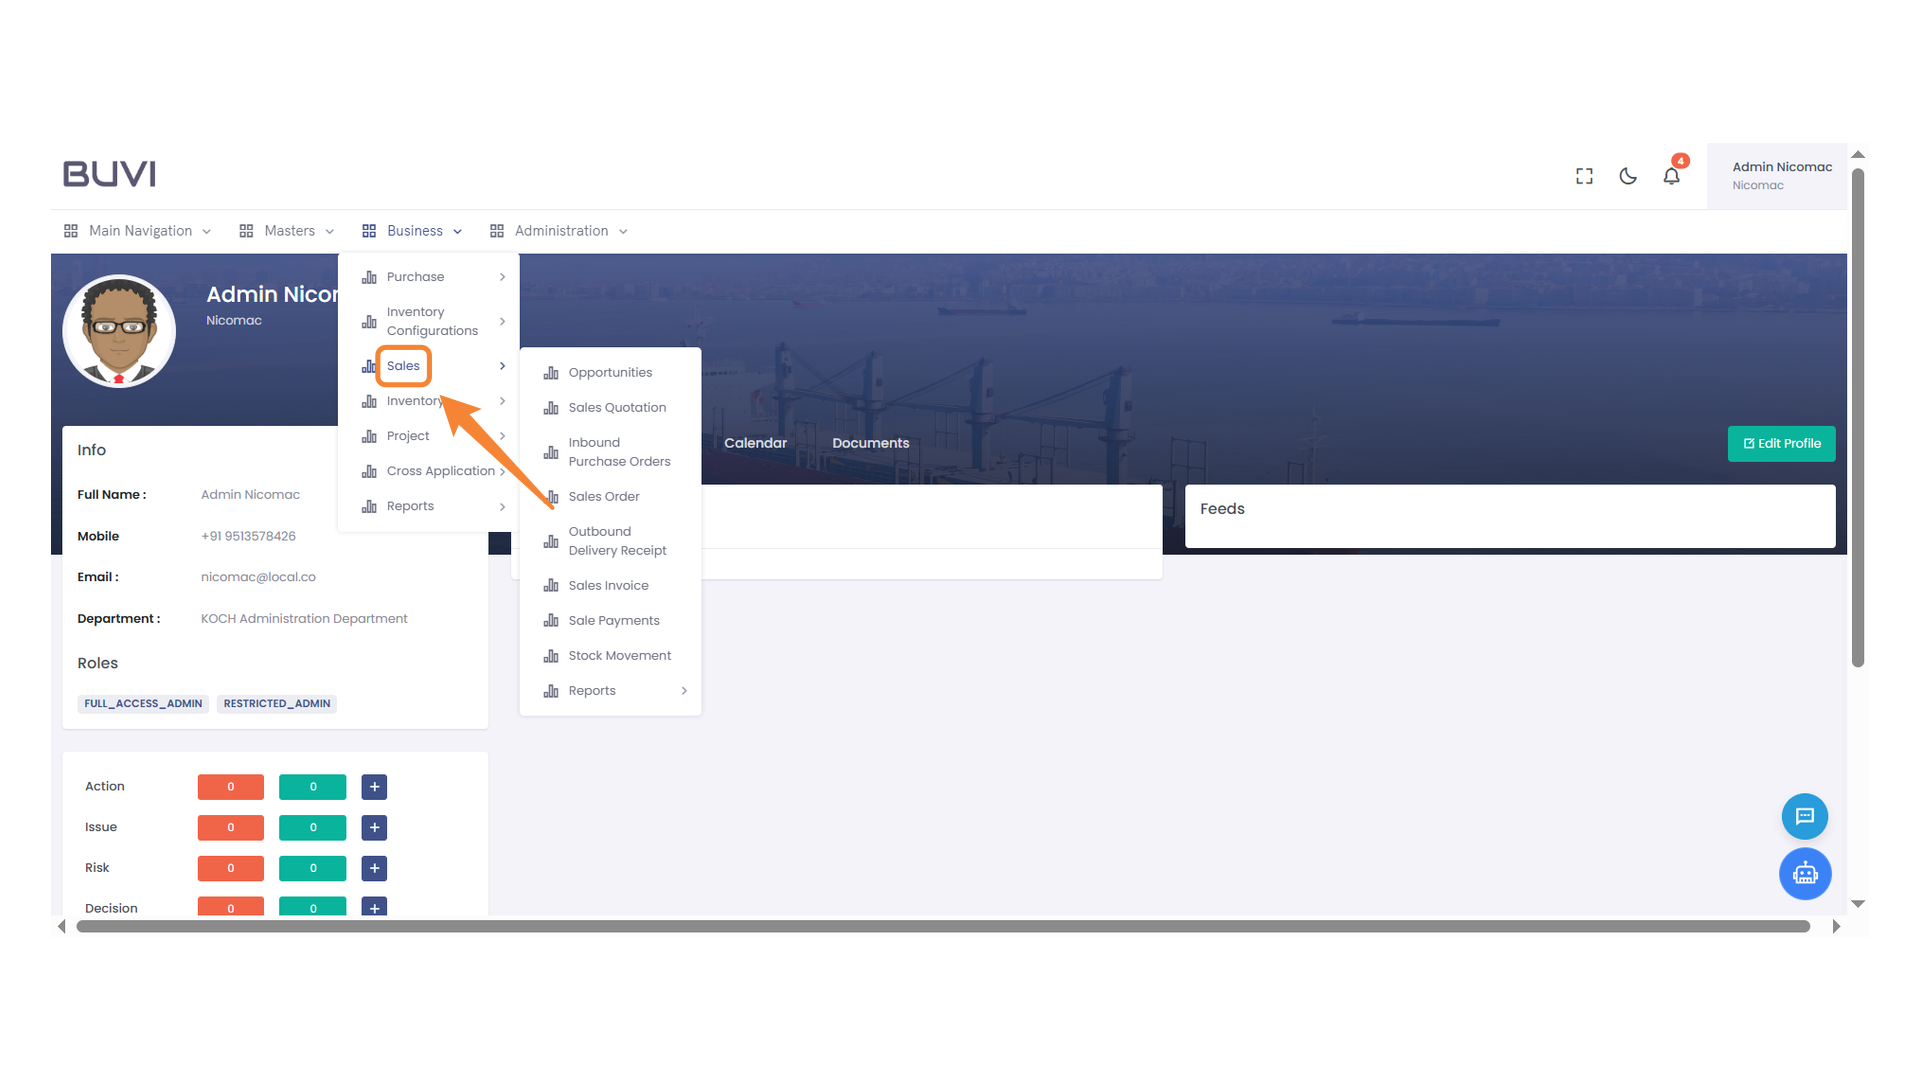
5. Business Menu
Explore business-related options and settings in the menu.

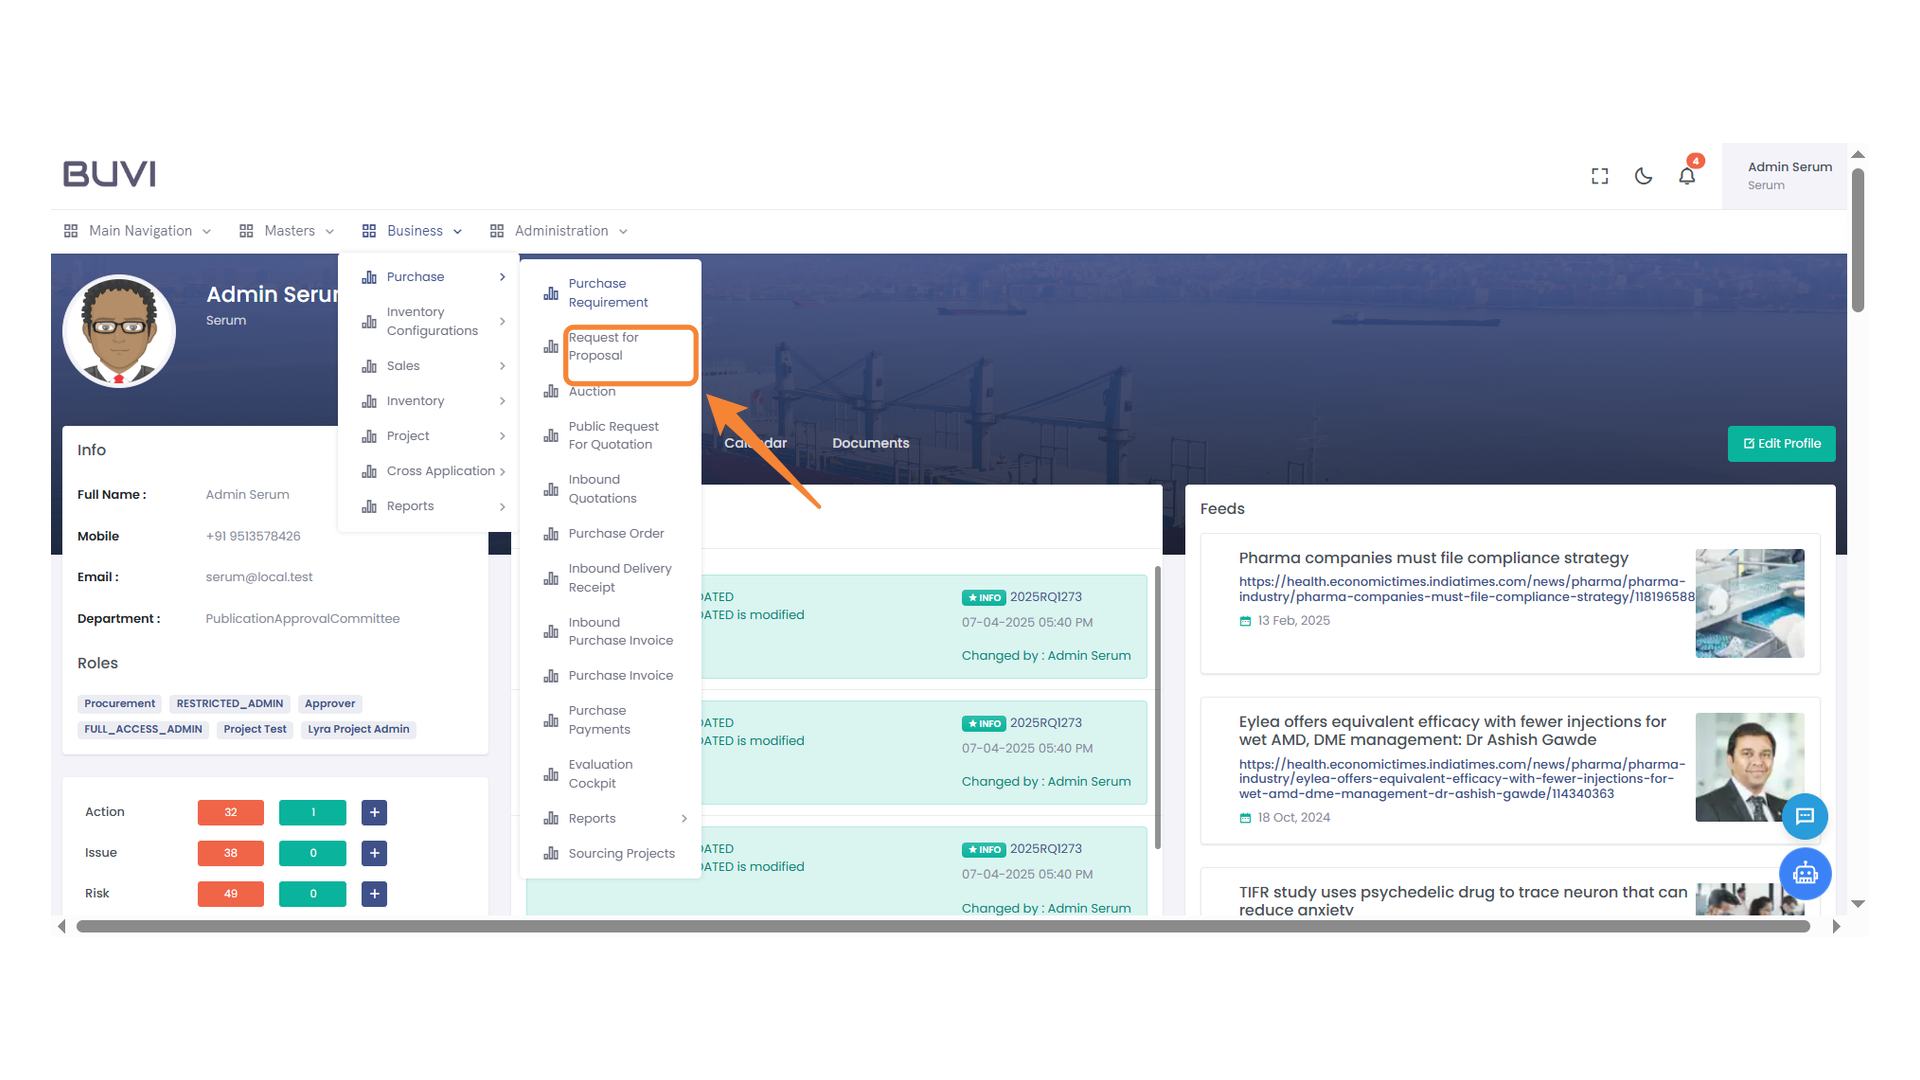
6. Purchase Menu Option
Select this option to access the purchase functionalities in the application.
7. Request for Proposal Option
Select this option to initiate a request for proposal process.
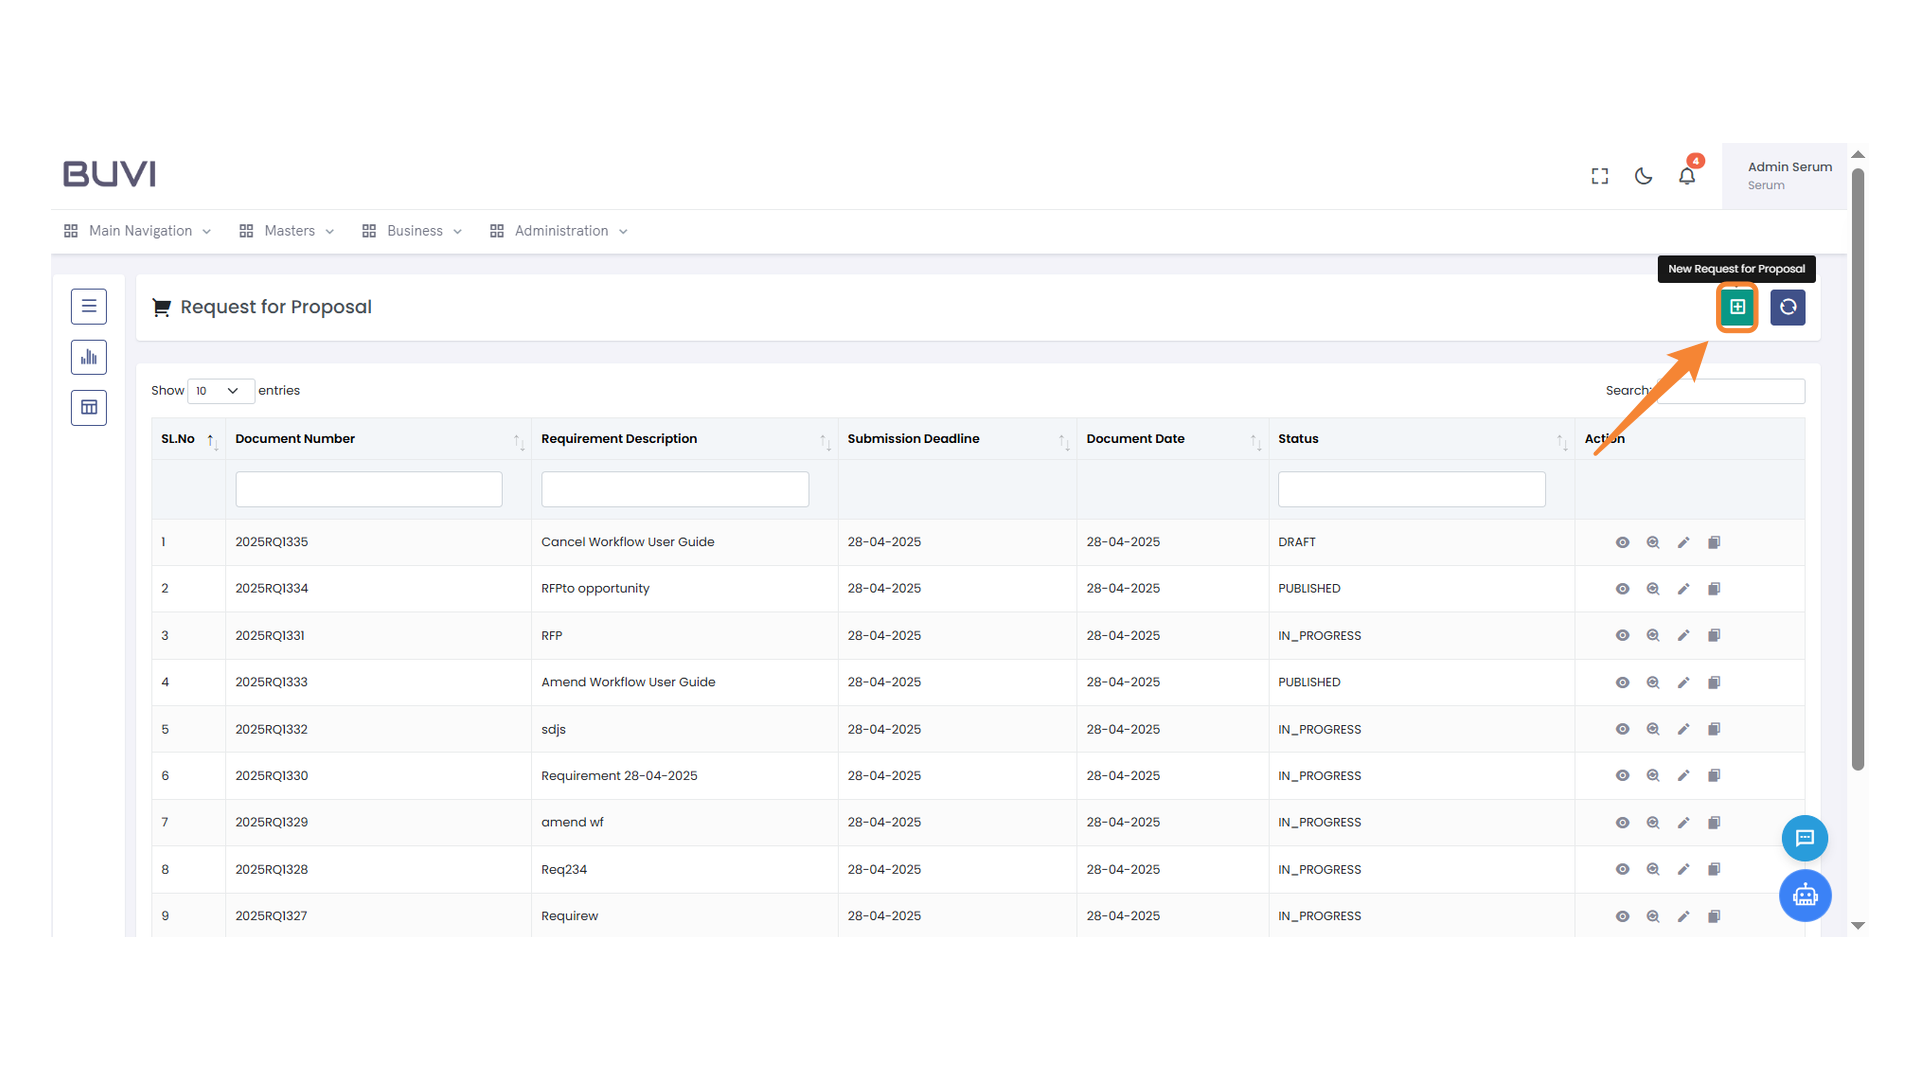
8. New Request for Proposal
Click the icon to create a new request for proposal.
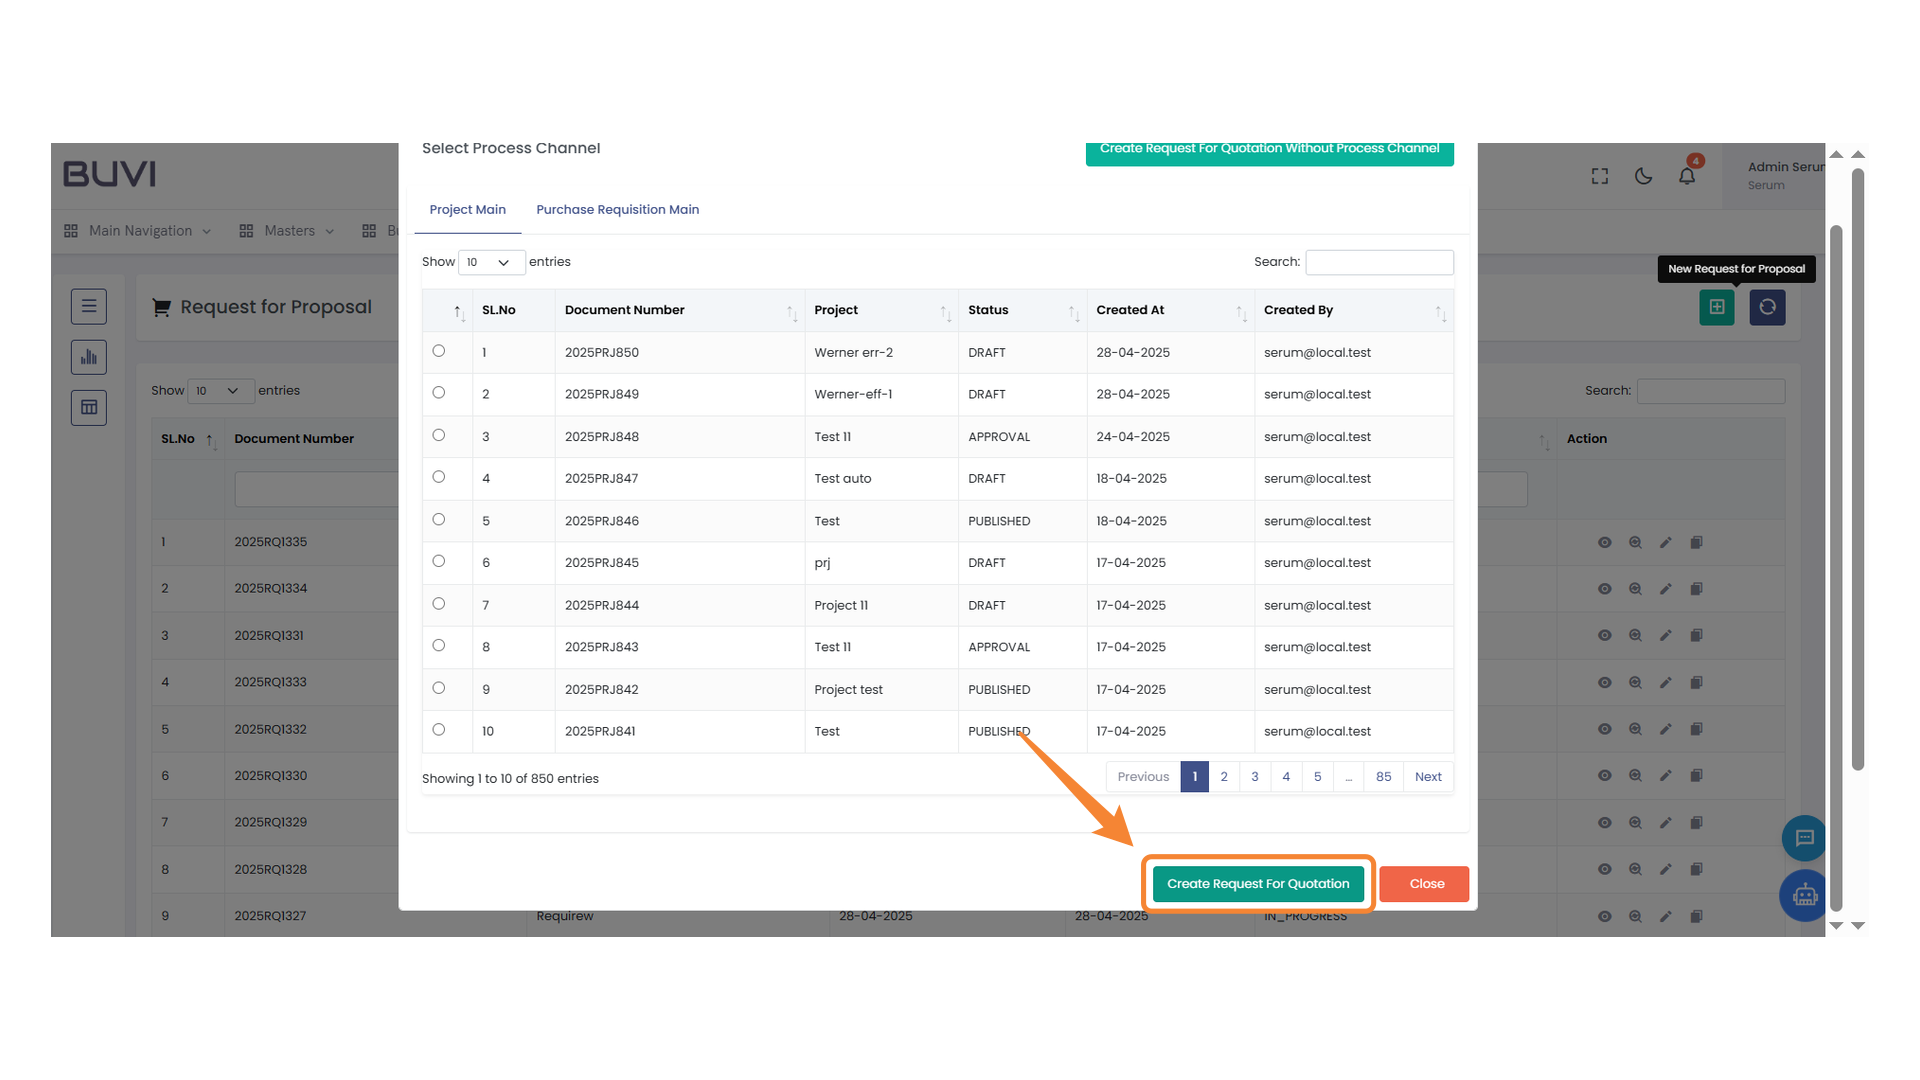
9. Initiate Quotation Request
Click the button to create a new request for quotation.
10. Requirement Description Input Field��
Enter the requirement details with the specified date format.

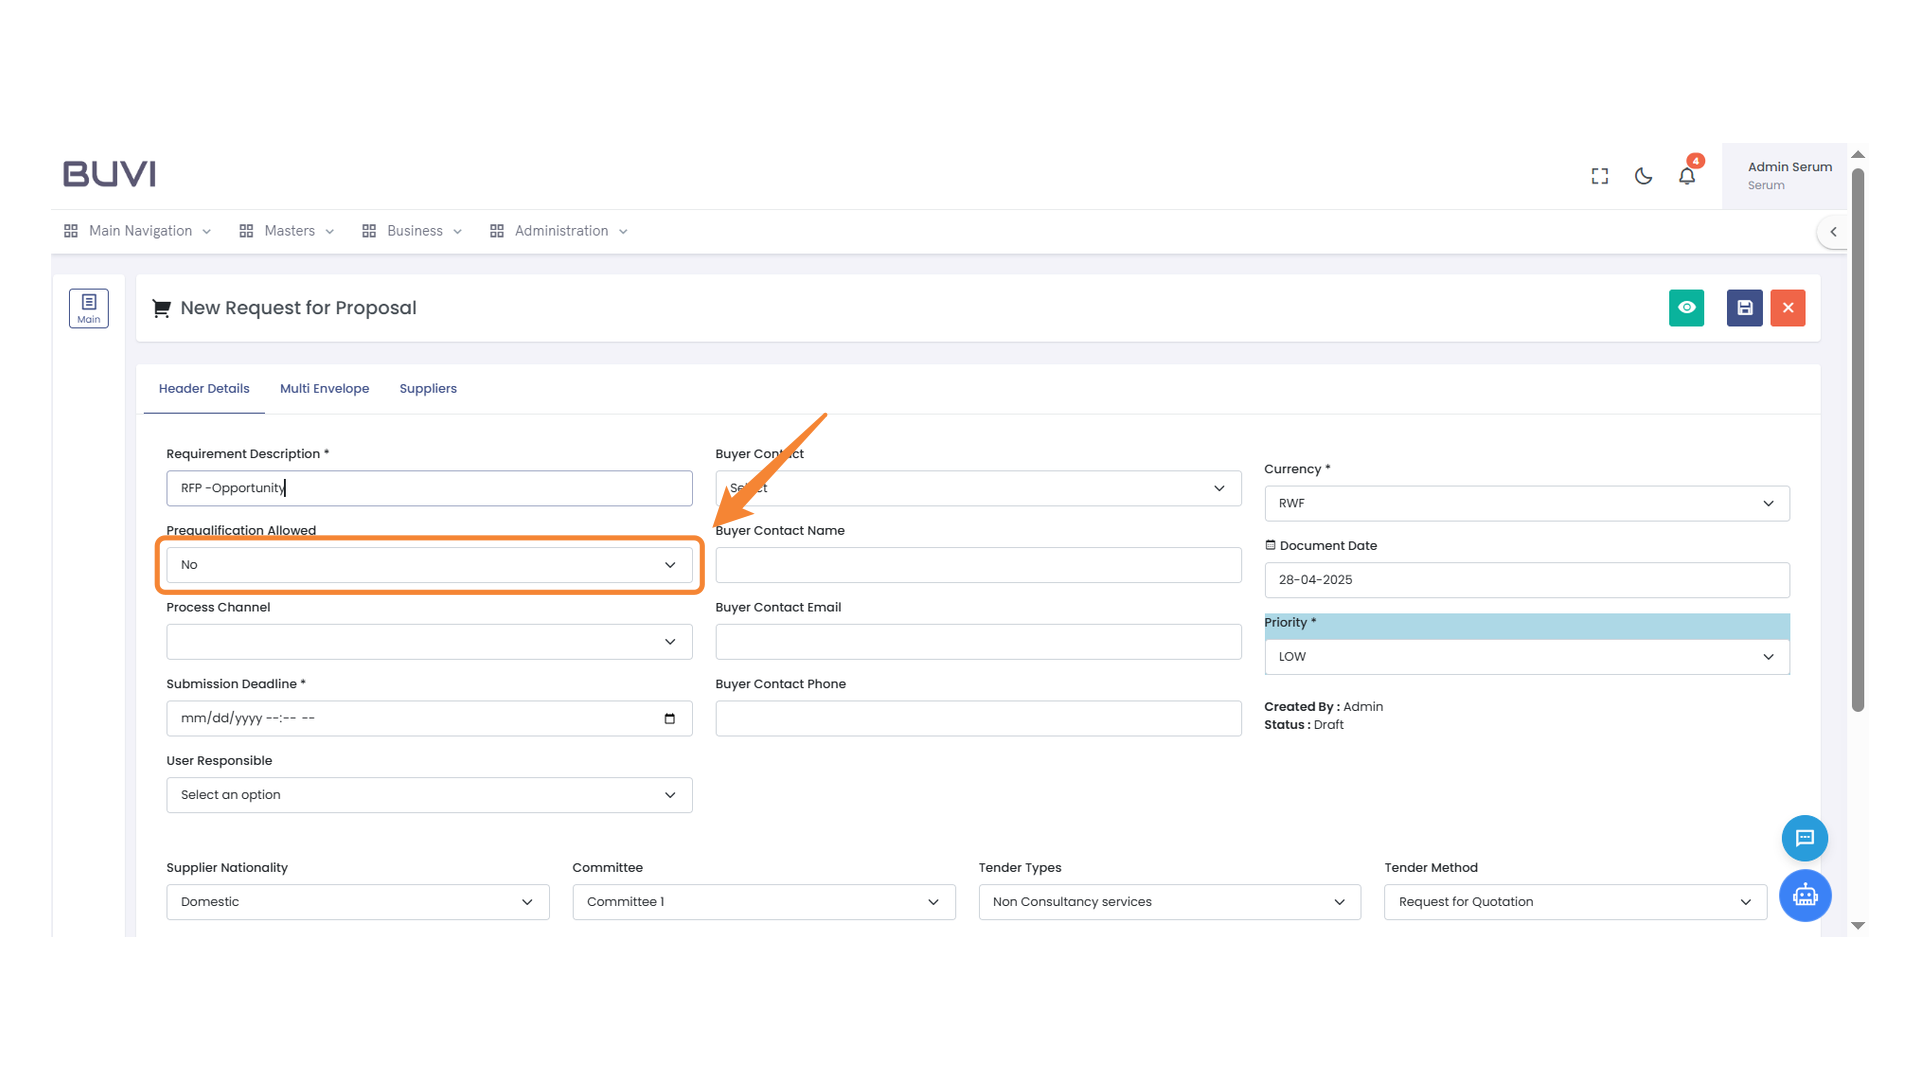
11. Prequalification Option
Select whether prequalification is allowed for the proposal.
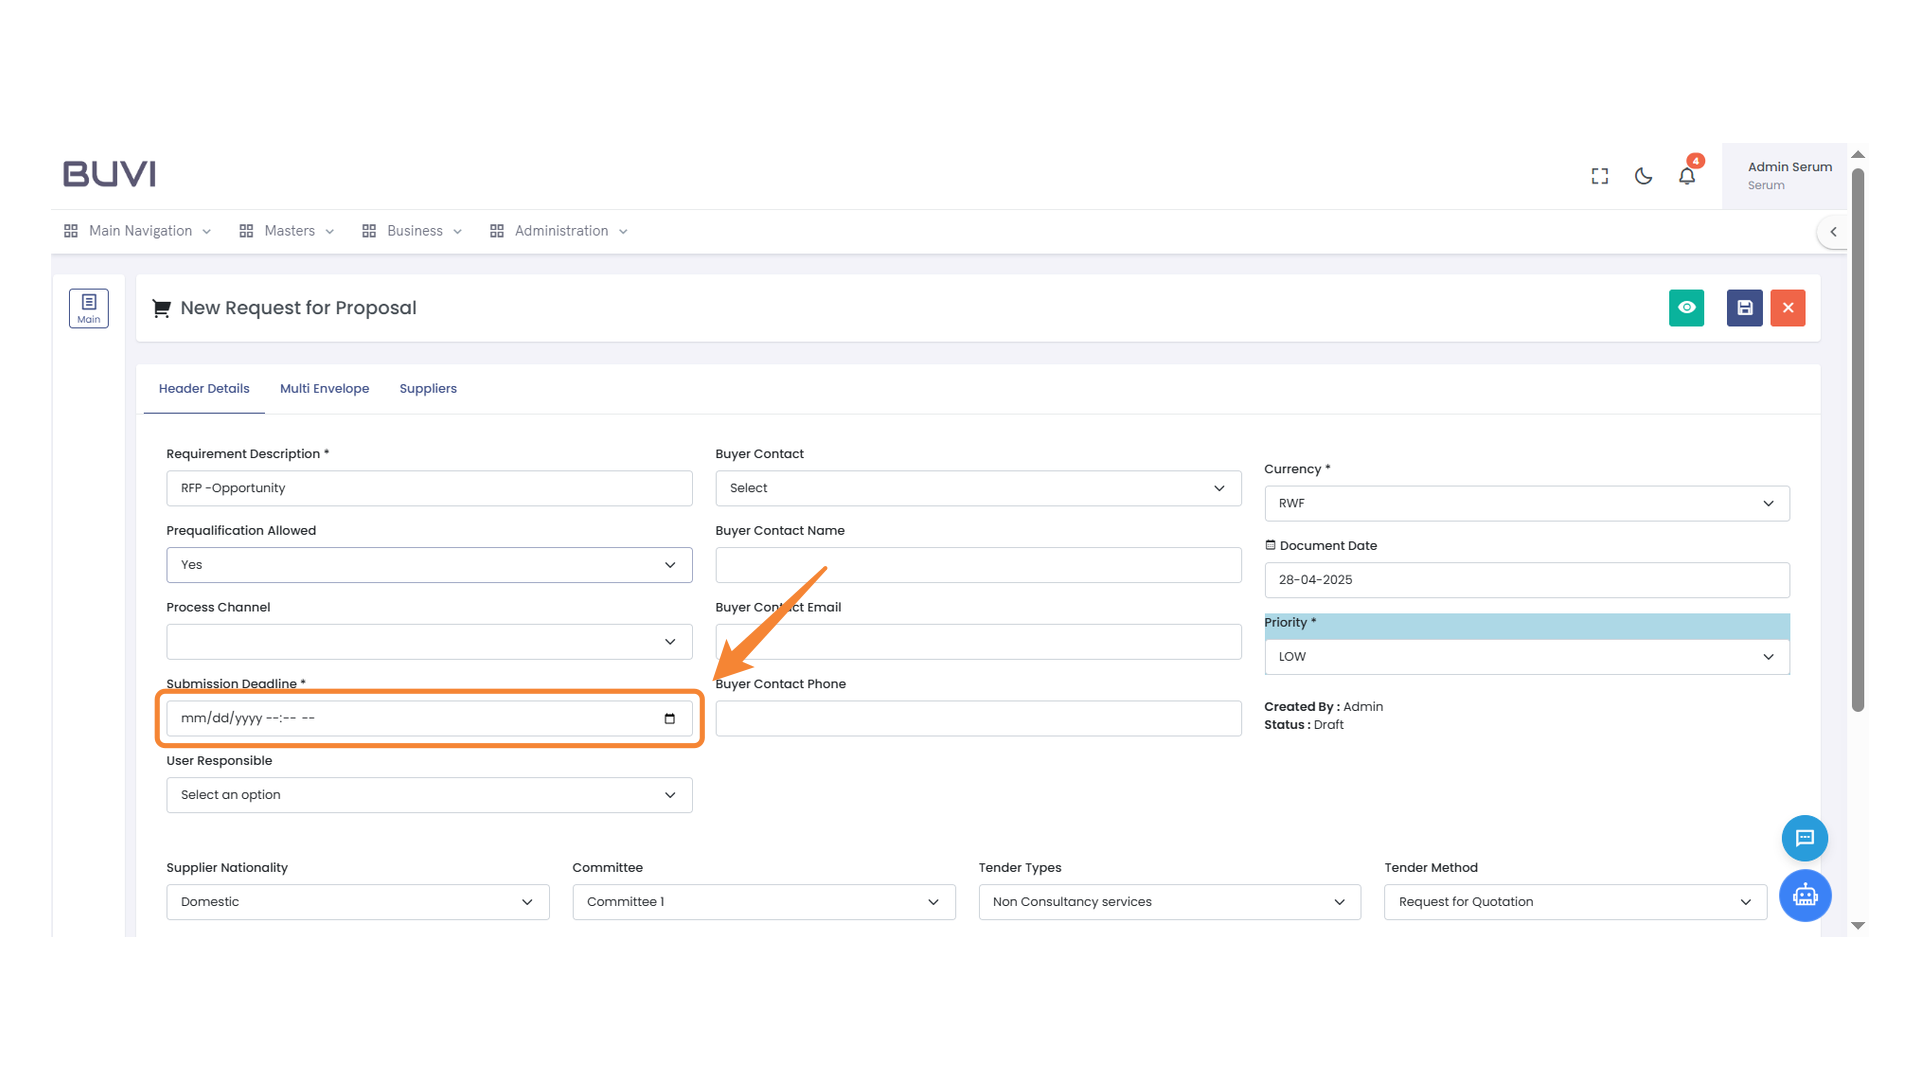
12. Submission Deadline Field
Enter the submission deadline date and time.
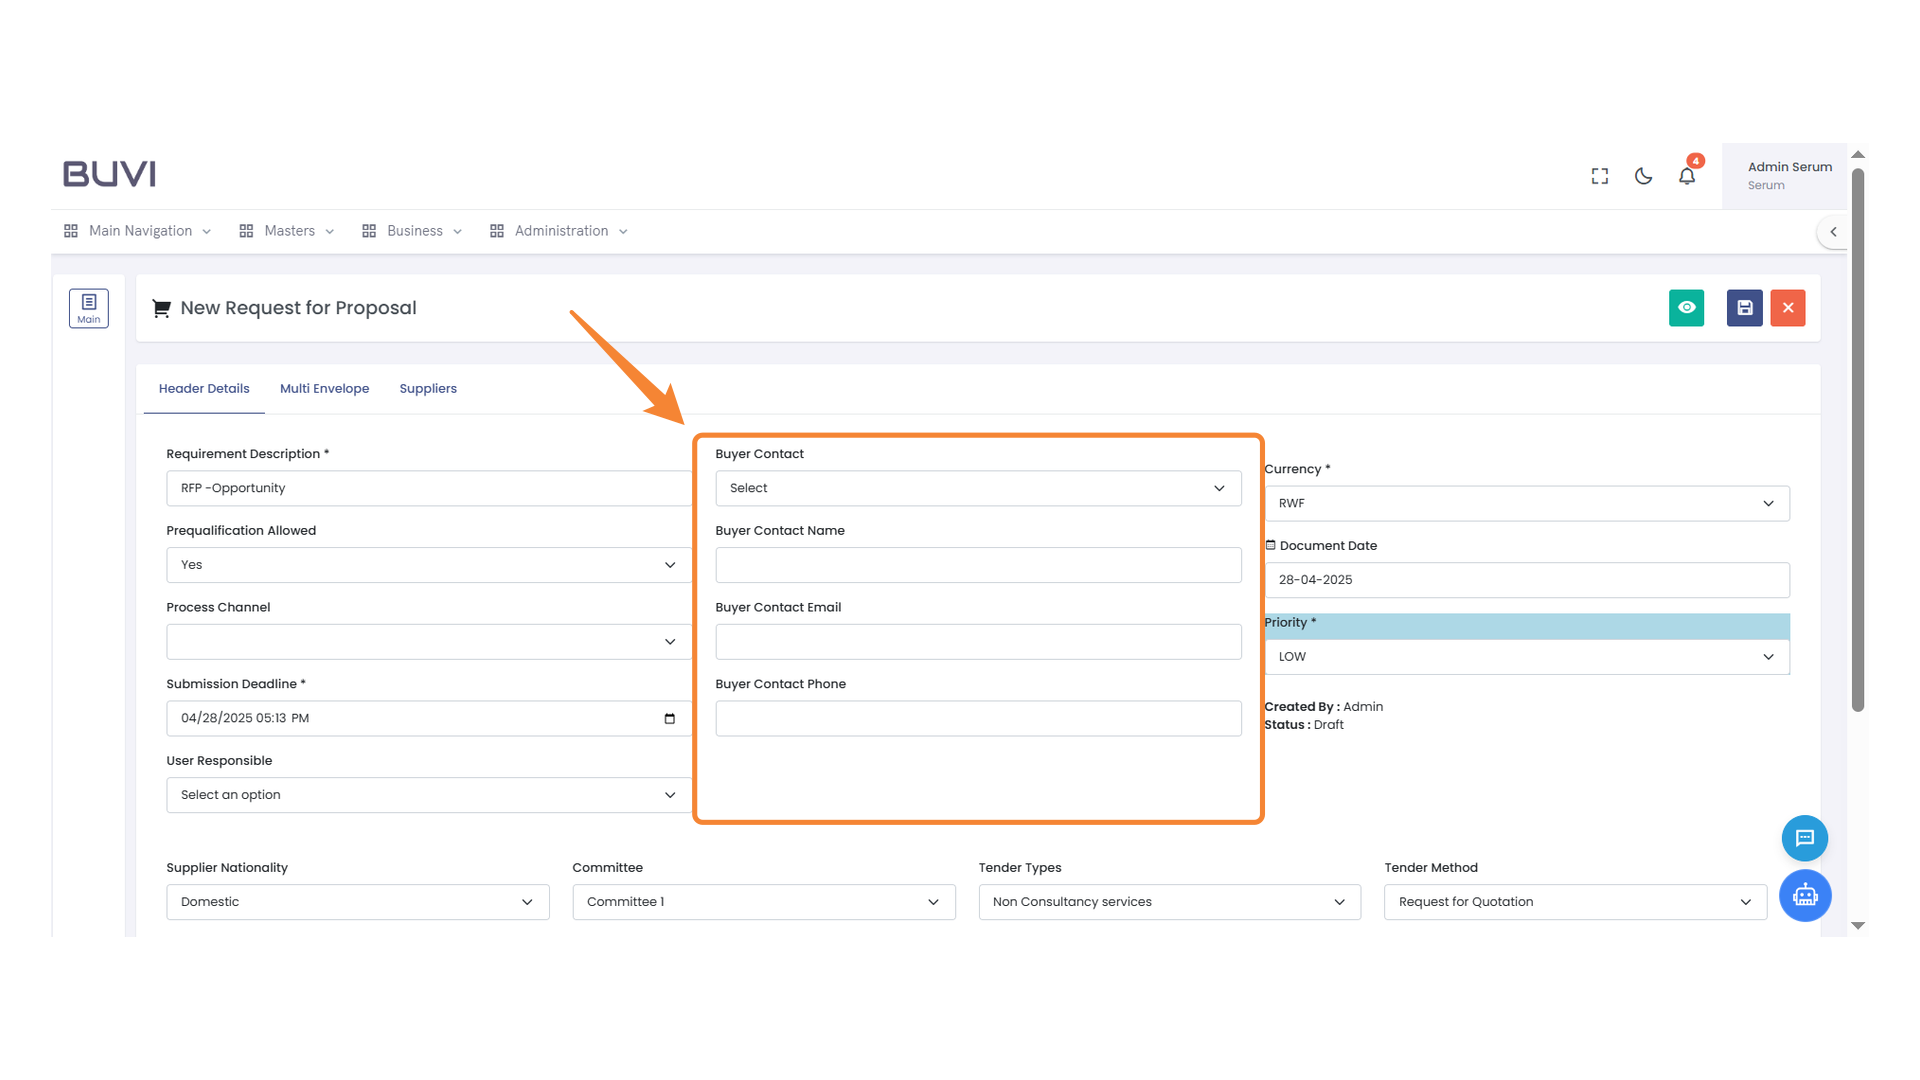
13. Buyer Contact Information
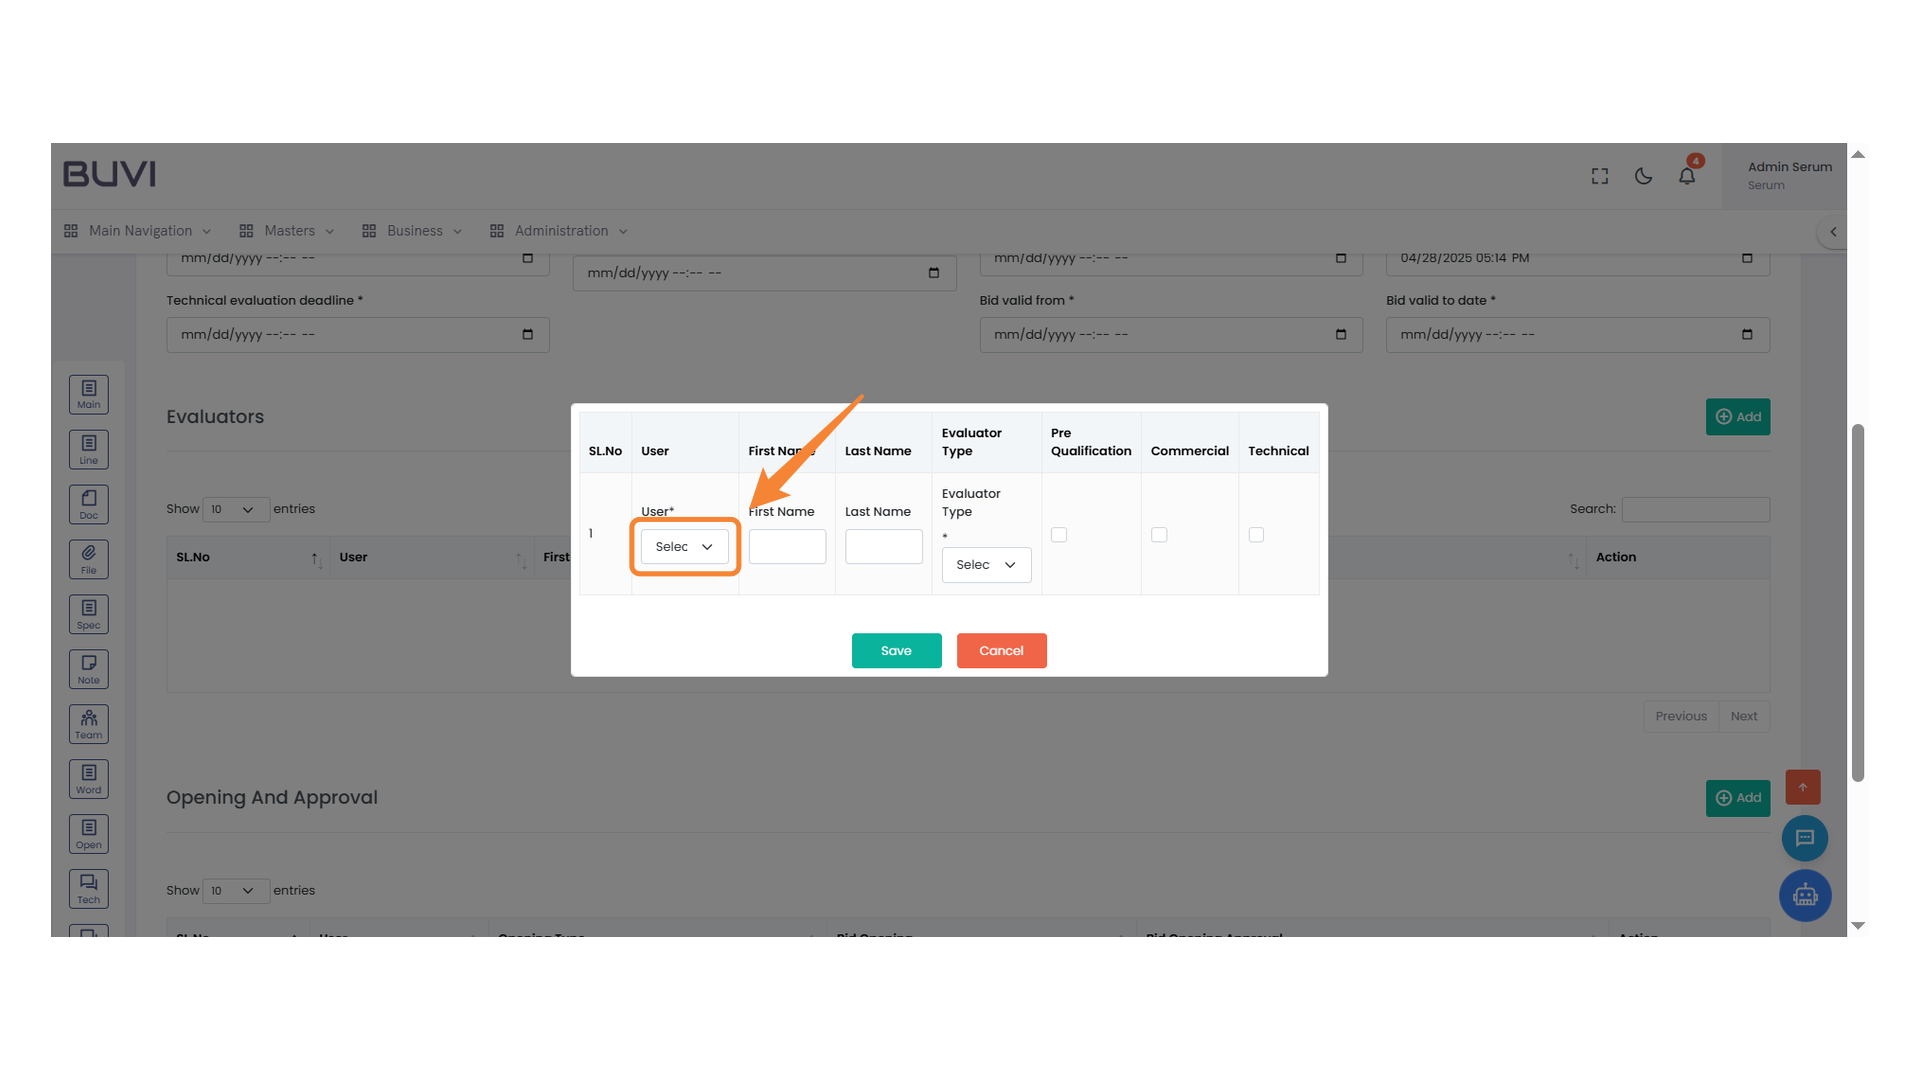
Provide the buyer's contact name, email, and phone number.
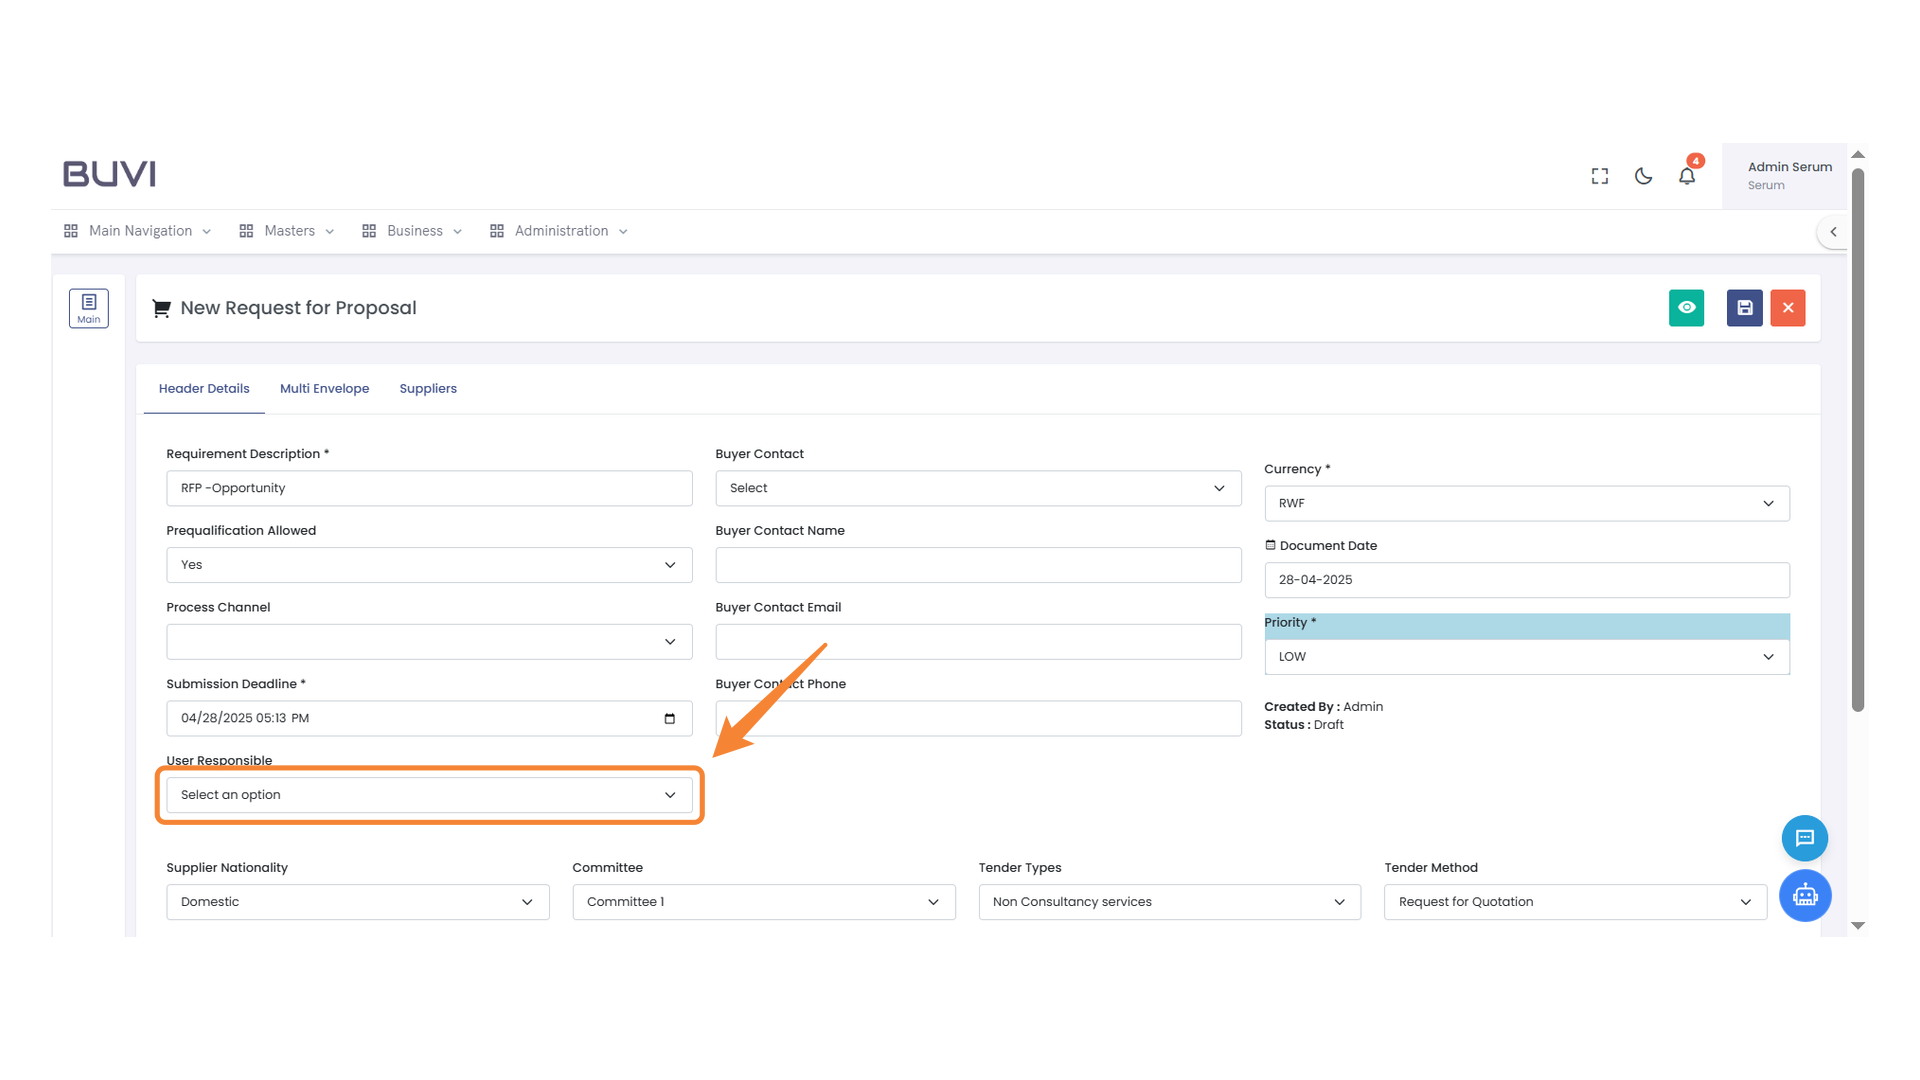
14. User Selection Dropdown
Choose a responsible user from the dropdown list.
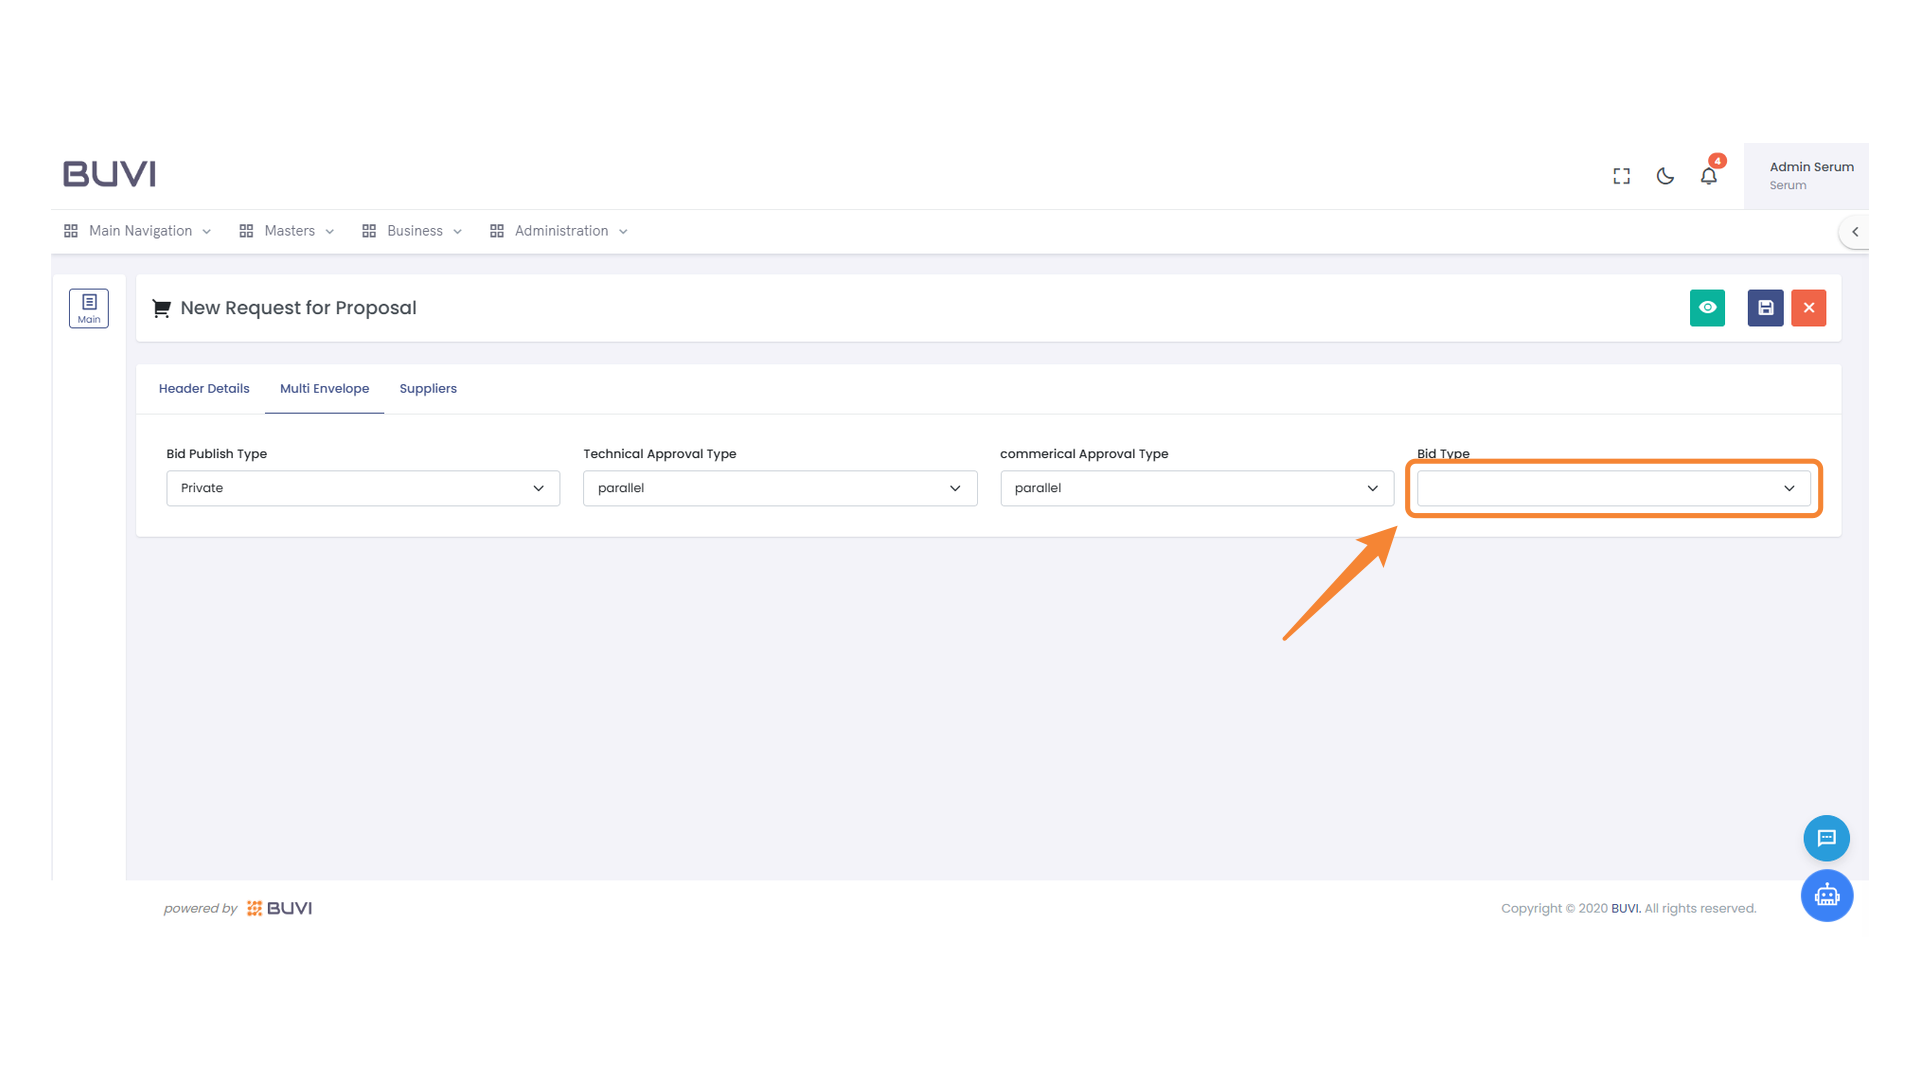
15. Bid Type Selection
Choose the appropriate bid type from the dropdown menu.
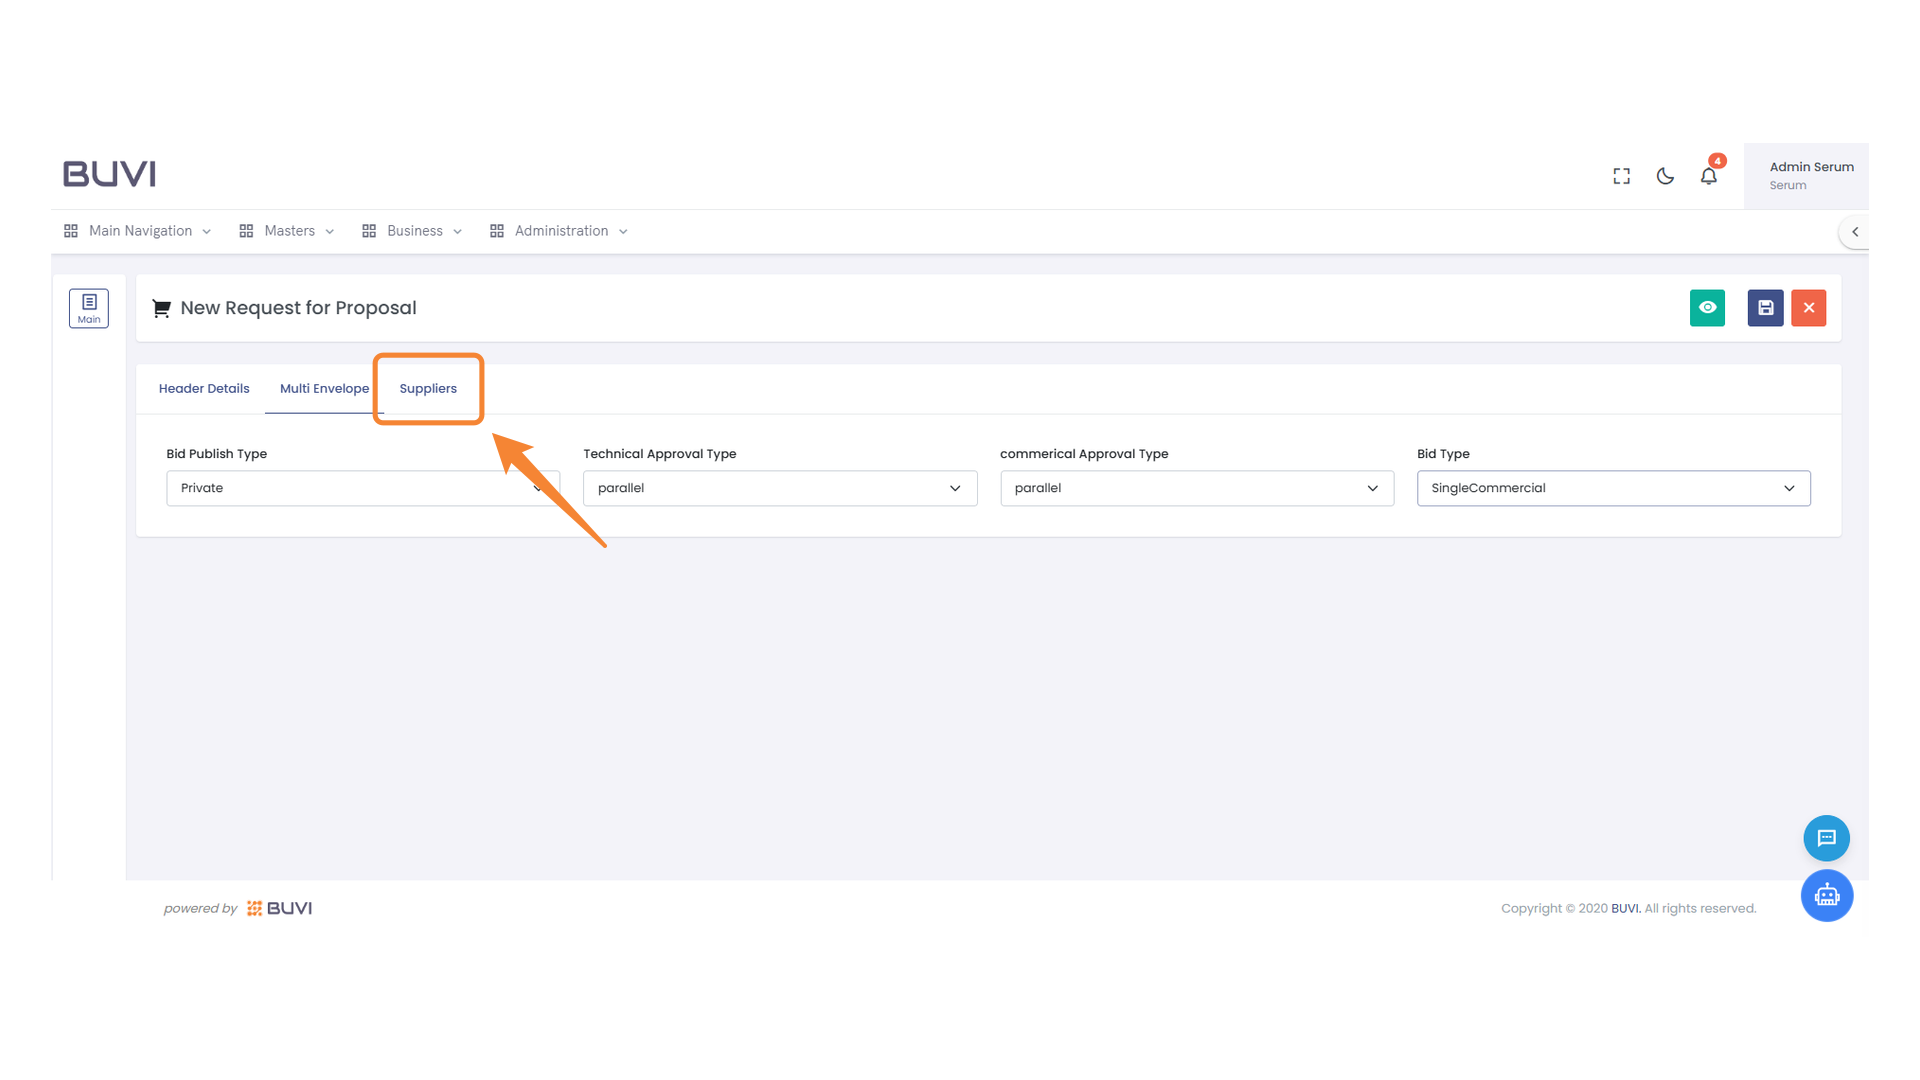
16. Suppliers Tab
Select the Suppliers tab to view and manage supplier information.
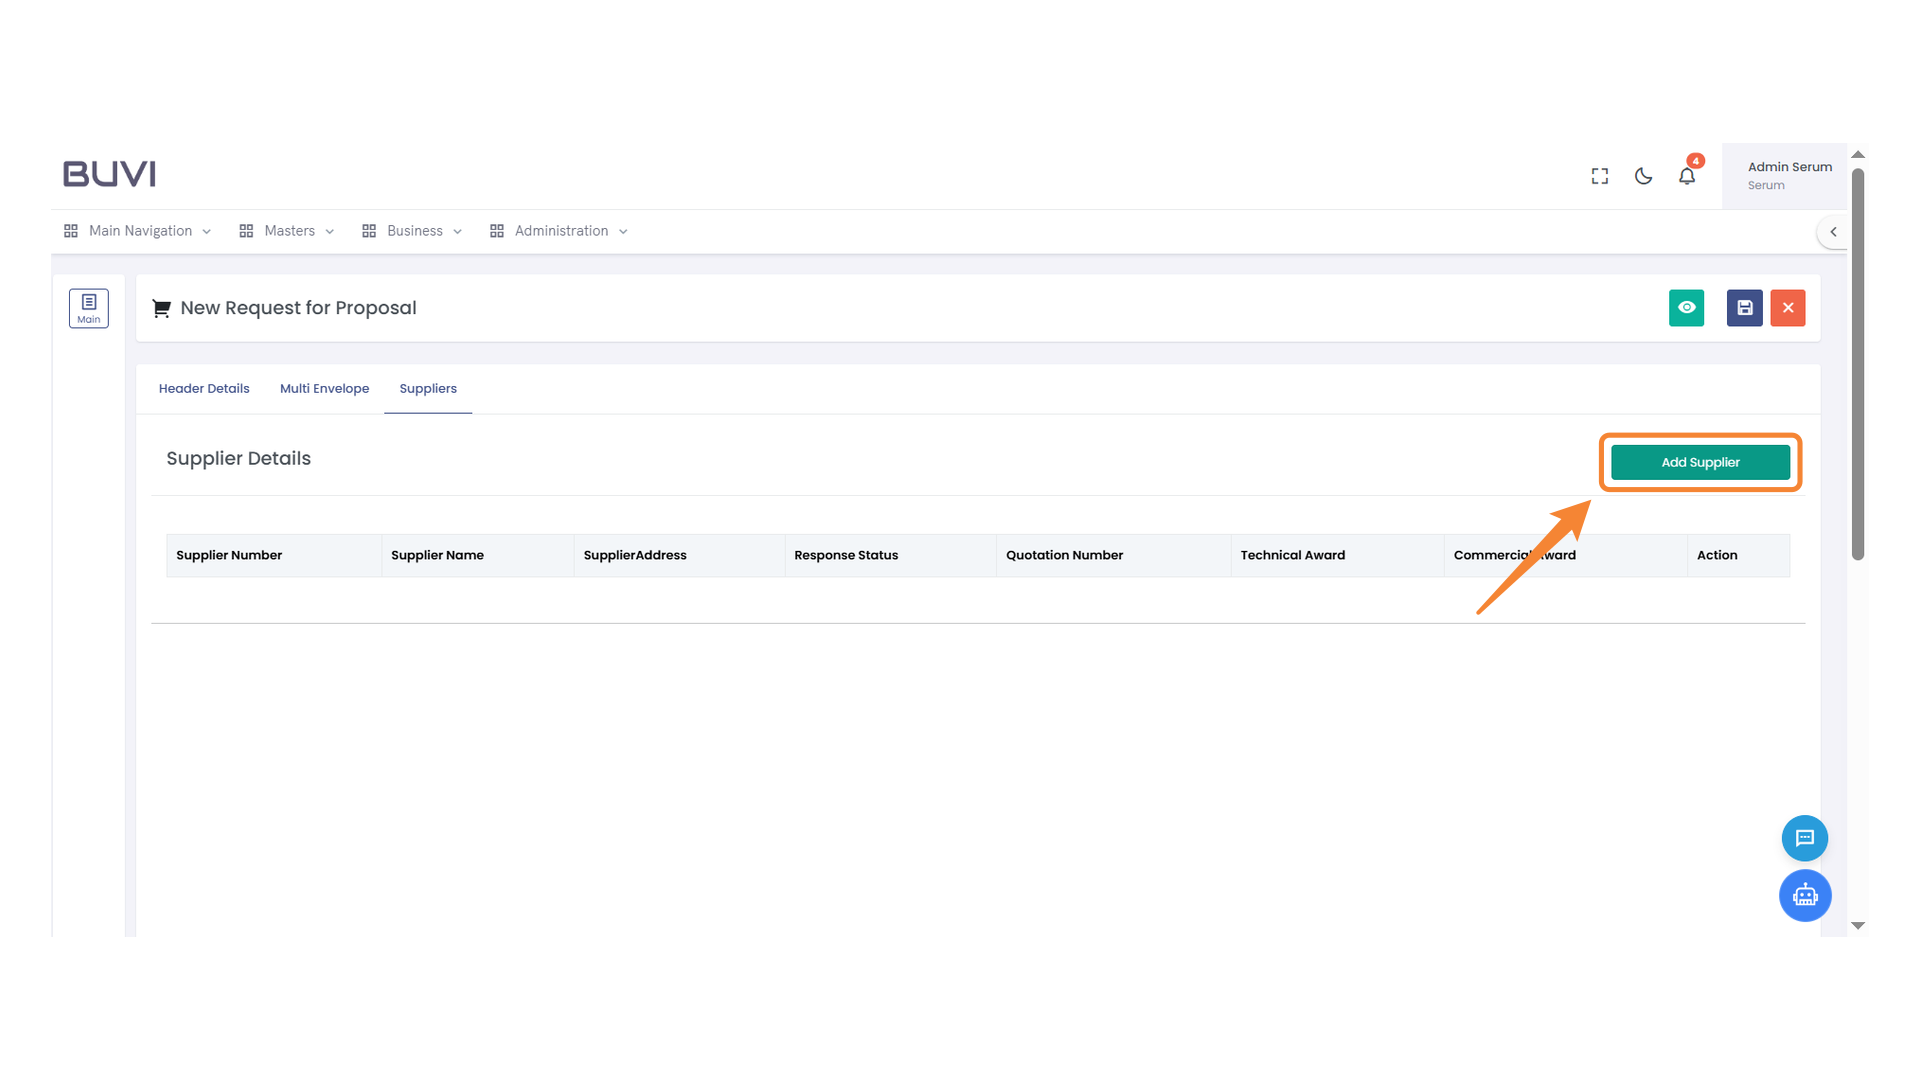
17. Add Supplier Button
Click to add a new supplier to the list.
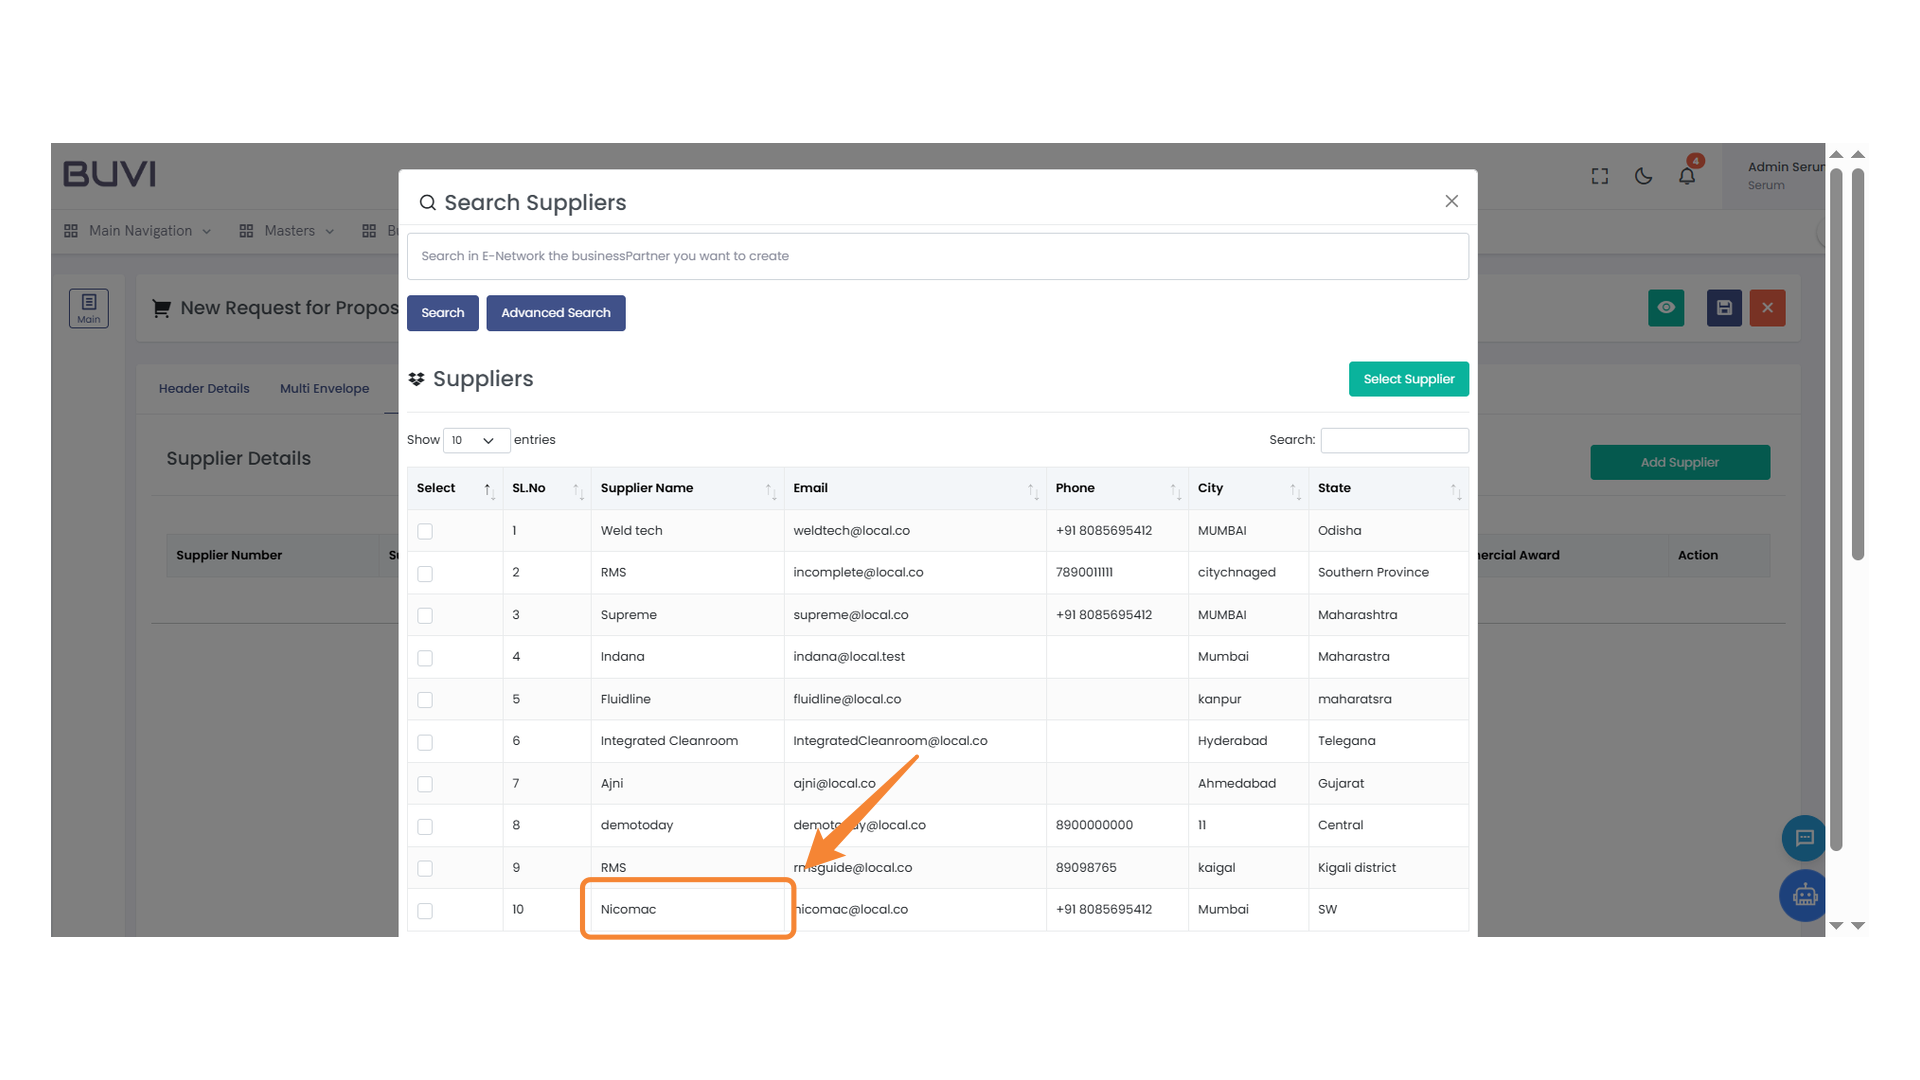
18. Highlighted Supplier Entry
Select the supplier named 'Nicomac' from the list for more details or to proceed with any actions.
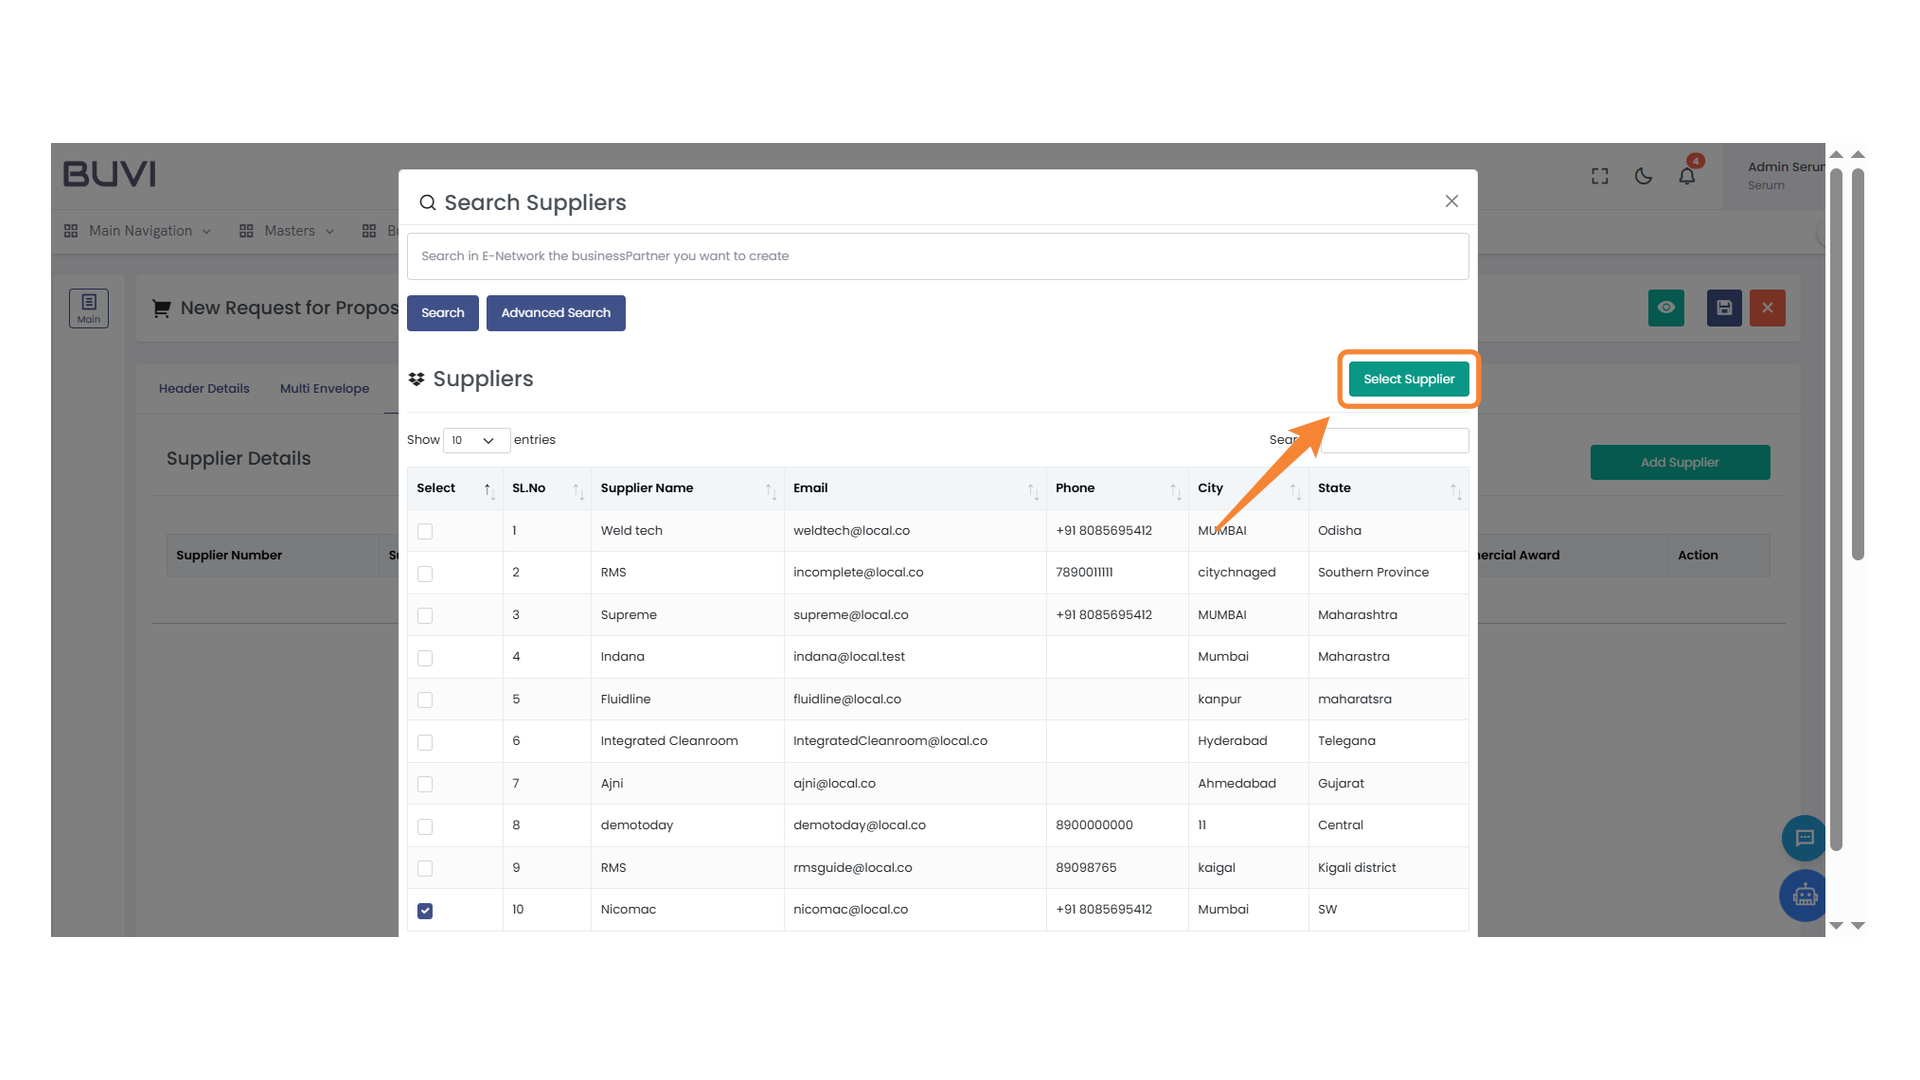
19. Supplier Selection Button
Click to choose the desired supplier from the list.
20. Save Button
Click the save button to store your changes.

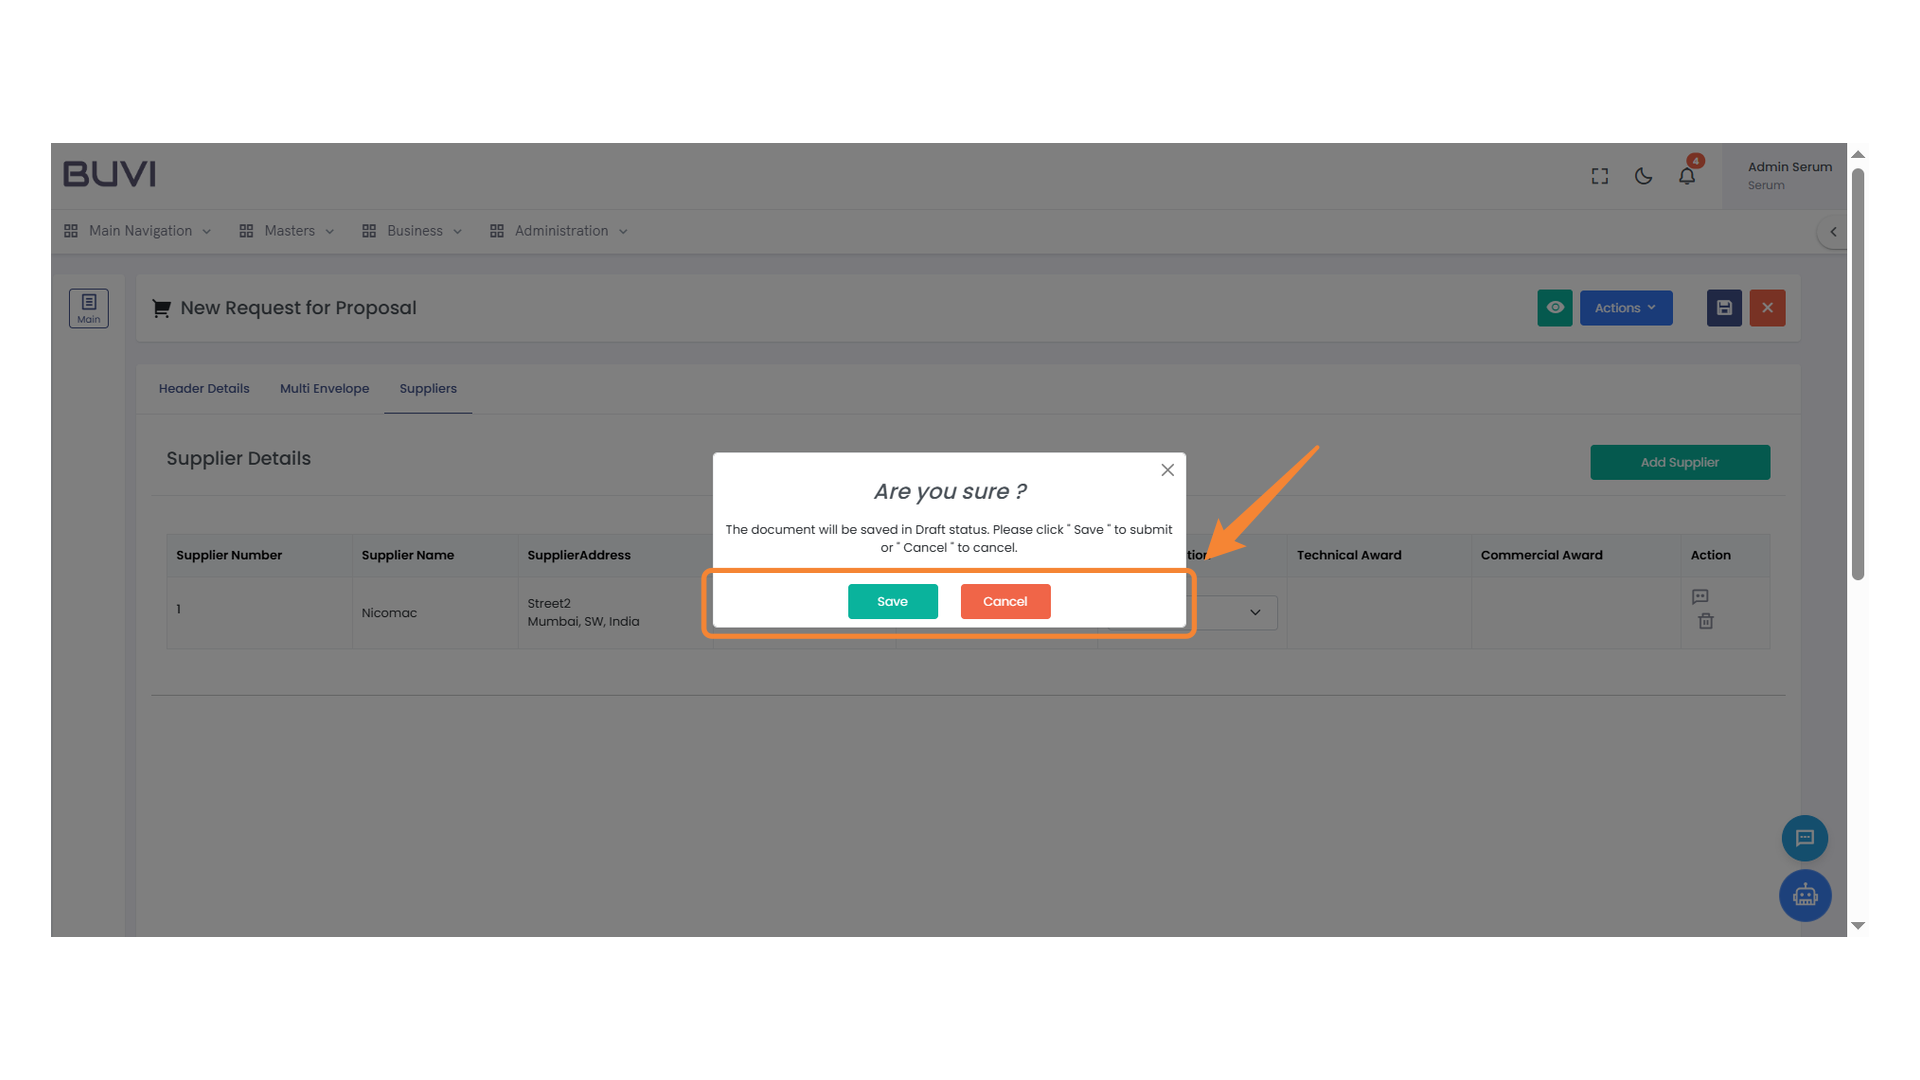
21. Confirmation Dialog
Choose 'Save' to submit the document or 'Cancel' to dismiss the action.
22. Multi Envelope Tab
Select this tab to view or manage multiple envelopes in your proposal.

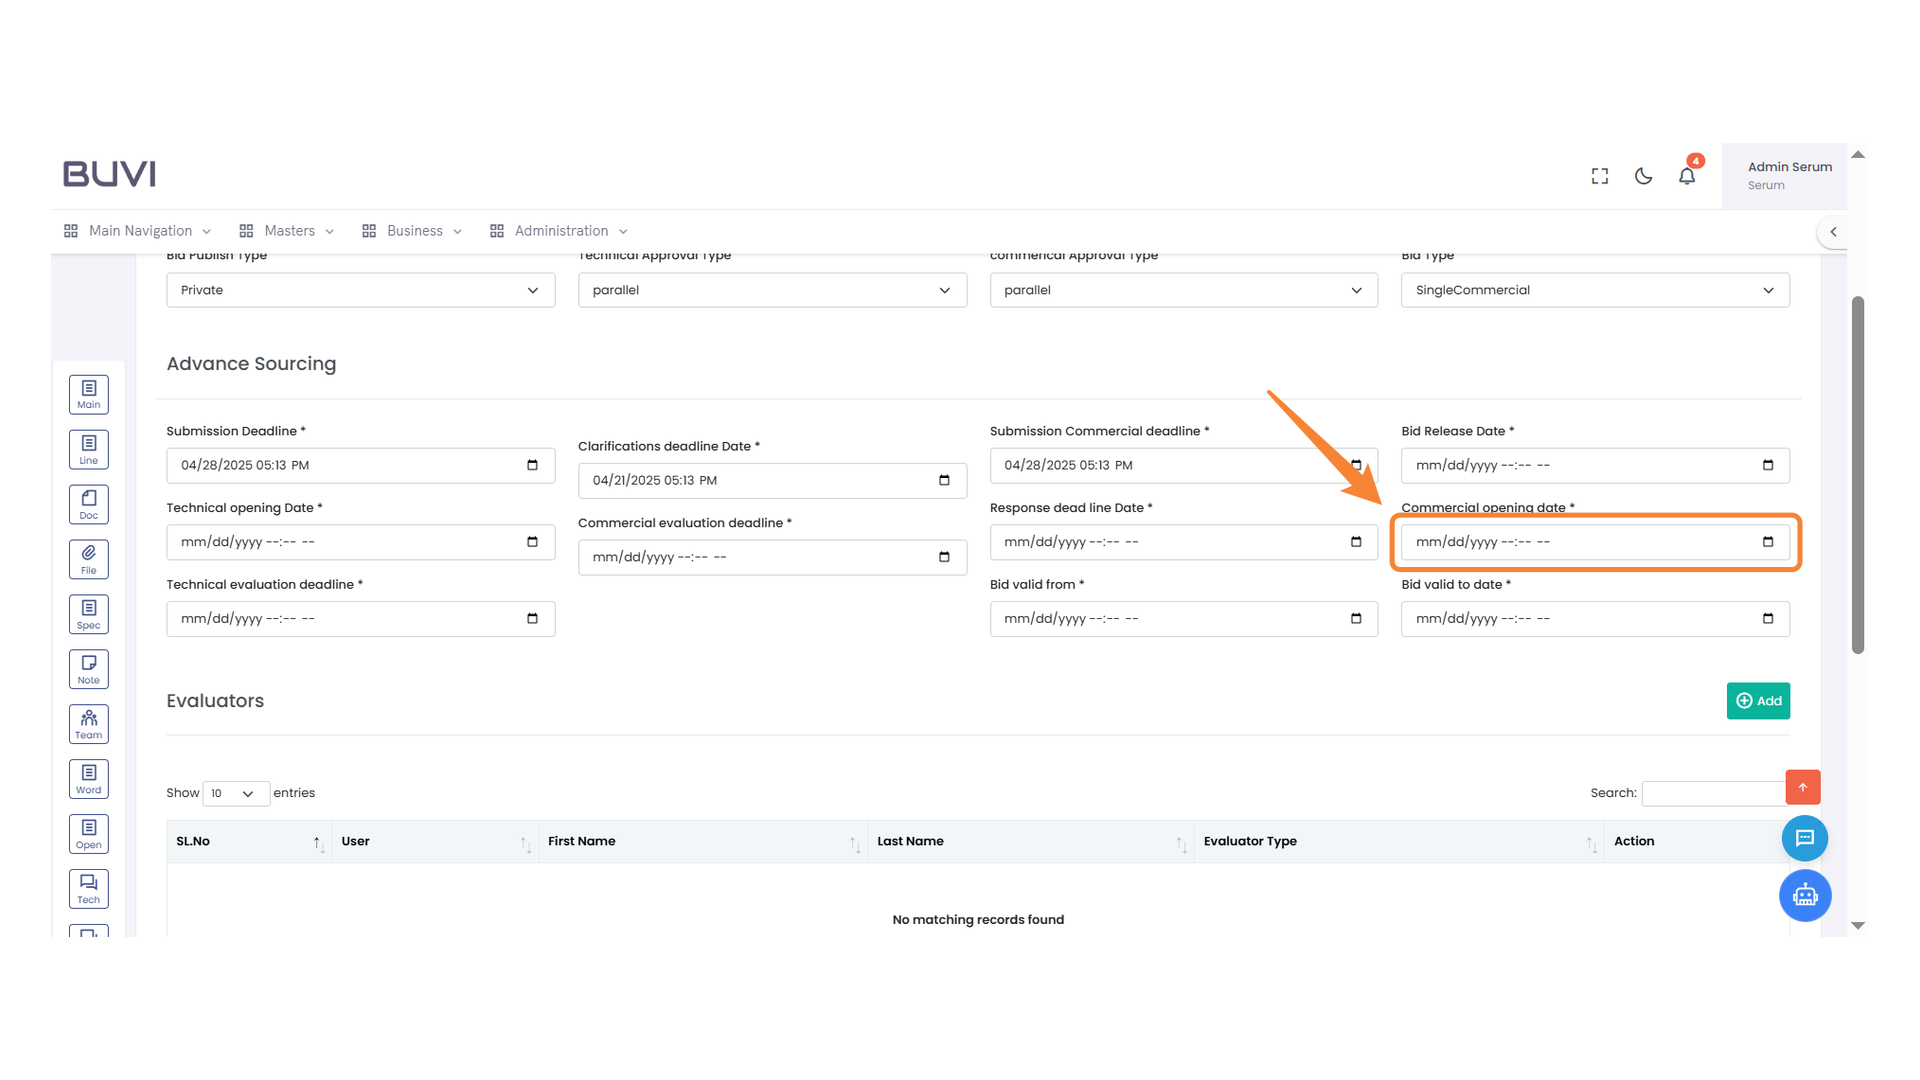
23. Commercial Opening Date Field
Enter the commercial opening date in the specified format.
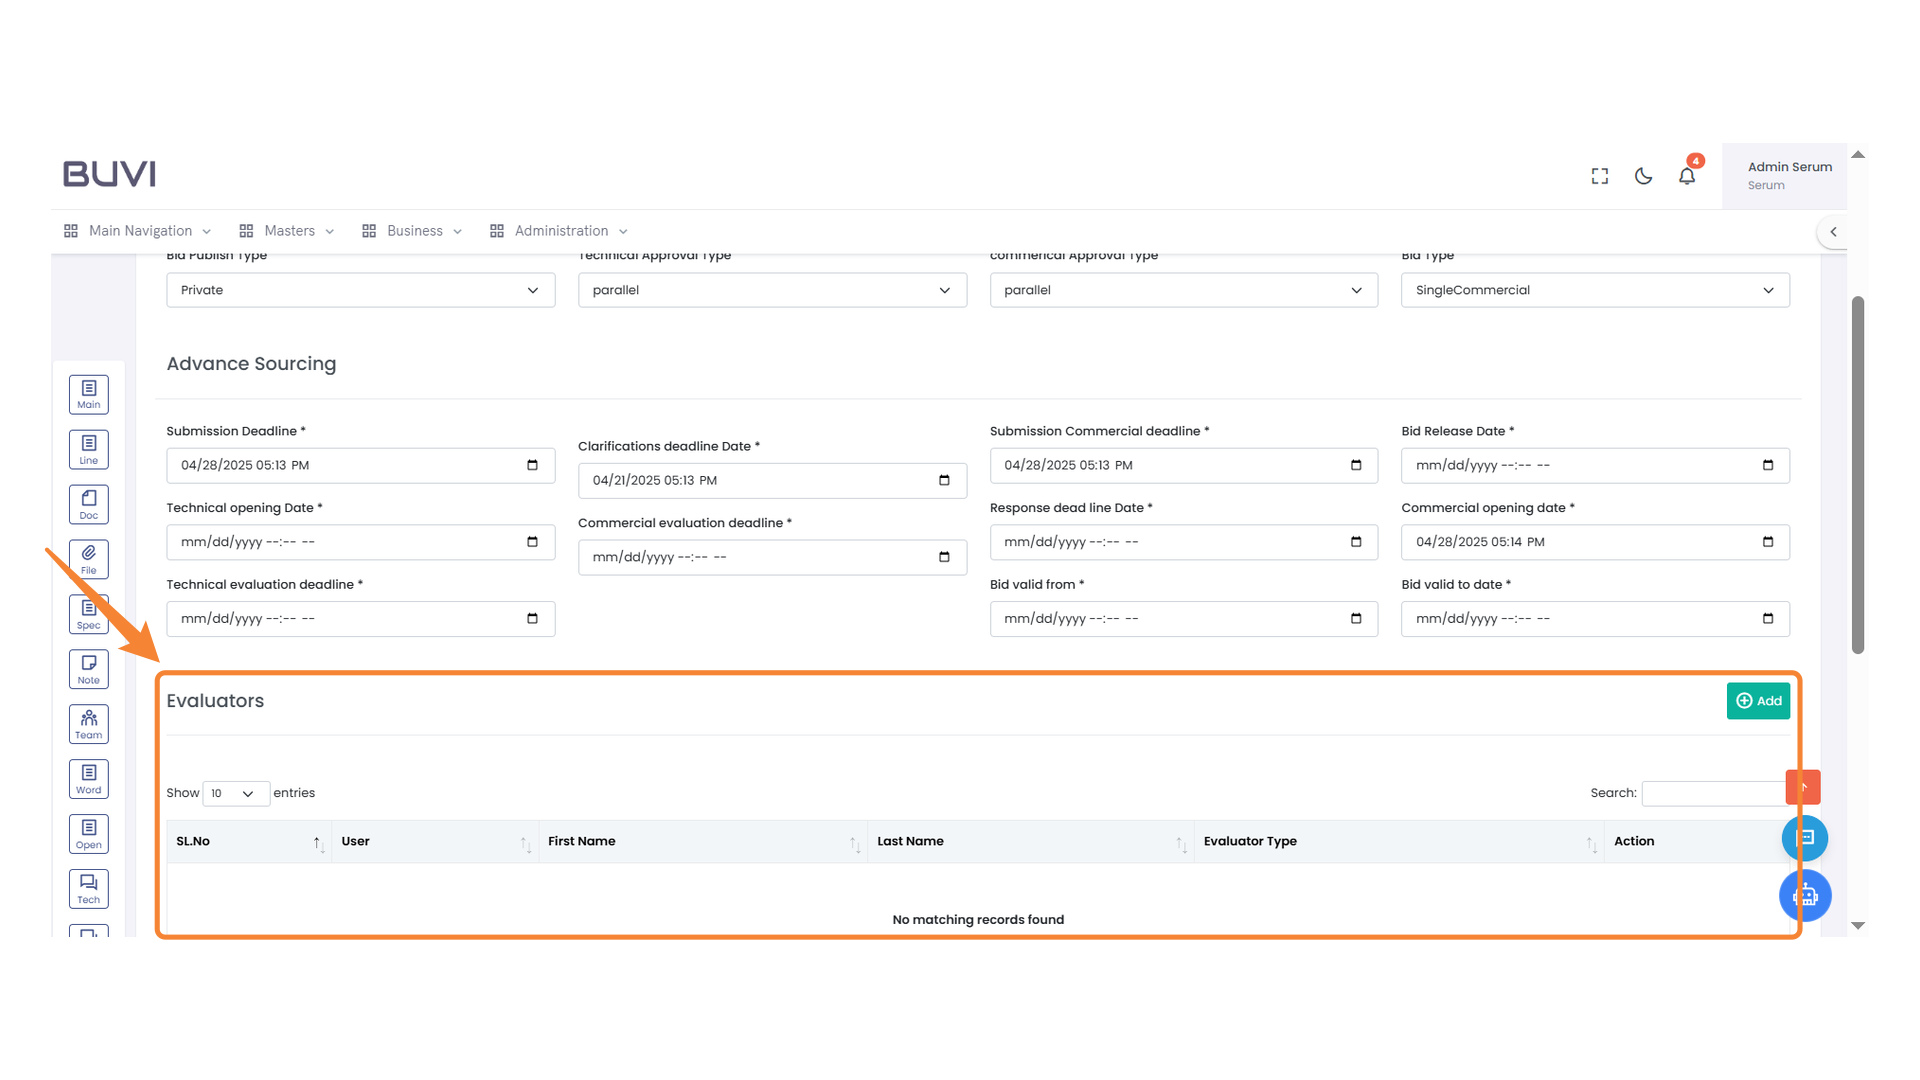
24. Evaluator Management Section
Review and manage the list of evaluators by adjusting the number of visible entries, searching specific records, and adding new evaluator details.
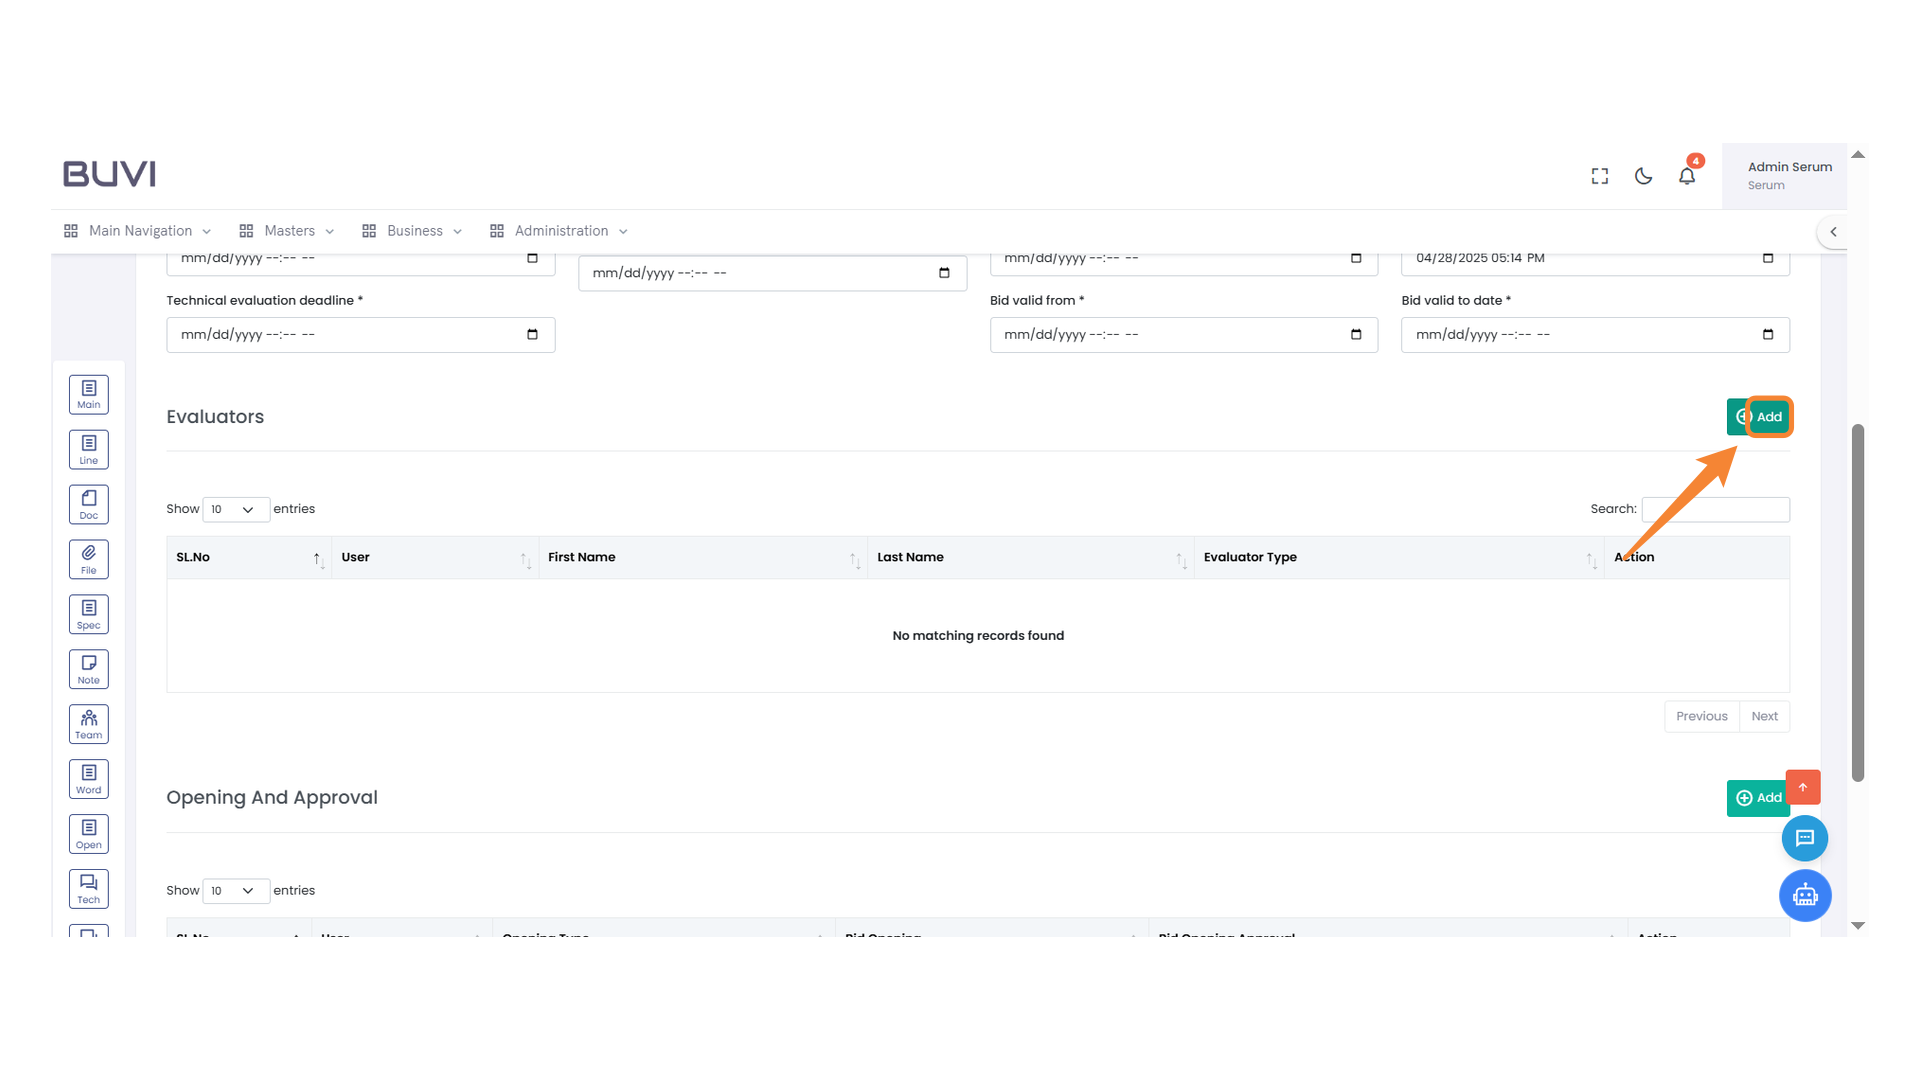
25. Add Evaluator Button
Click to add a new evaluator to the list.
26. User Selection Dropdown
Select a user from the dropdown menu to populate the available options.
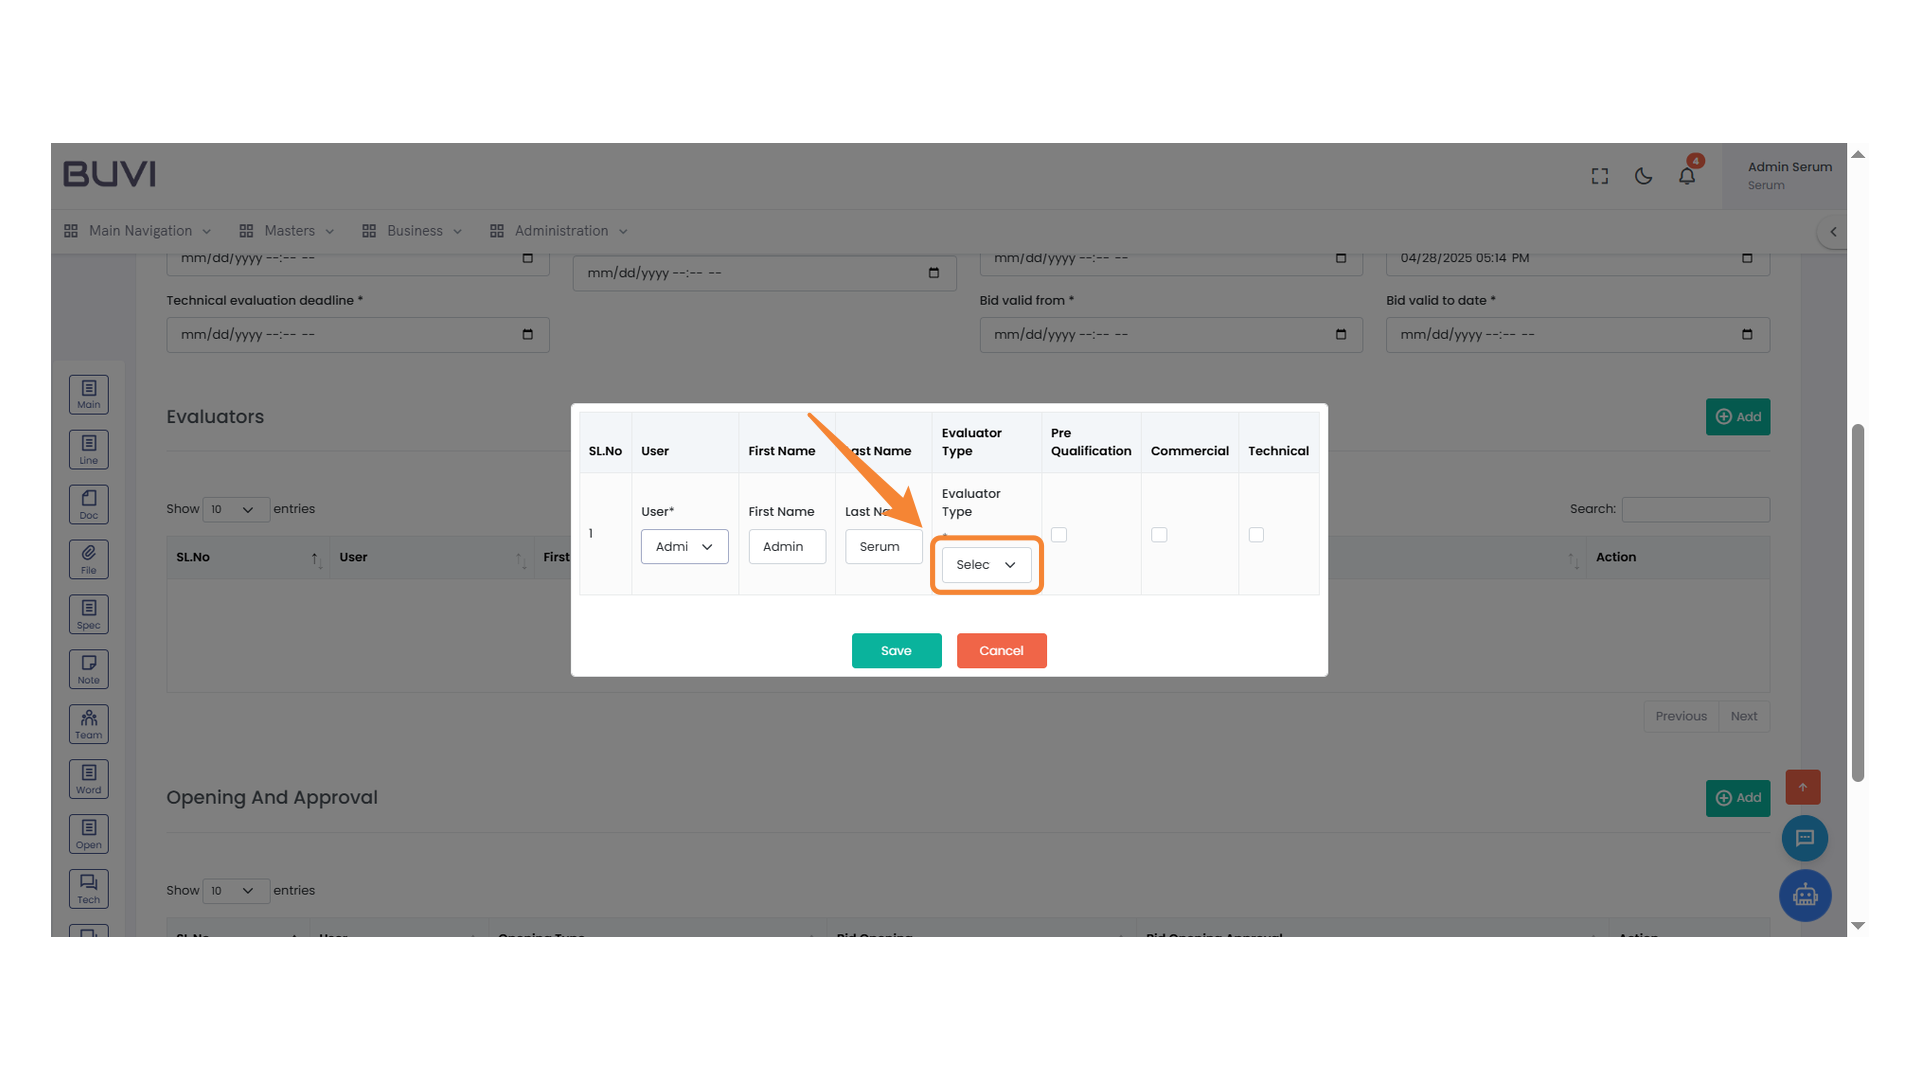
27. Evaluator Type Selection
Choose an evaluator type from the dropdown menu.
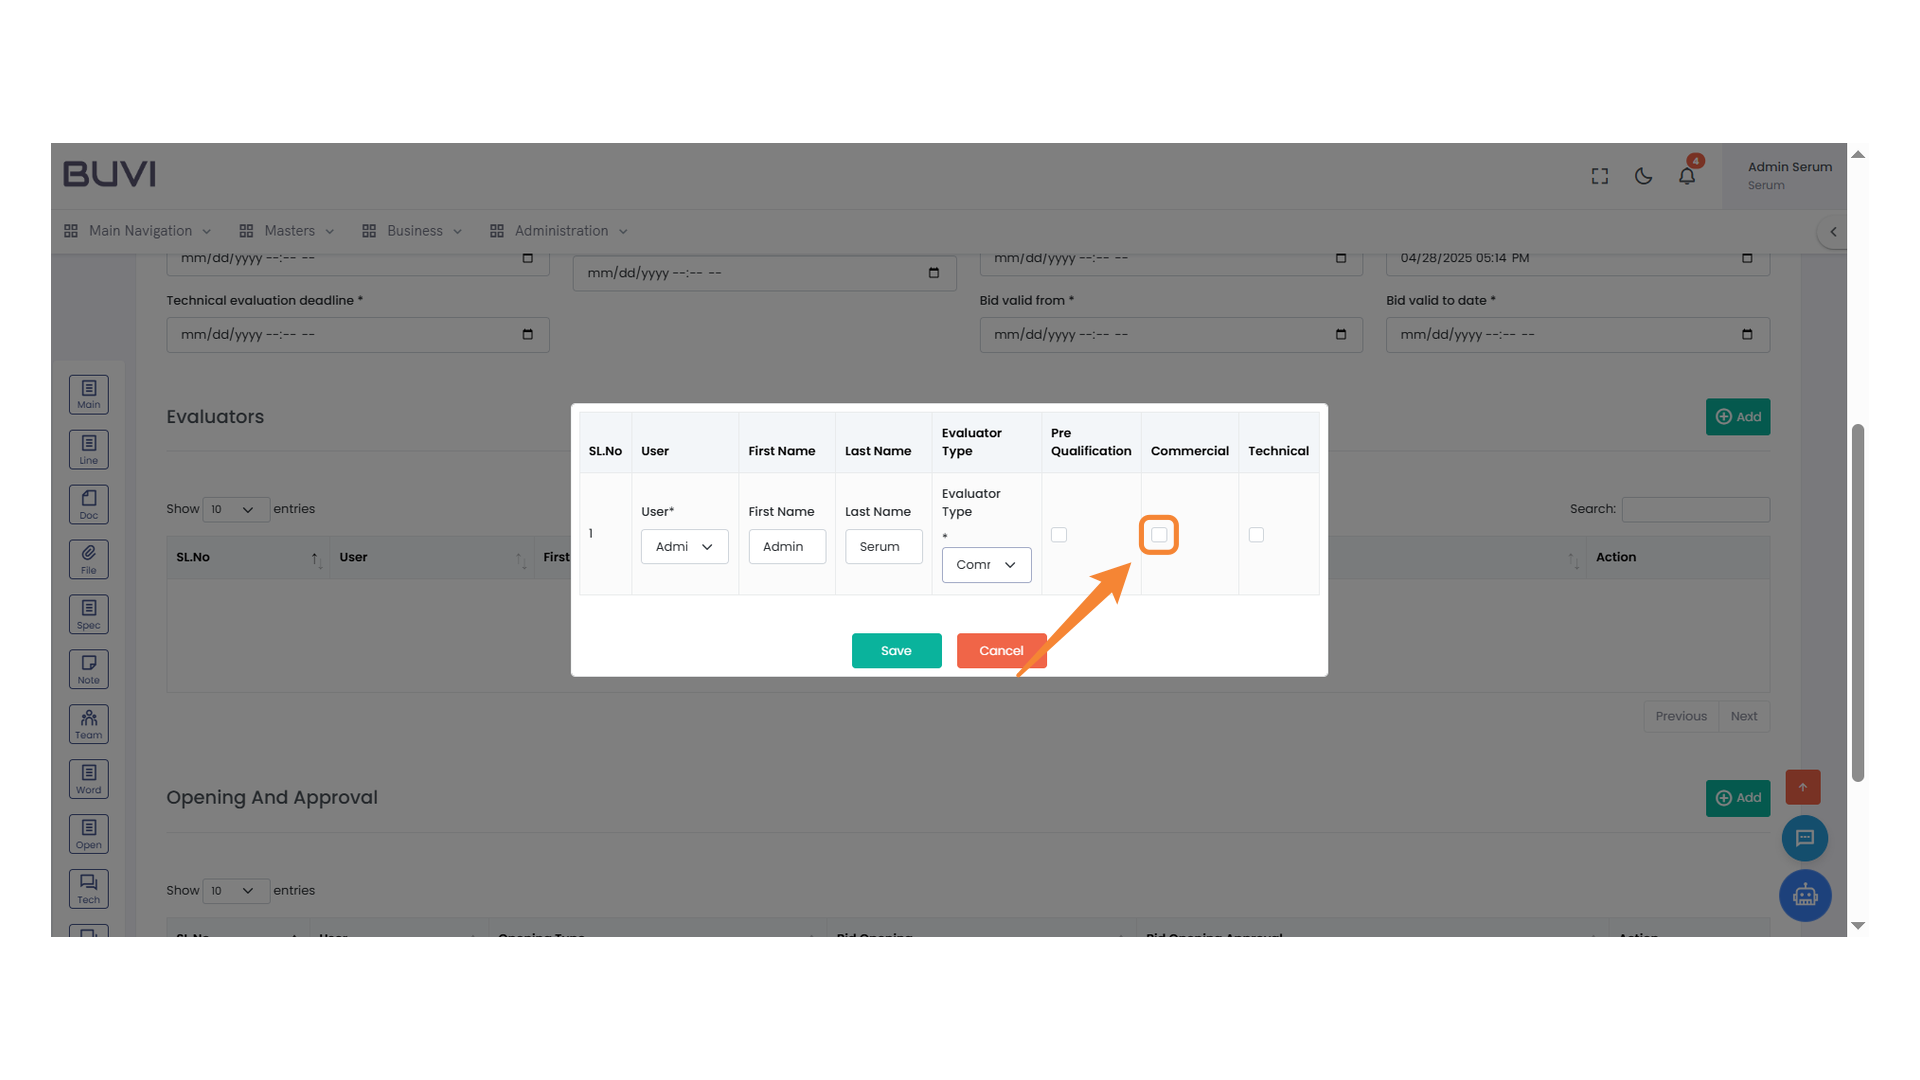
28. Commercial Evaluation Checkbox
Select this checkbox to include in the commercial evaluation category.
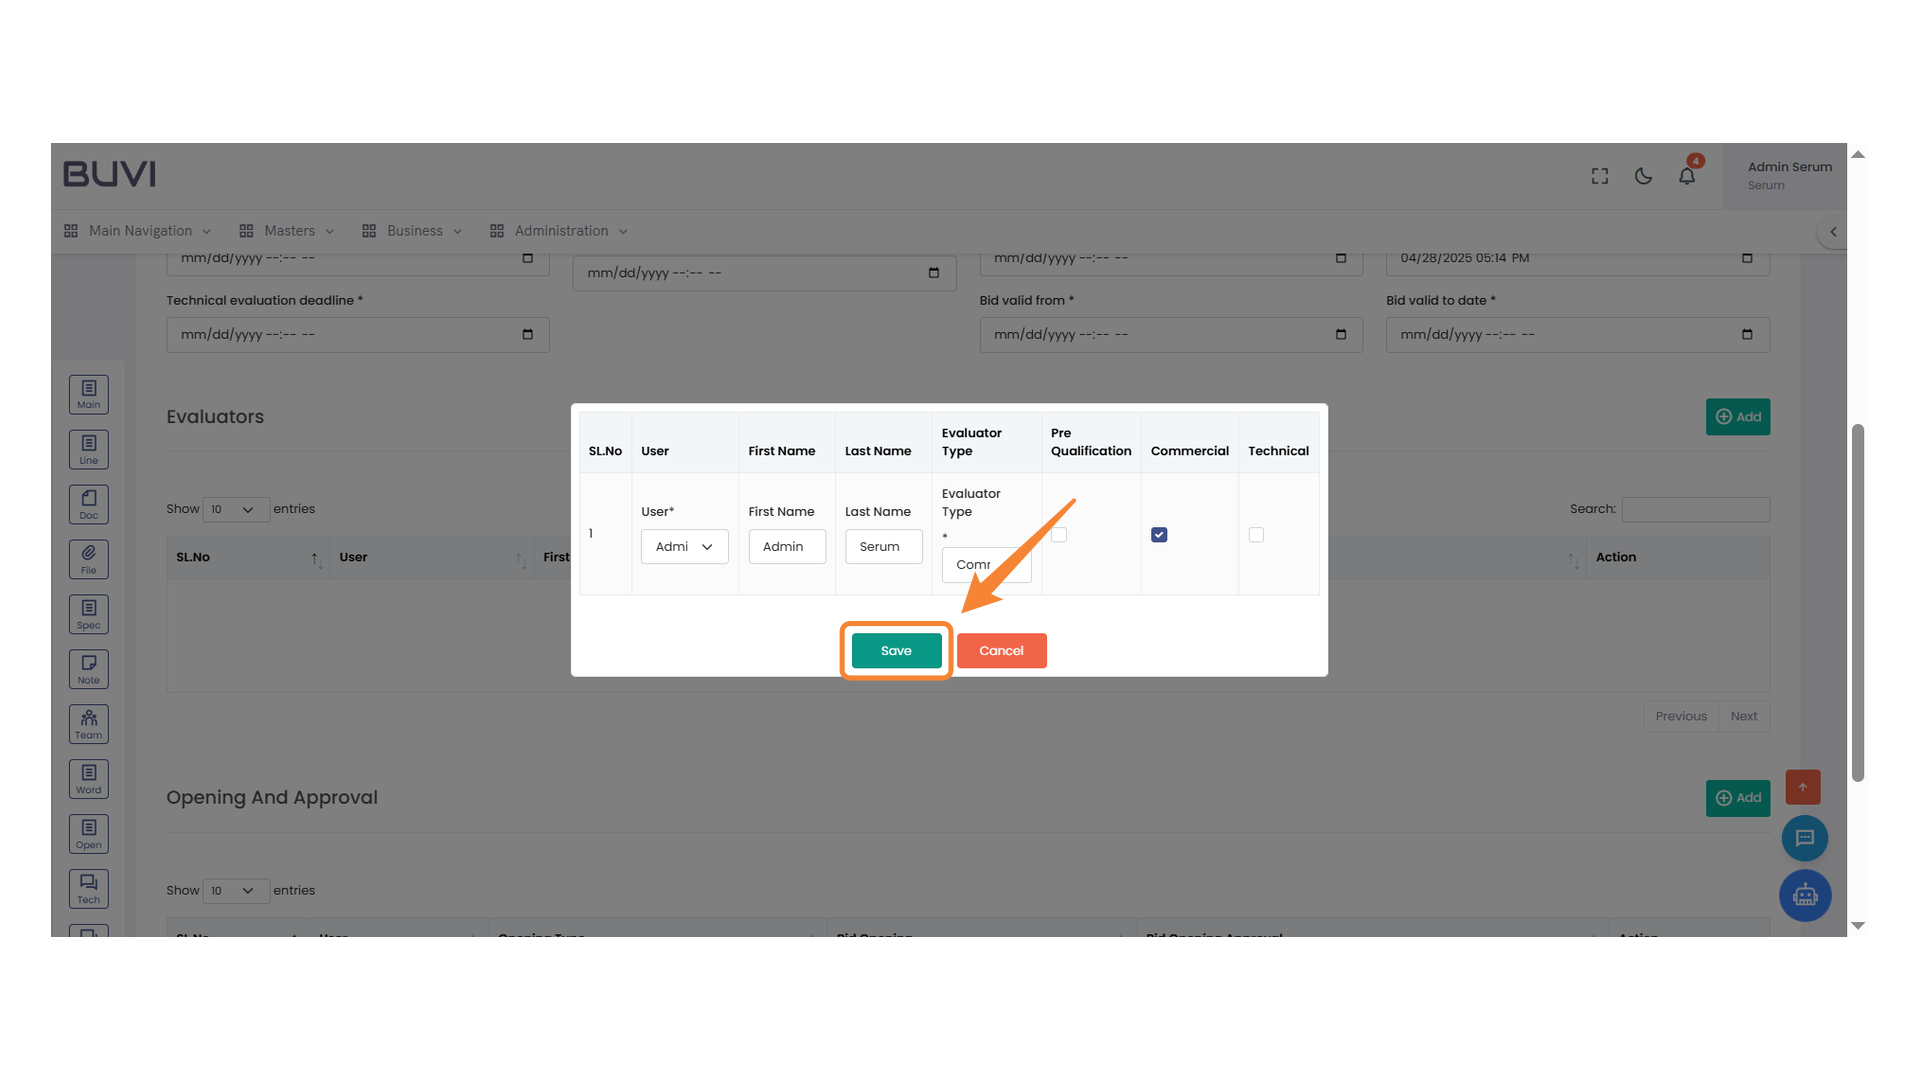
29. Save Button
Click to save your changes.
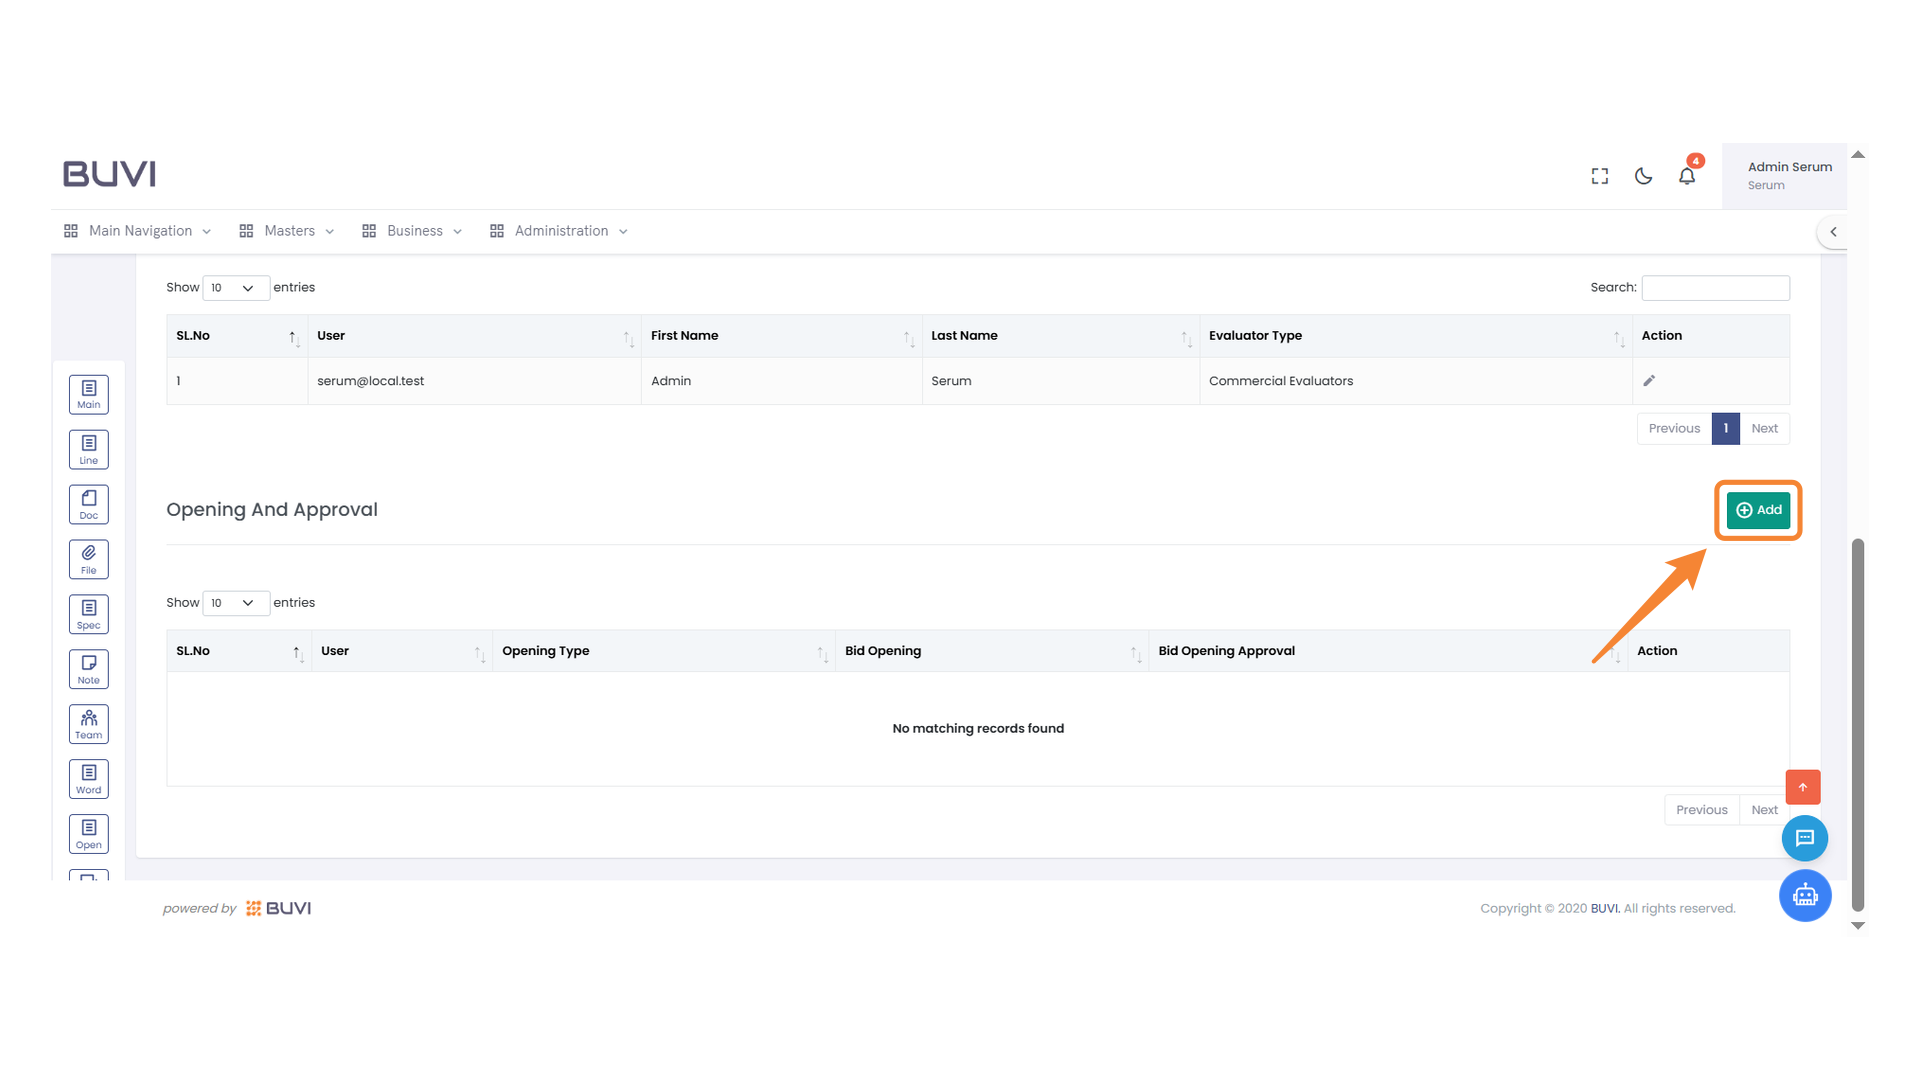
30. Add New Entry Button
Click to add a new entry in the list.
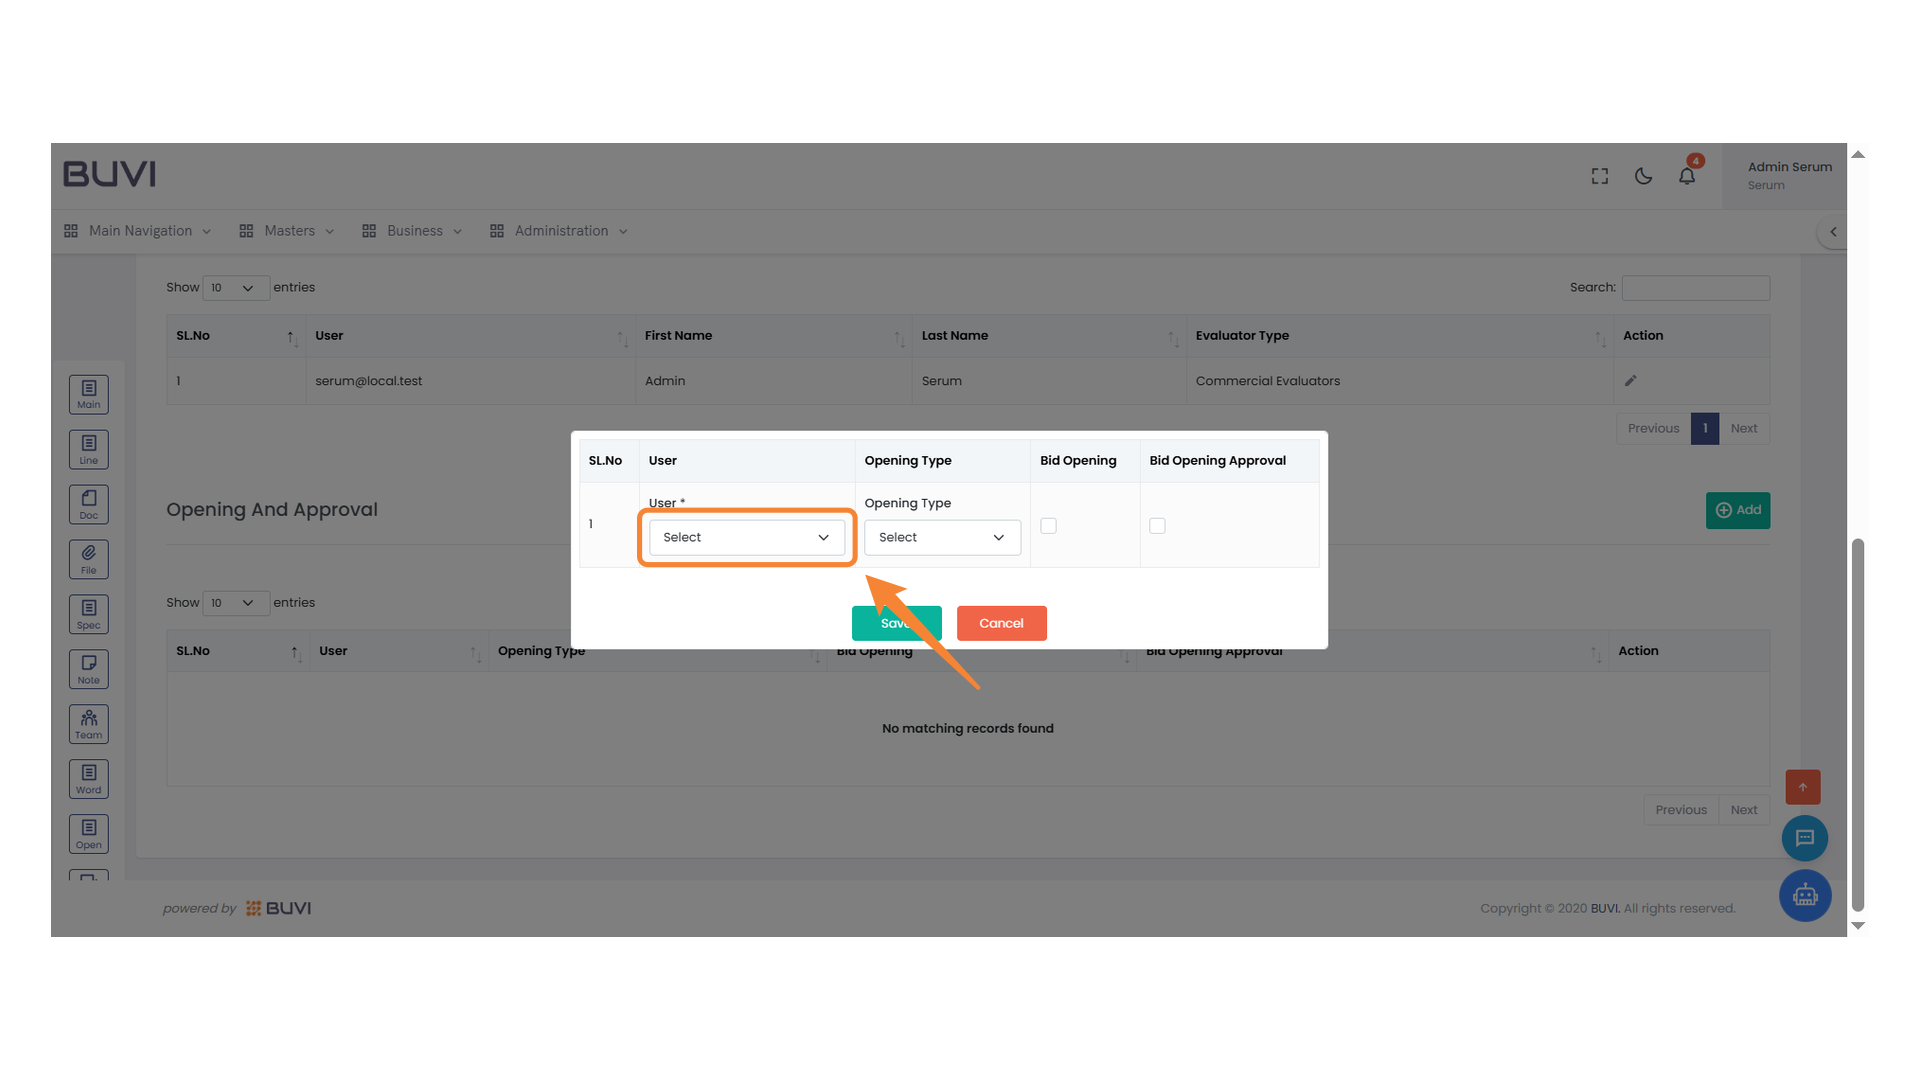
31. User Selection Menu
Choose a user from the dropdown menu to proceed with the operation.
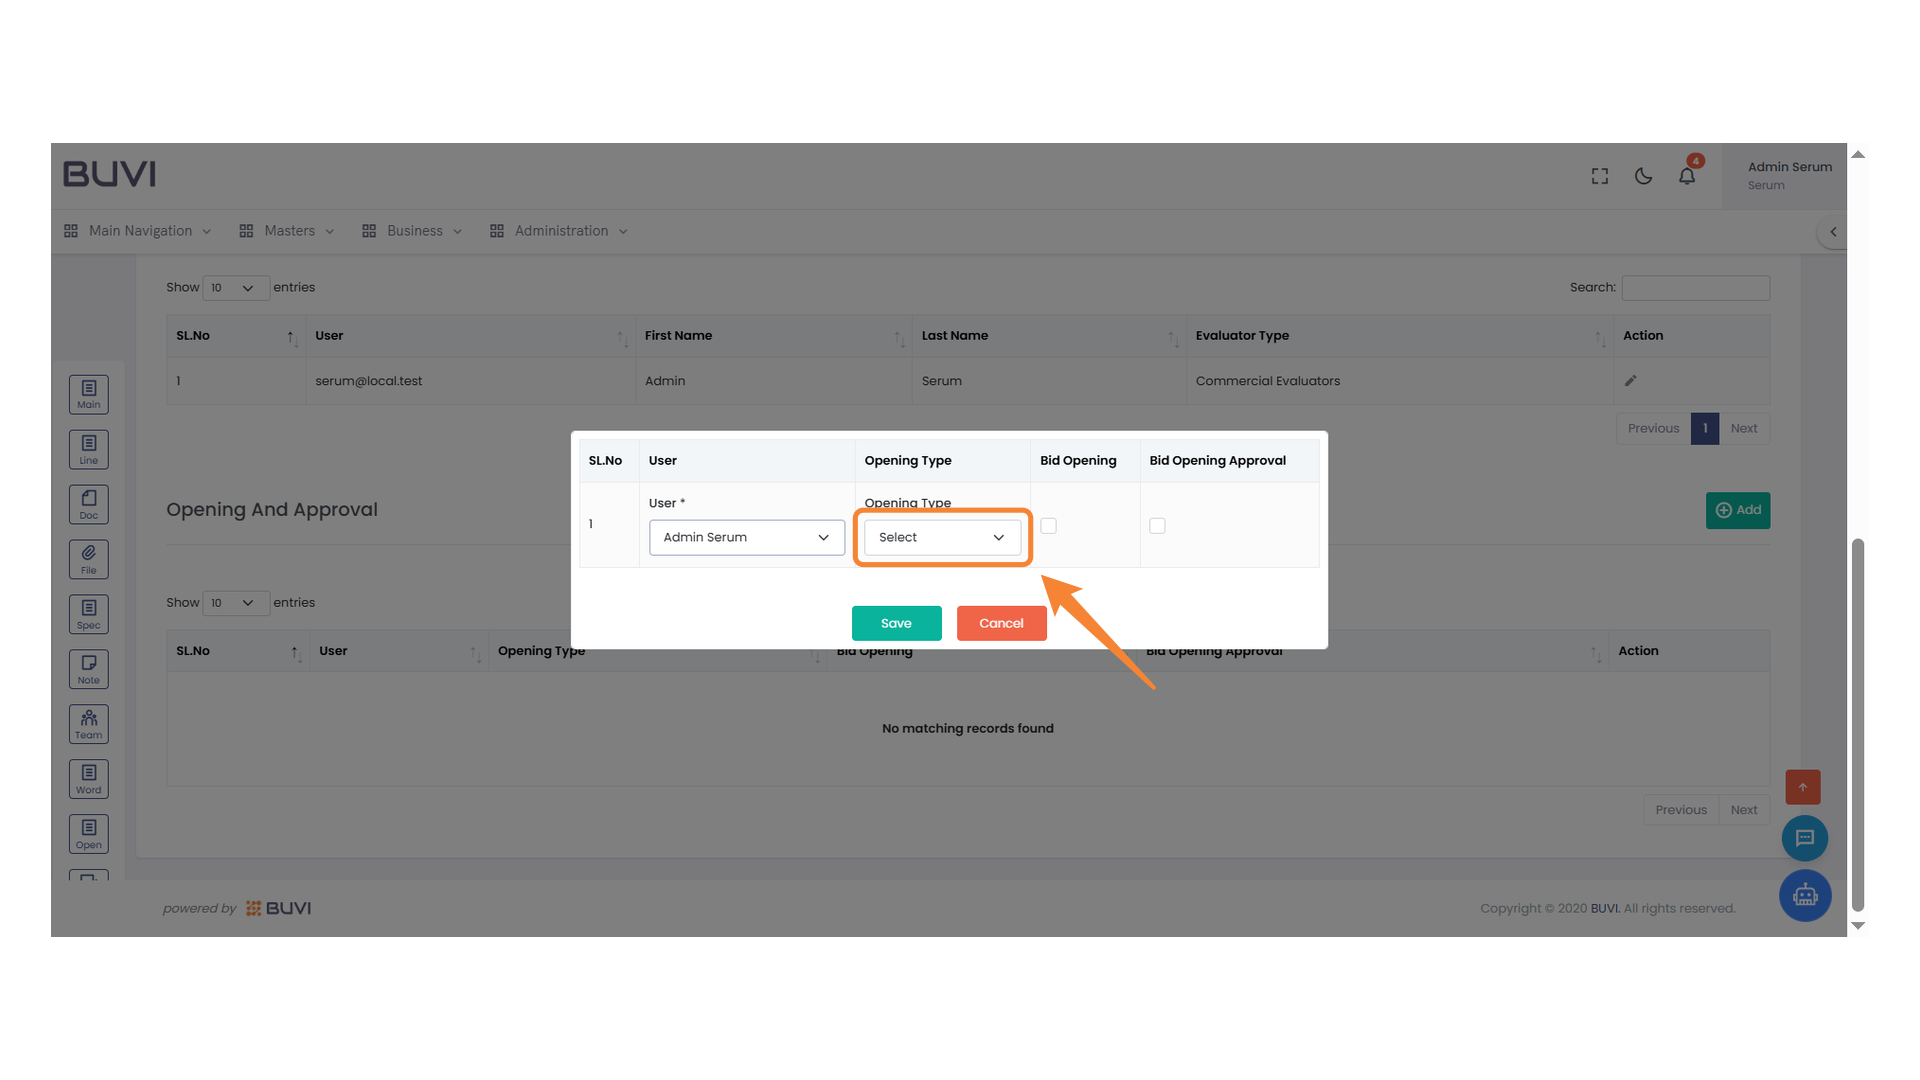
32. Opening Type Selection
Choose the appropriate opening type from the dropdown menu.
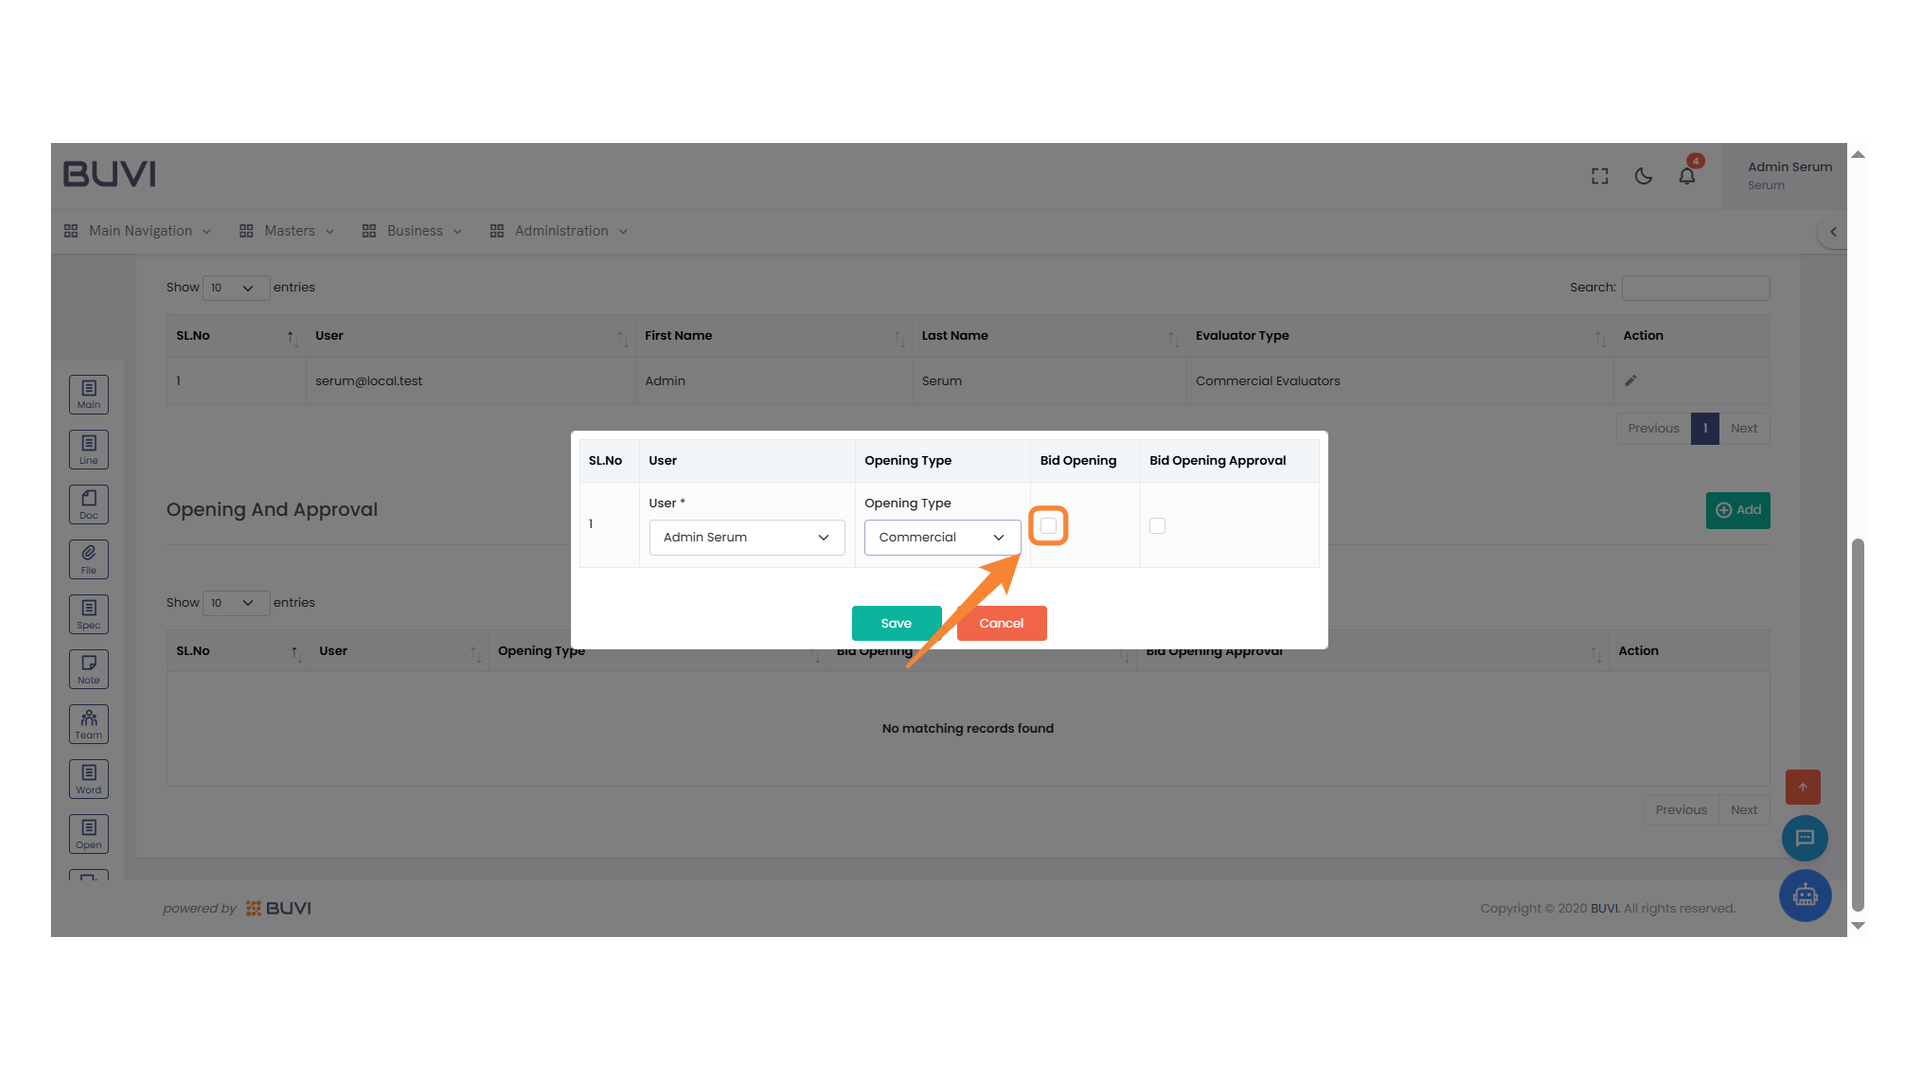
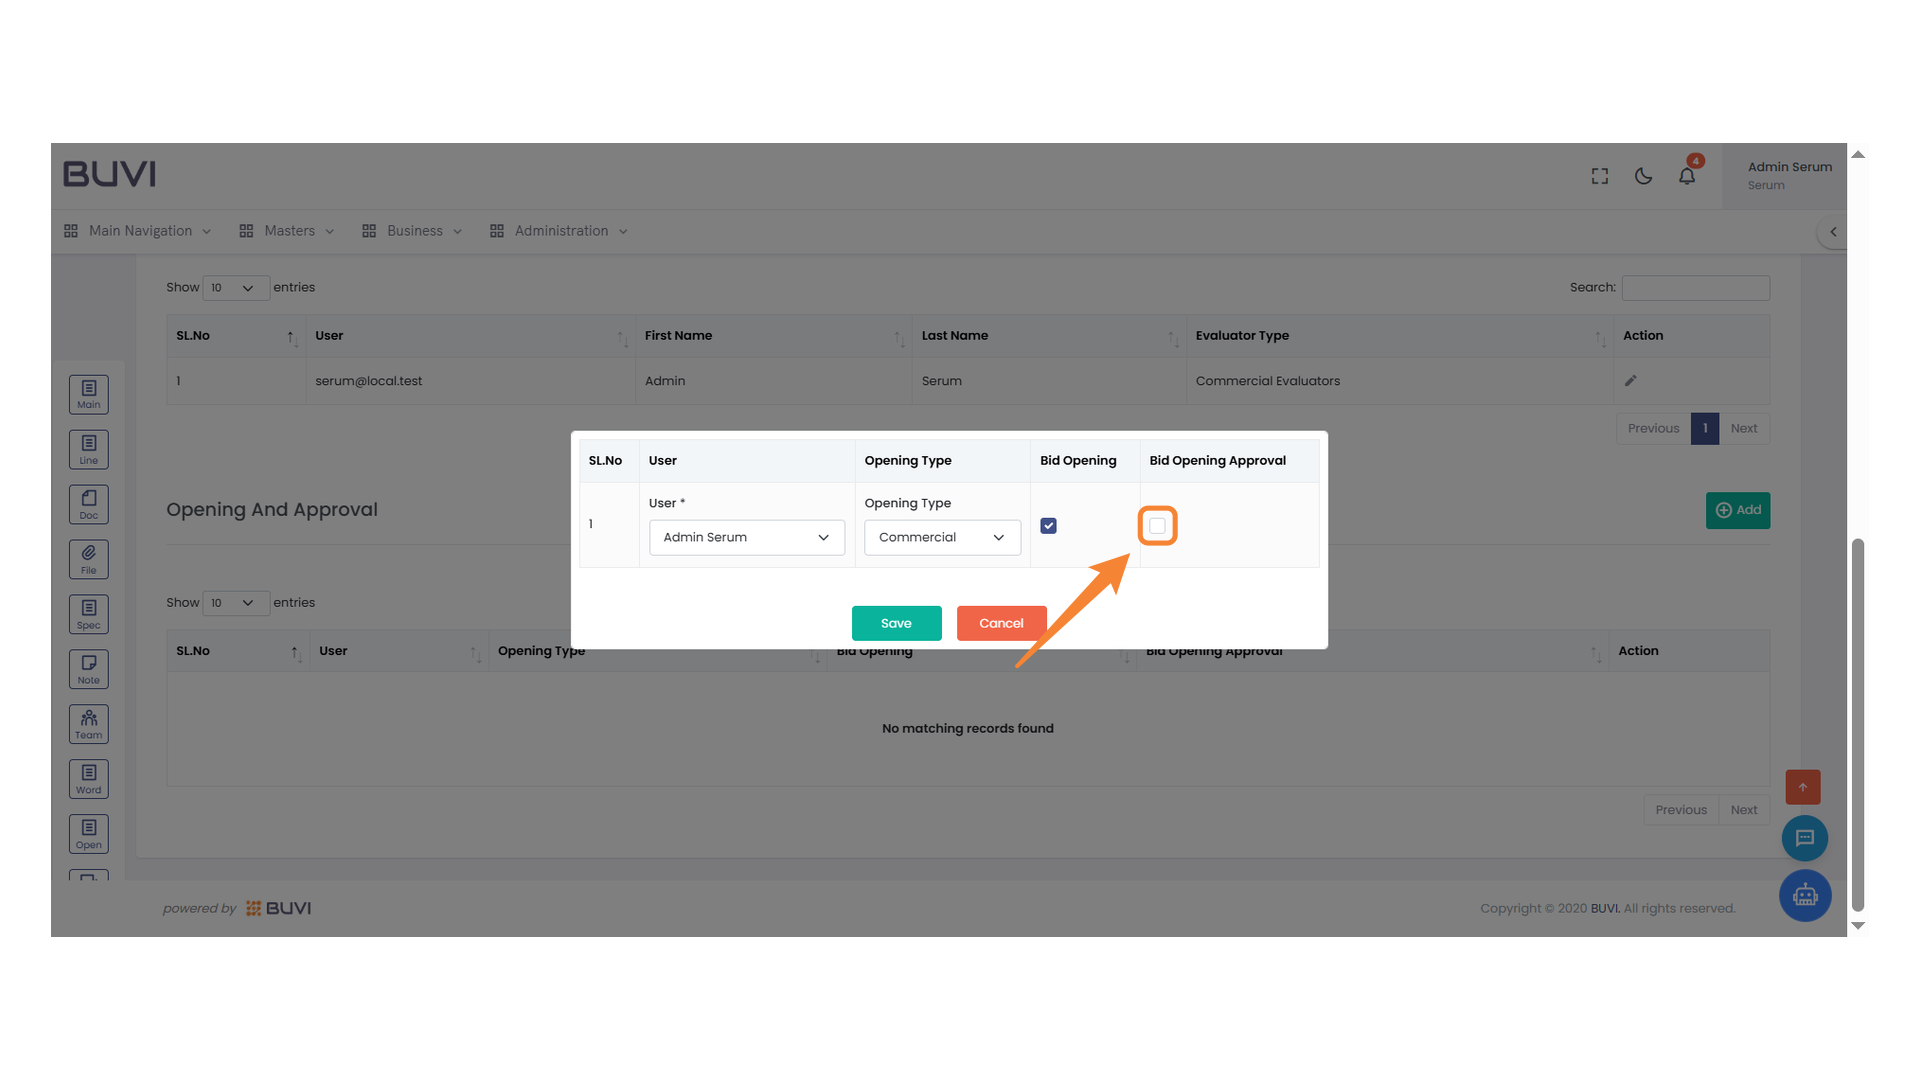
33. Bid Opening Checkbox
Select the checkbox to indicate bid opening status.
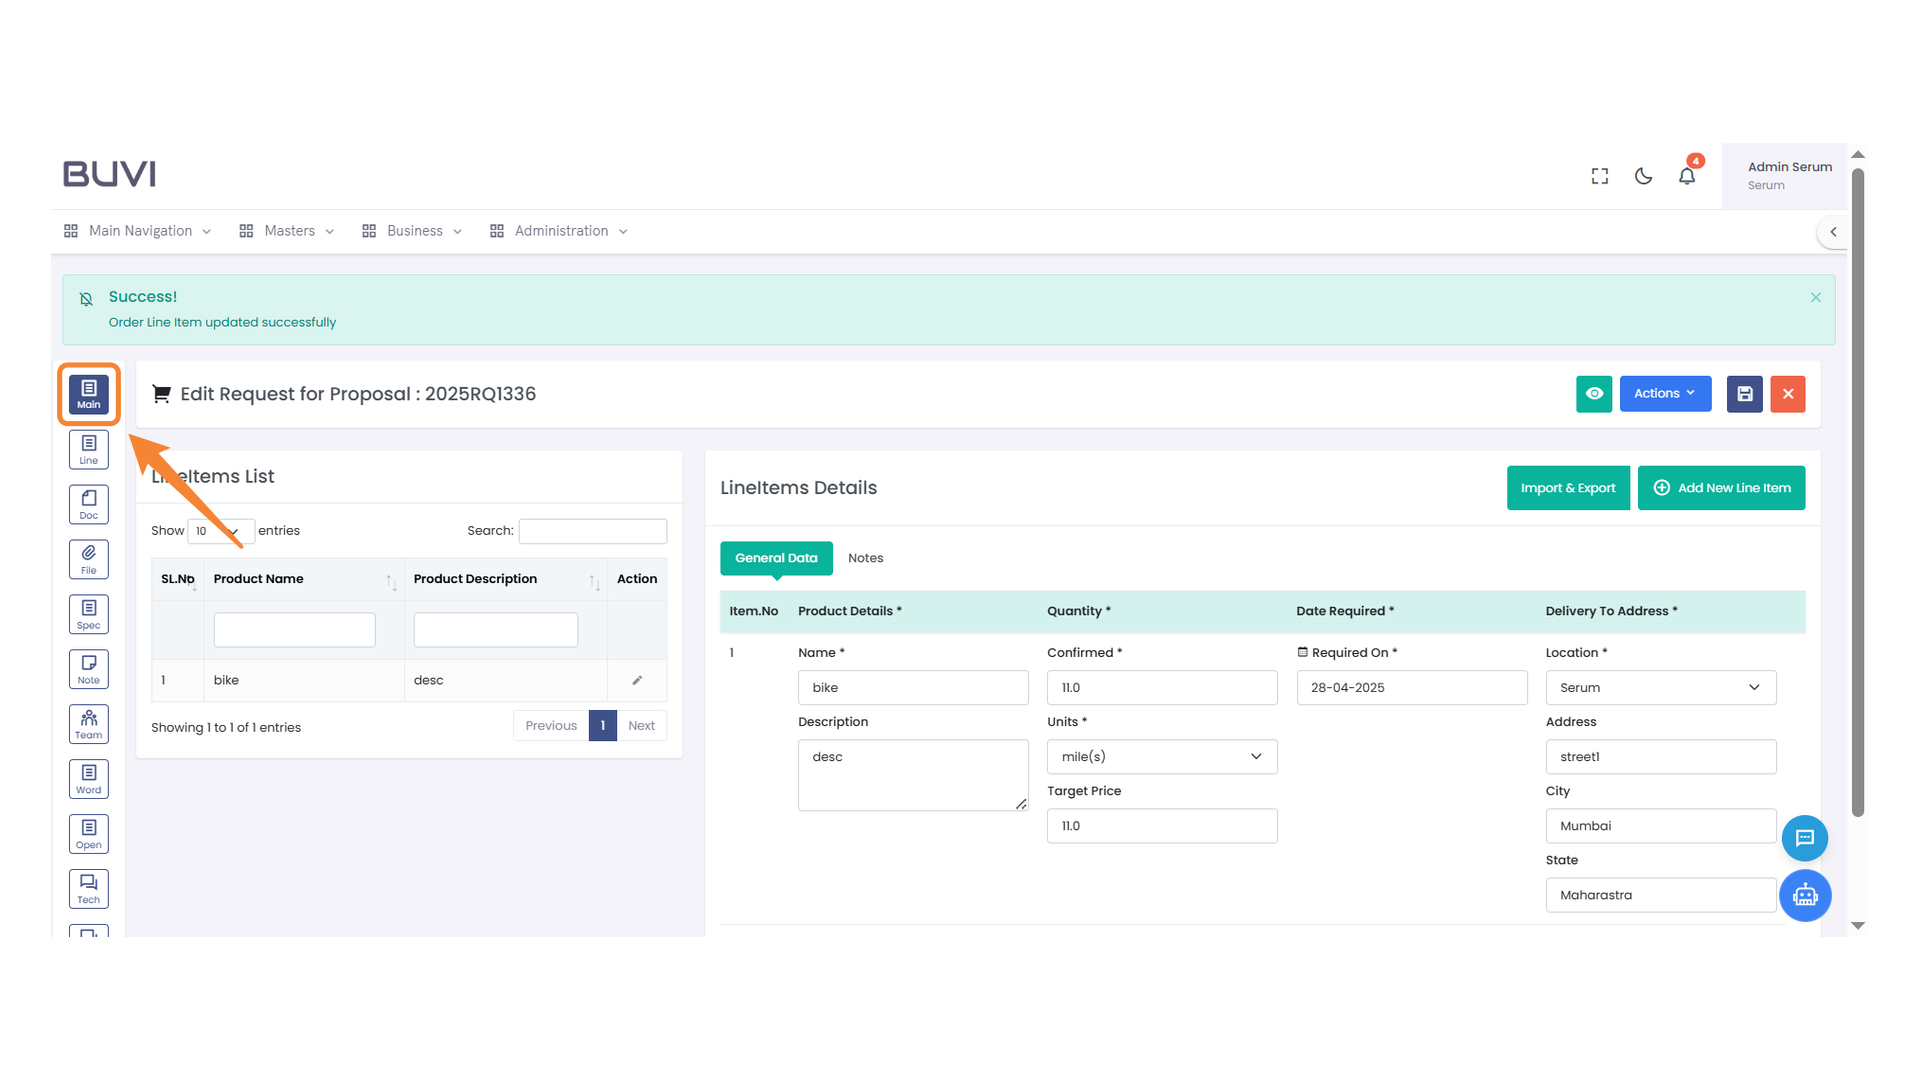
34. Bid Opening Approval Checkbox
Select the checkbox to approve the bid opening.
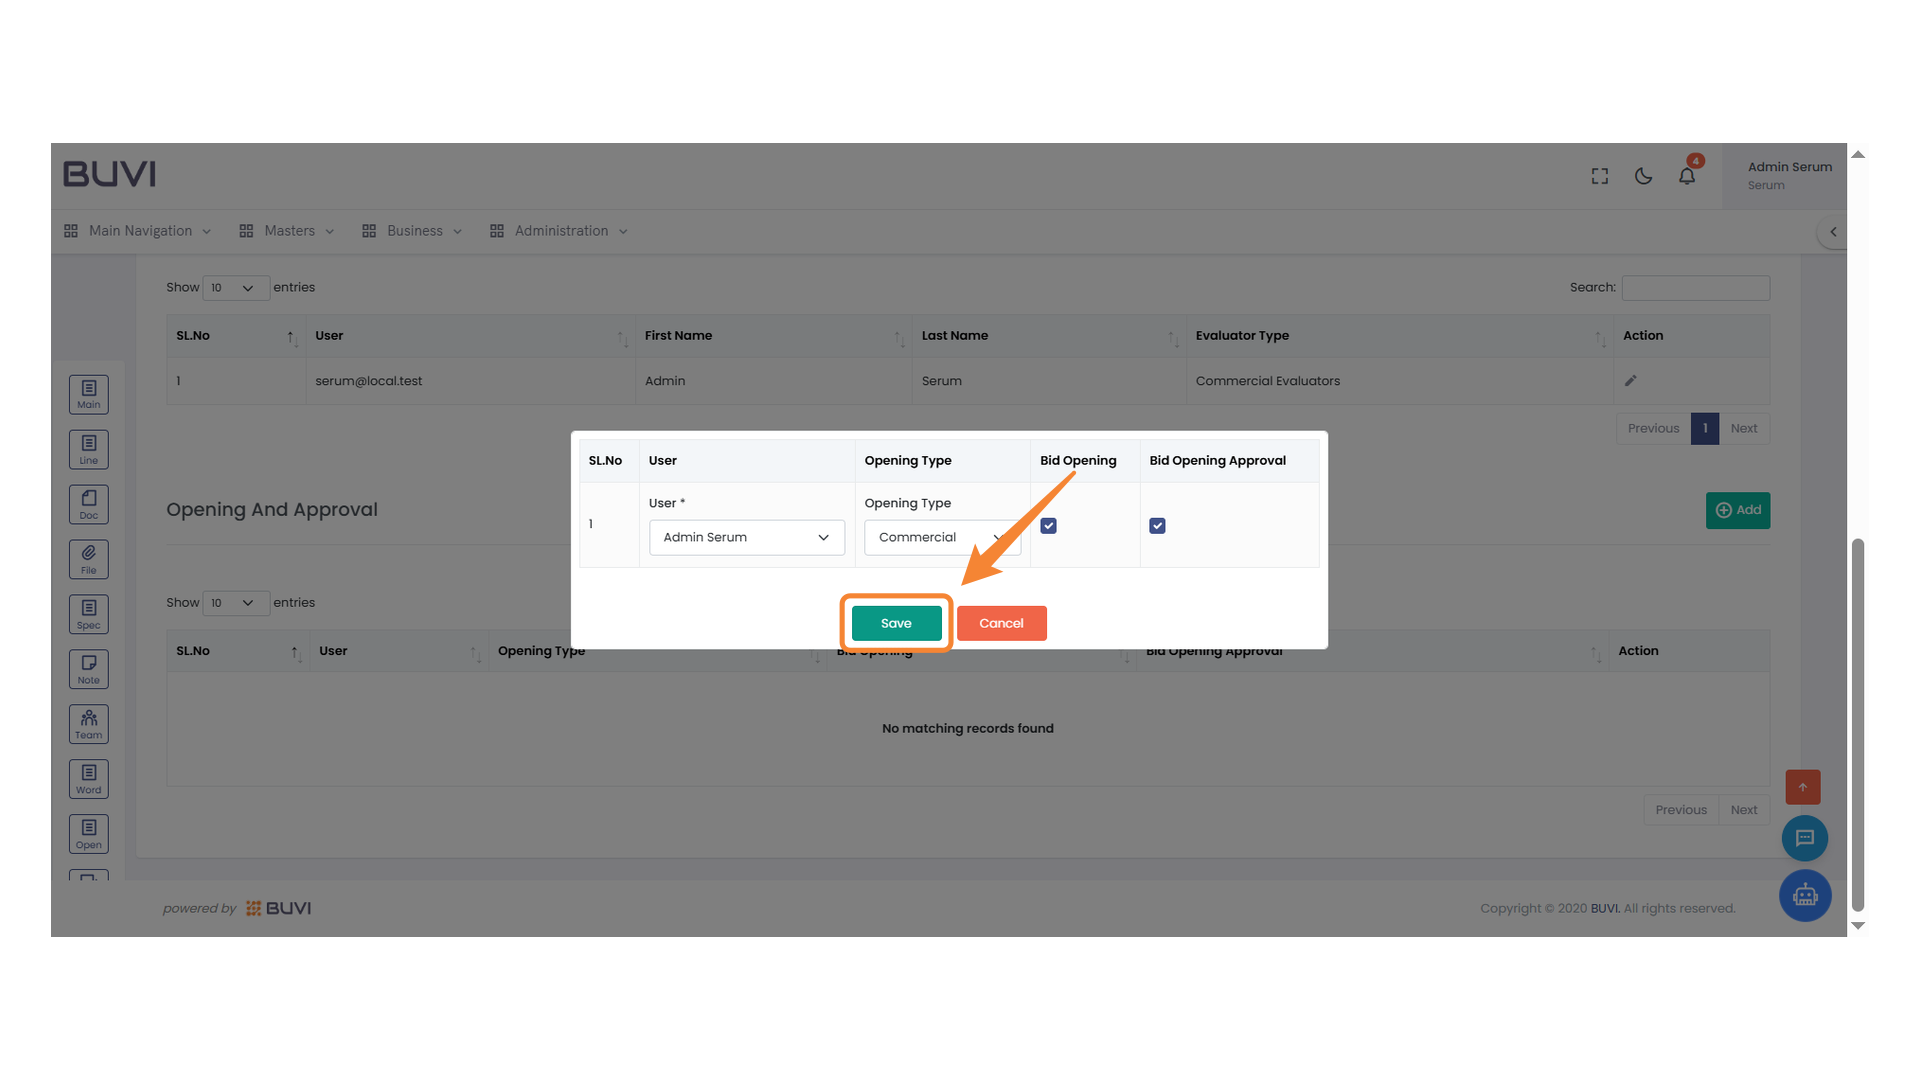
35. Save Button Highlight
Click the button to save your changes.
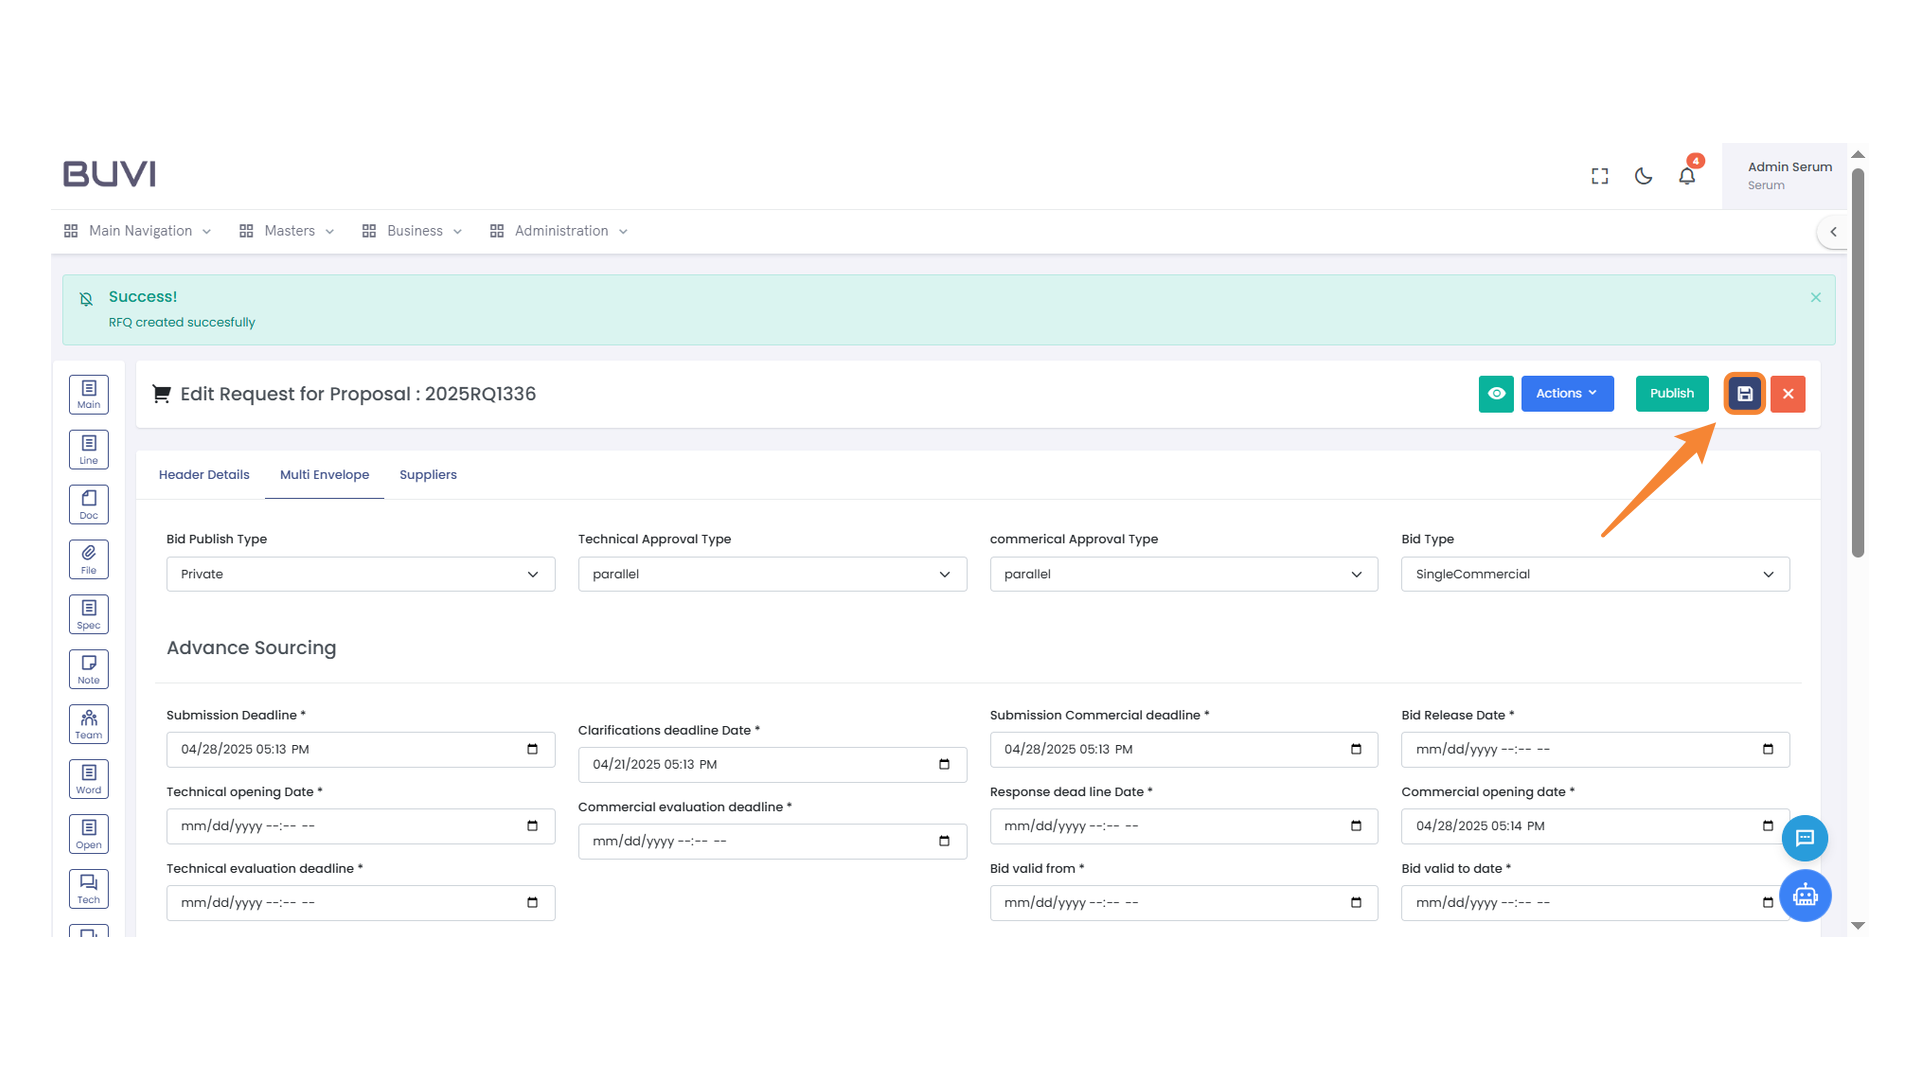
36. Save Changes Icon
Click this icon to save your current changes.
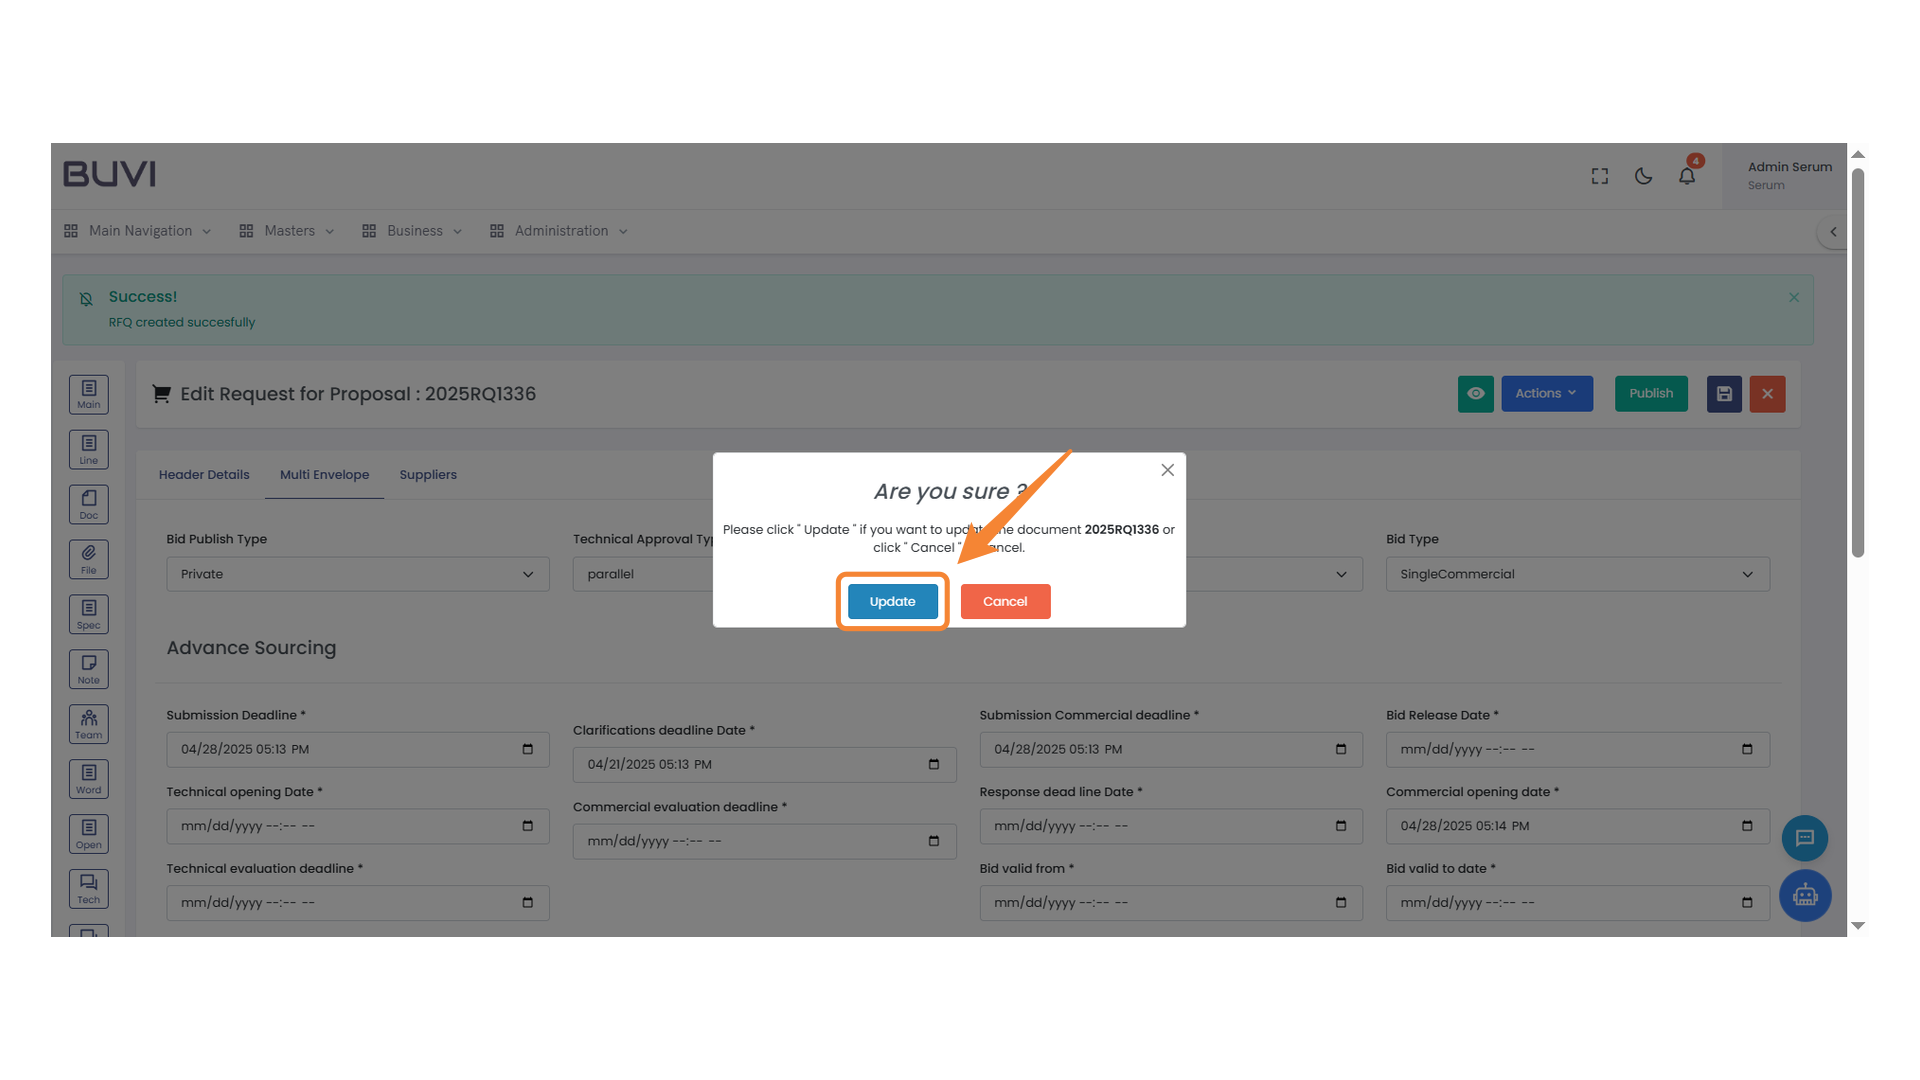
37. Confirmation Dialog Update Button
Click 'Update' to proceed with saving your changes.
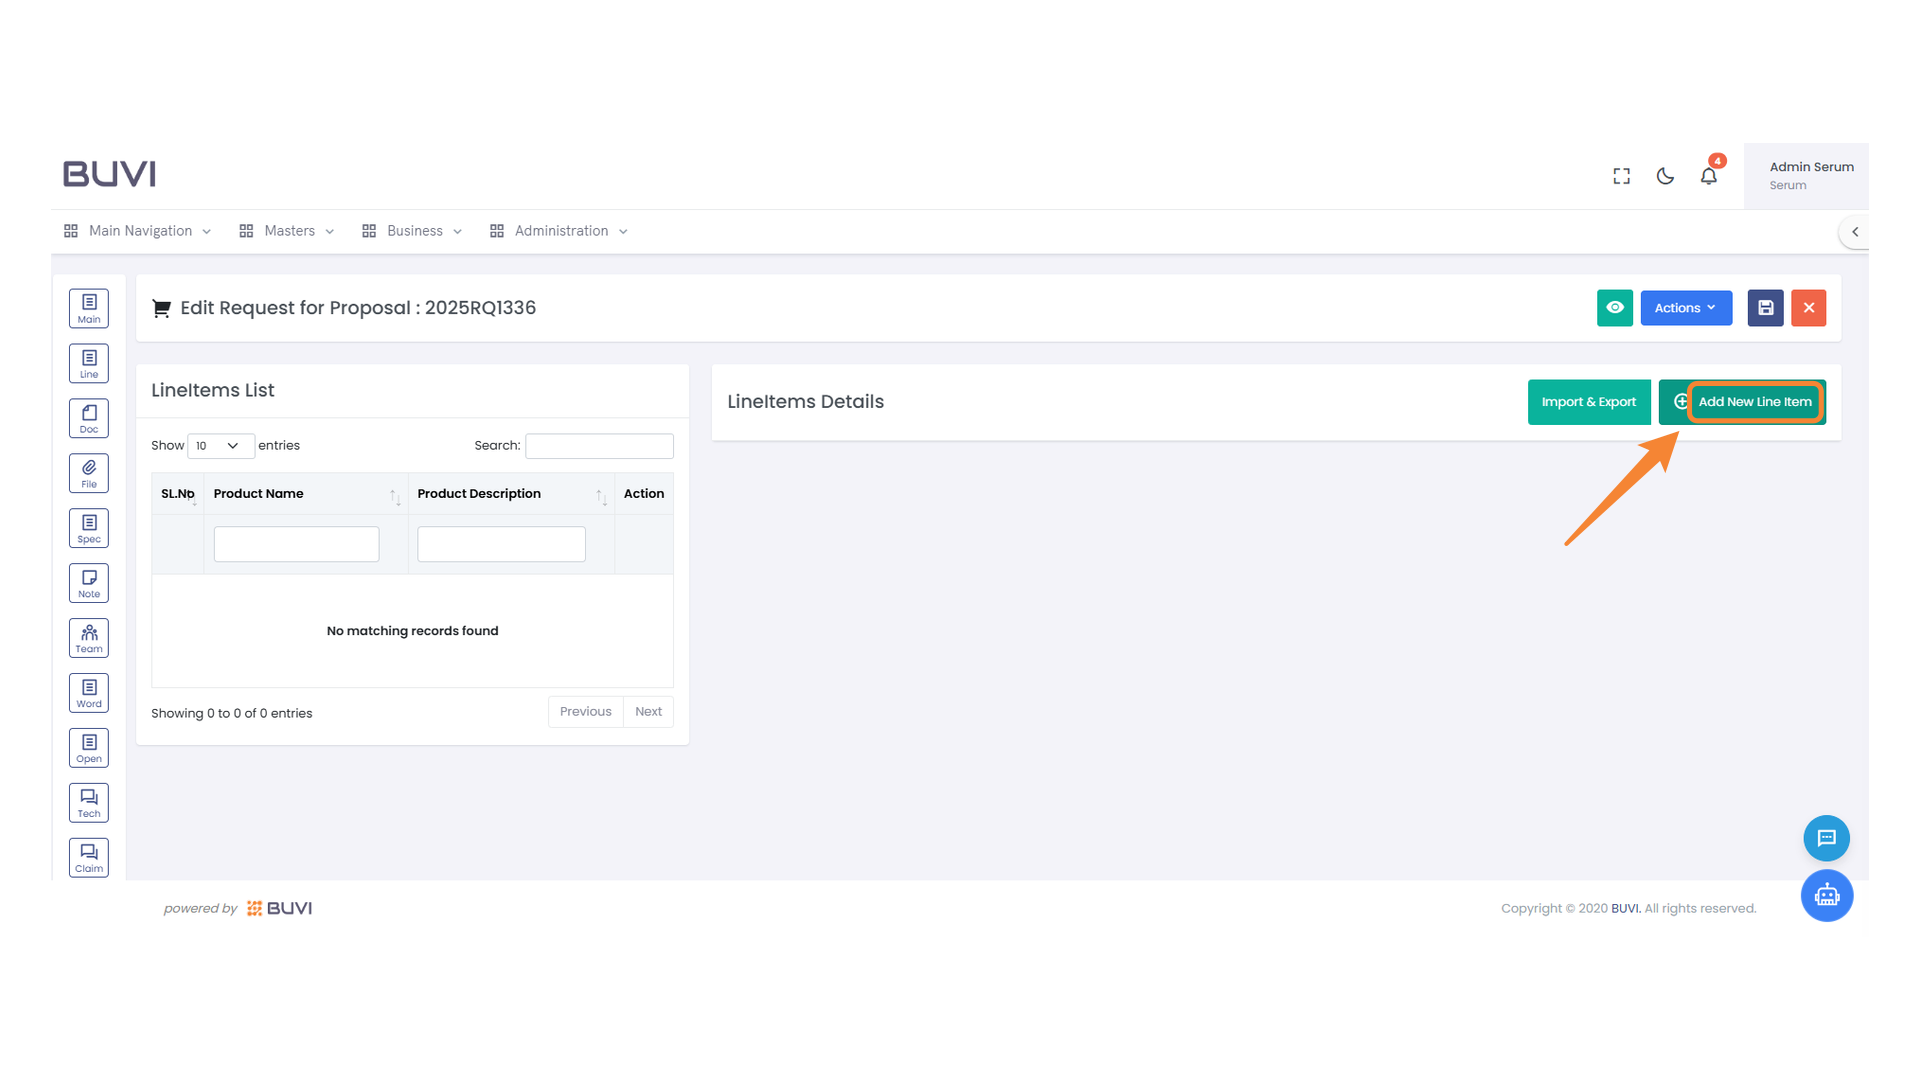
38. Add New Item Button
Click to add a new line item to the list.
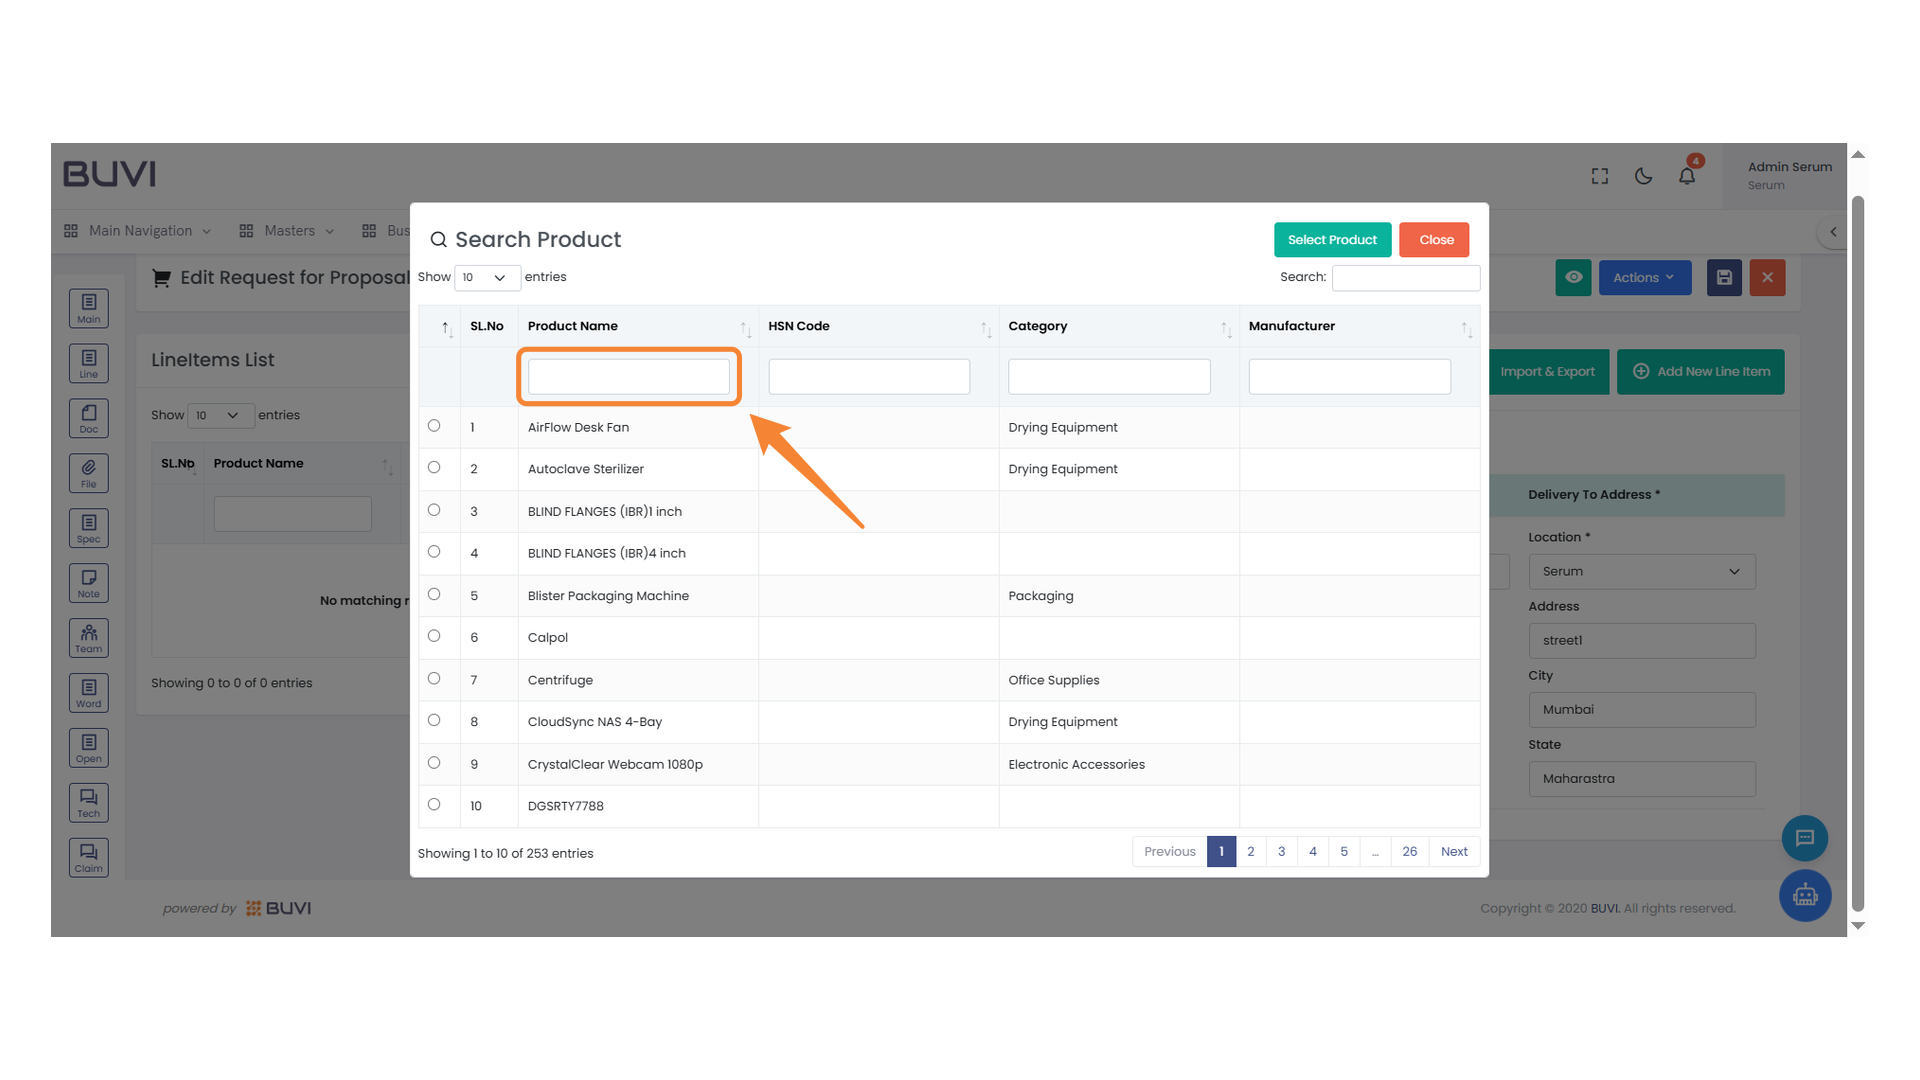
39. Enter Product Name
Type the product name into the empty field to search and select a product.
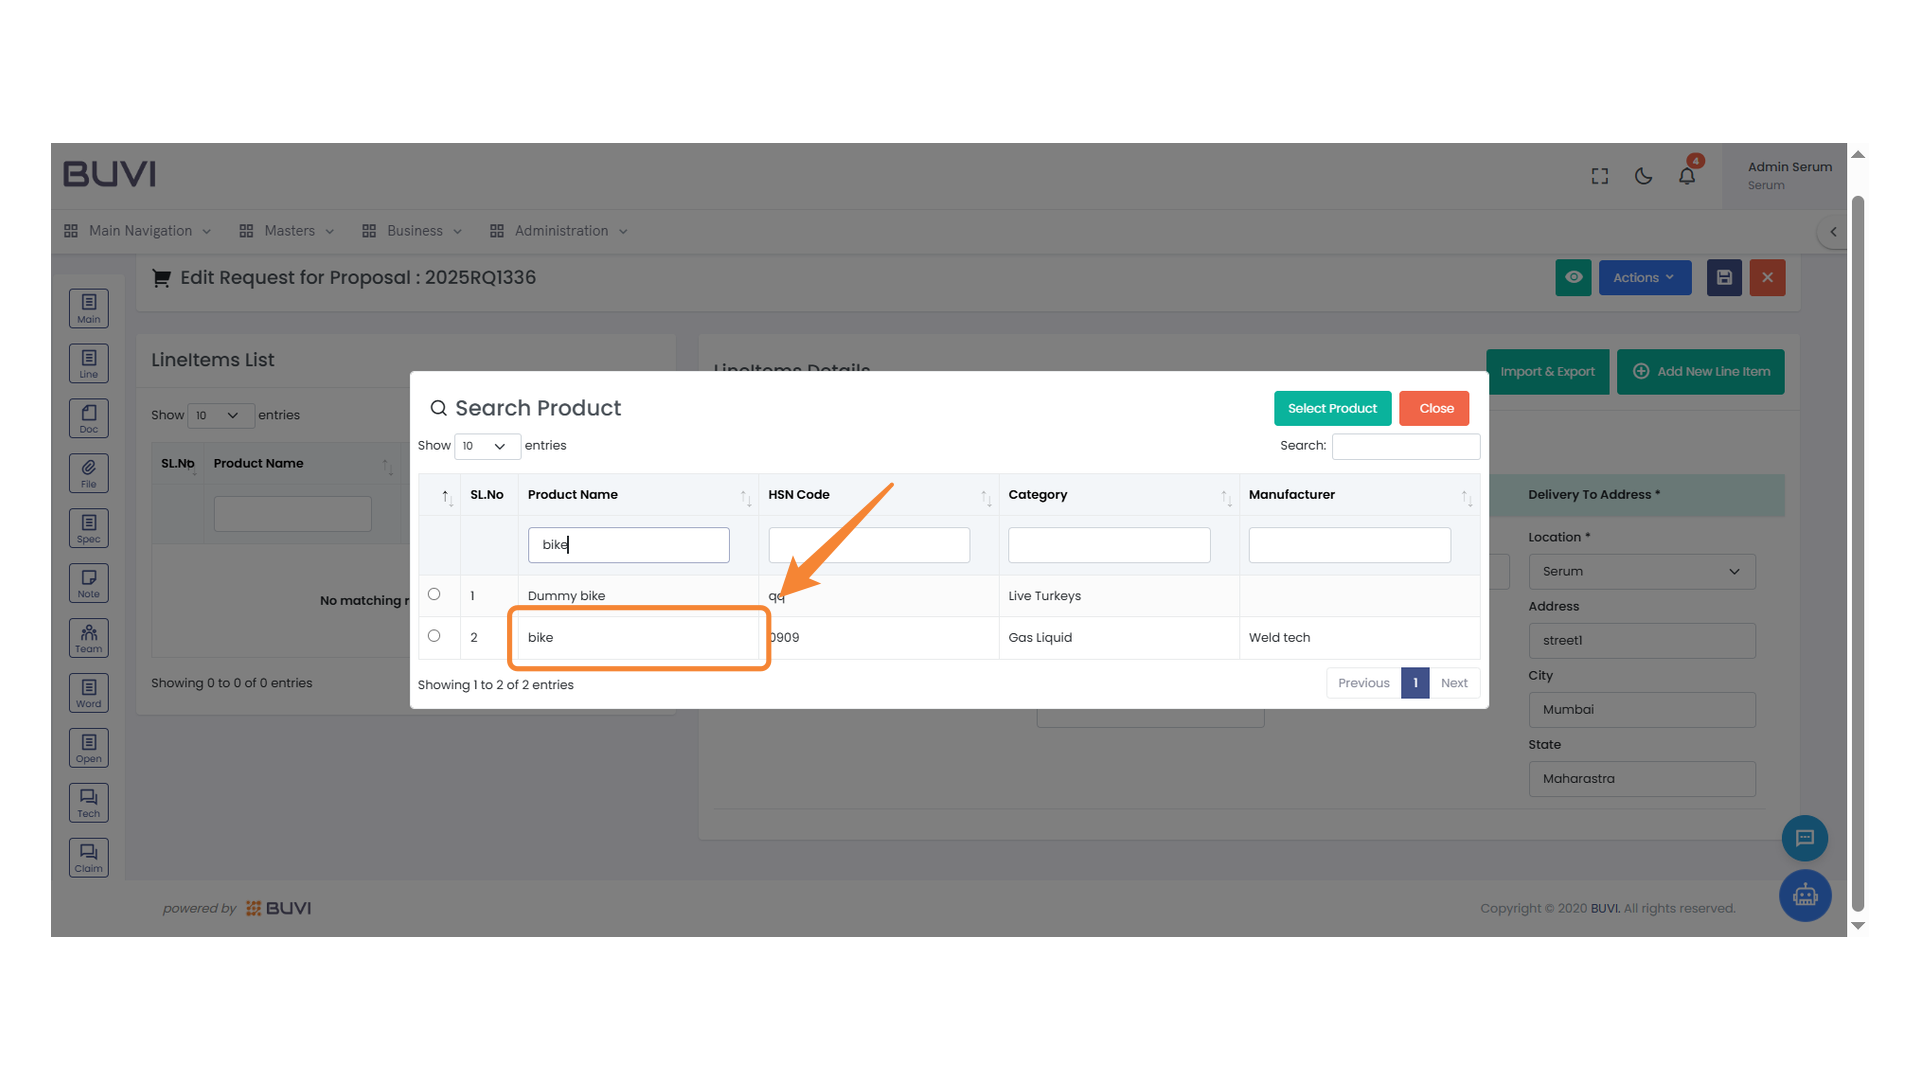
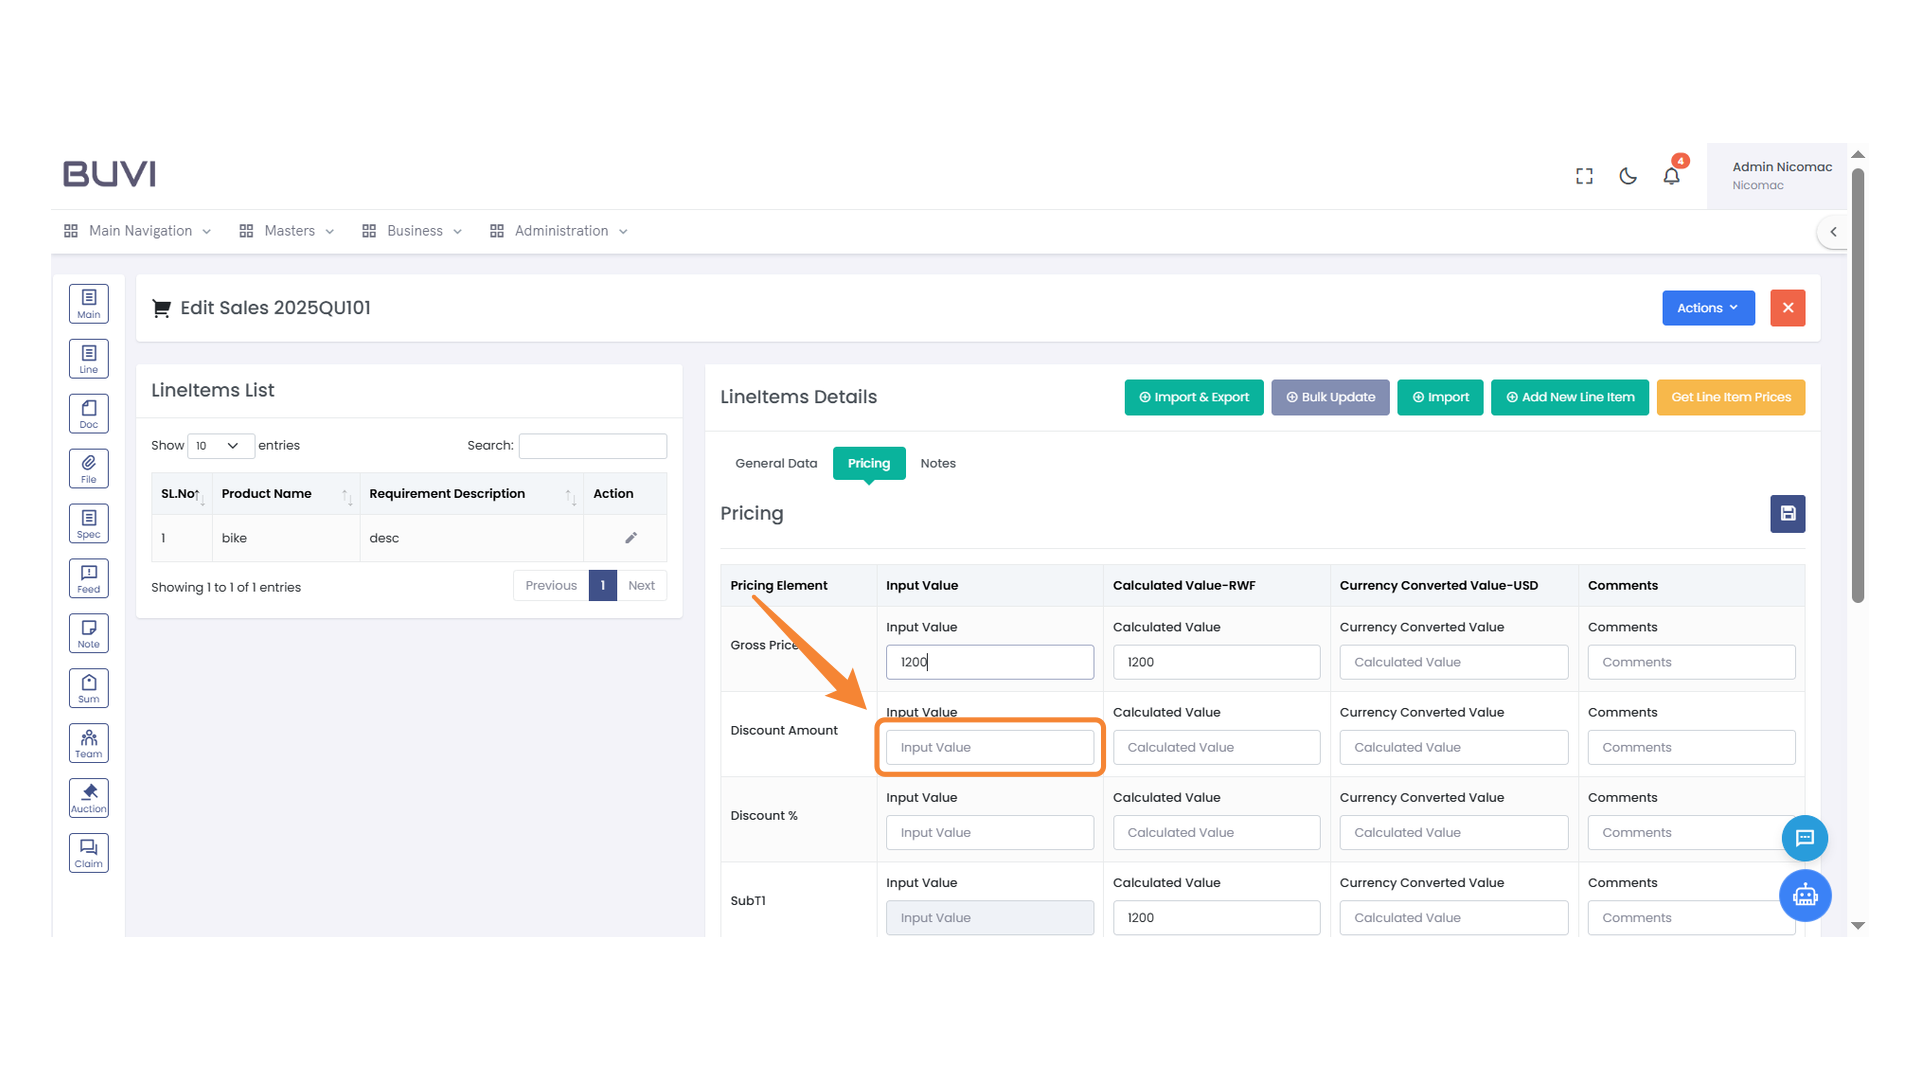
40. Product Selection Highlight
Select the product labeled 'bike' to proceed with your purchase.
41. Product Search Table
Review the product list and select your desired item.

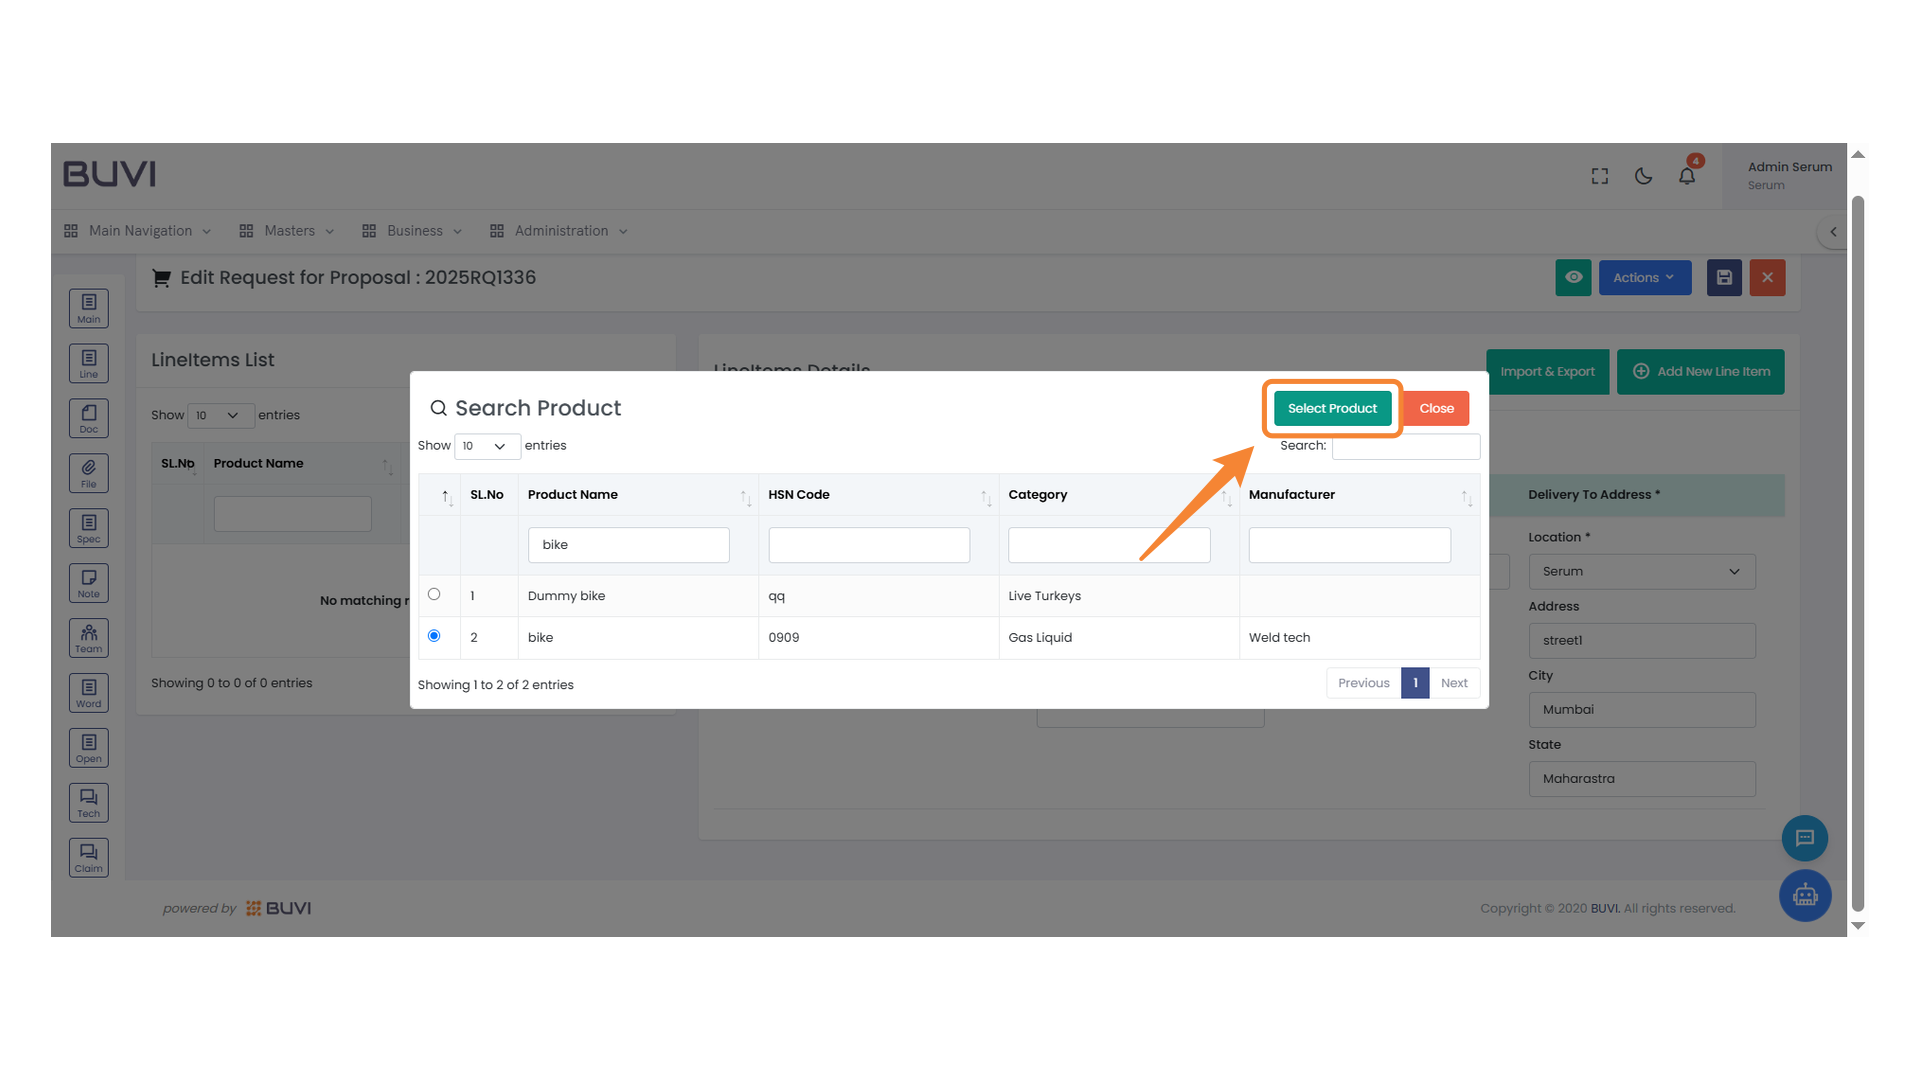
42. Product Selection Interface
Click 'Select Product' to choose an item from the list.
43. Product Description Entry
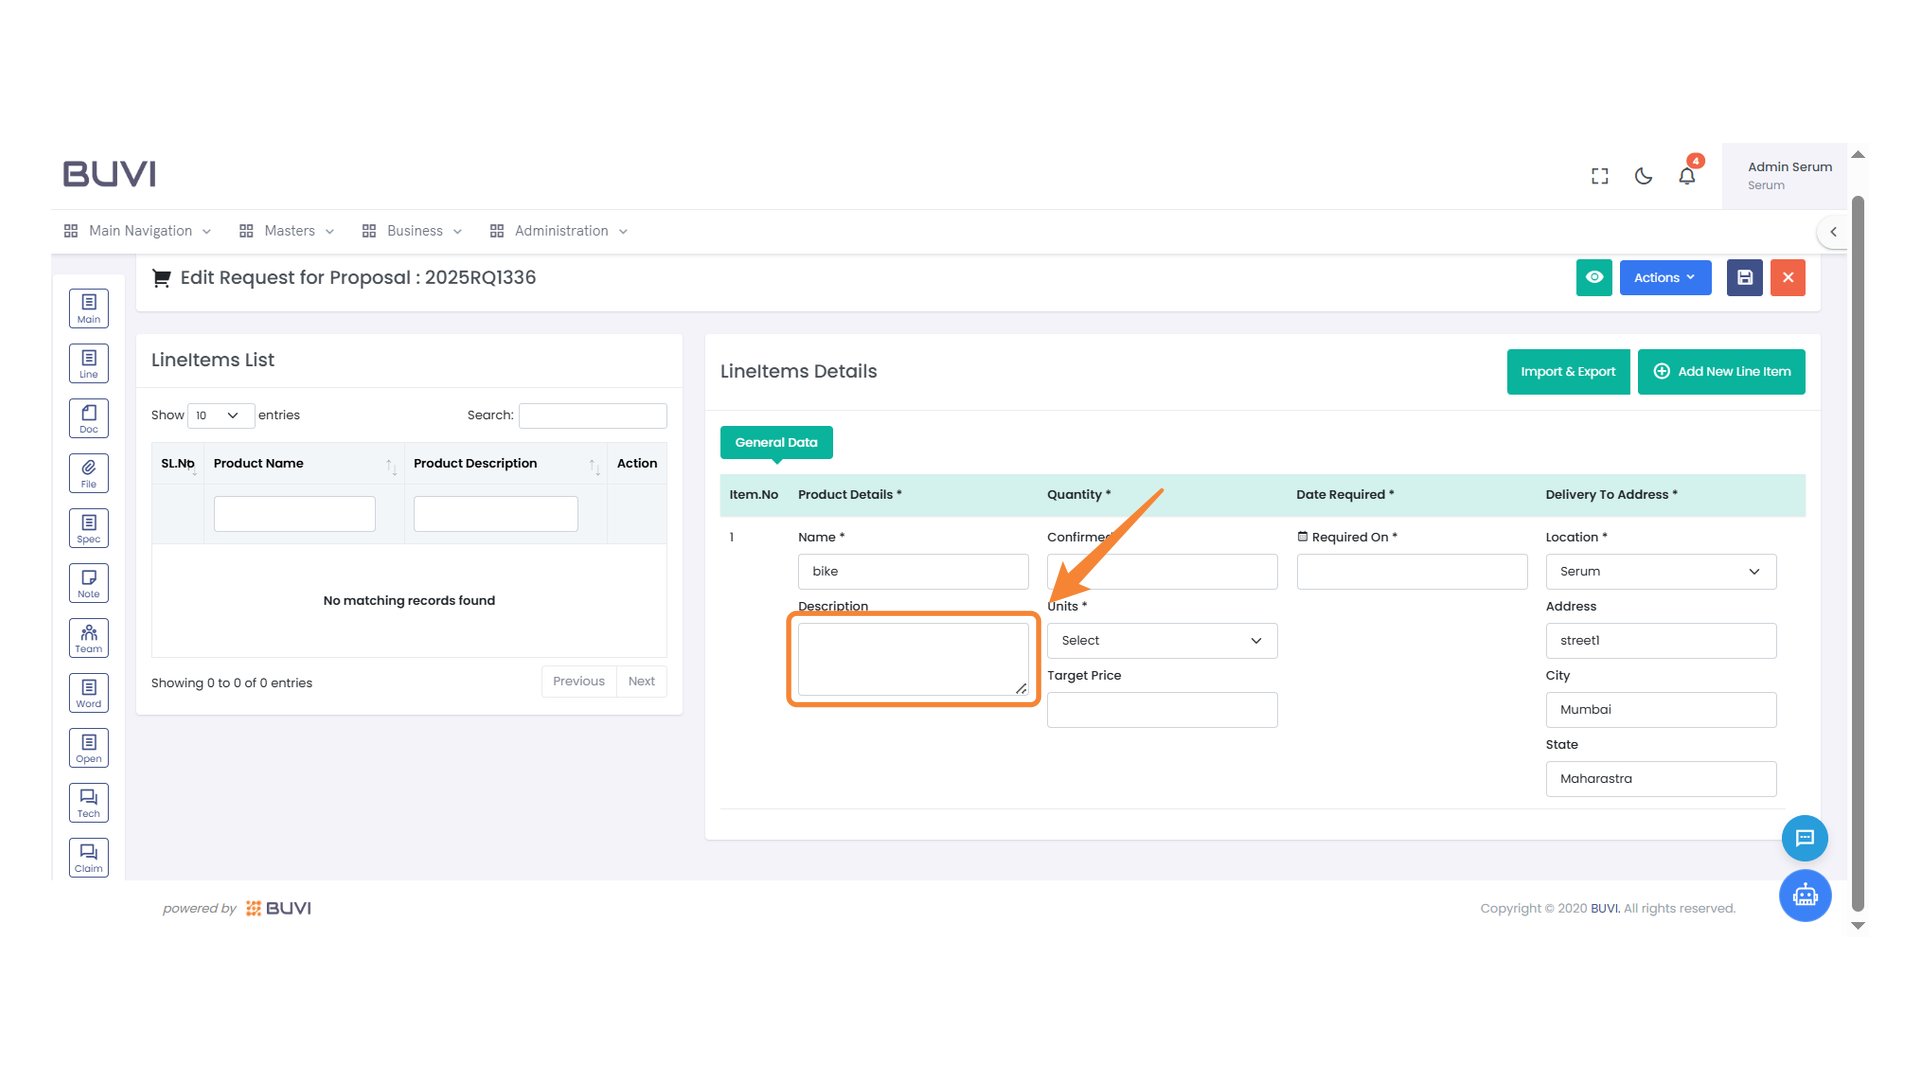
Enter detailed information about the product.
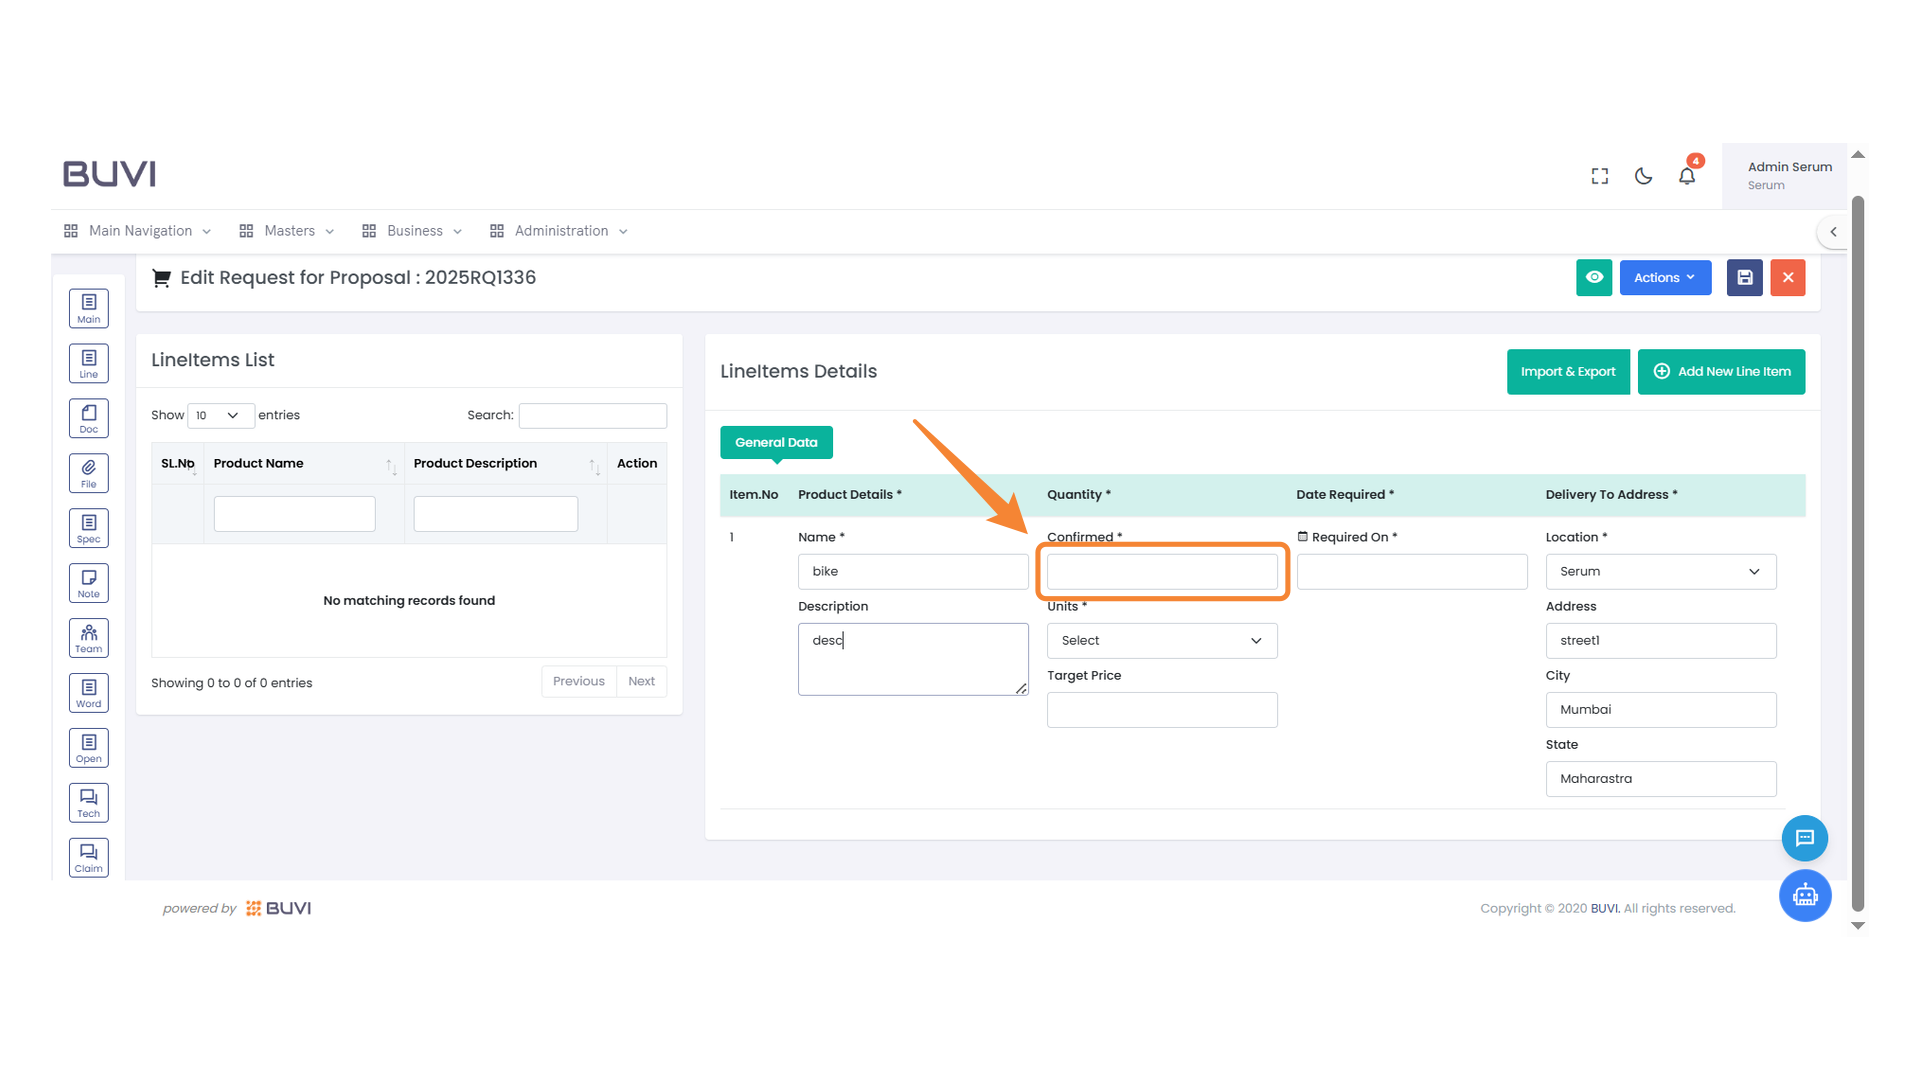
44. Confirmation Input Field
Enter the confirmation status for the product.
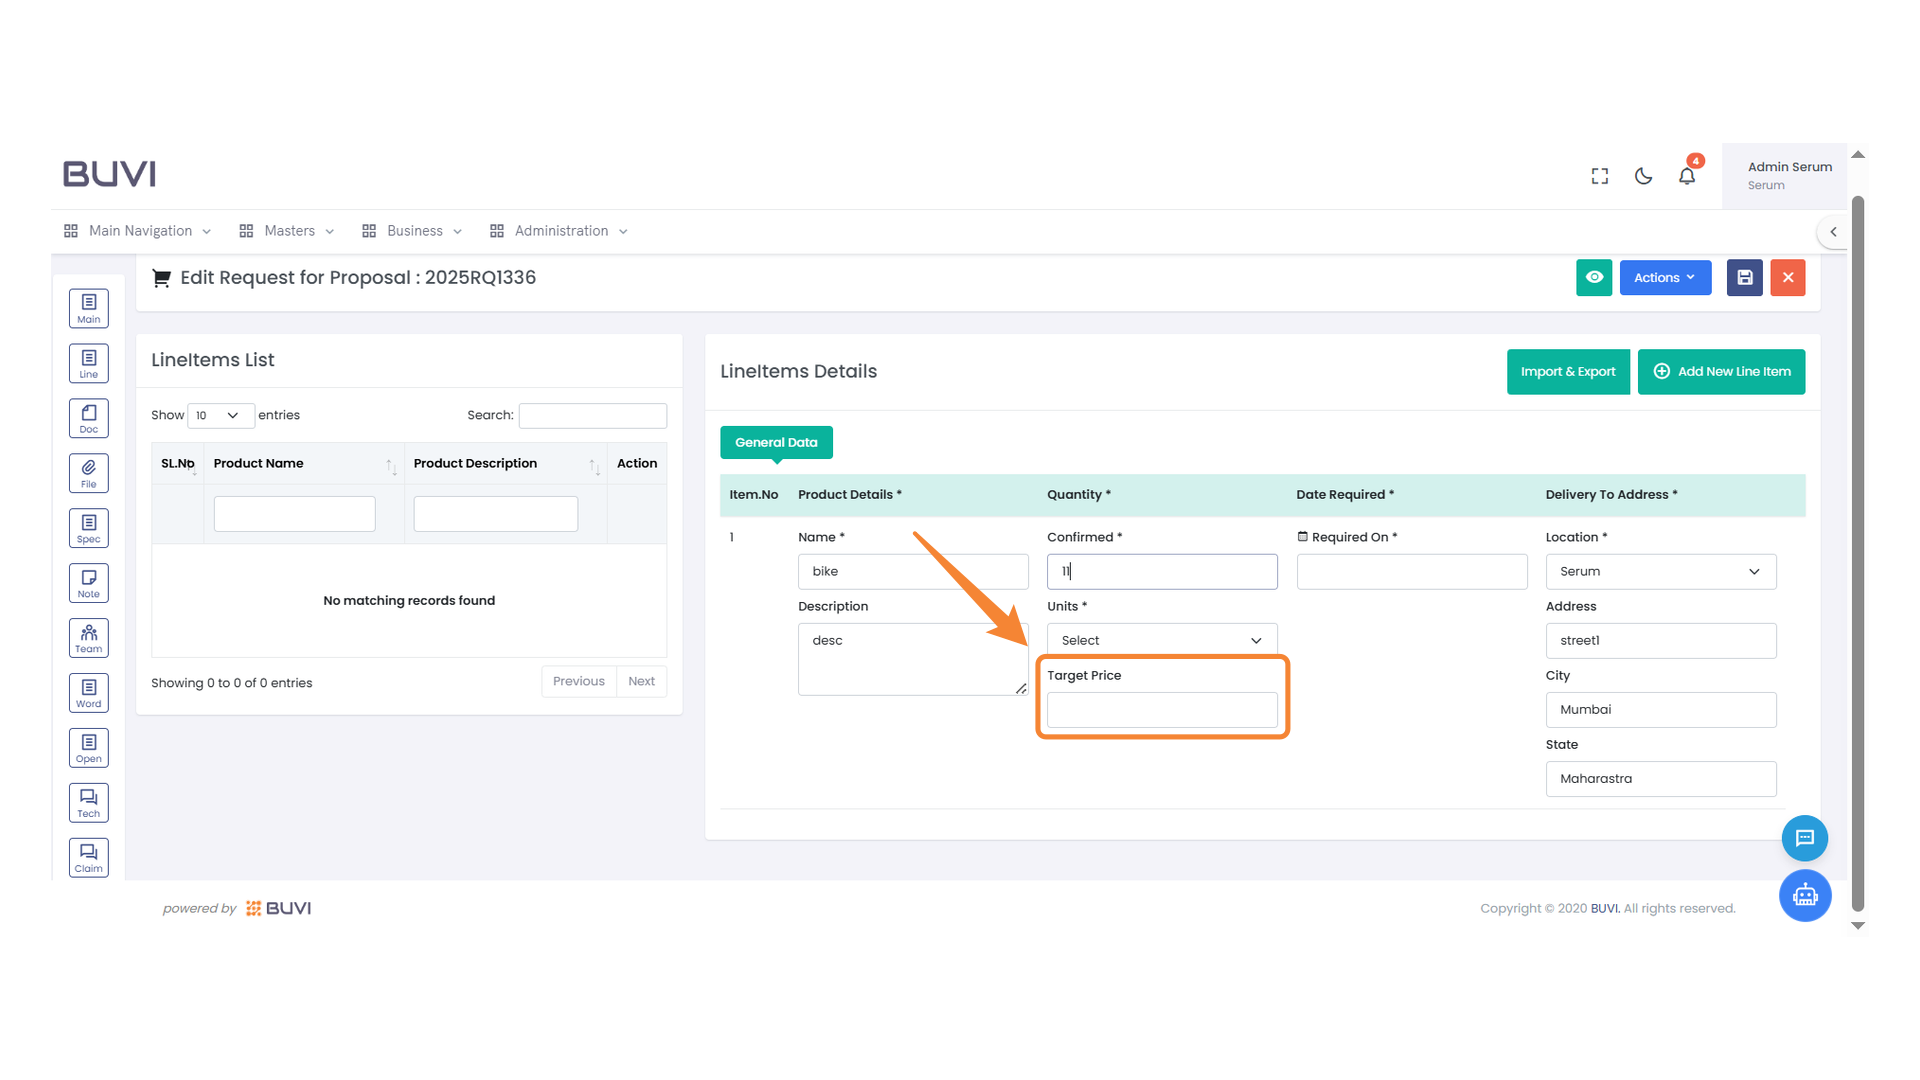
45. Target Price Input Field
Enter the desired target price for the product.
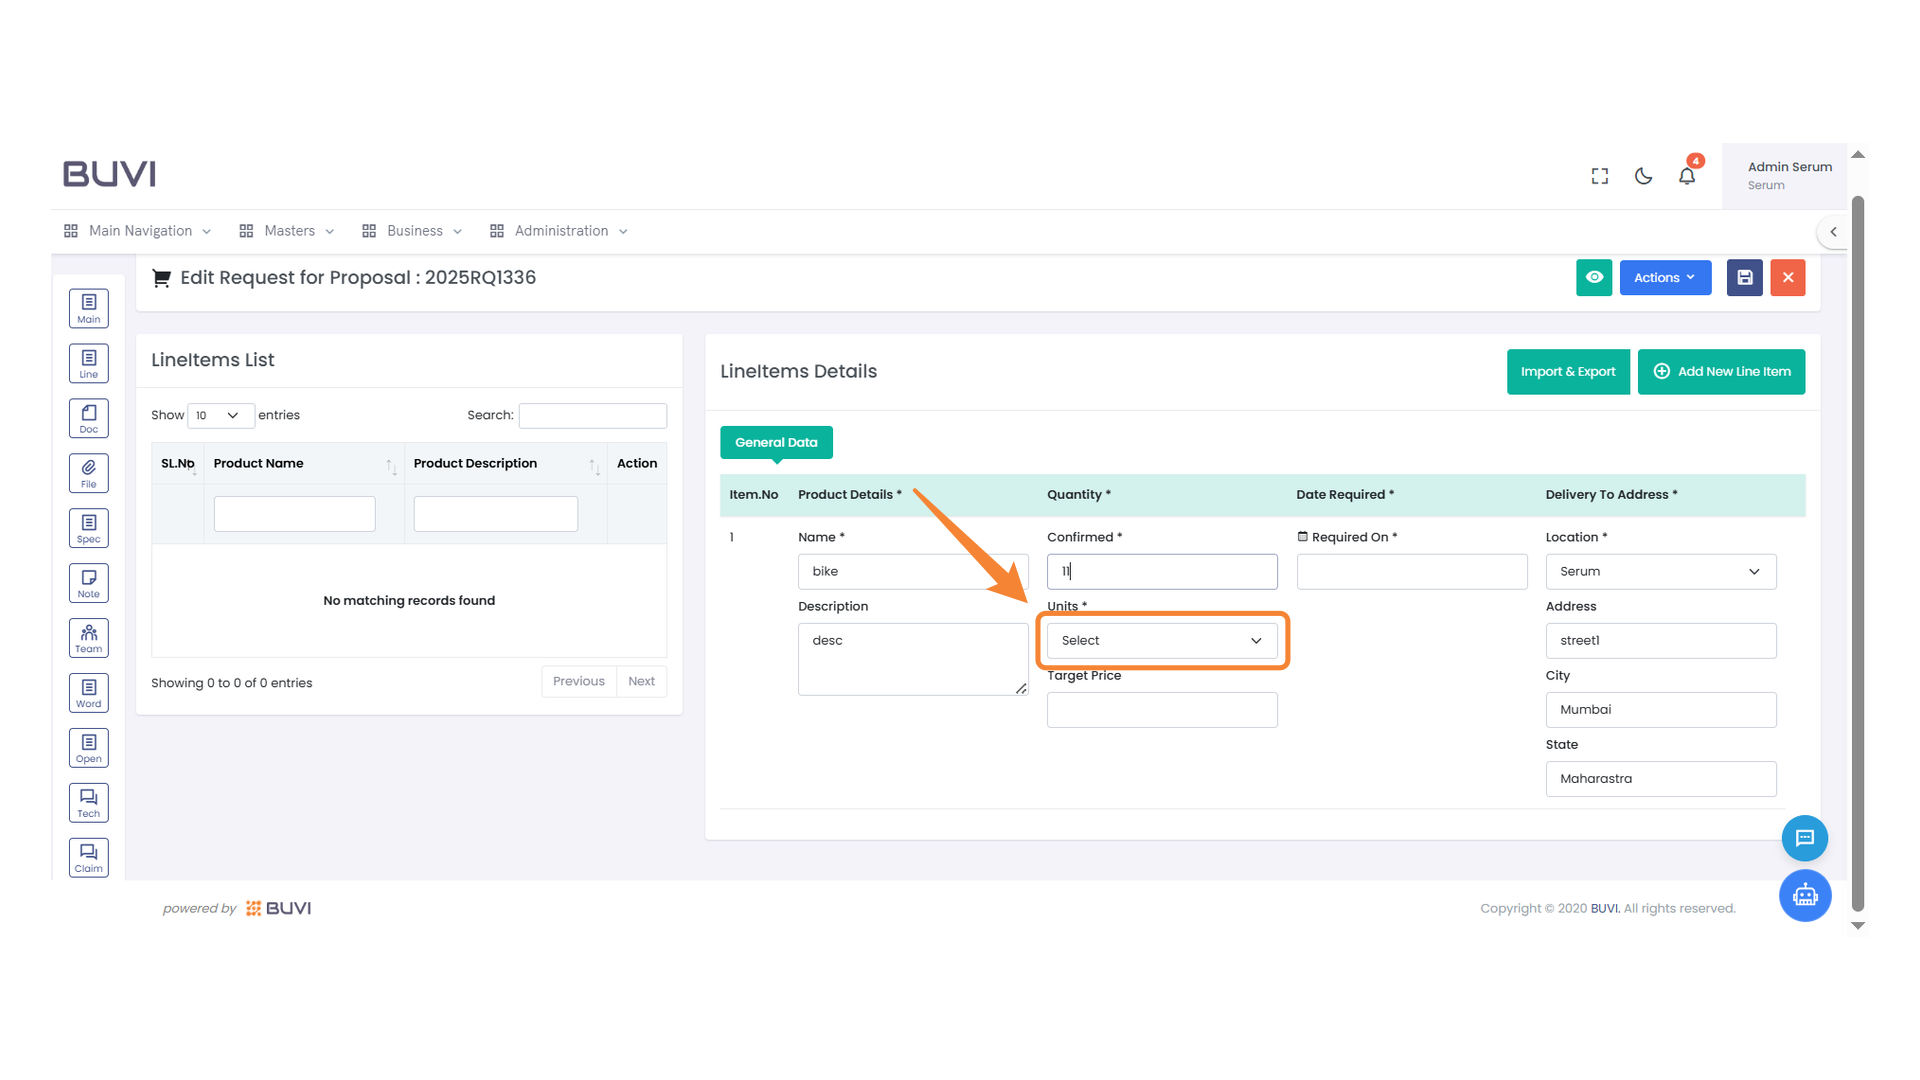
46. Units Selection Dropdown
Choose the appropriate unit from the dropdown menu to specify the quantity measurement.
47. Target Price Input Field
Enter the desired target price for the product in this field.

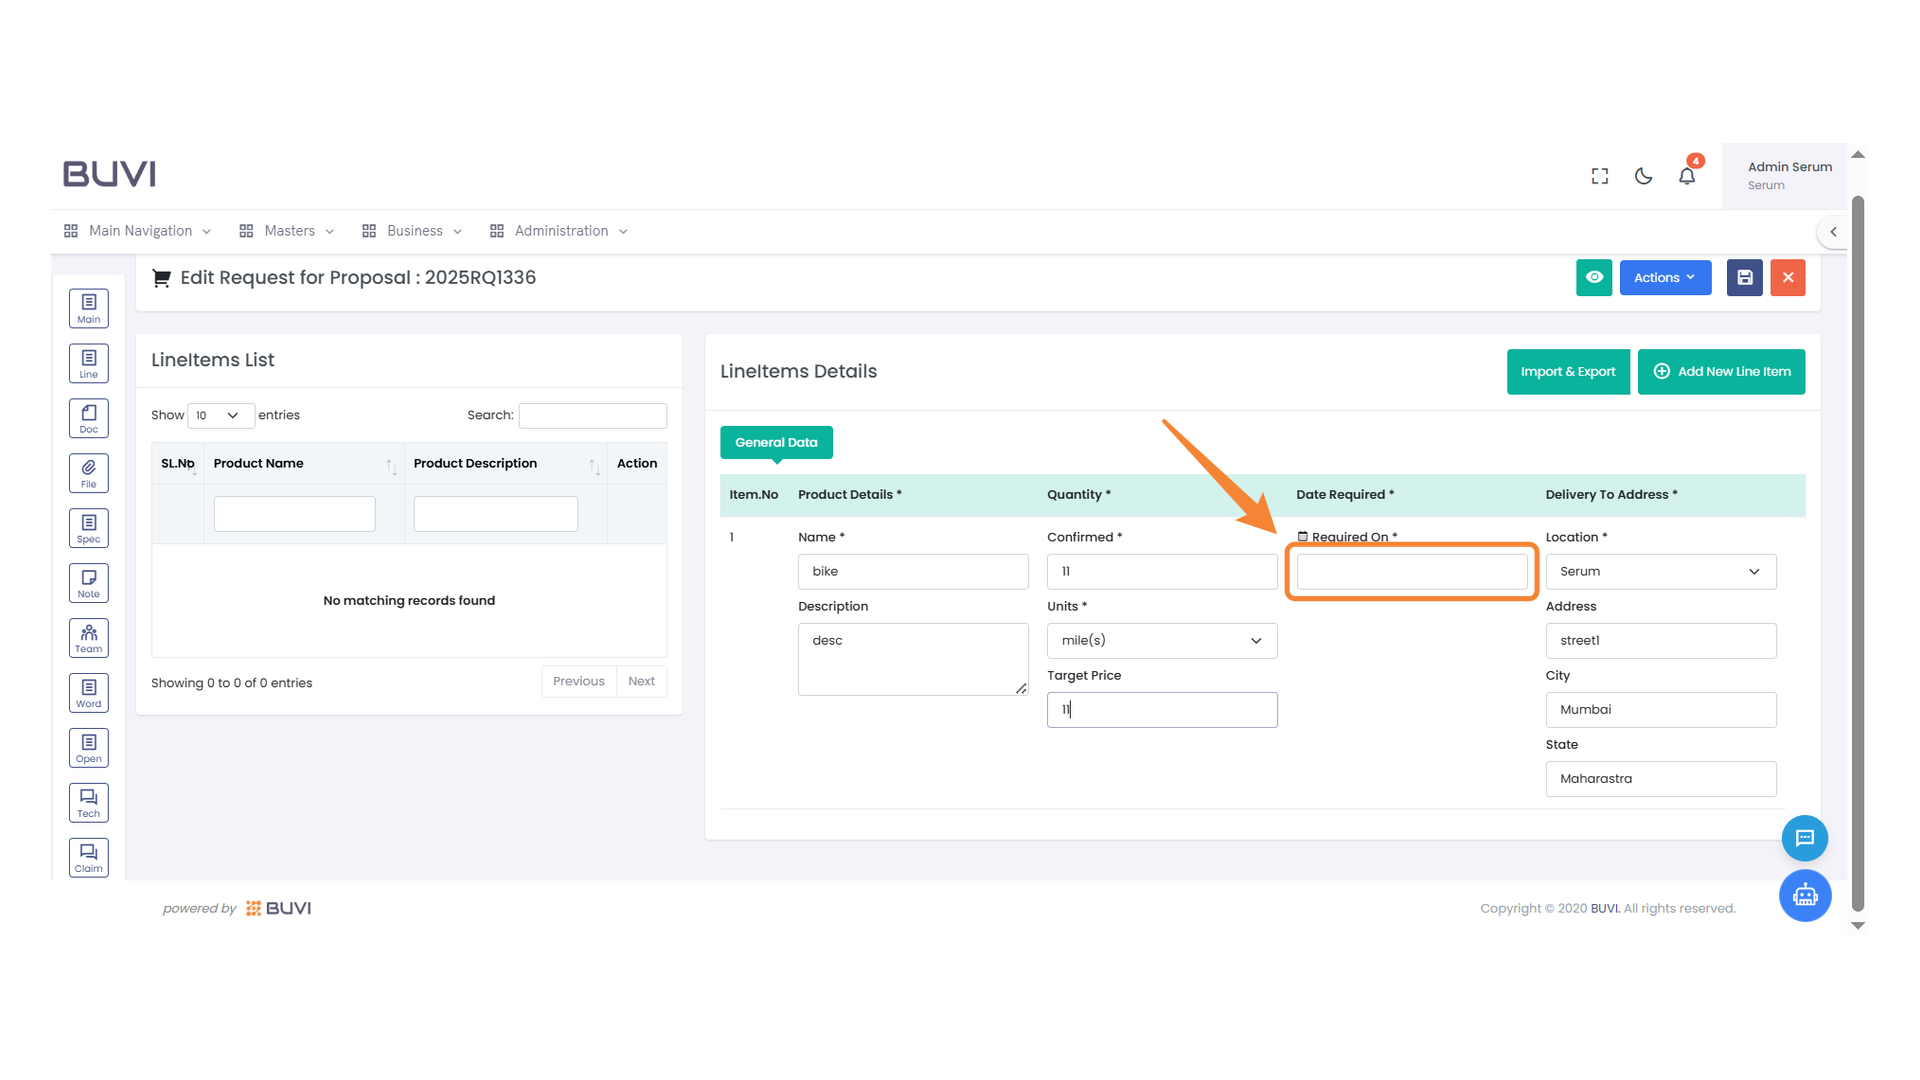
48. Date Required Input Field
Enter the required delivery date in the field provided.
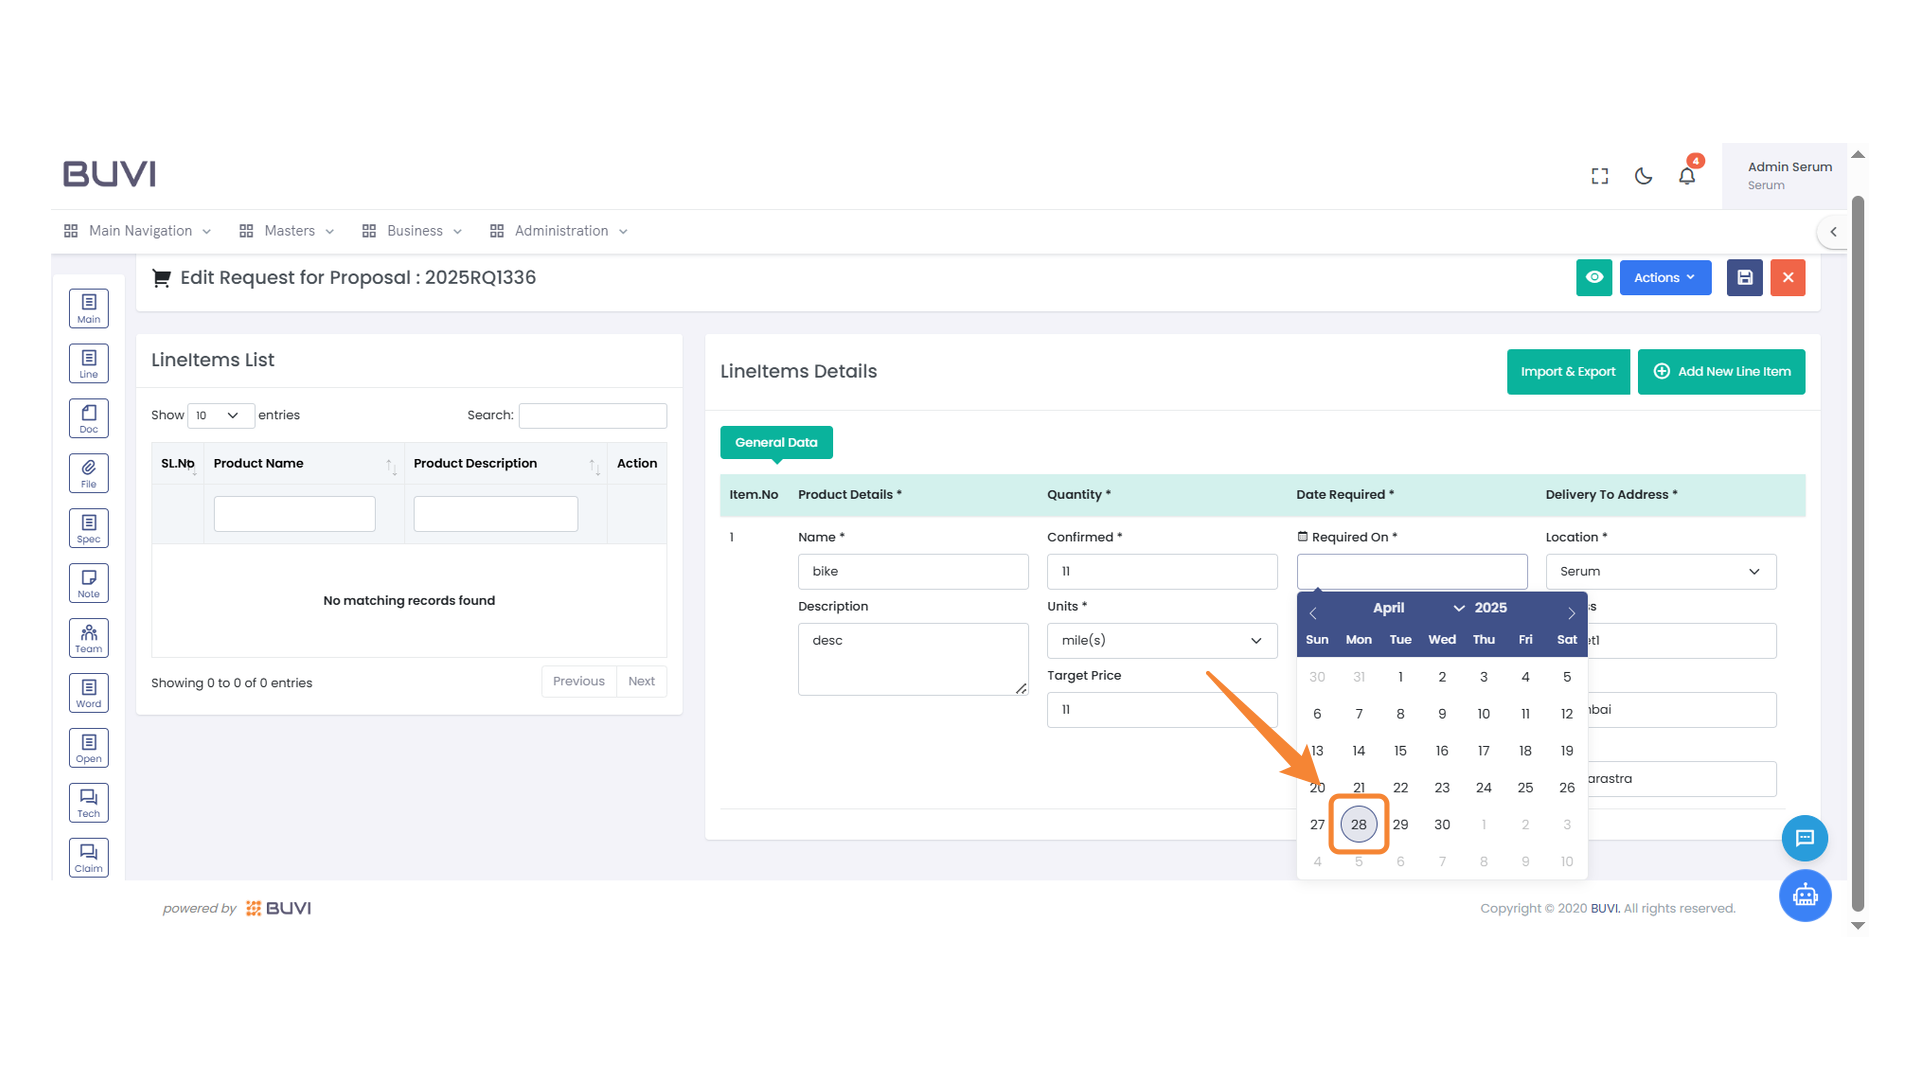
49. Date Selection
Select the desired date from the calendar widget.
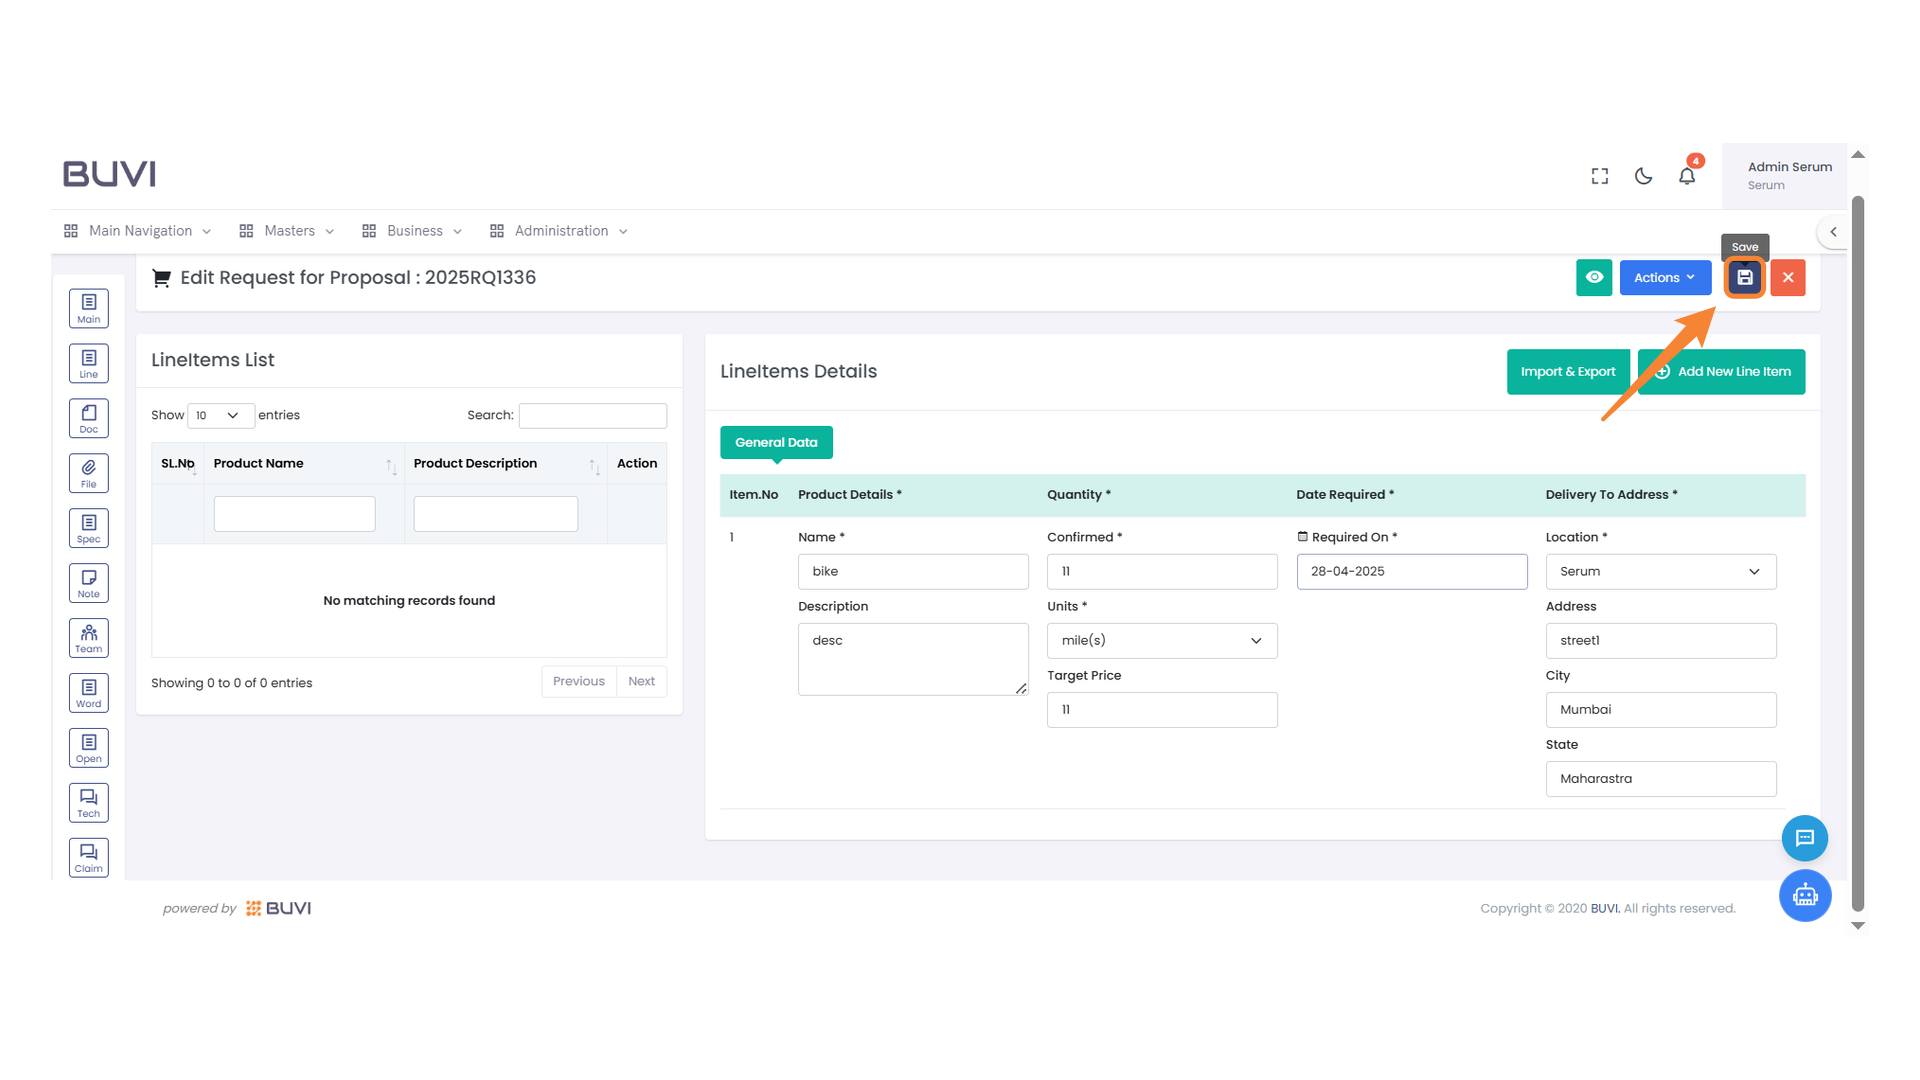
50. Save Button
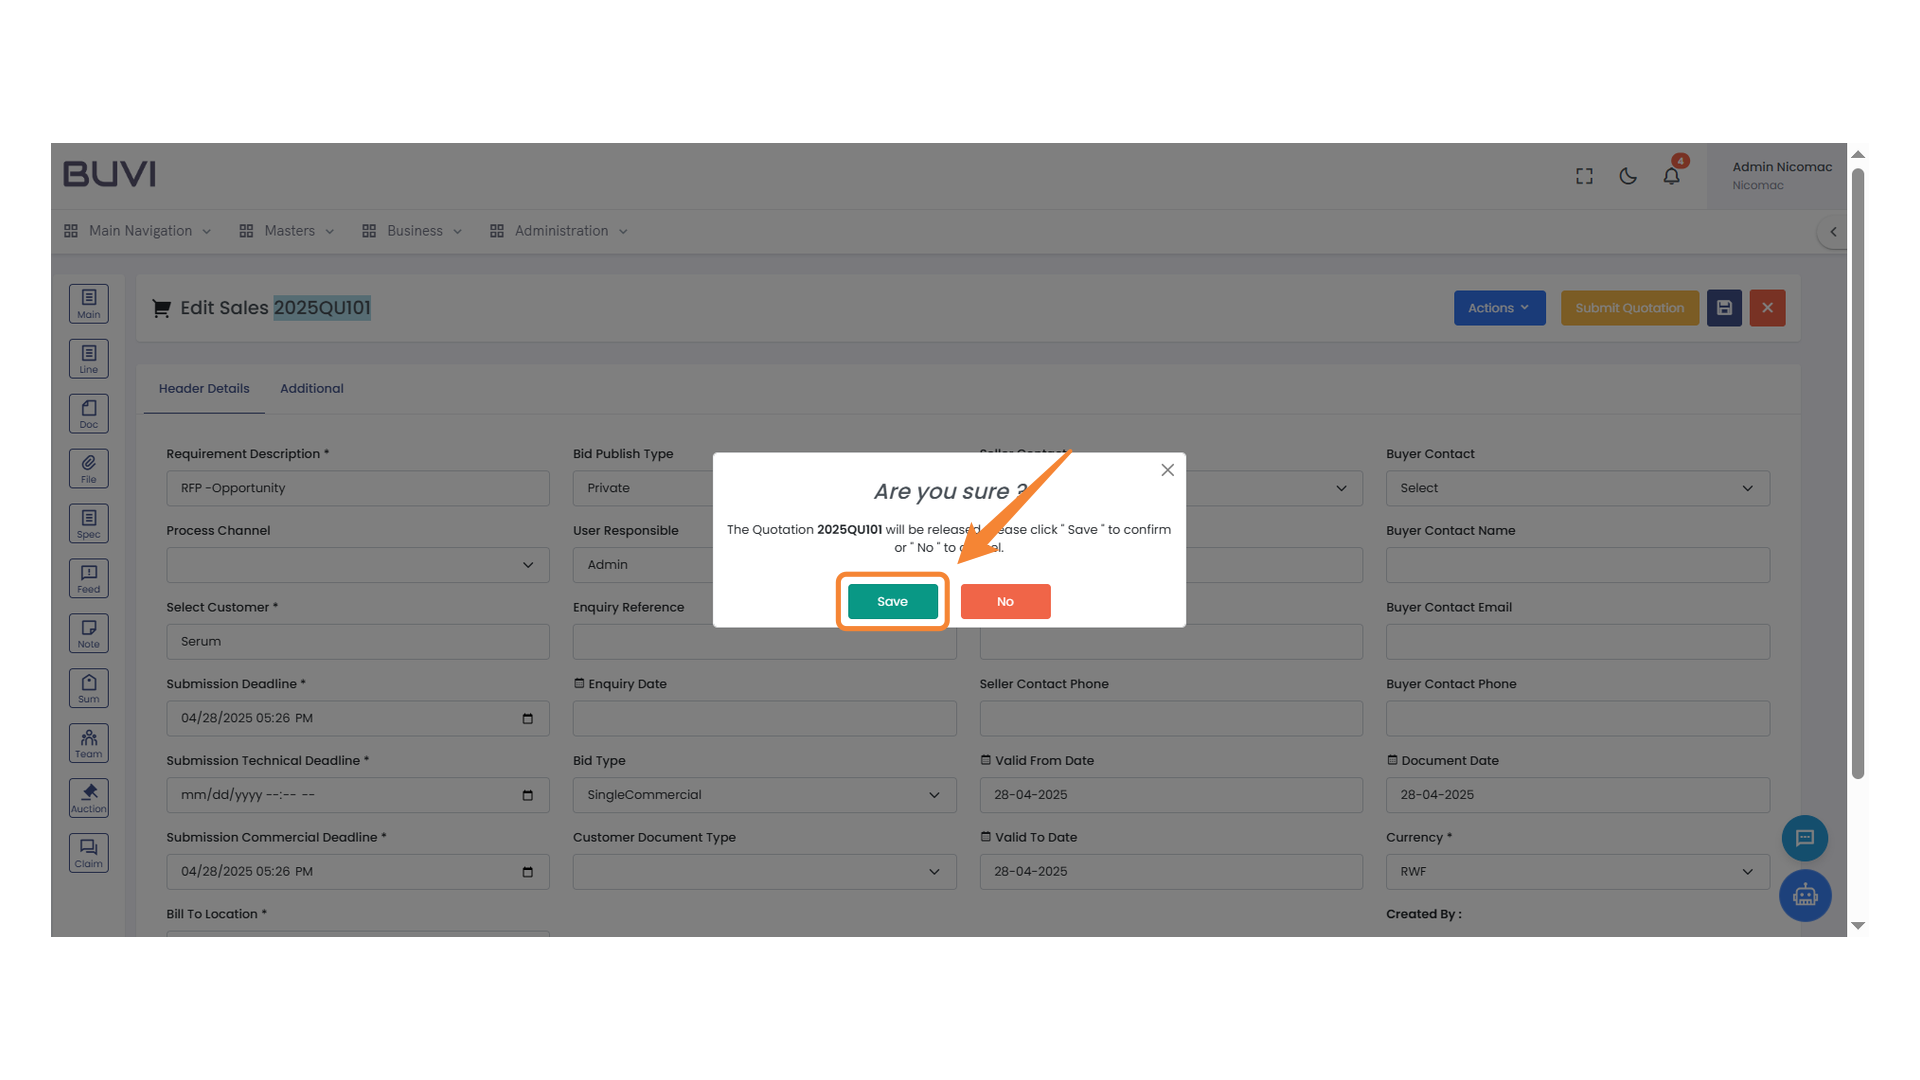
Click the button to save your changes to the proposal.
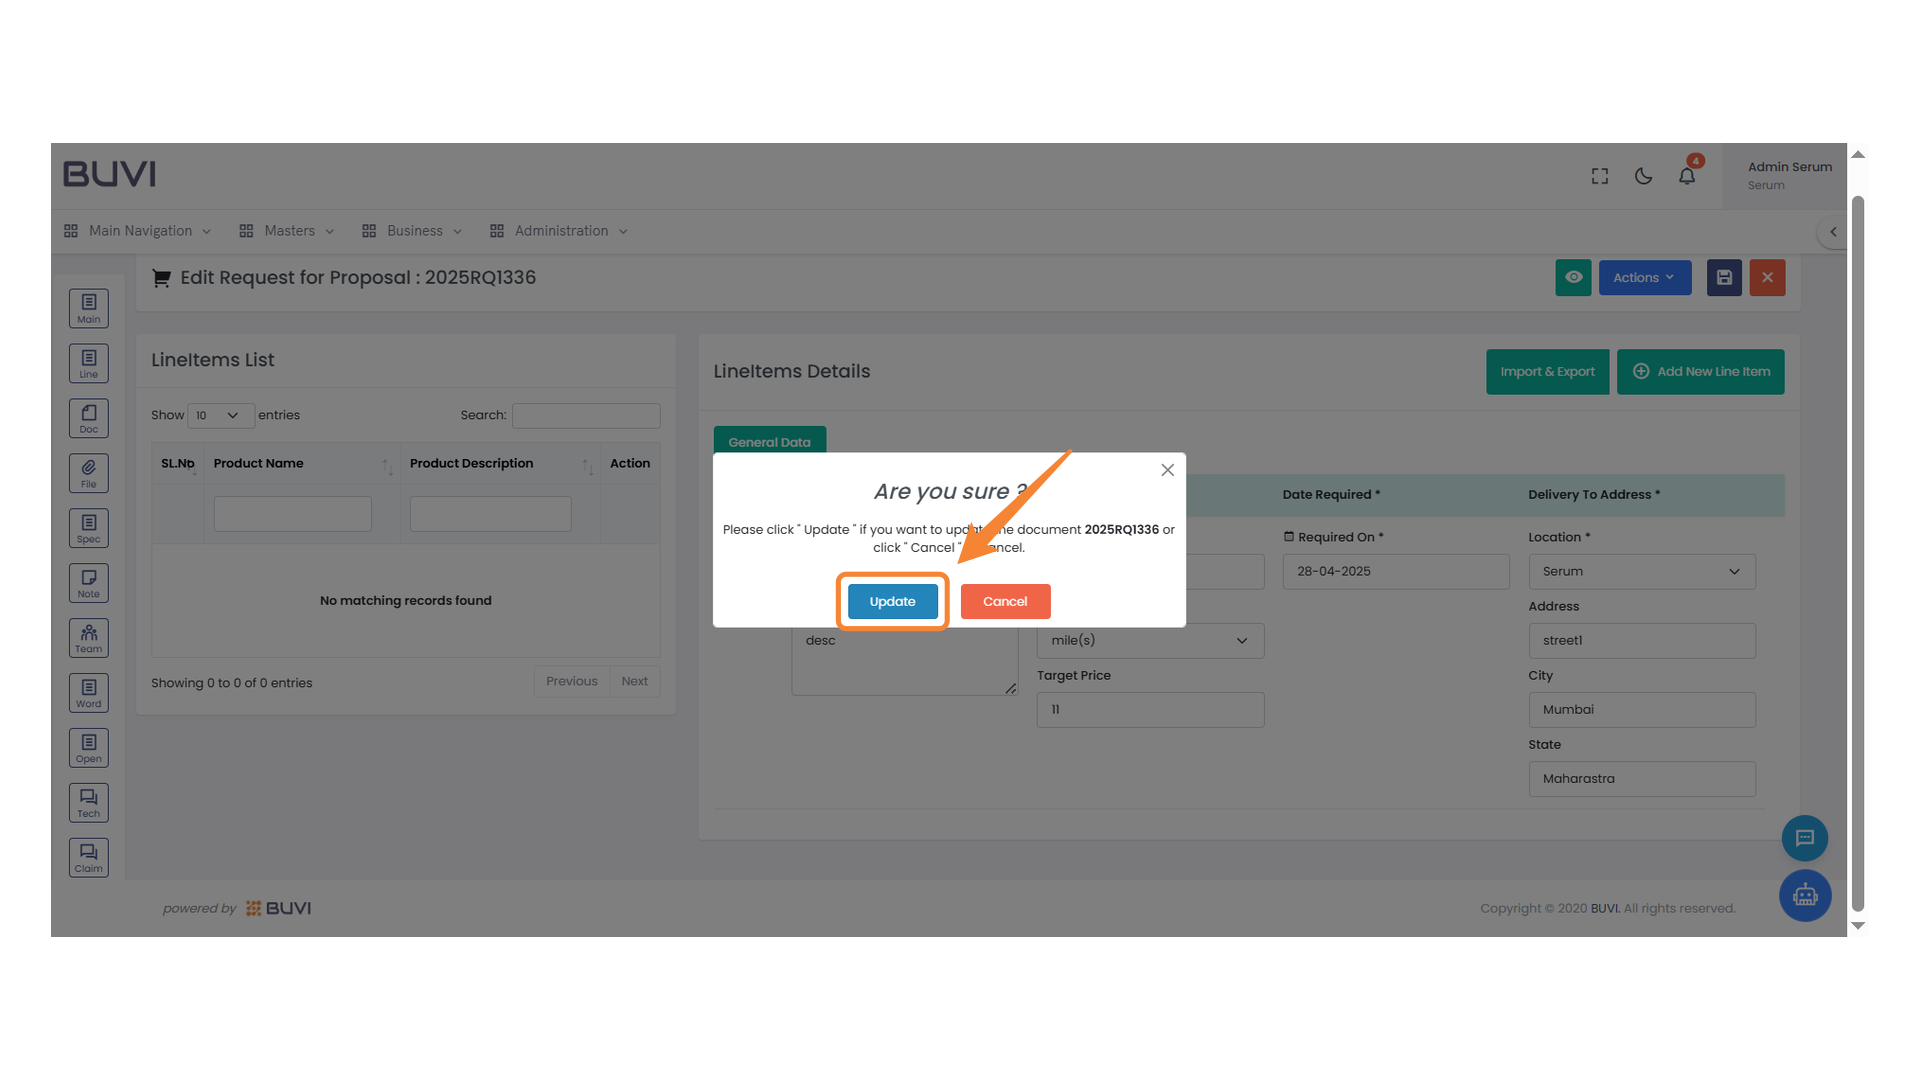
51. Confirmation Dialog
Click 'Update' to proceed with saving the changes.
52. Main Menu Button
Access the main section to manage your content.
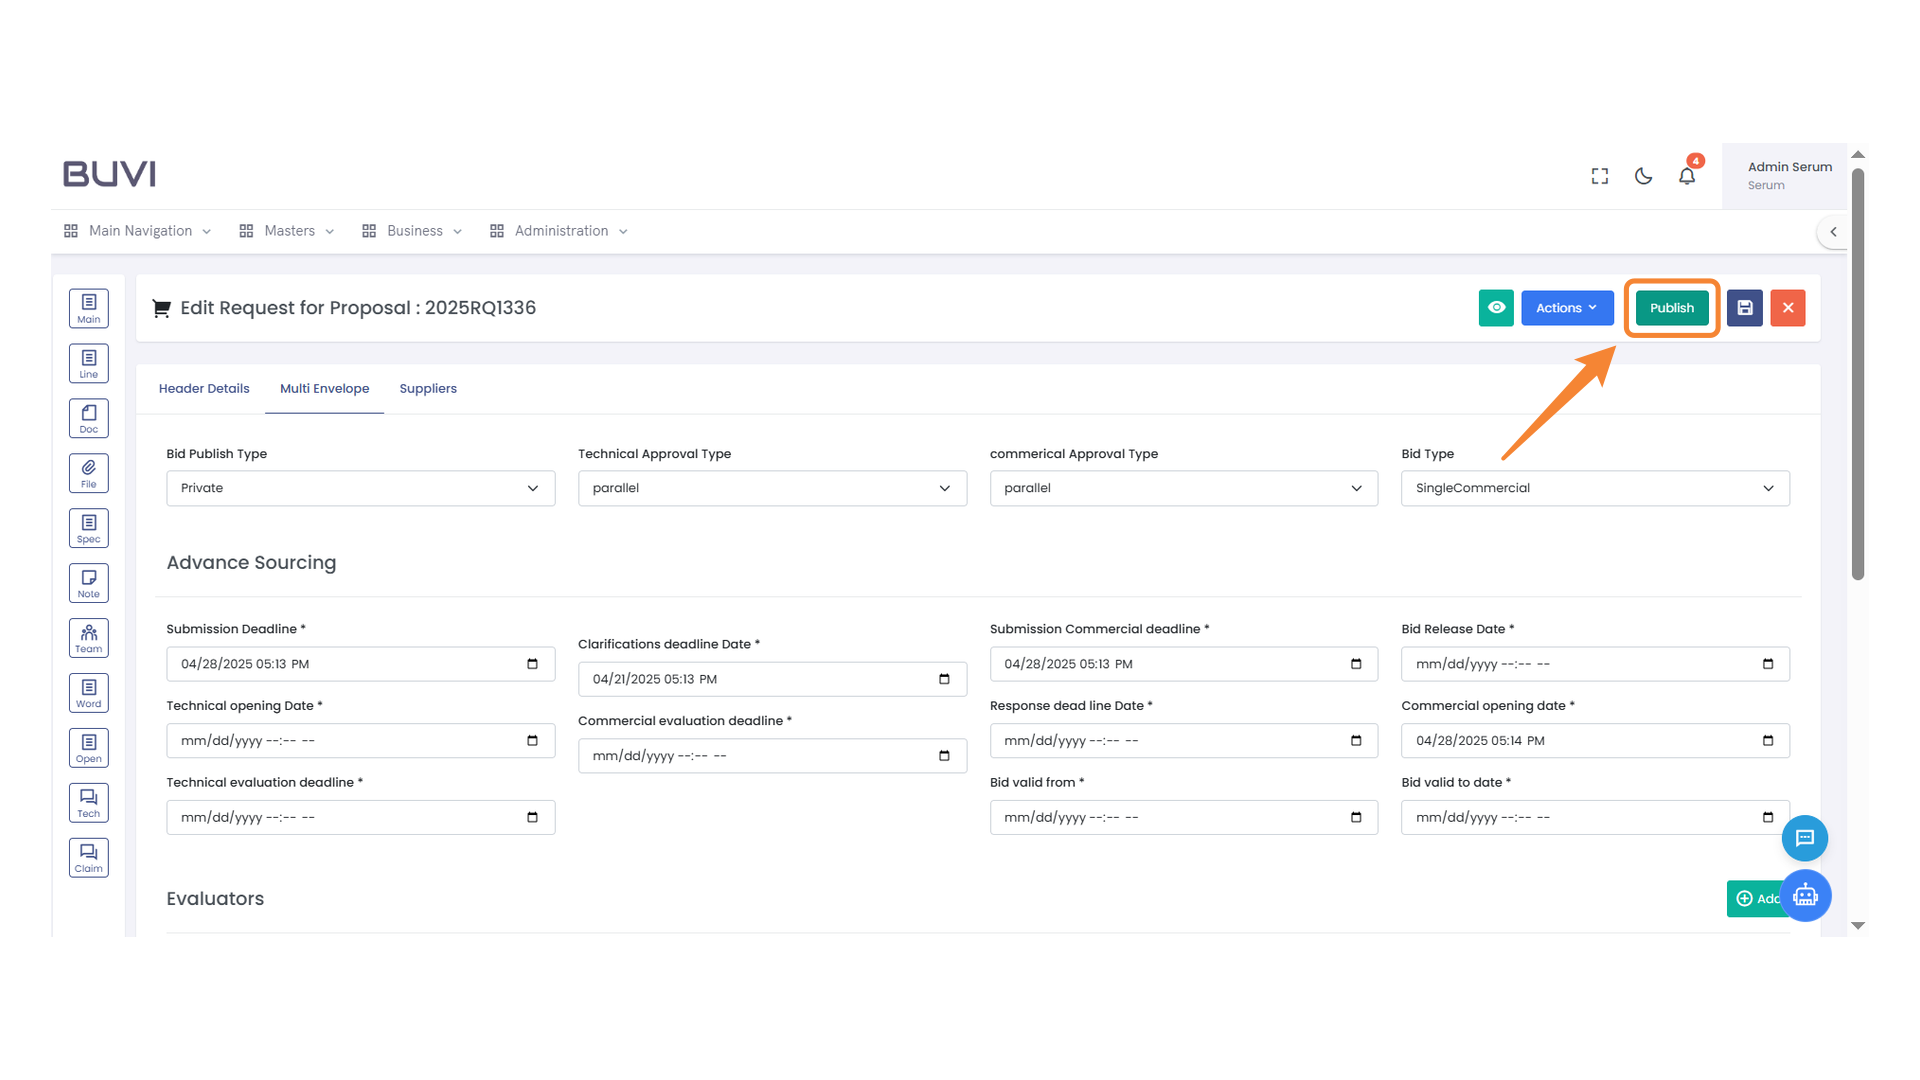
53. Publish Button
Click the button to publish your request or proposal.
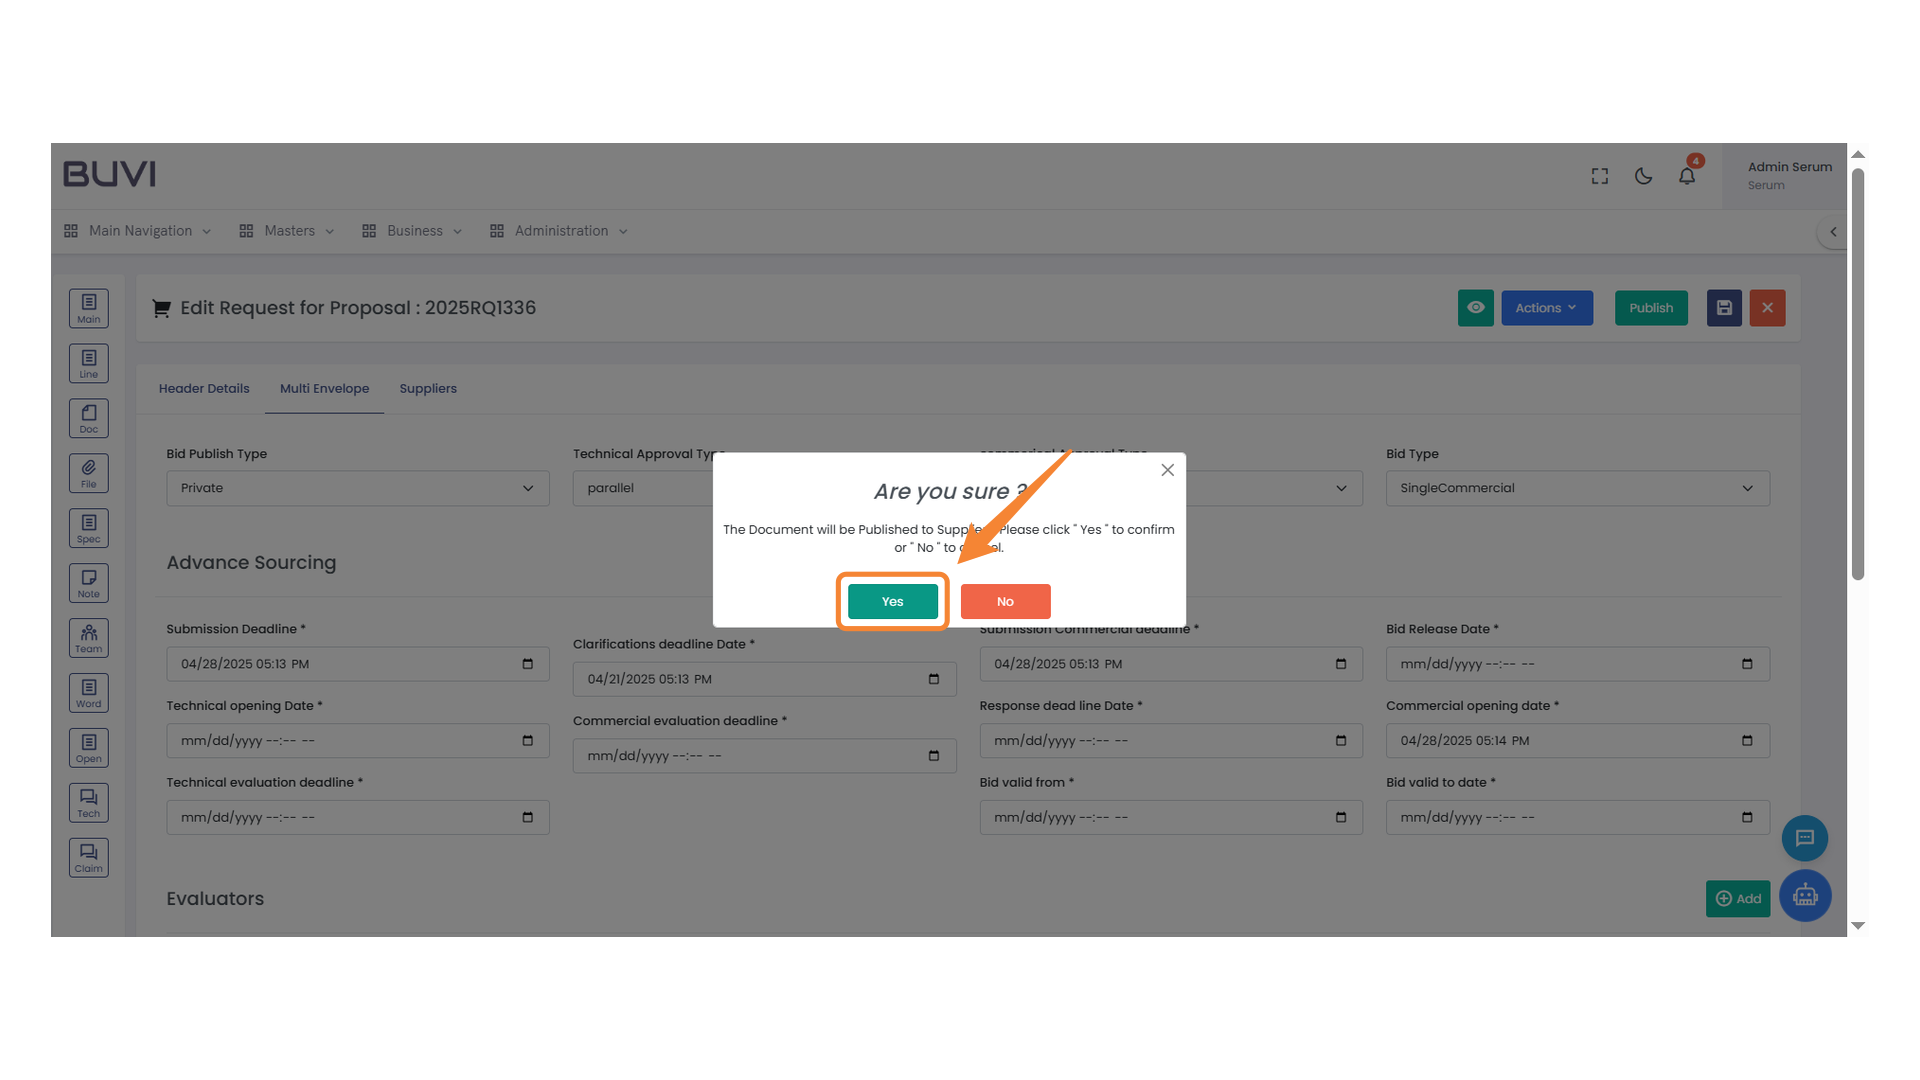
54. Confirmation Prompt
Confirm your selection by clicking 'Yes'.
55. Admin Dashboard Access
Click to manage administrative settings and user accounts.
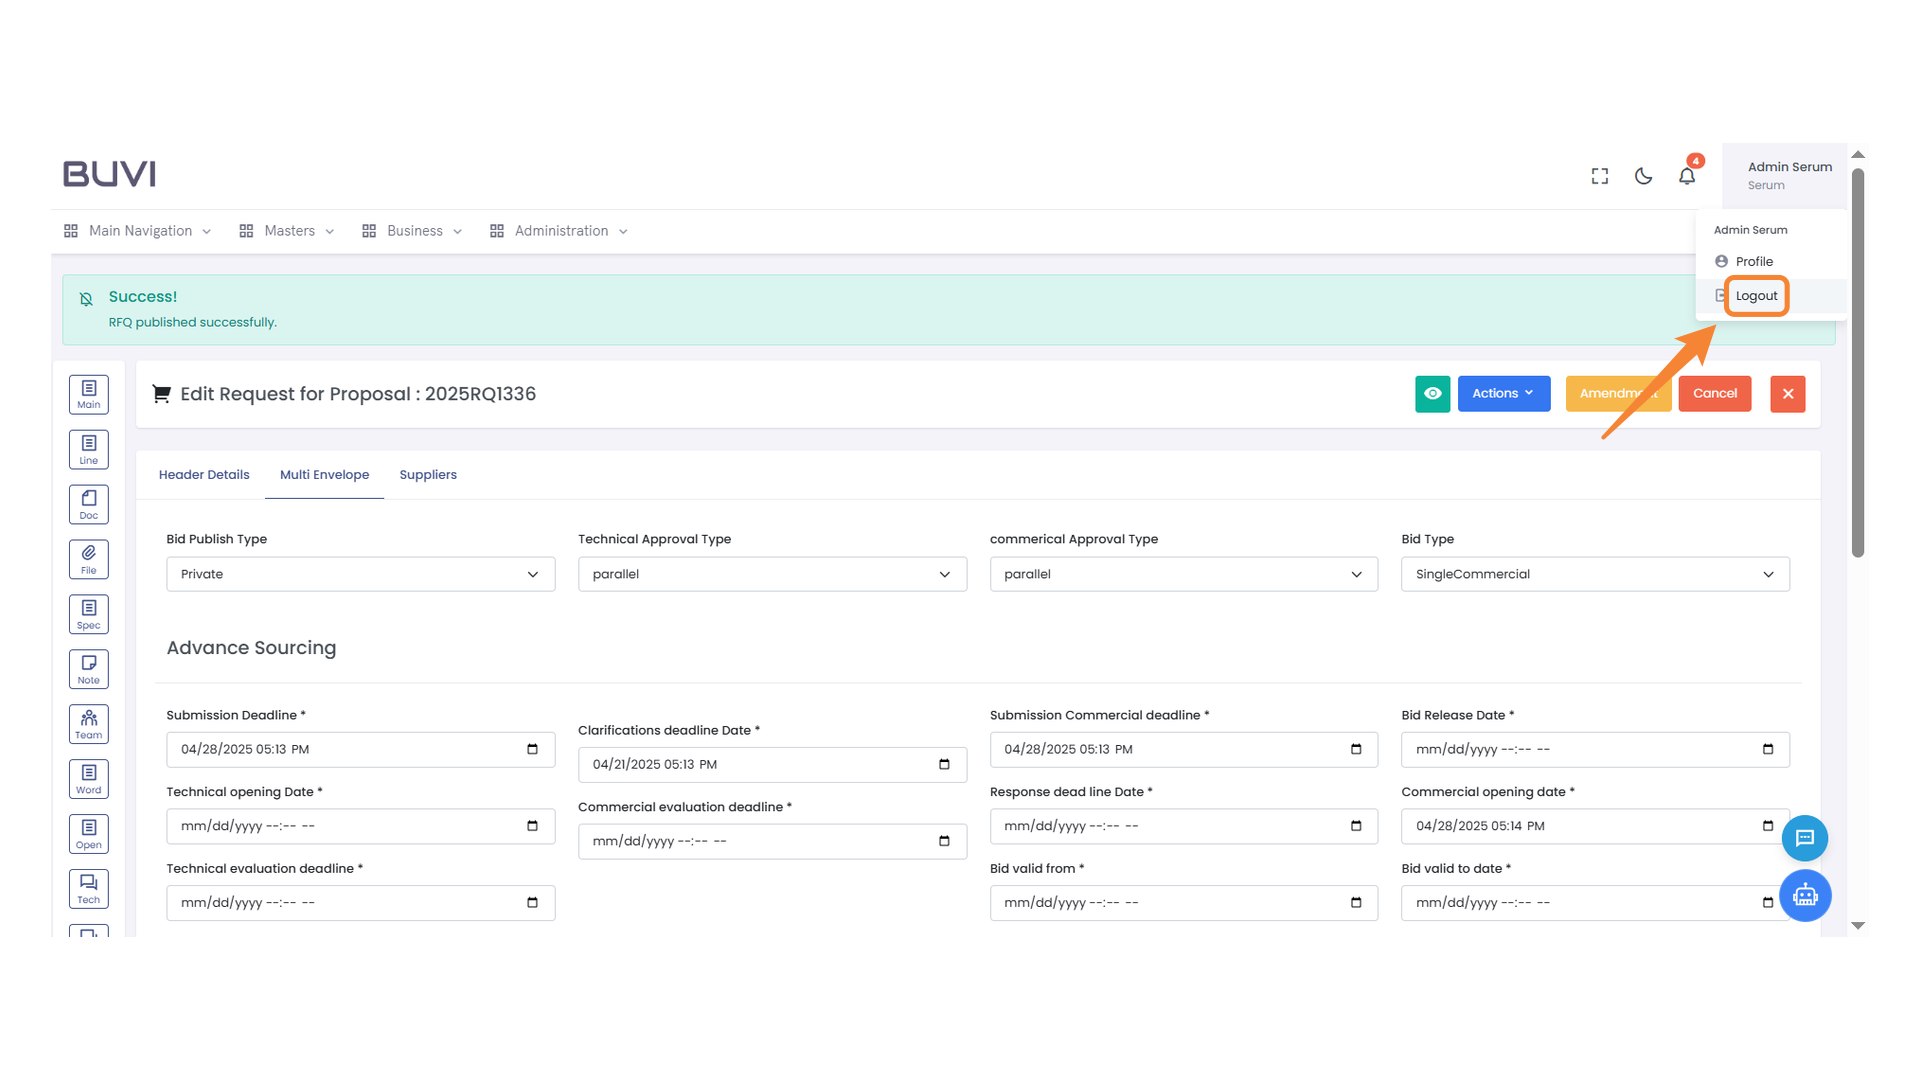
56. Logout Option
Click to log out of the session.
57. Email Input Field
Enter your email address to proceed with the login.
58. Password Input Field
Enter your password to proceed with the login.

59. Login Interface
Click to access the testing environment by logging in.
60. Business Menu Highlight
Explore the business options available under this menu to manage various aspects of administration.
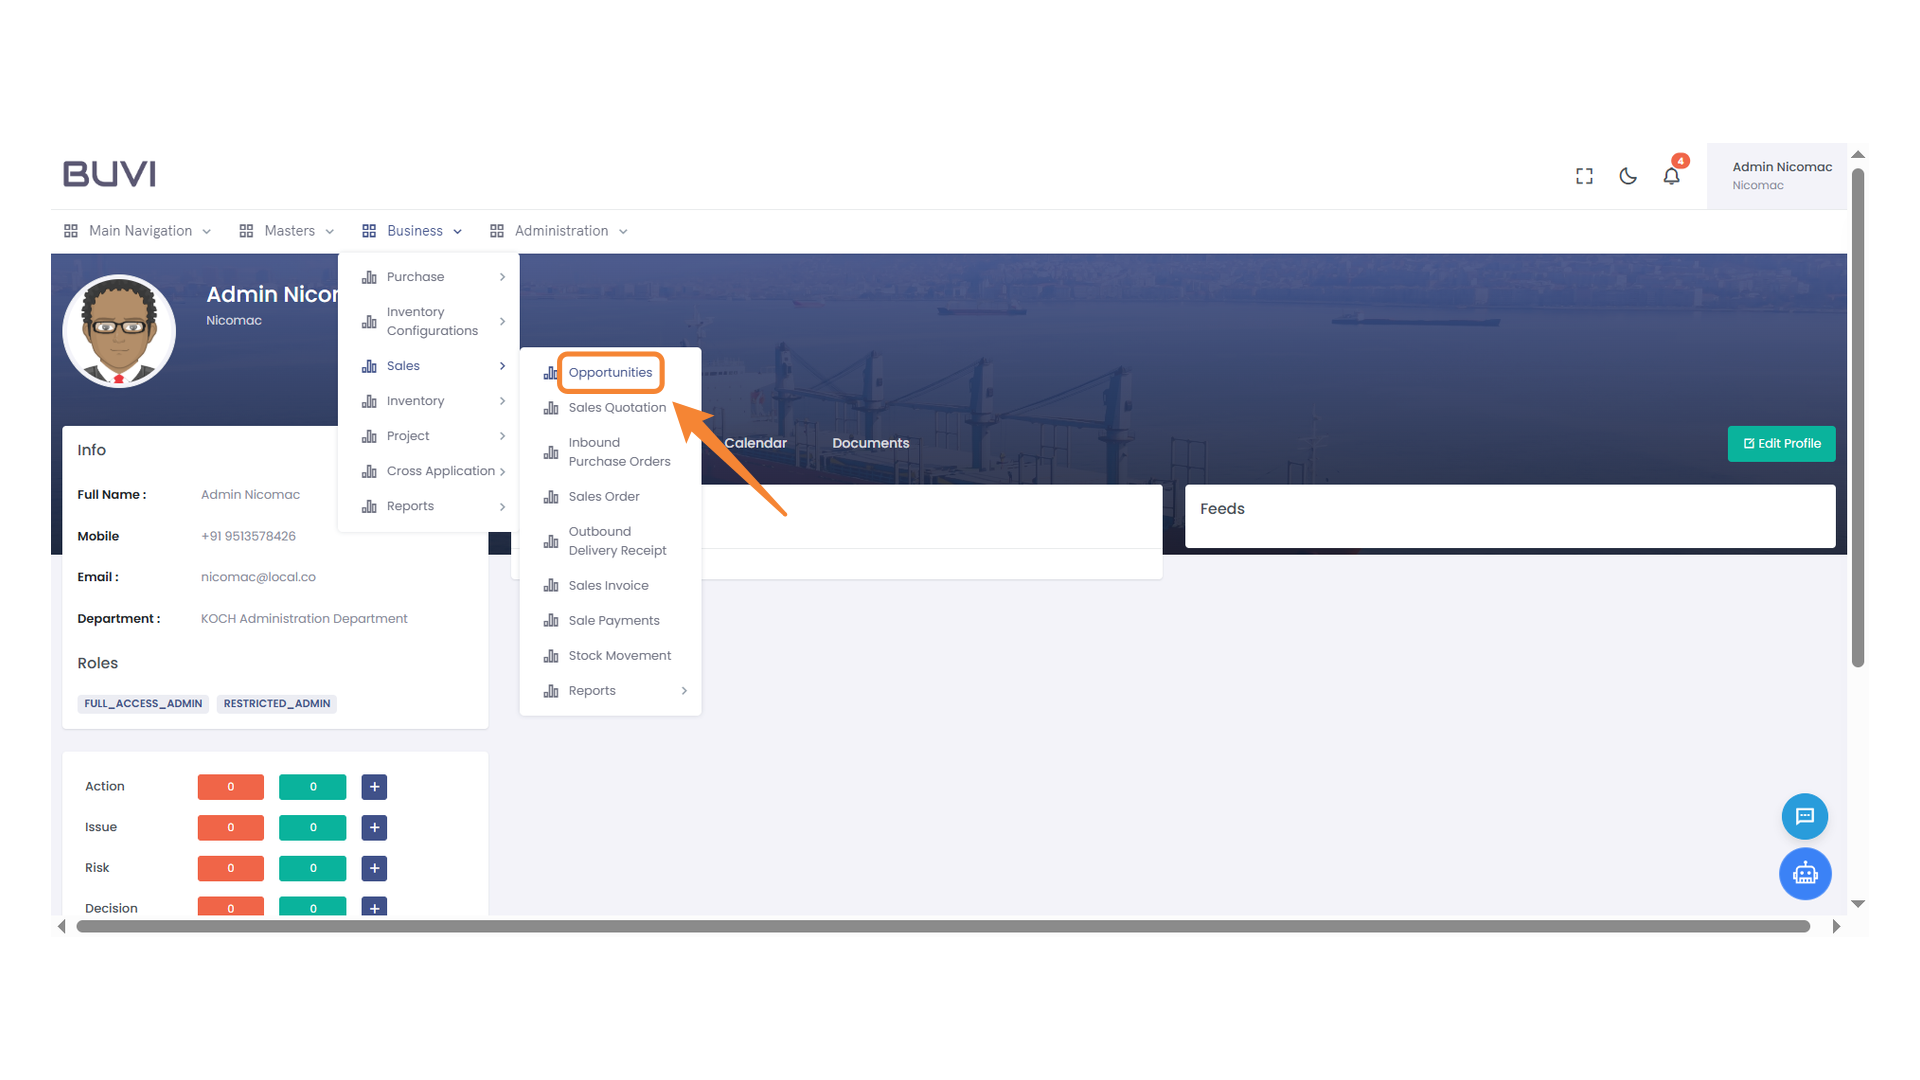
61. Sales Menu Navigation
Access the Sales menu to explore various sales-related options such as quotations, orders, and invoices.
62. Business Opportunities
Select this option to explore potential business opportunities and engage with new prospects.
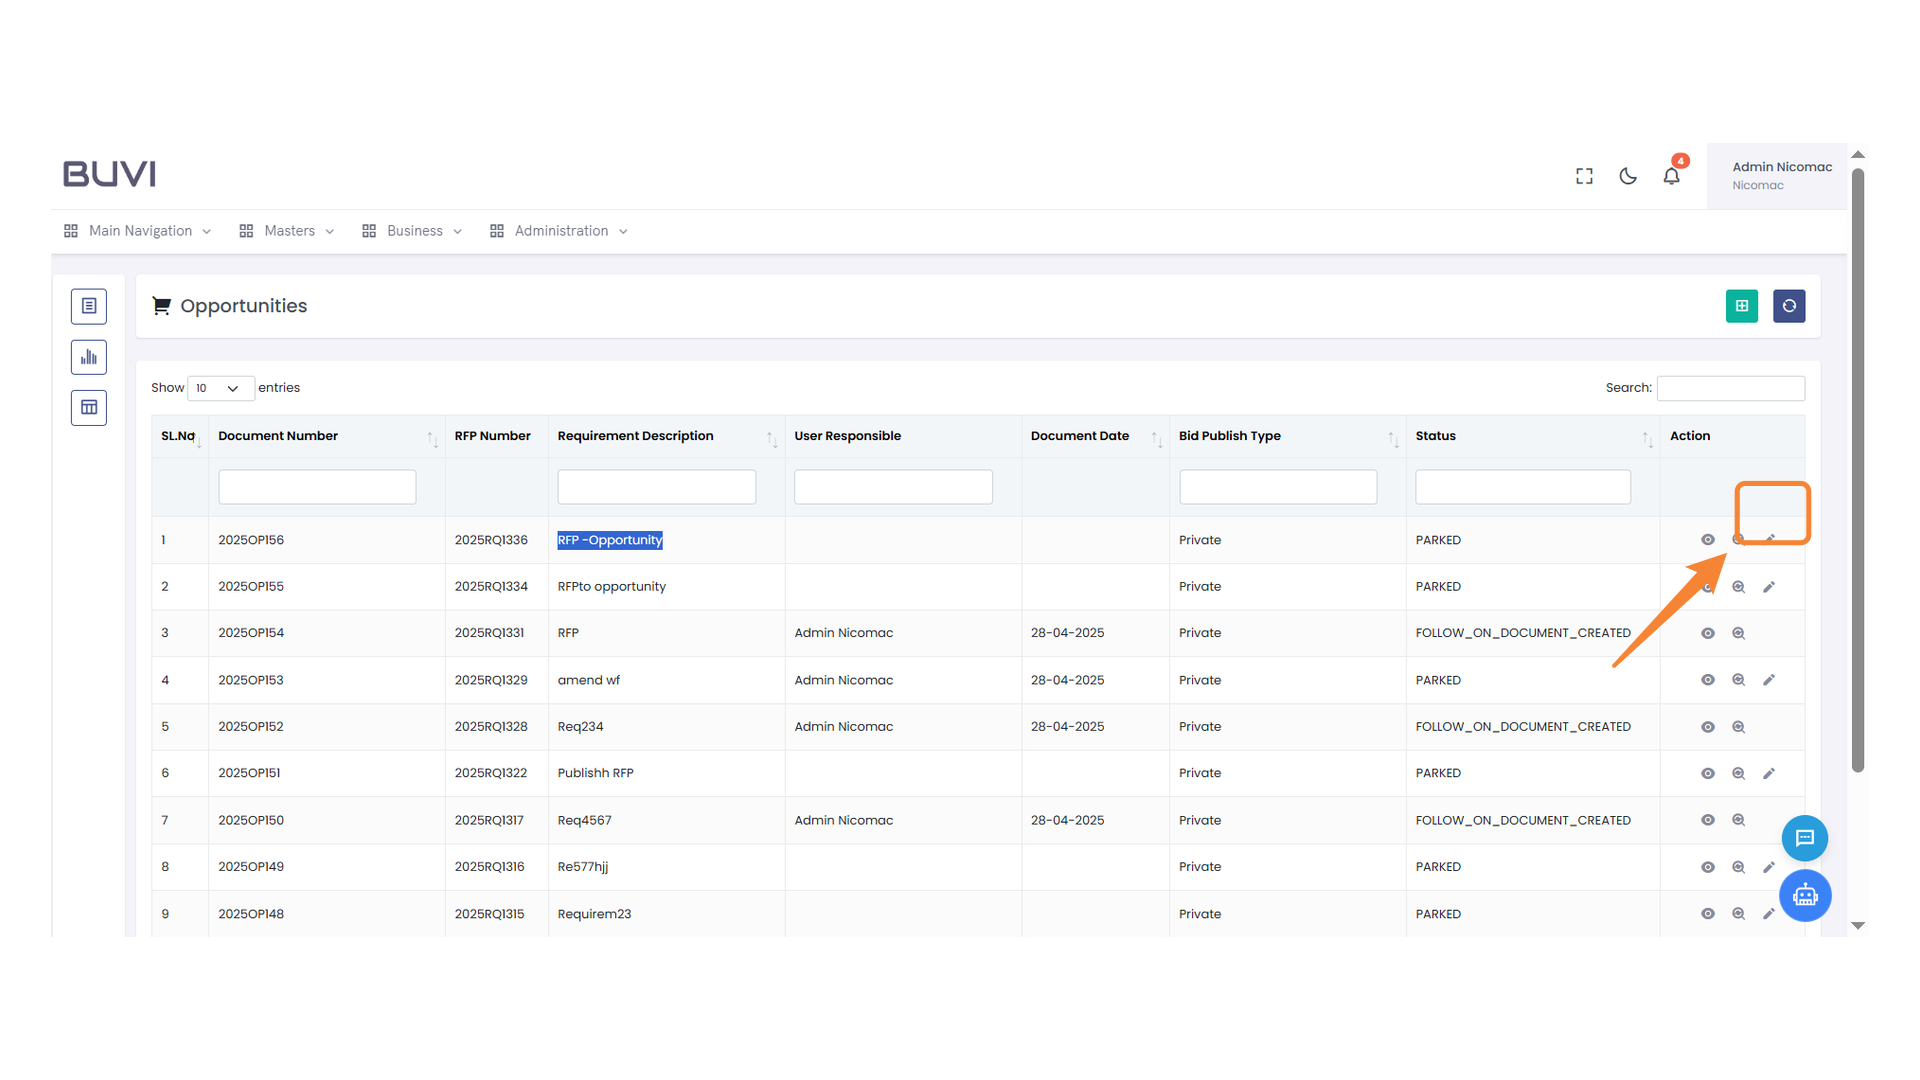
63. RFP Opportunity Highlighted
Review the highlighted row to assess the current RFP opportunity details.

64. Edit Icon
Click to modify the selected entry.
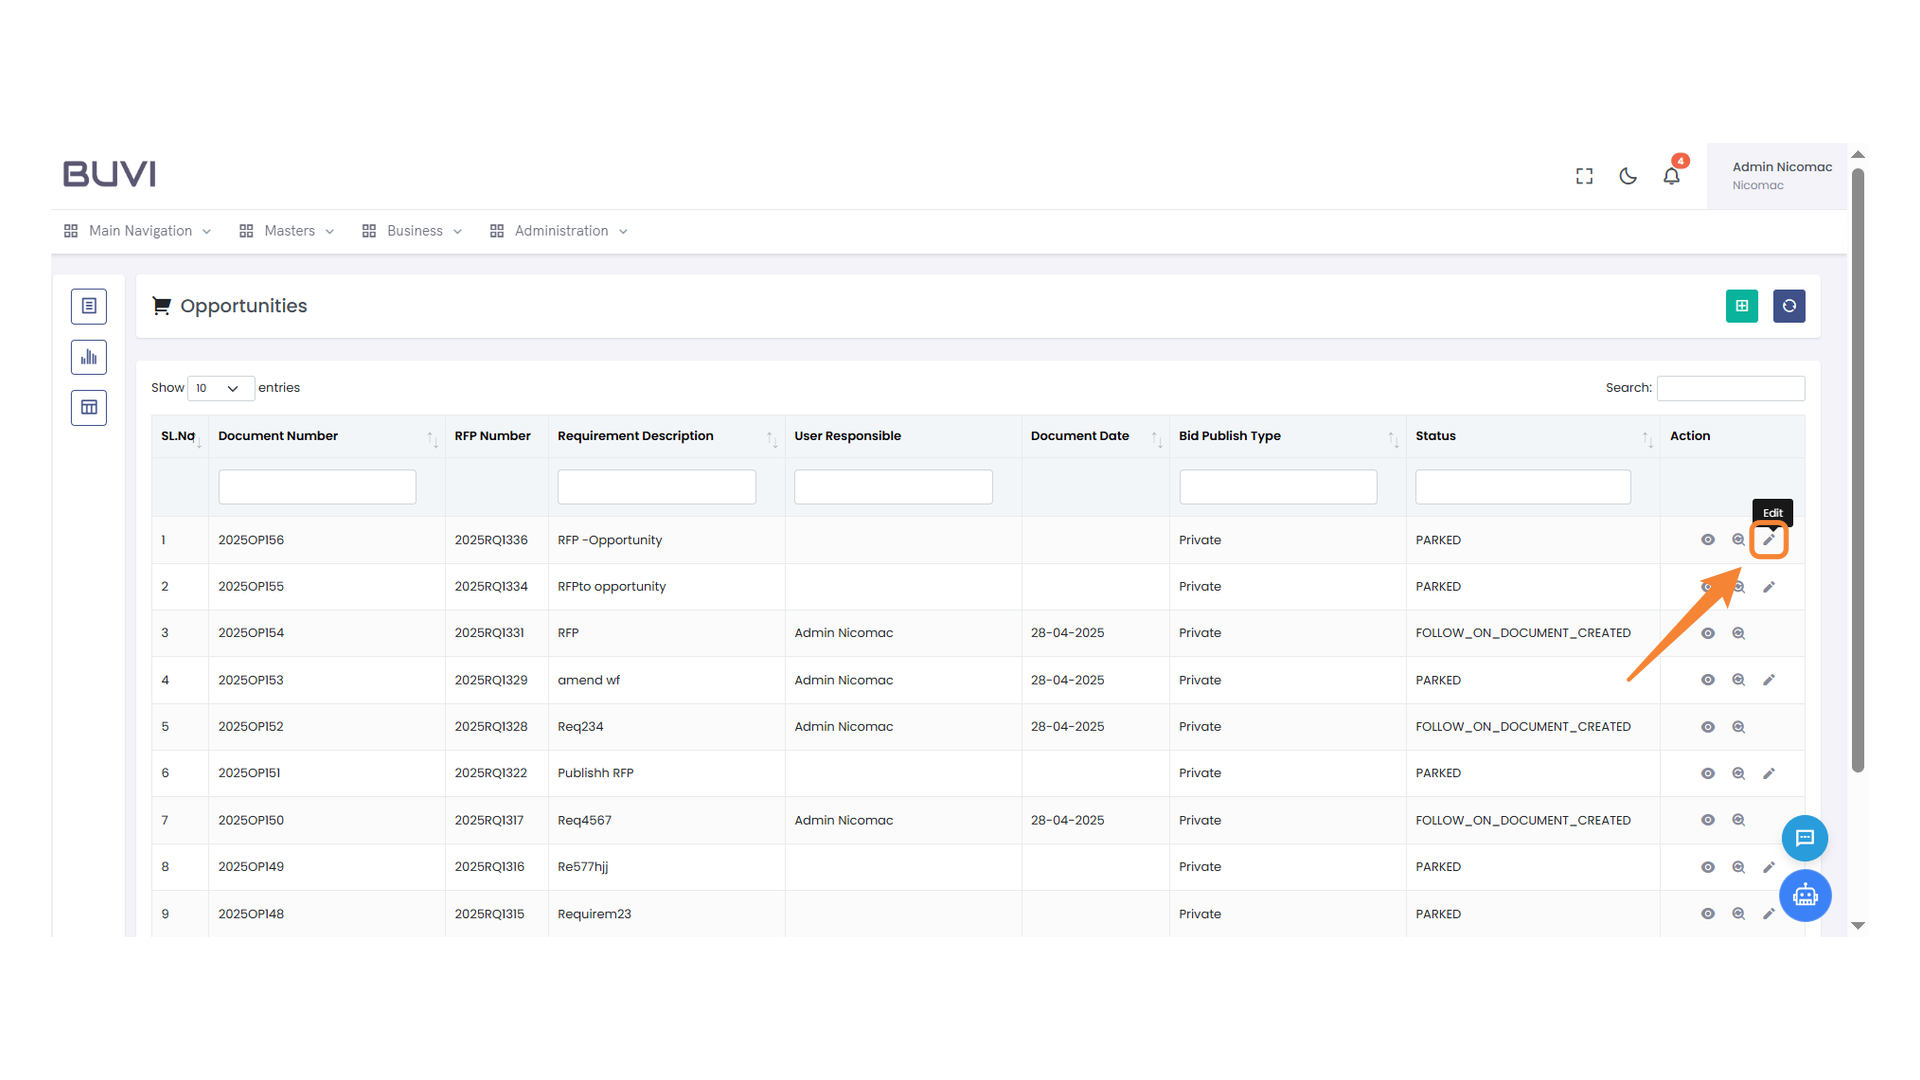
65. Edit Opportunity Entry
Click the pencil icon to edit the selected opportunity entry in the table.
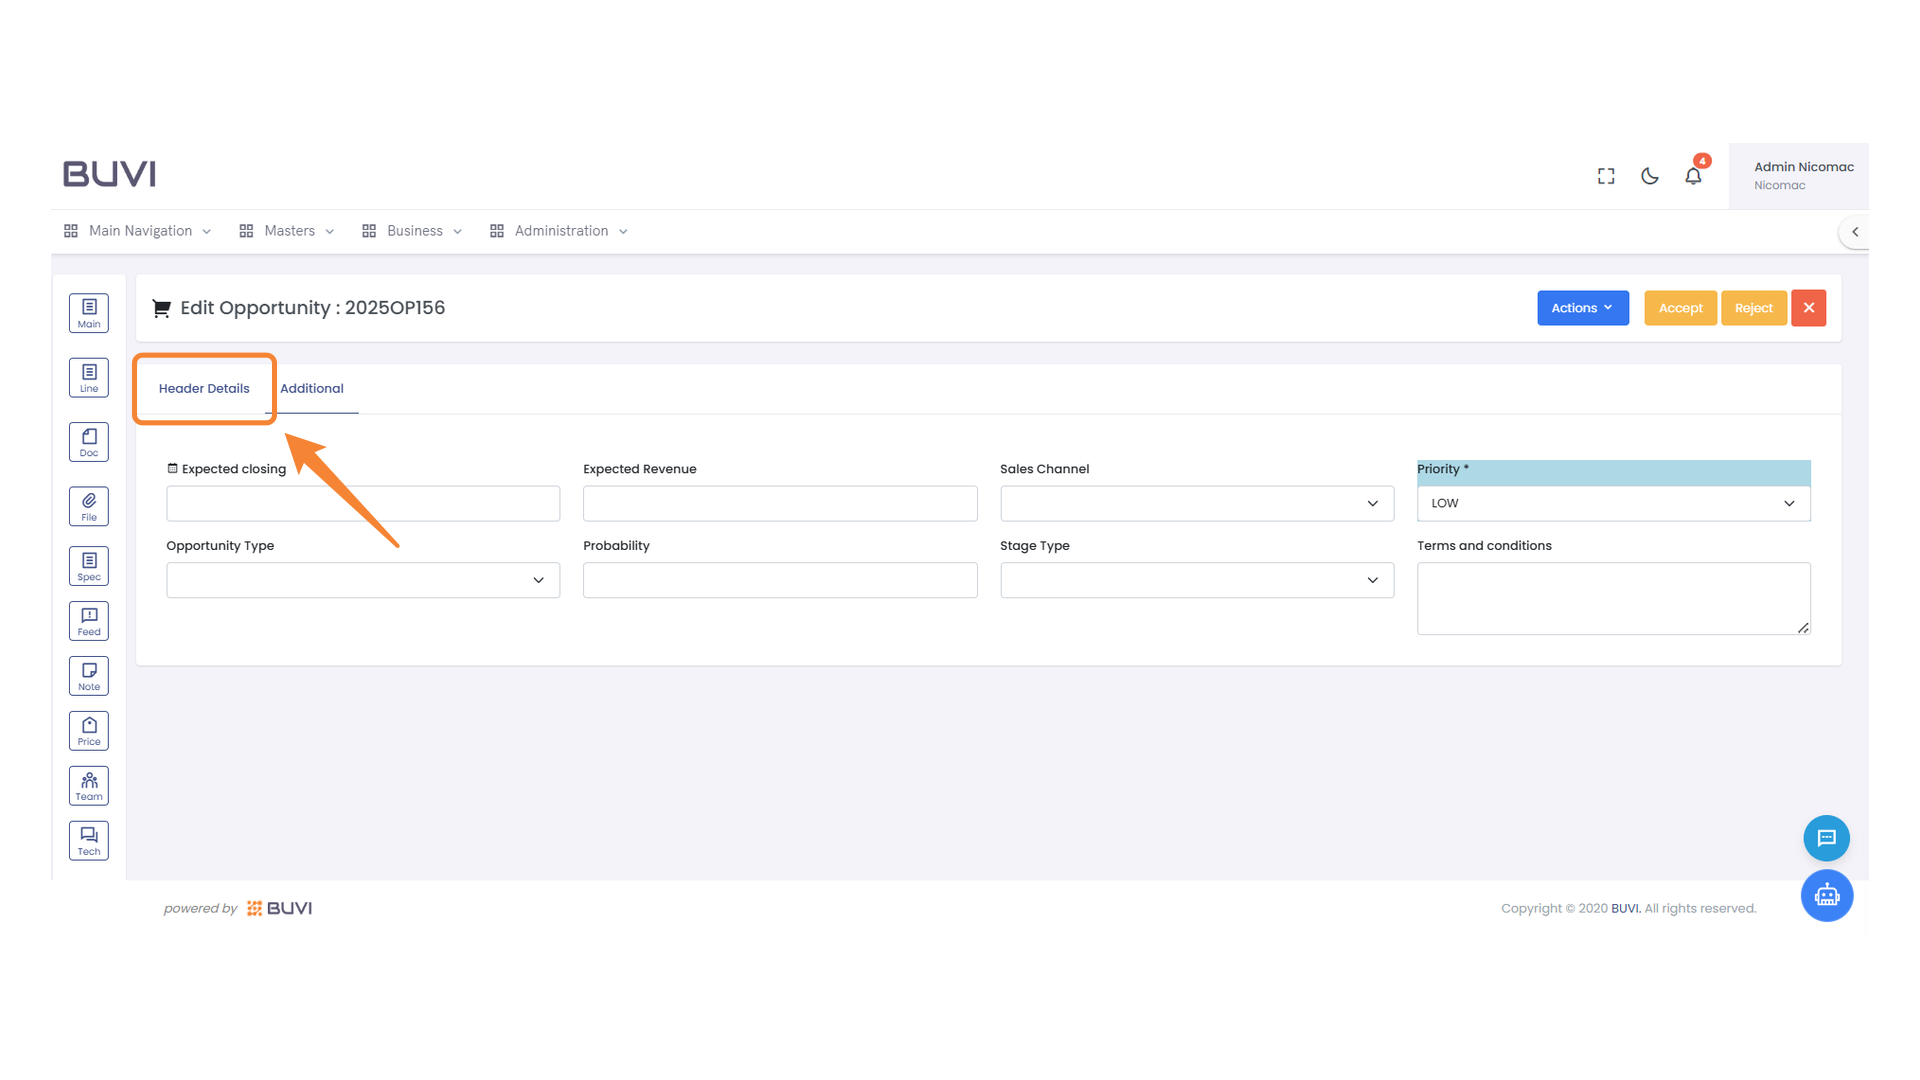
66. Header Details Tab
Explore the primary settings and options available for the opportunity by selecting this tab.
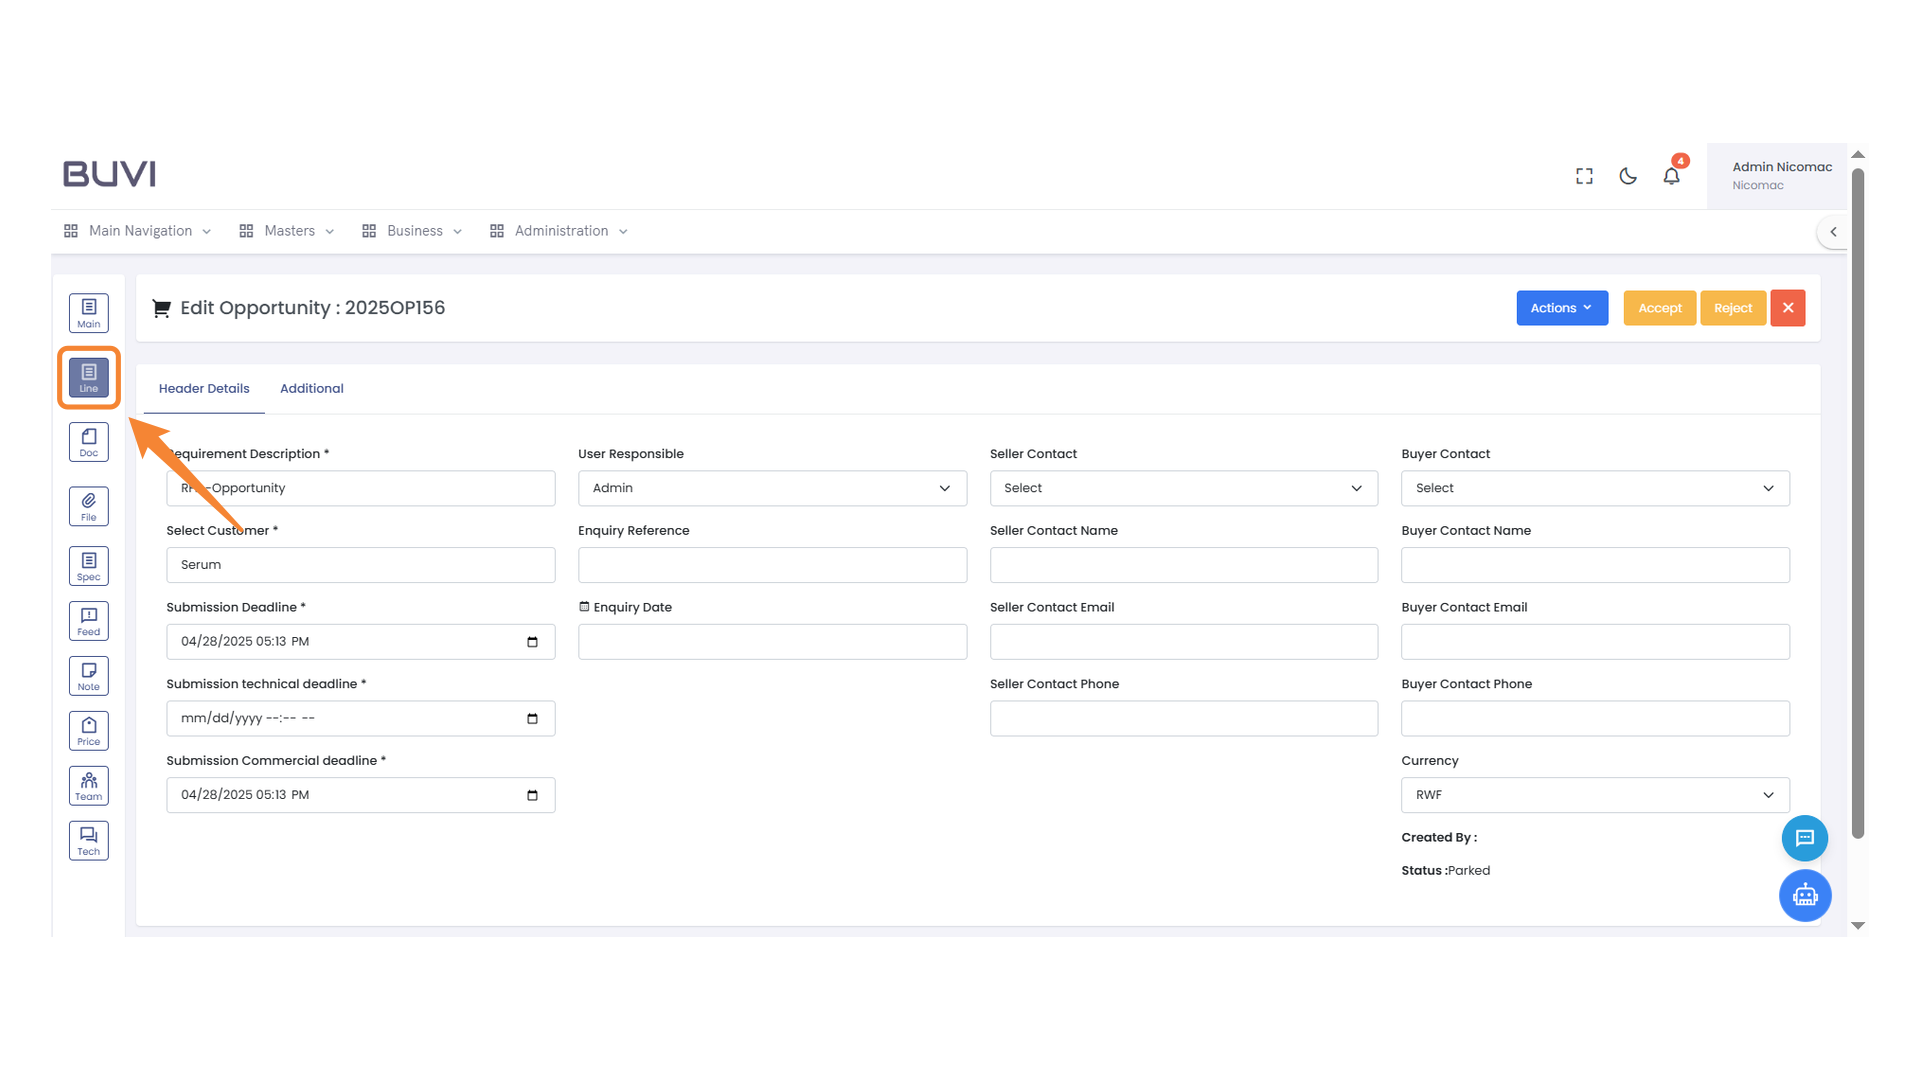
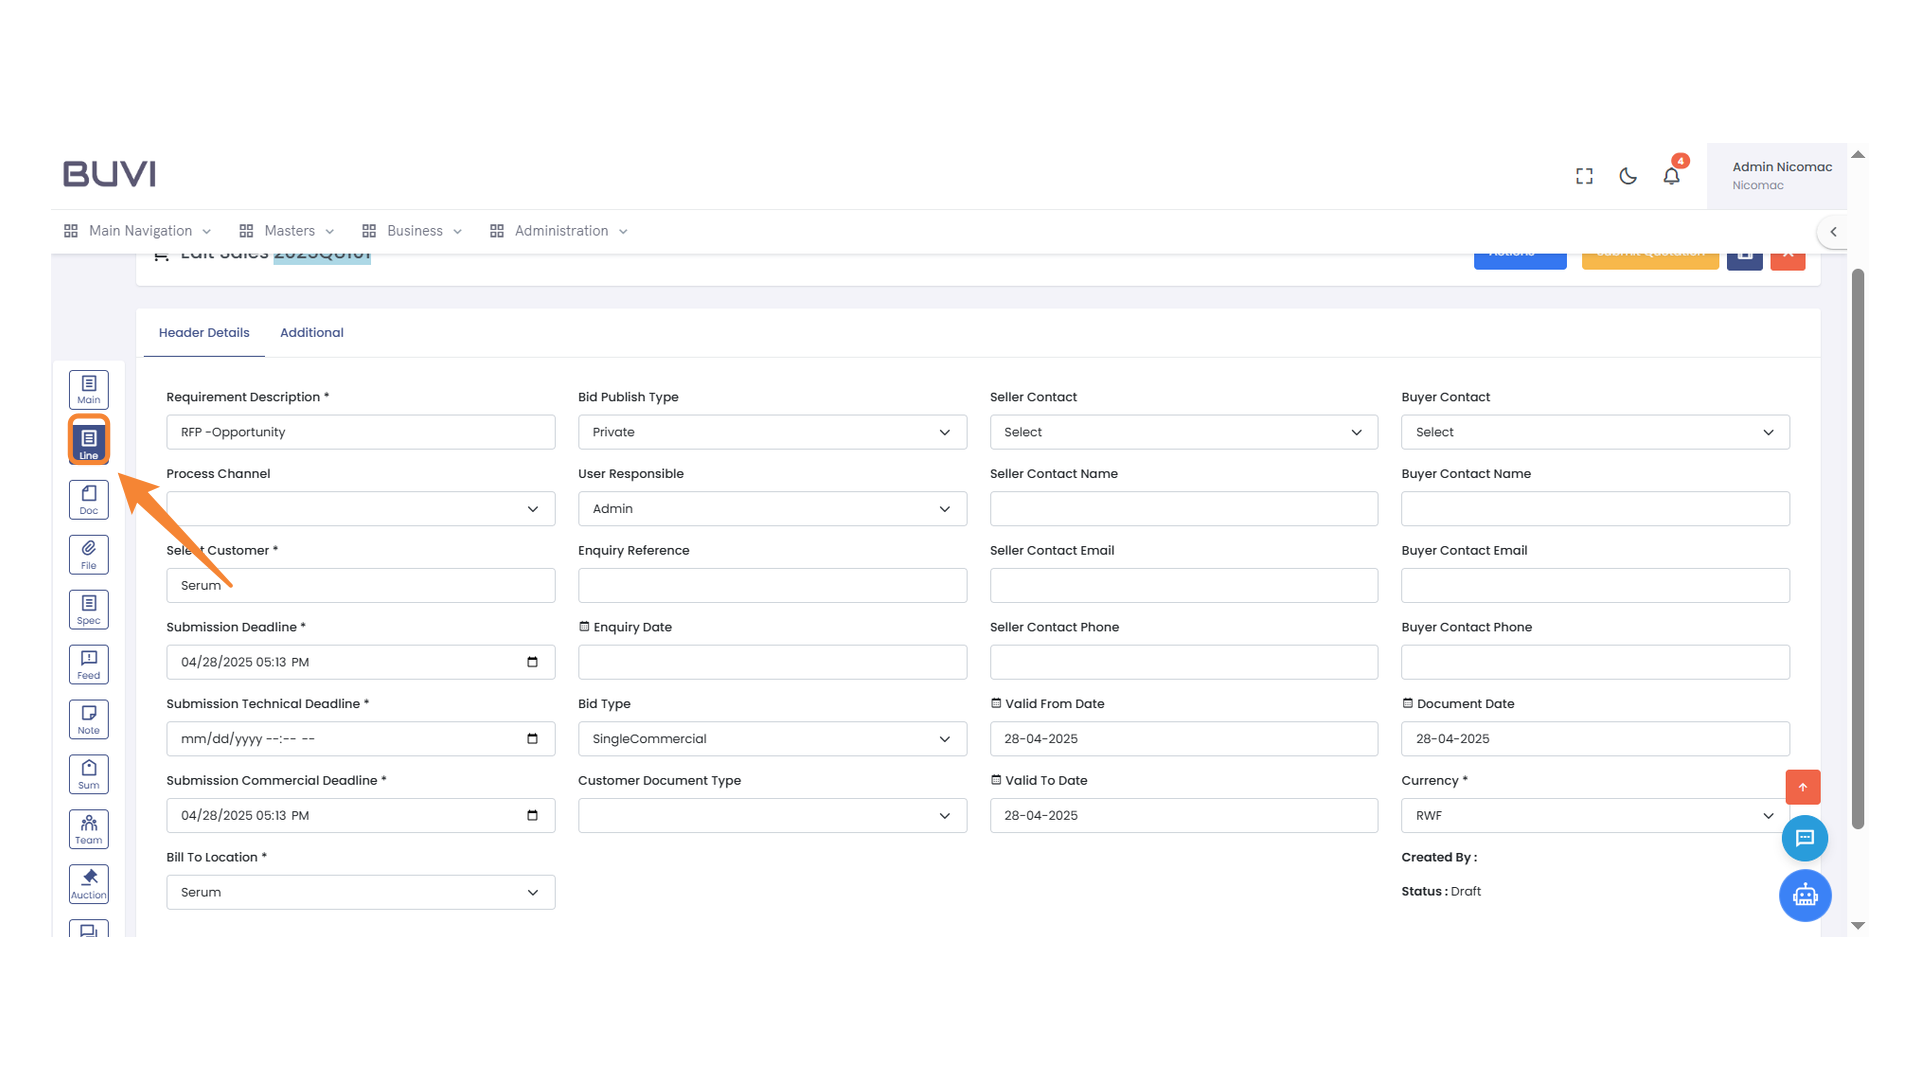
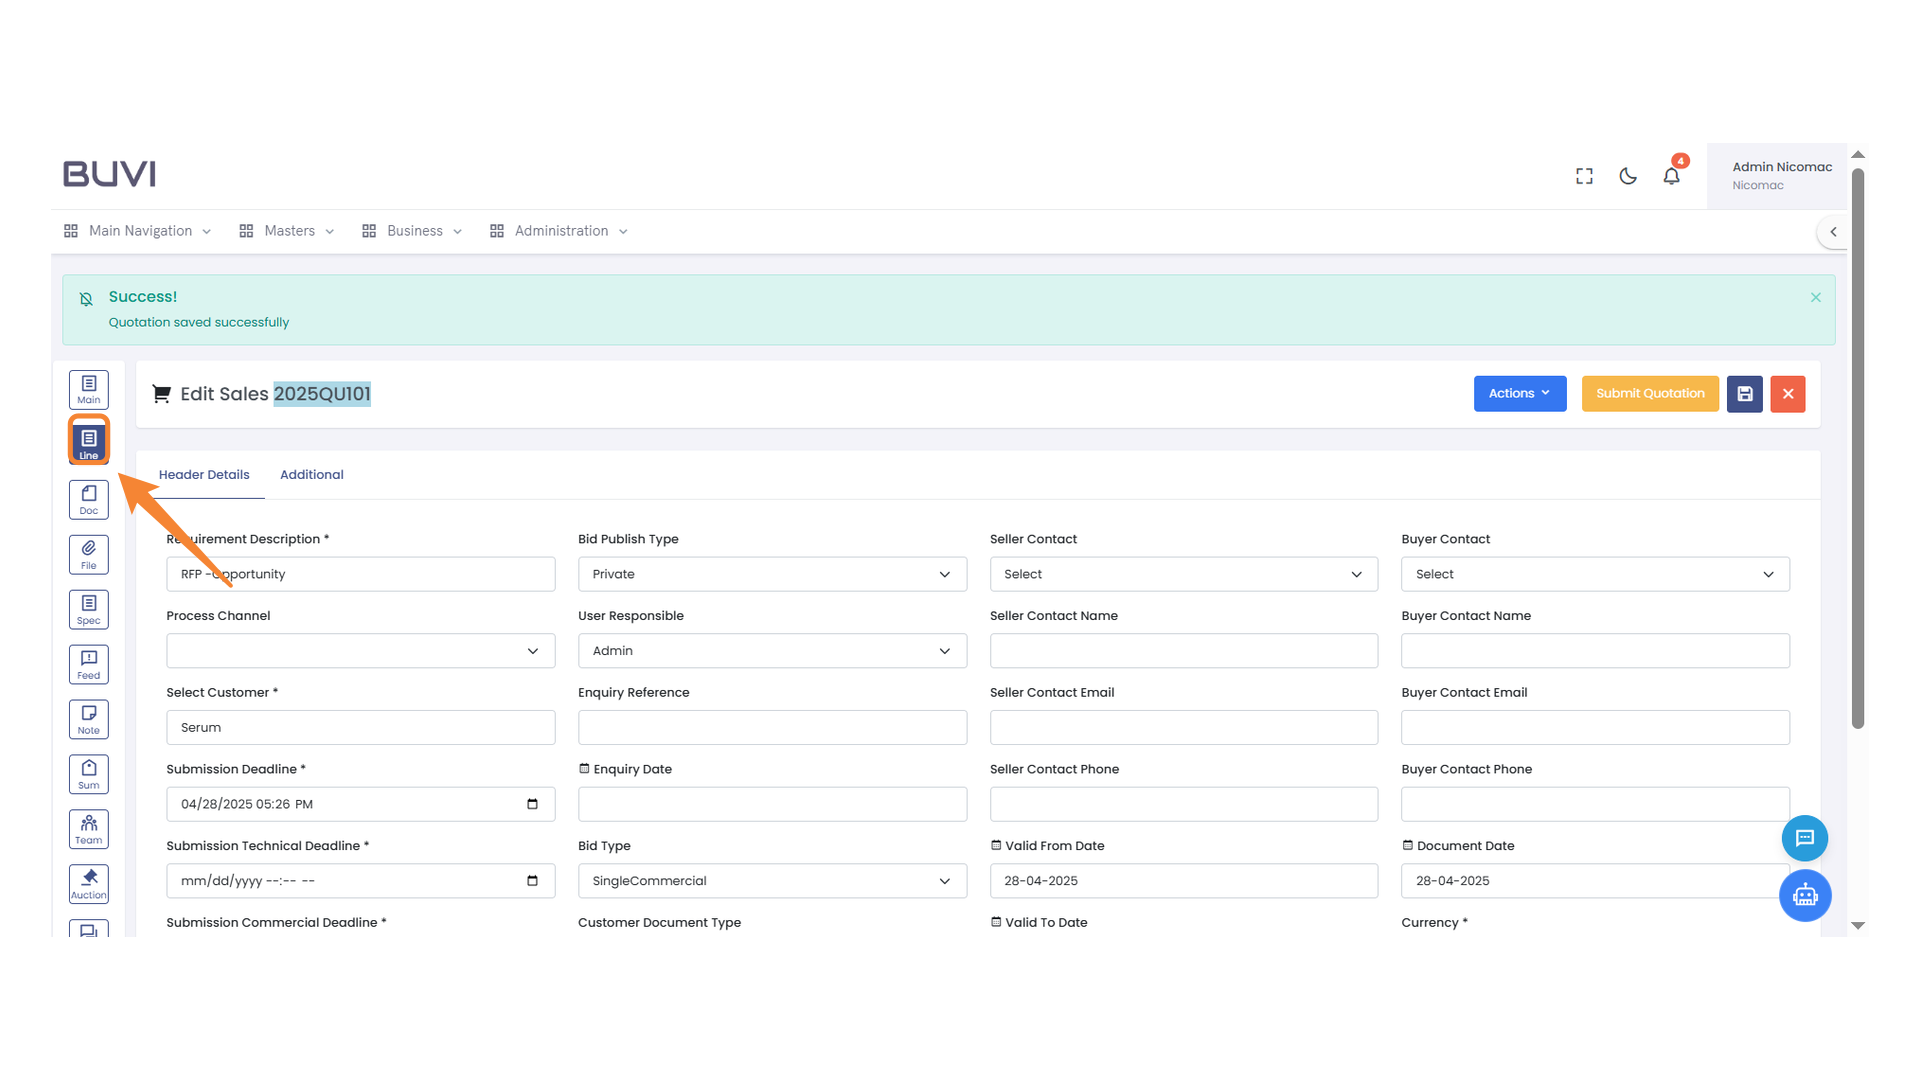
67. Line Section Icon
Click to navigate to the line section of the document.
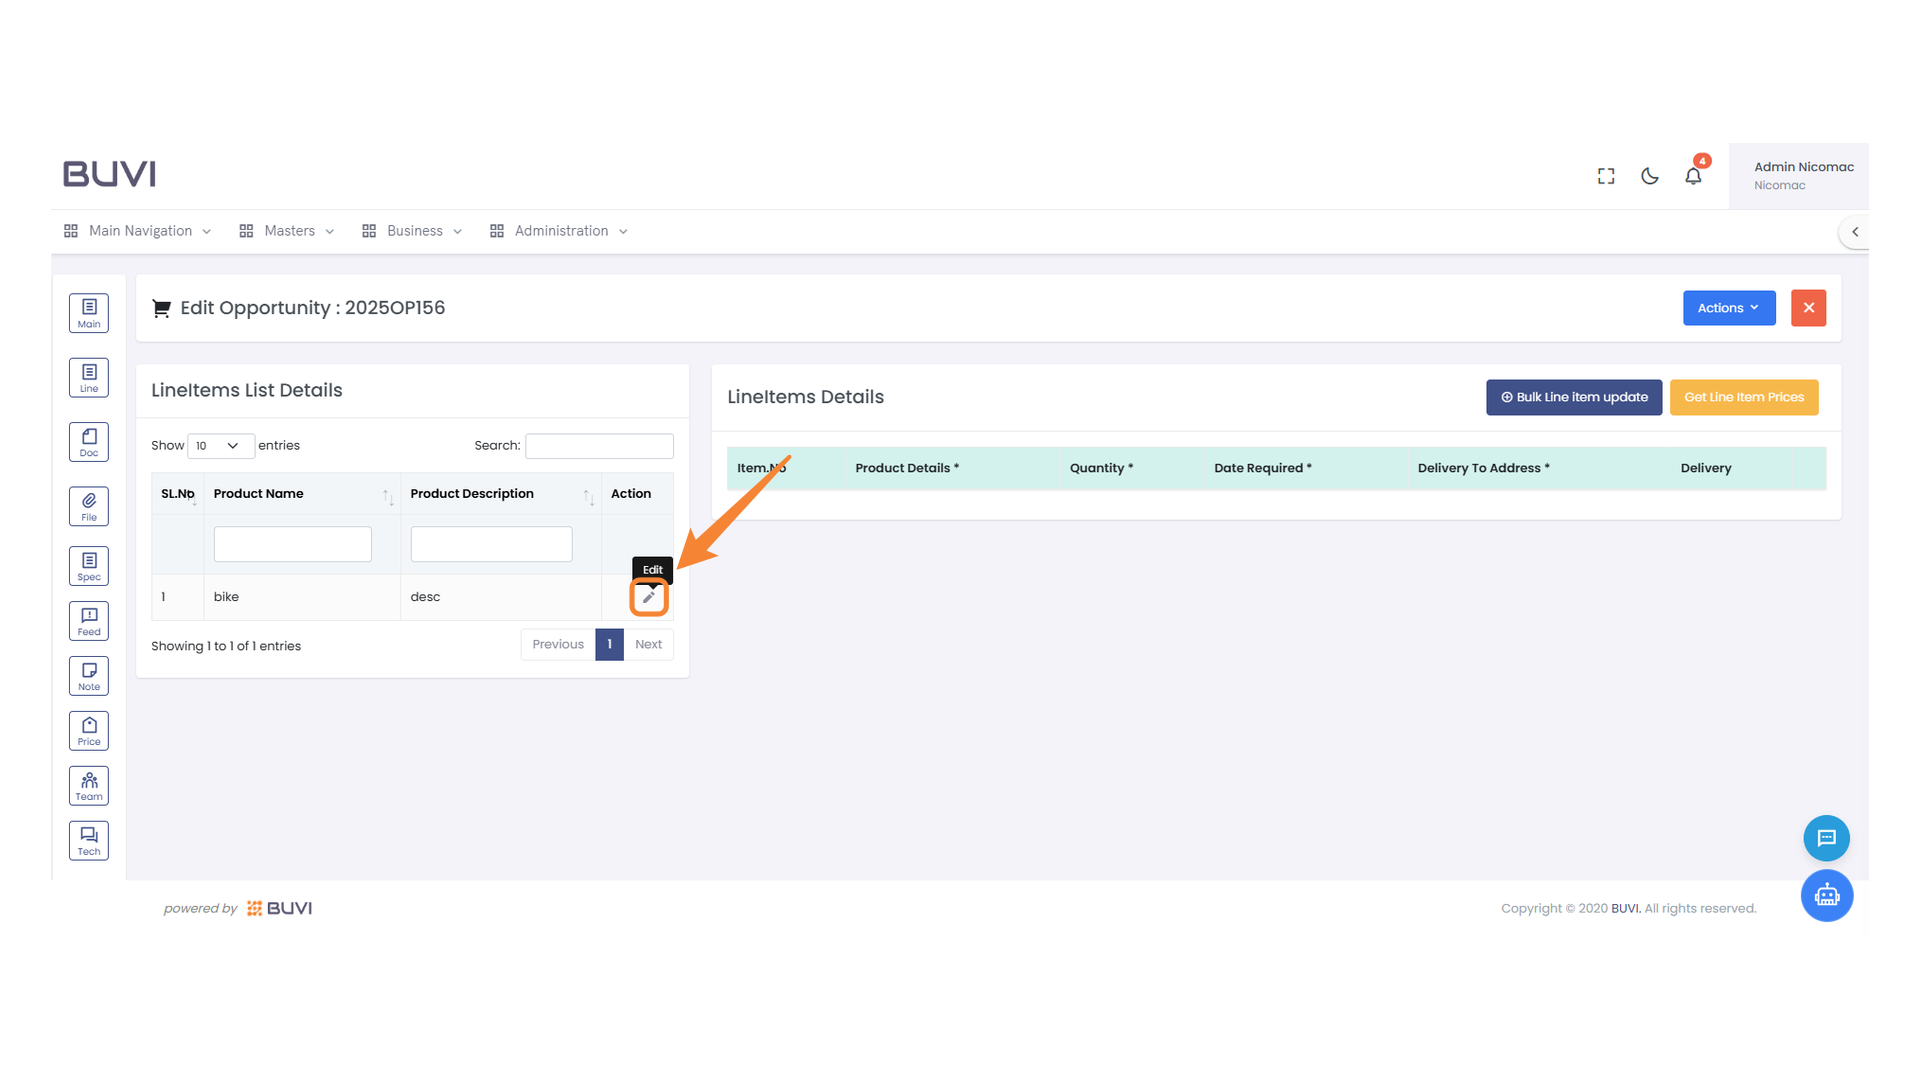
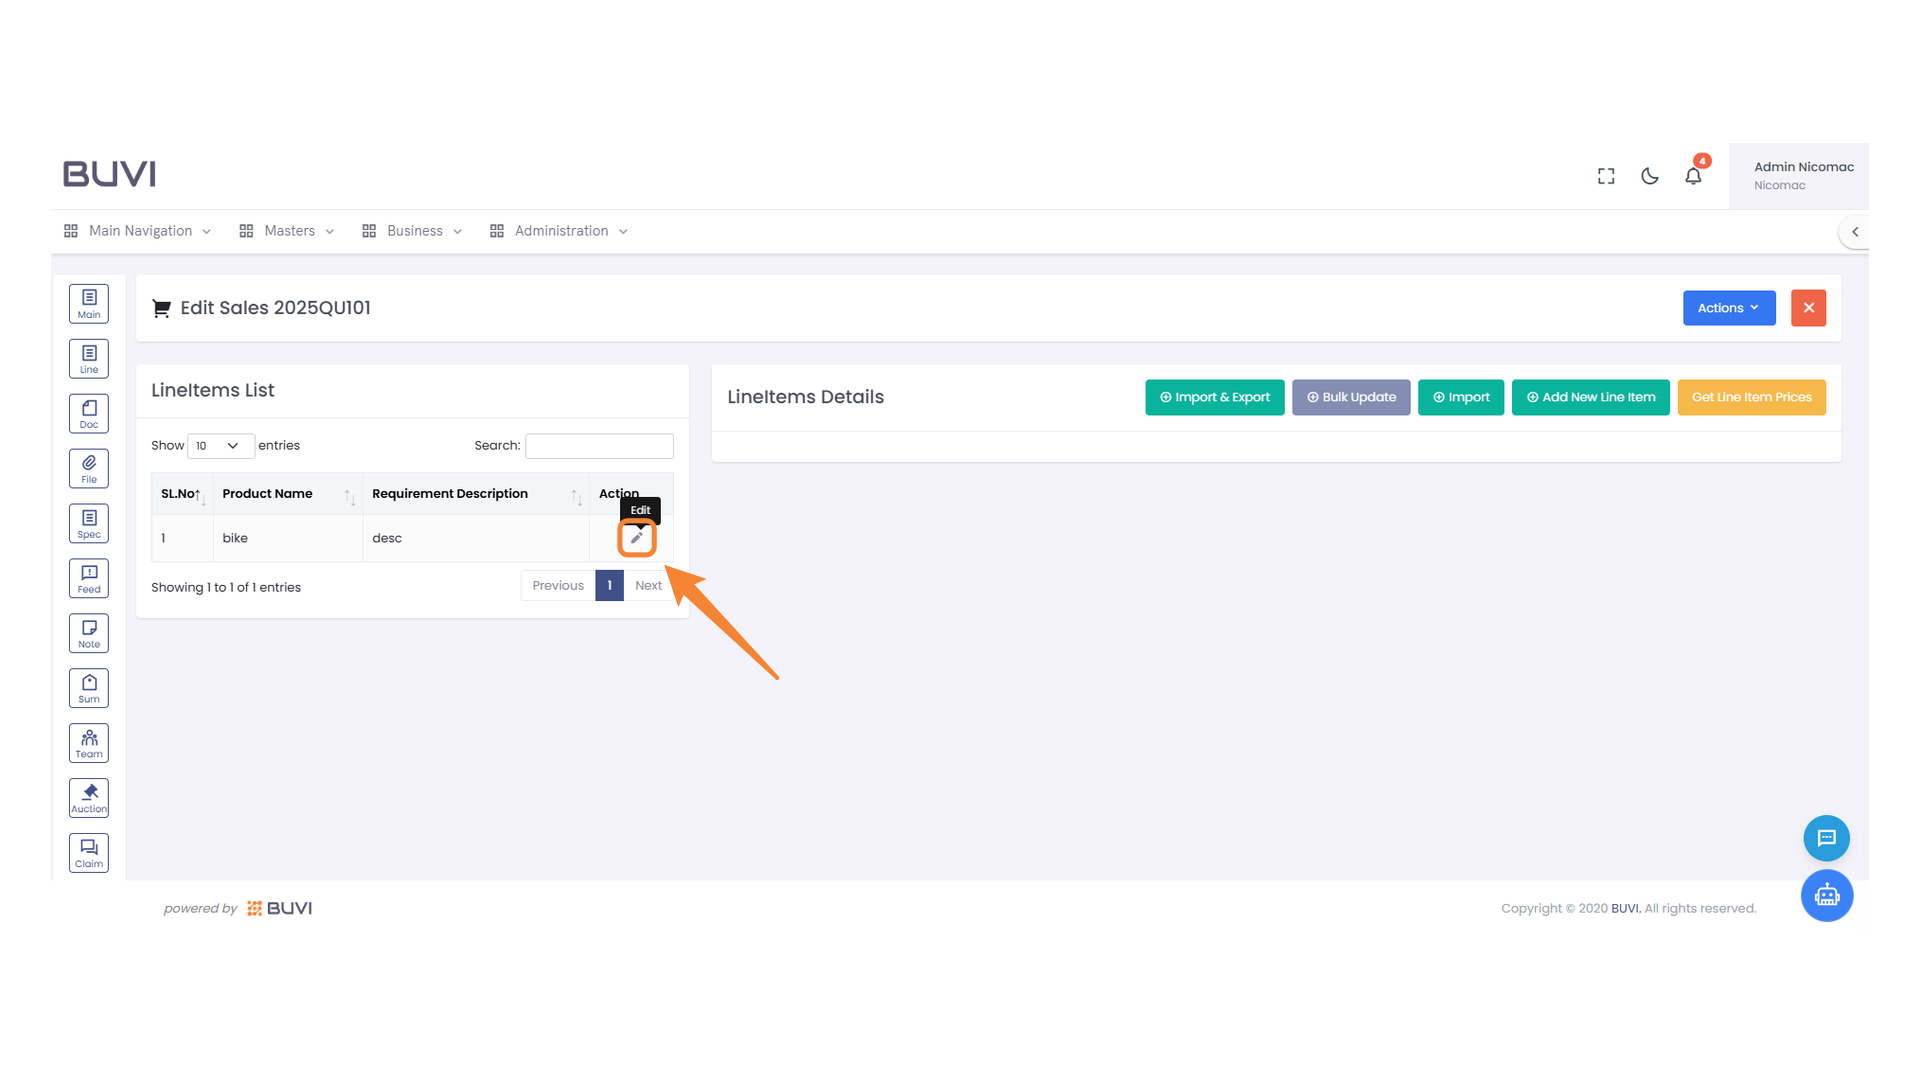
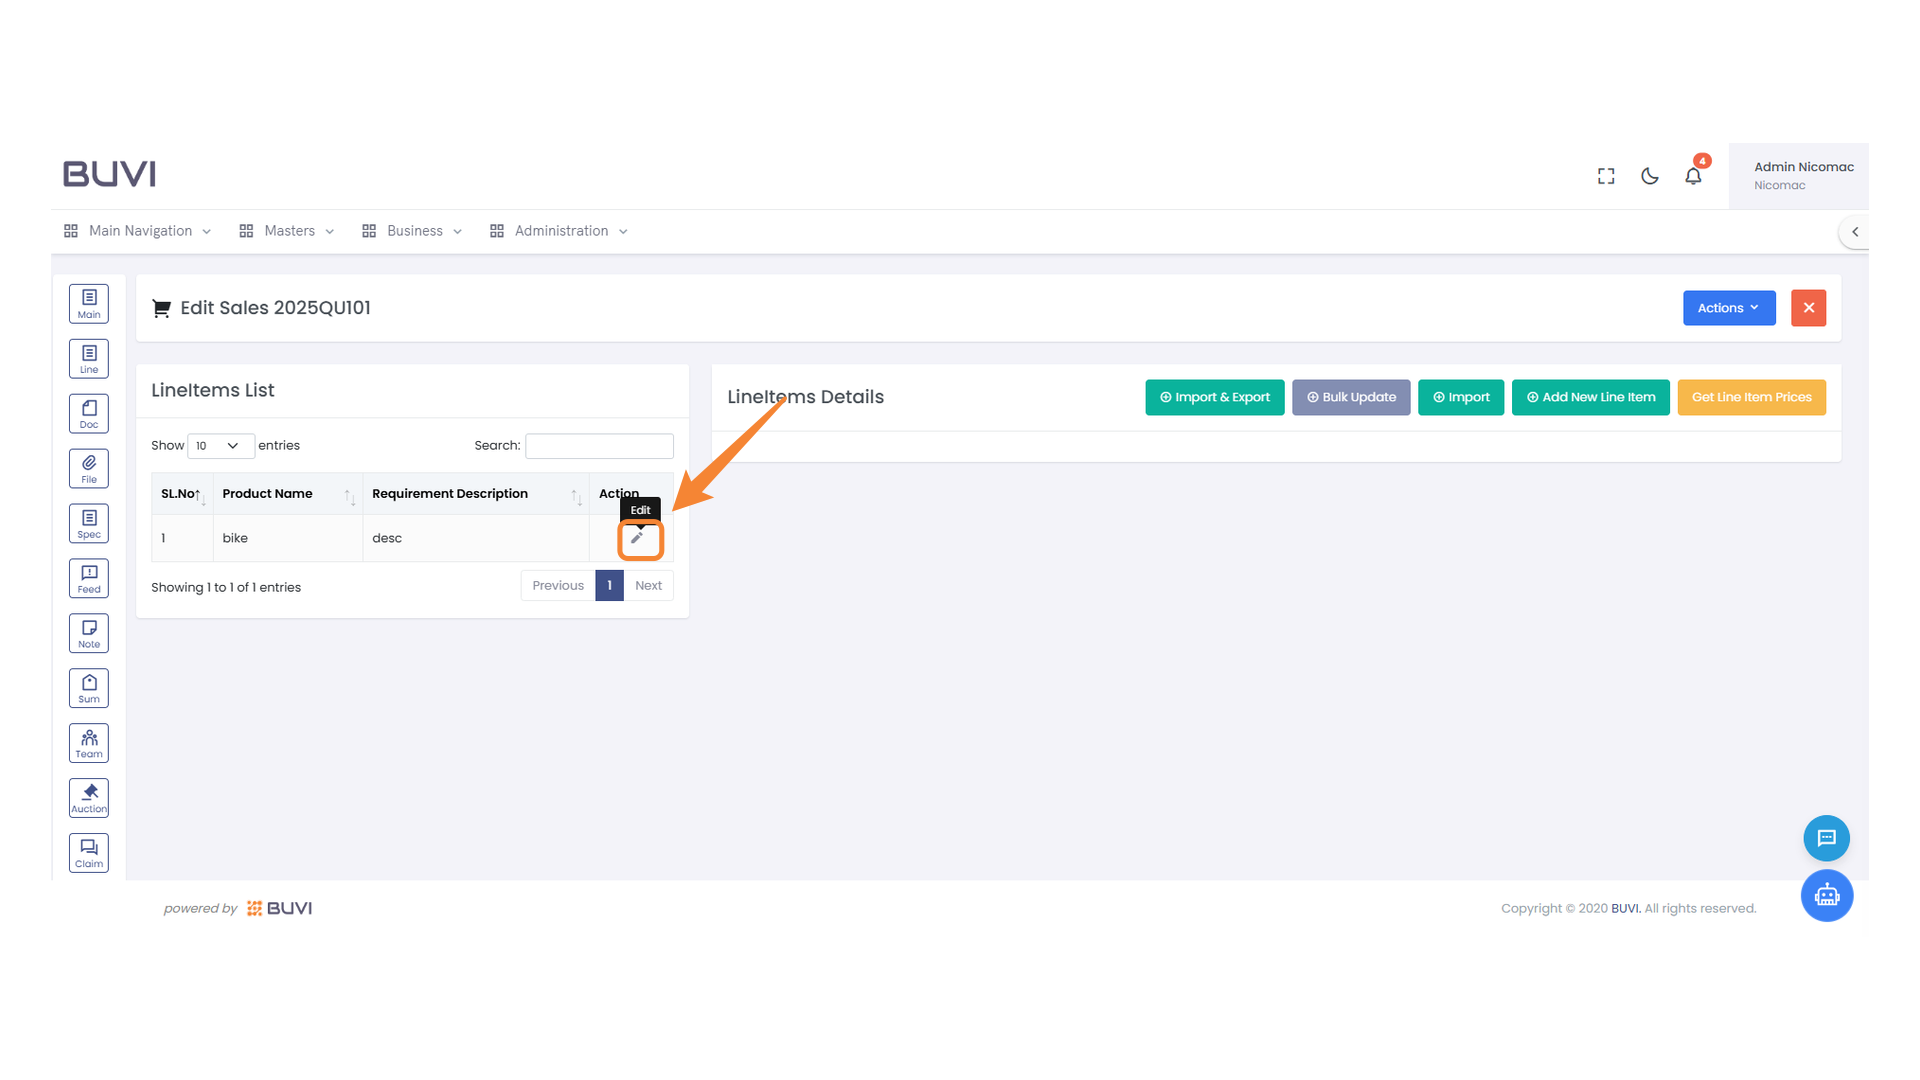
68. Edit Line Item Button
Click to edit the product details in the list.
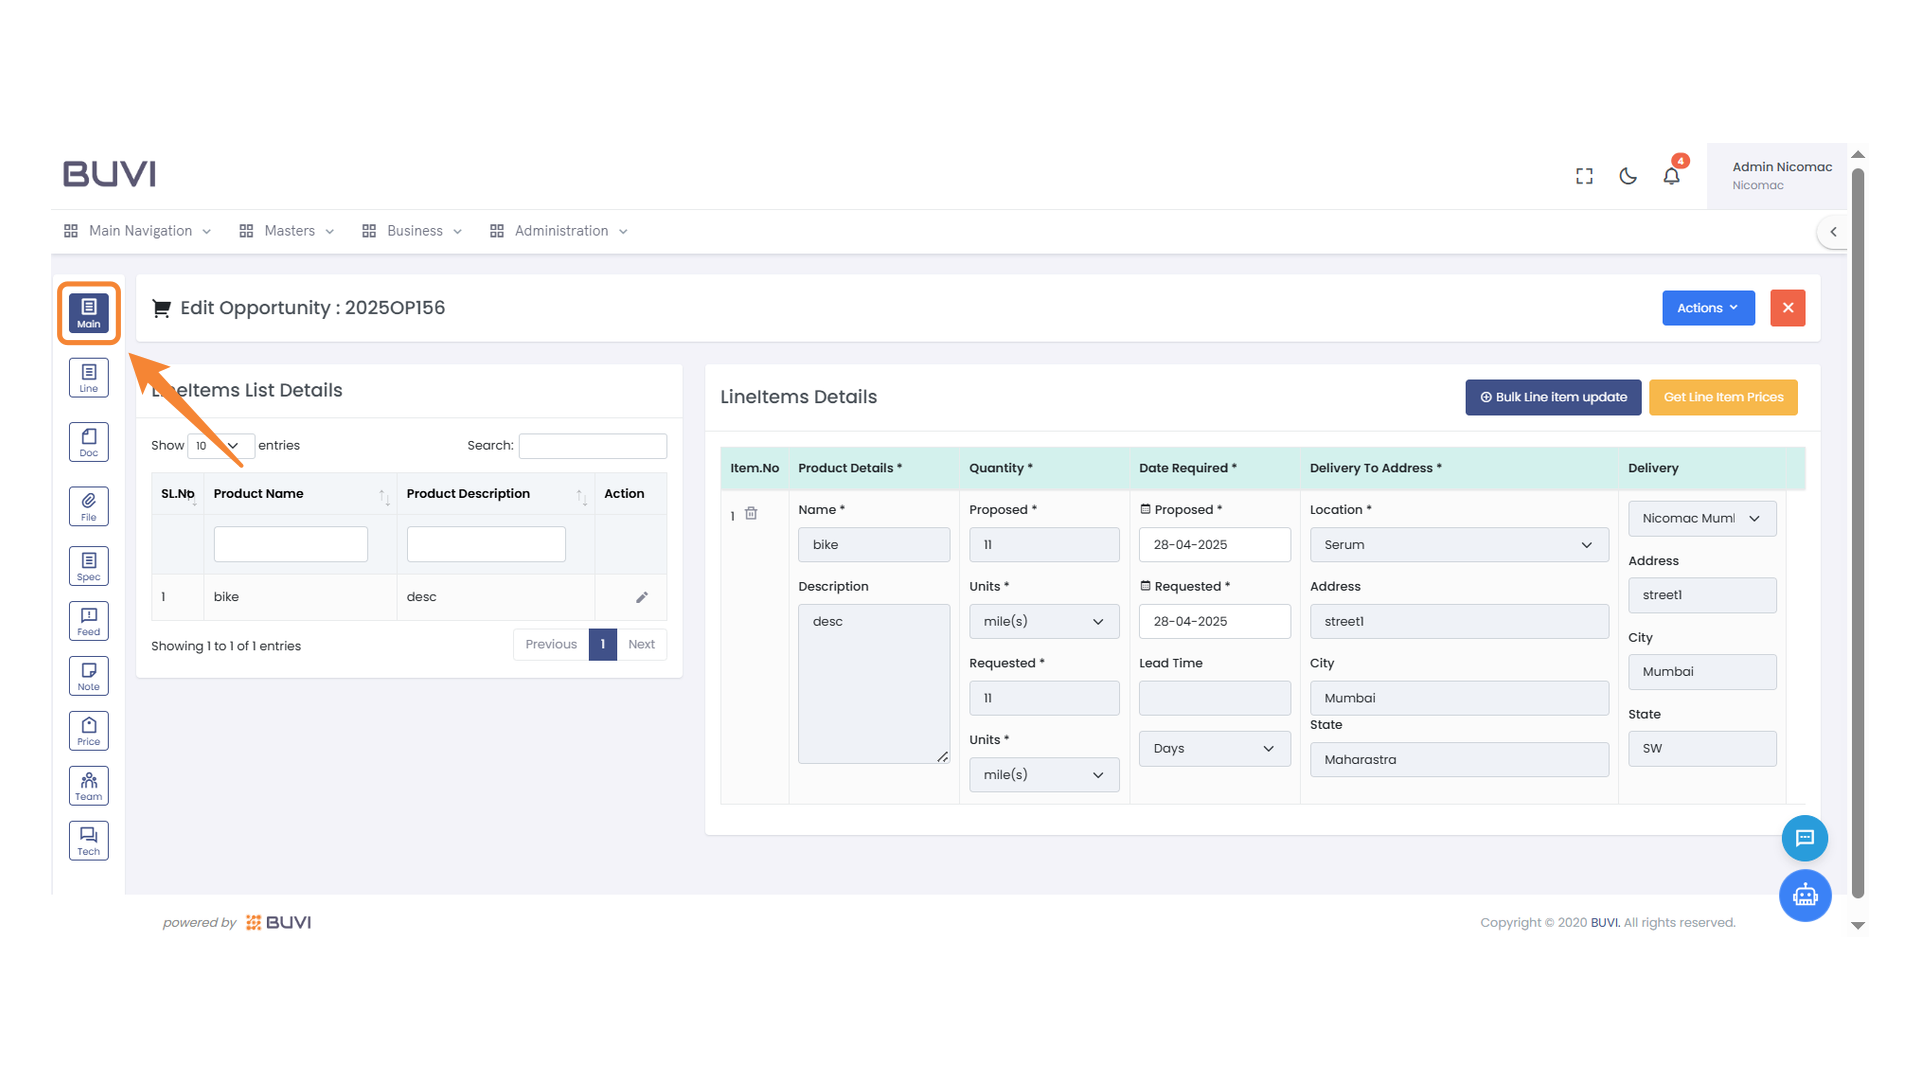
69. Main Menu Icon
Select this icon to access the main navigation menu.
70. Accept Button
Click to confirm and proceed with the current action.
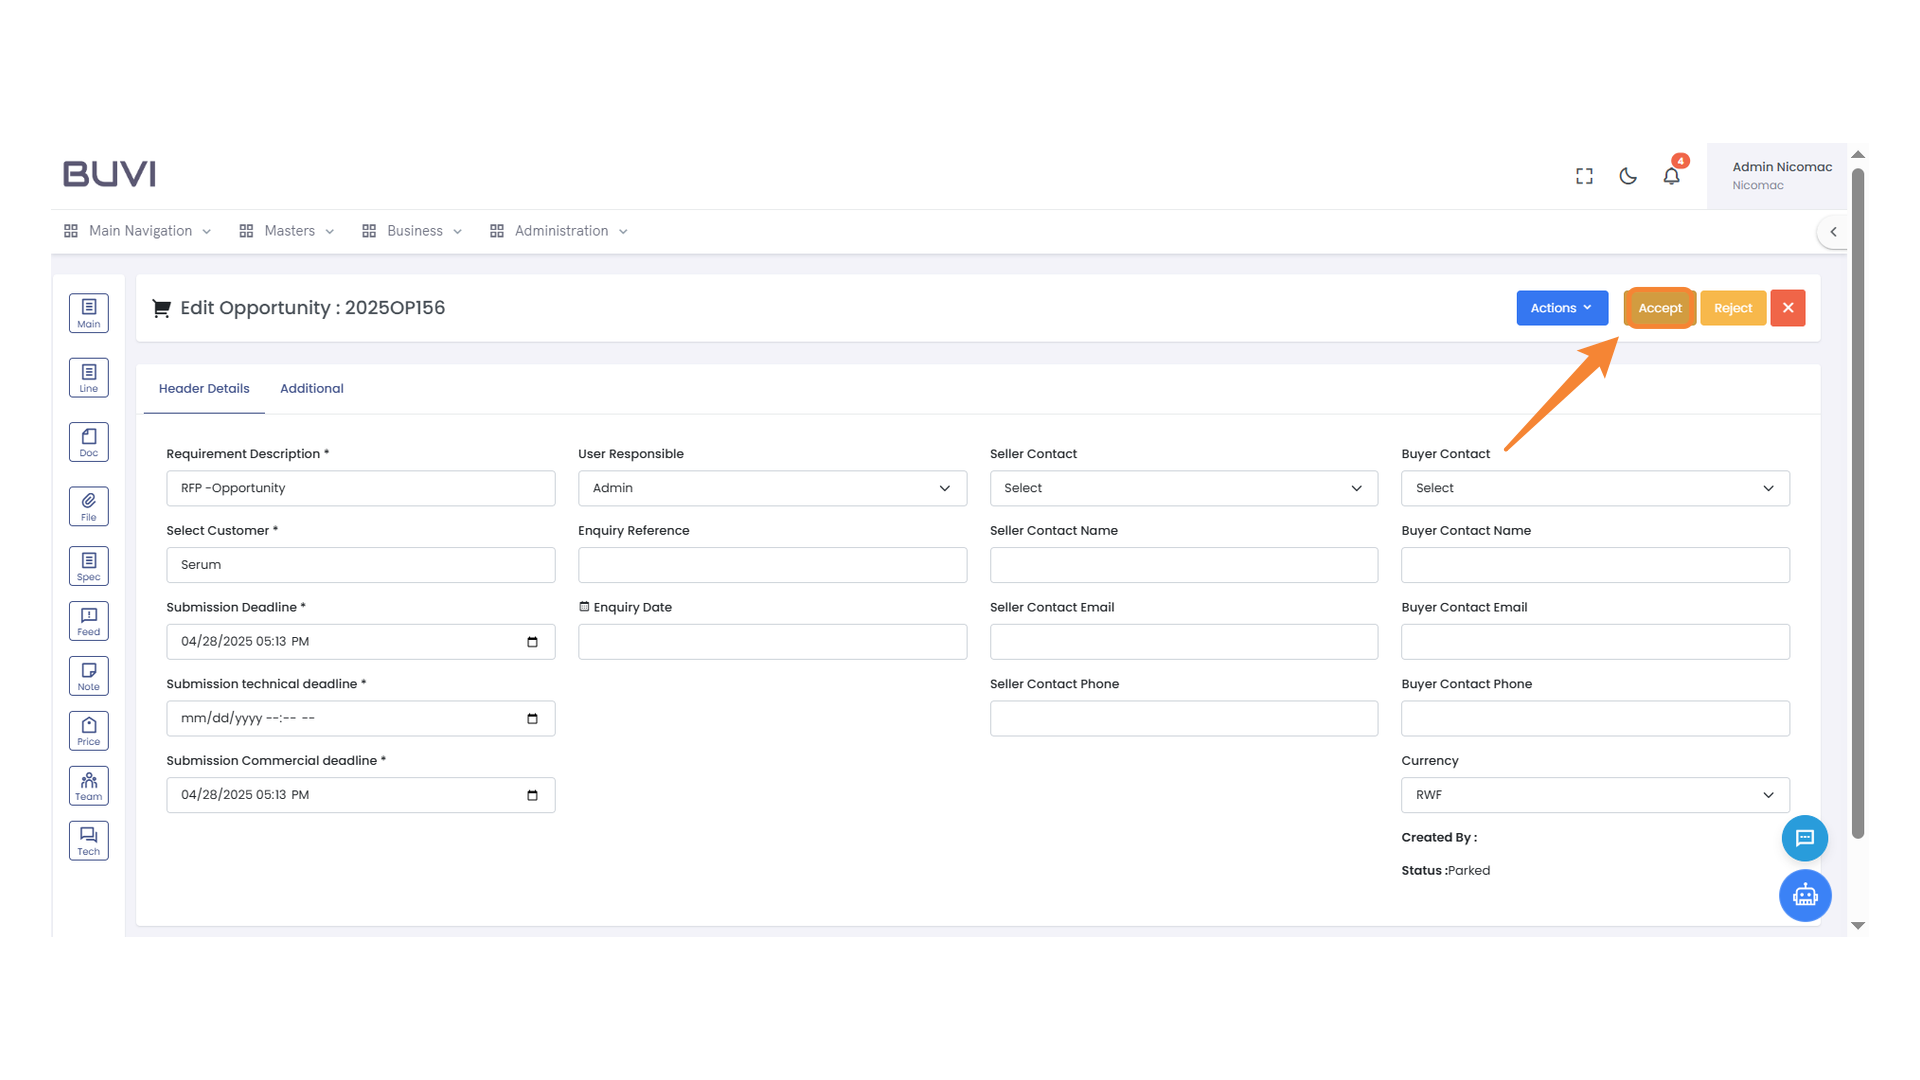
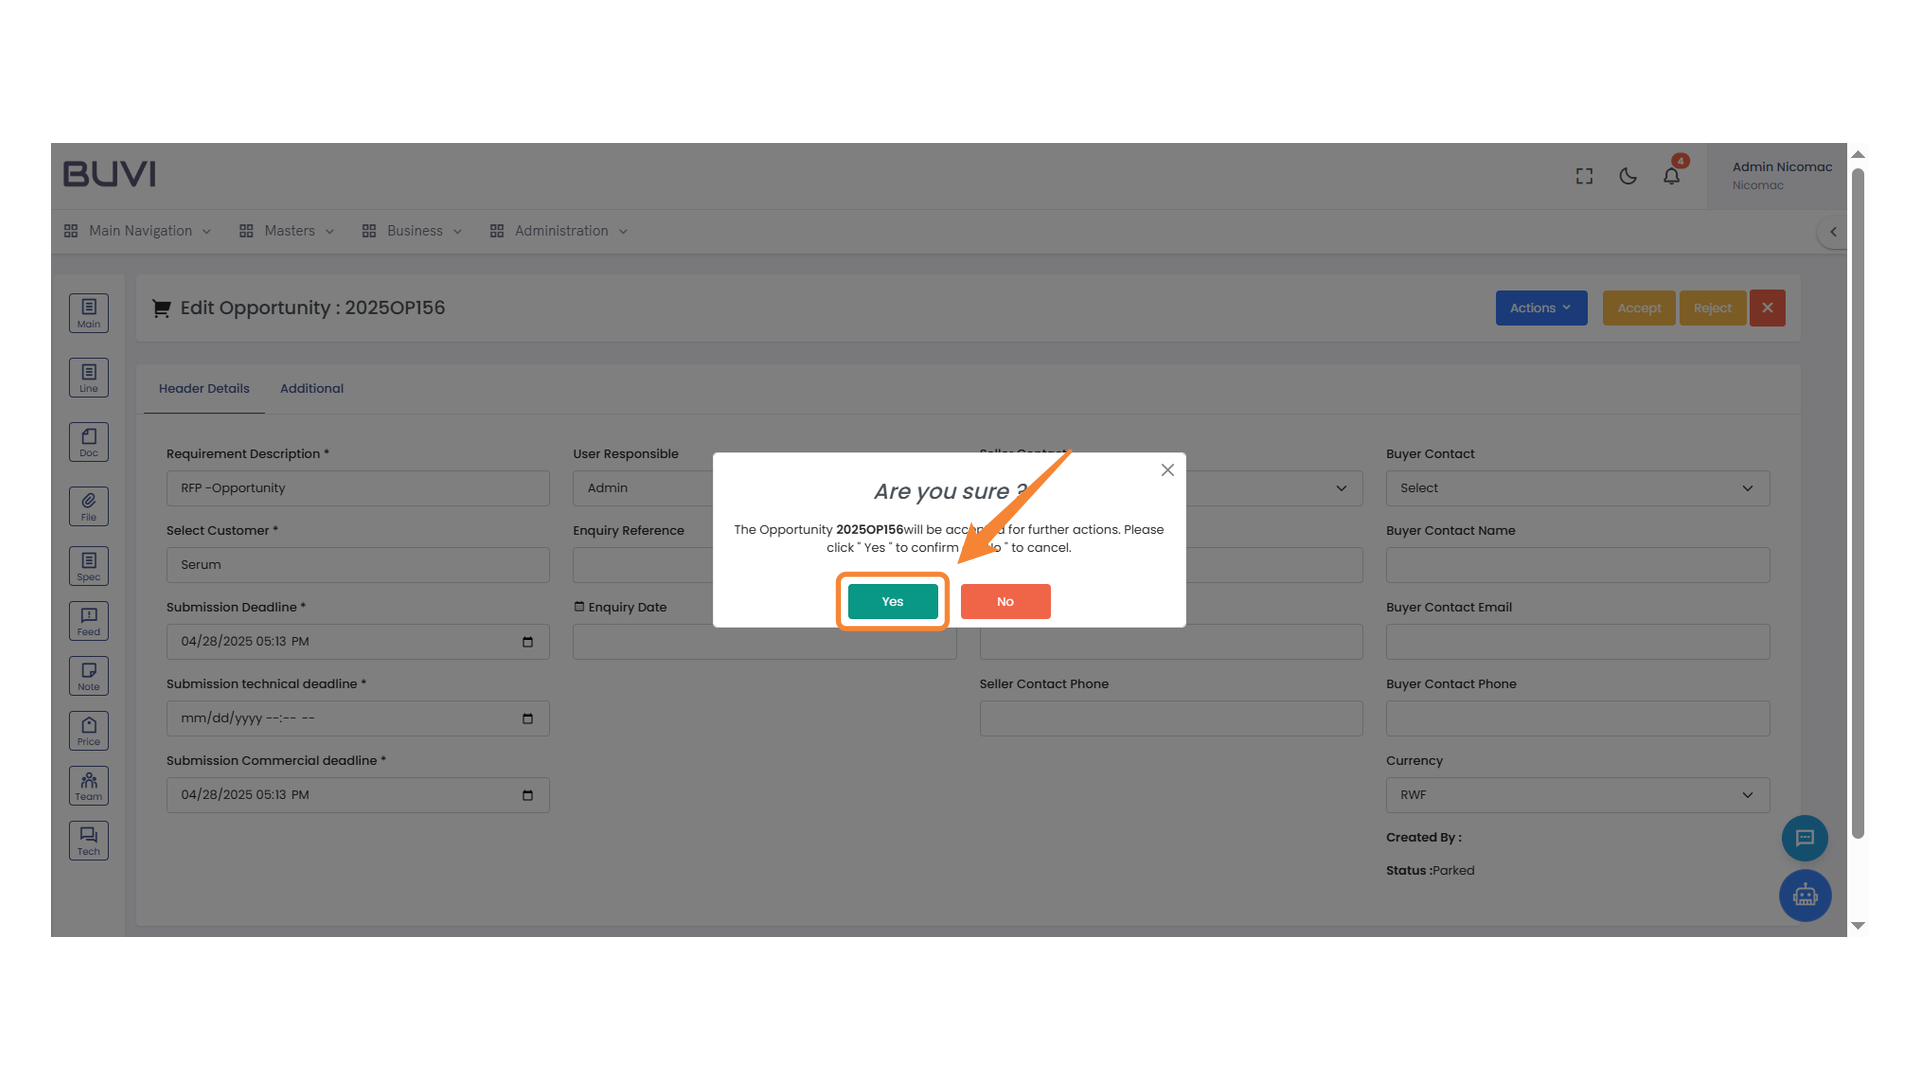
71. Confirmation Prompt
Press 'Yes' to proceed with the acceptance of the opportunity.
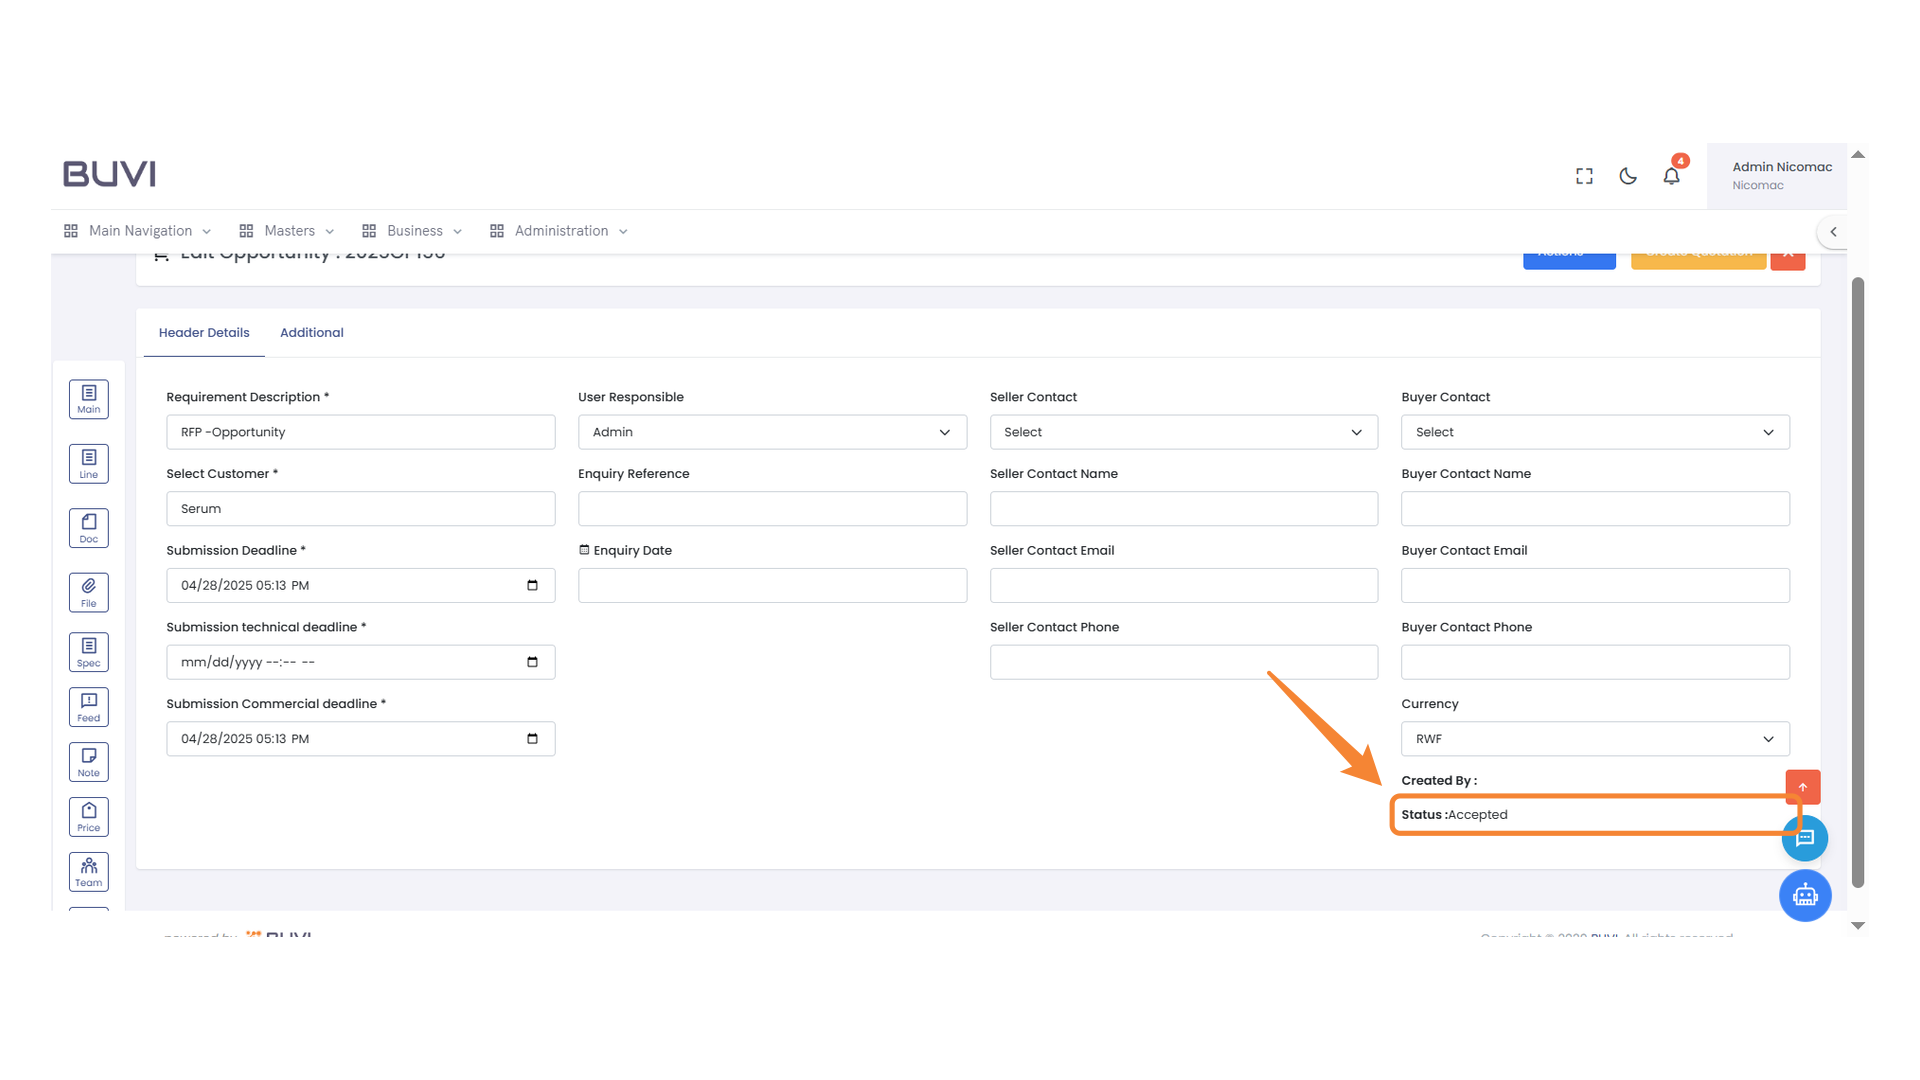
72. Status Notification
Acknowledge that the current status is 'Accepted' in the system interface.
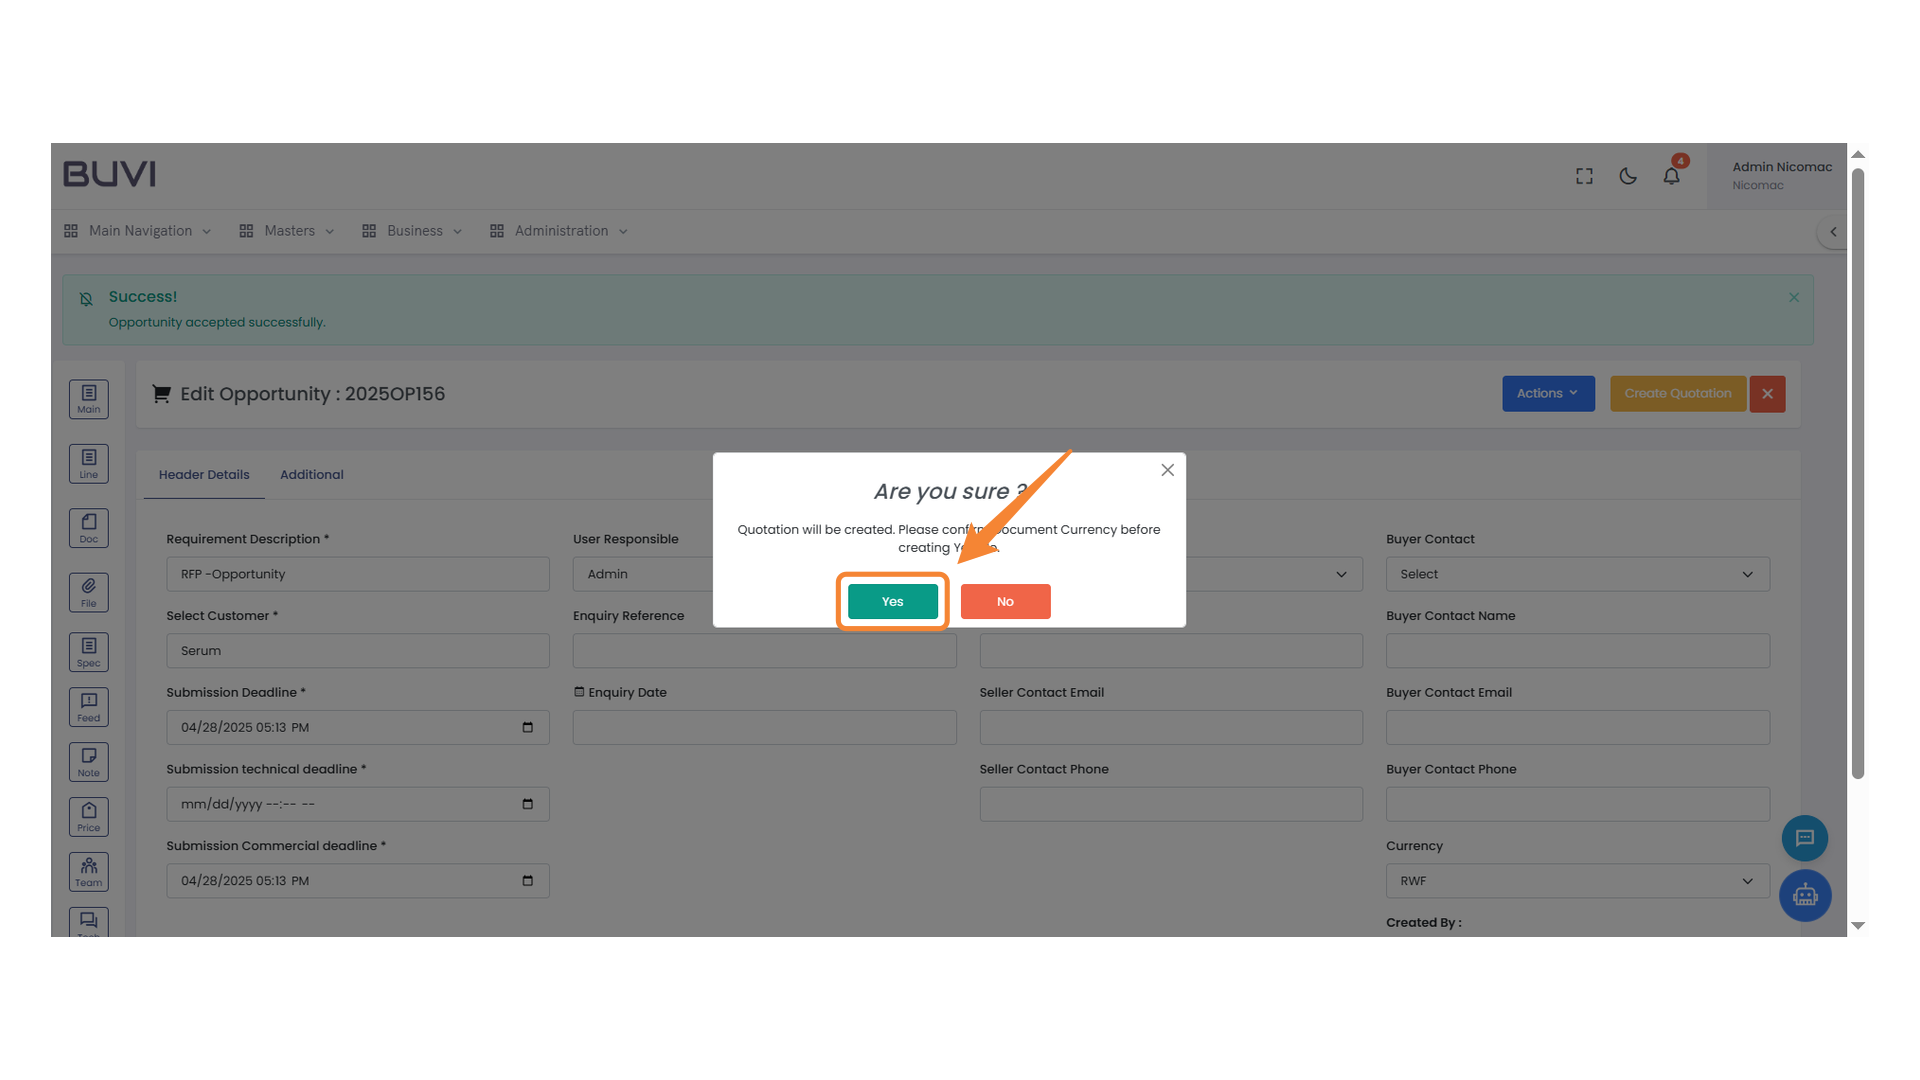
73. Quotation Creation Button
Click to generate a new quotation for the selected opportunity.

74. Confirmation Prompt
Click 'Yes' to confirm the action and proceed with creating the quotation.
75. Line Section Icon
Select this icon to access line-related options.
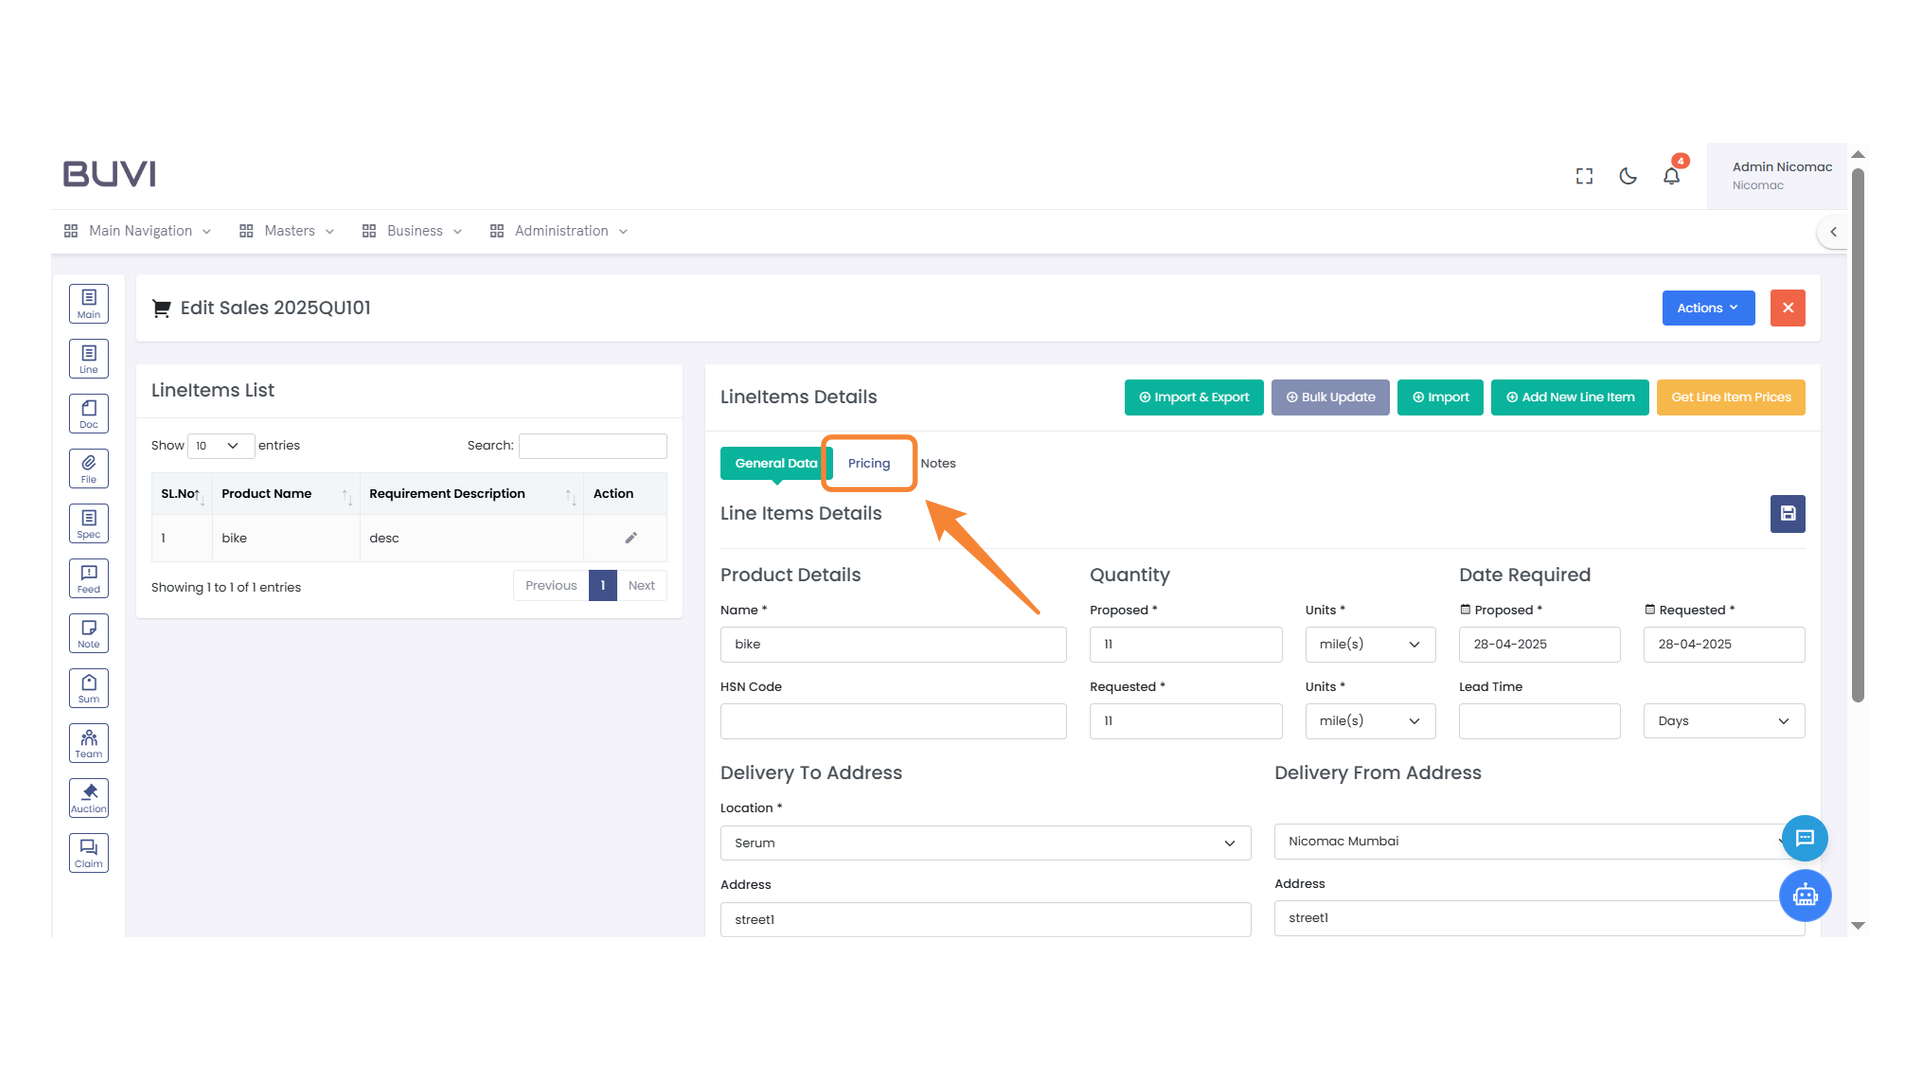
76. Edit Button
Click to modify the selected line item.
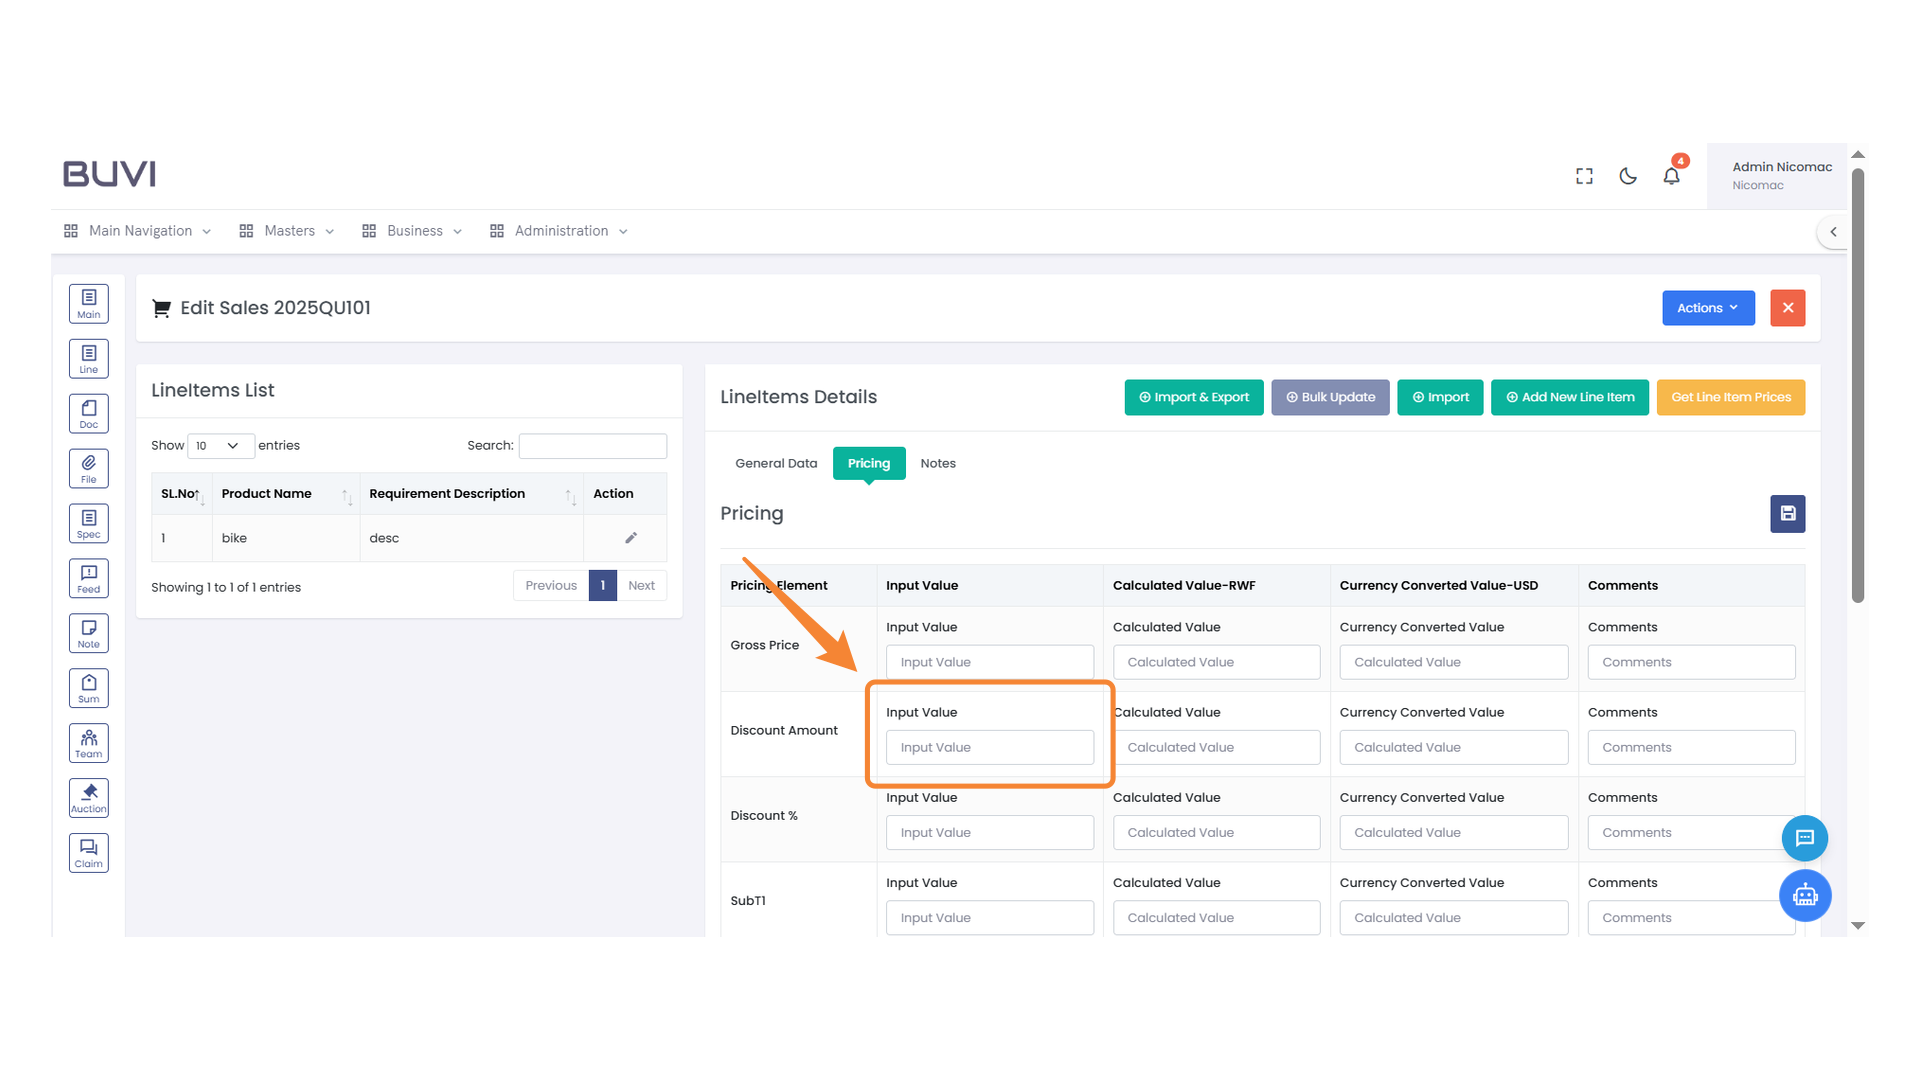
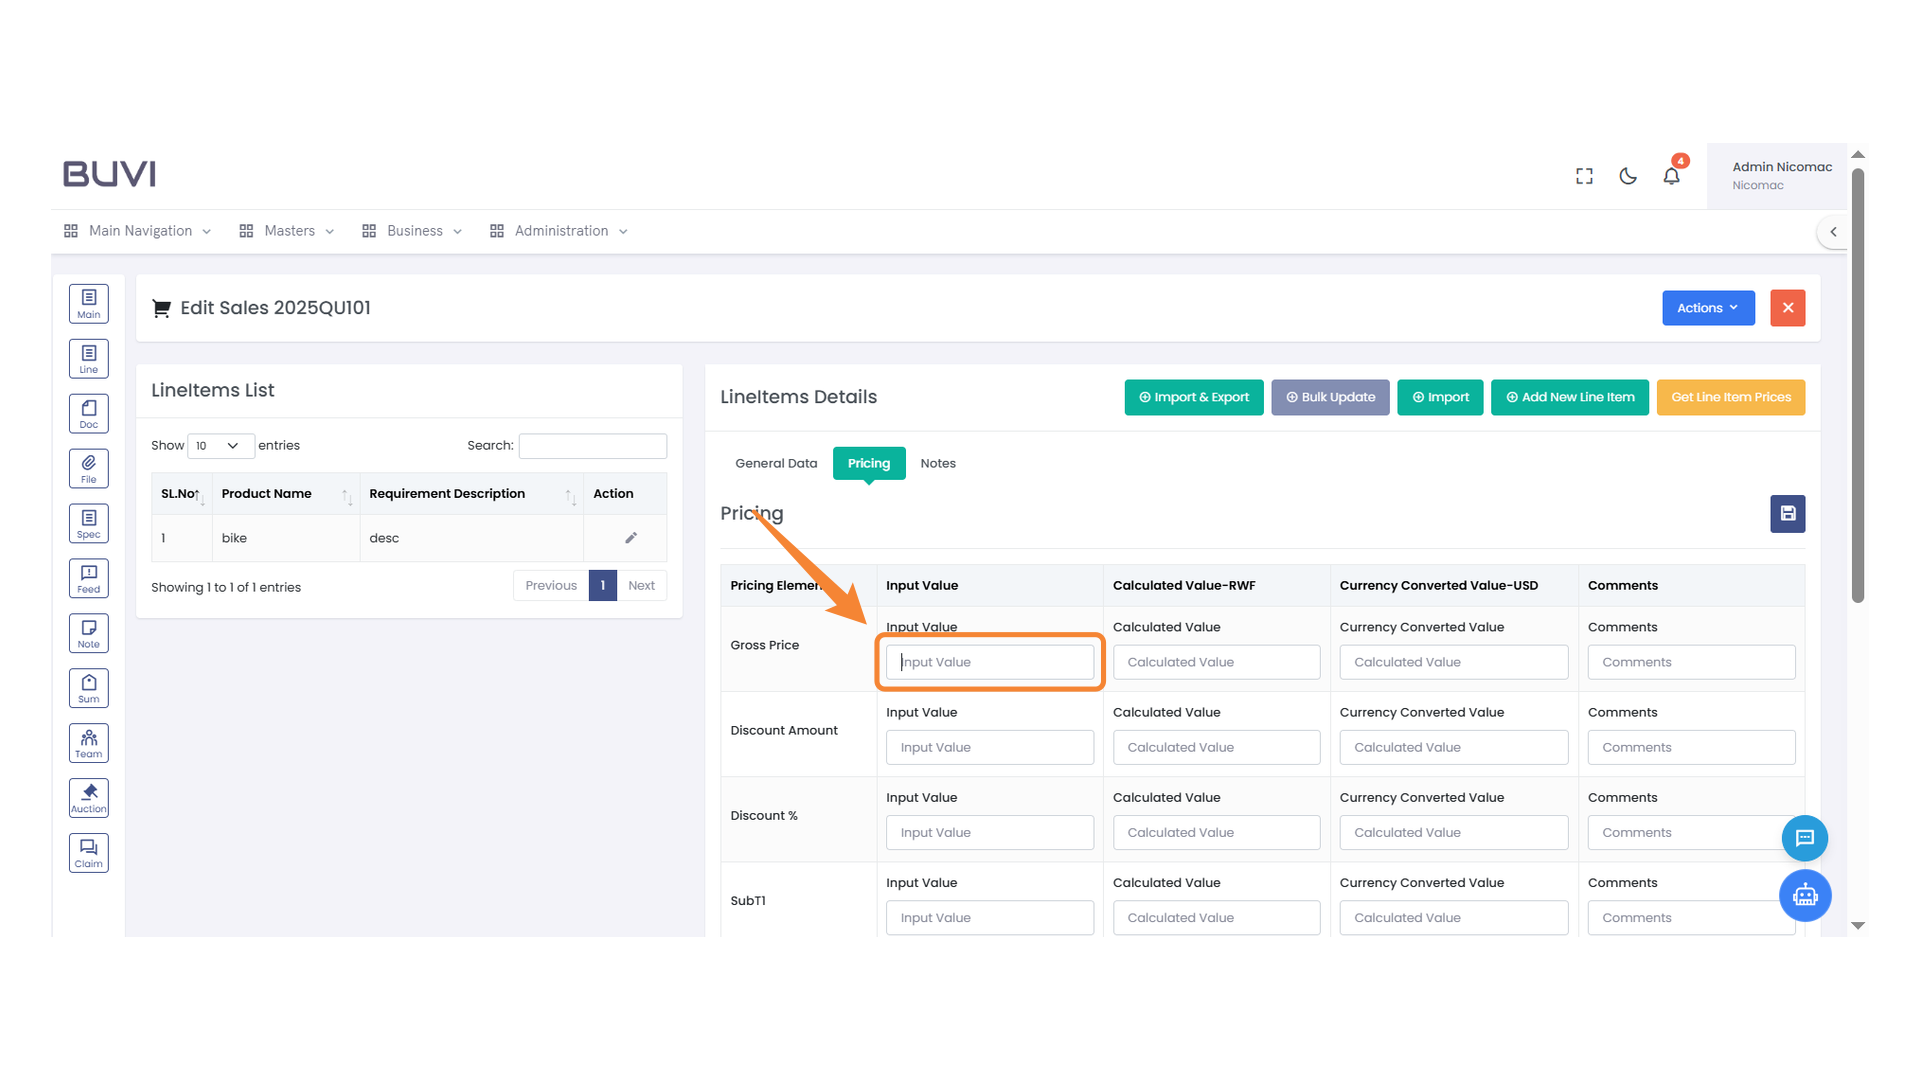
77. Pricing Section
Examine the pricing details for the selected line item.
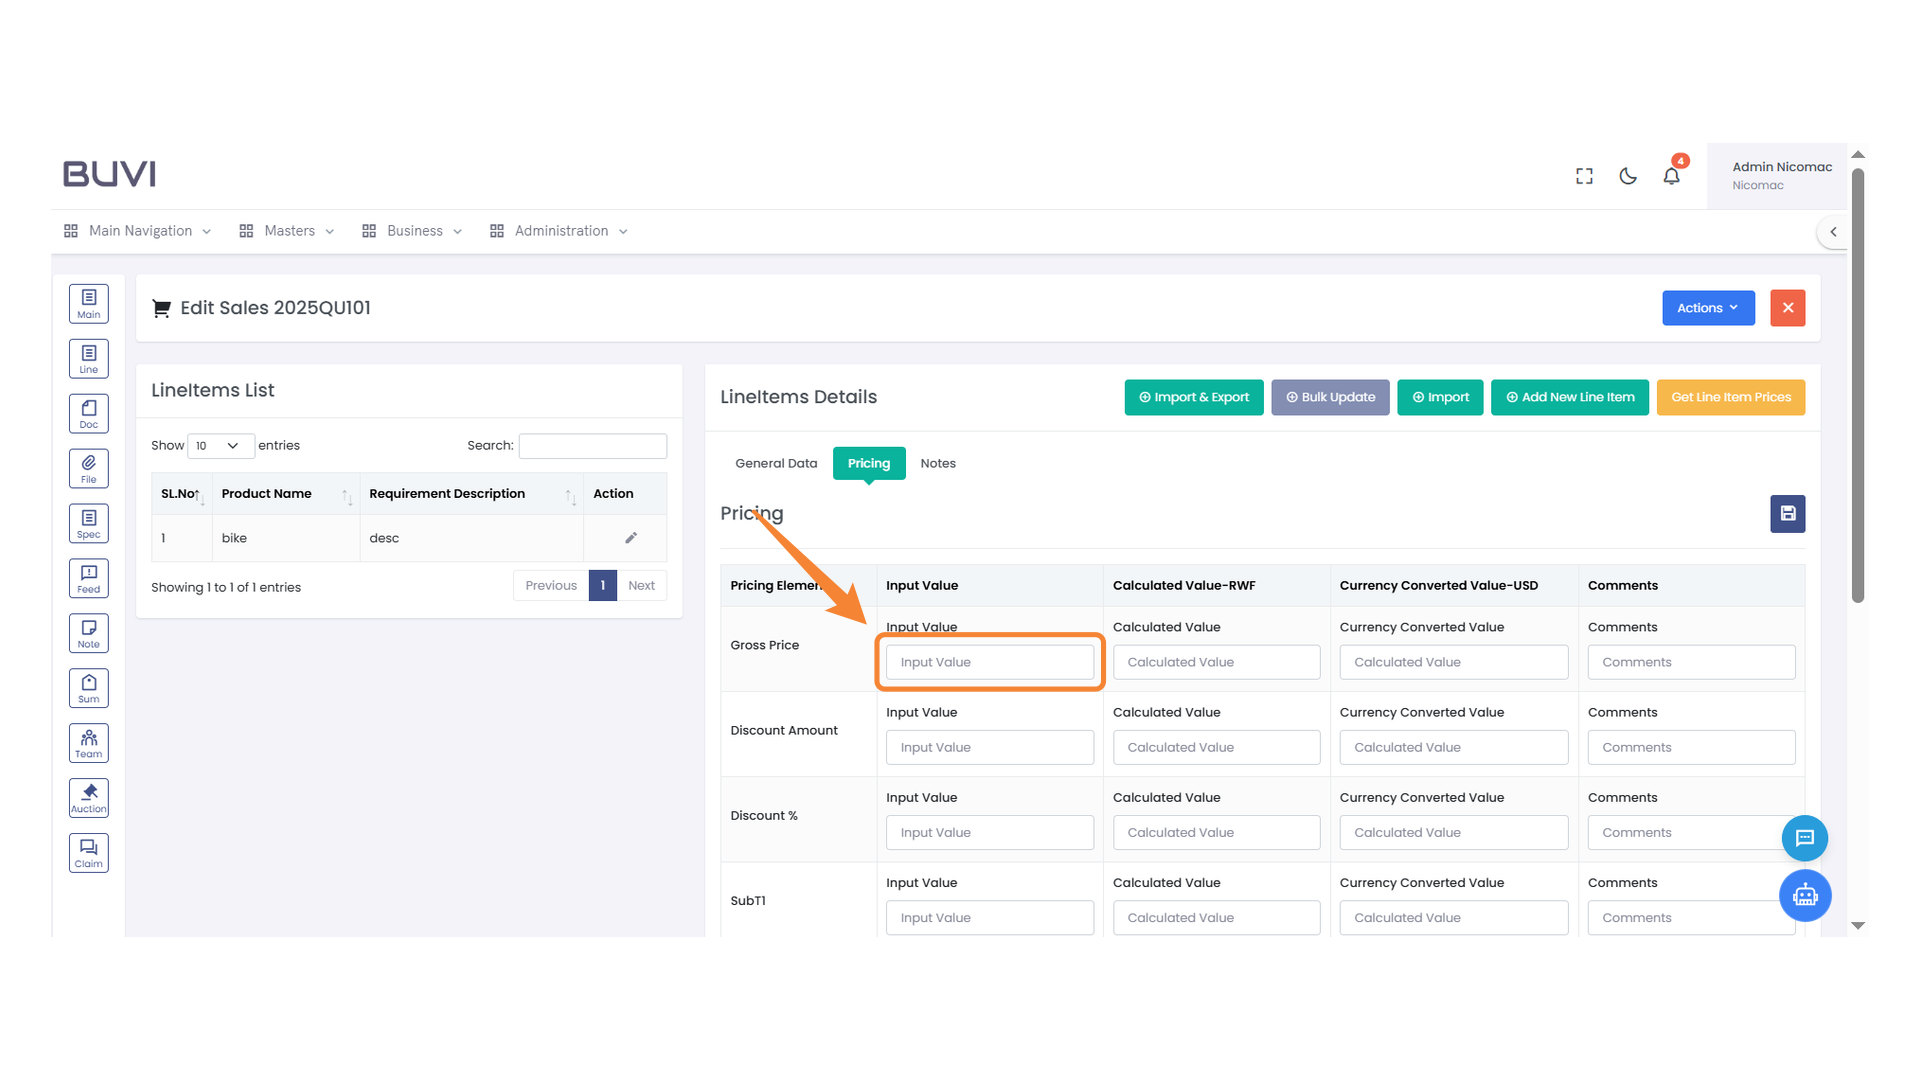
78. Input Value Field for Gross Price
Enter the gross price into the input field to calculate values.
79. Discount Amount Input
Enter the discount amount here to calculate the final price.
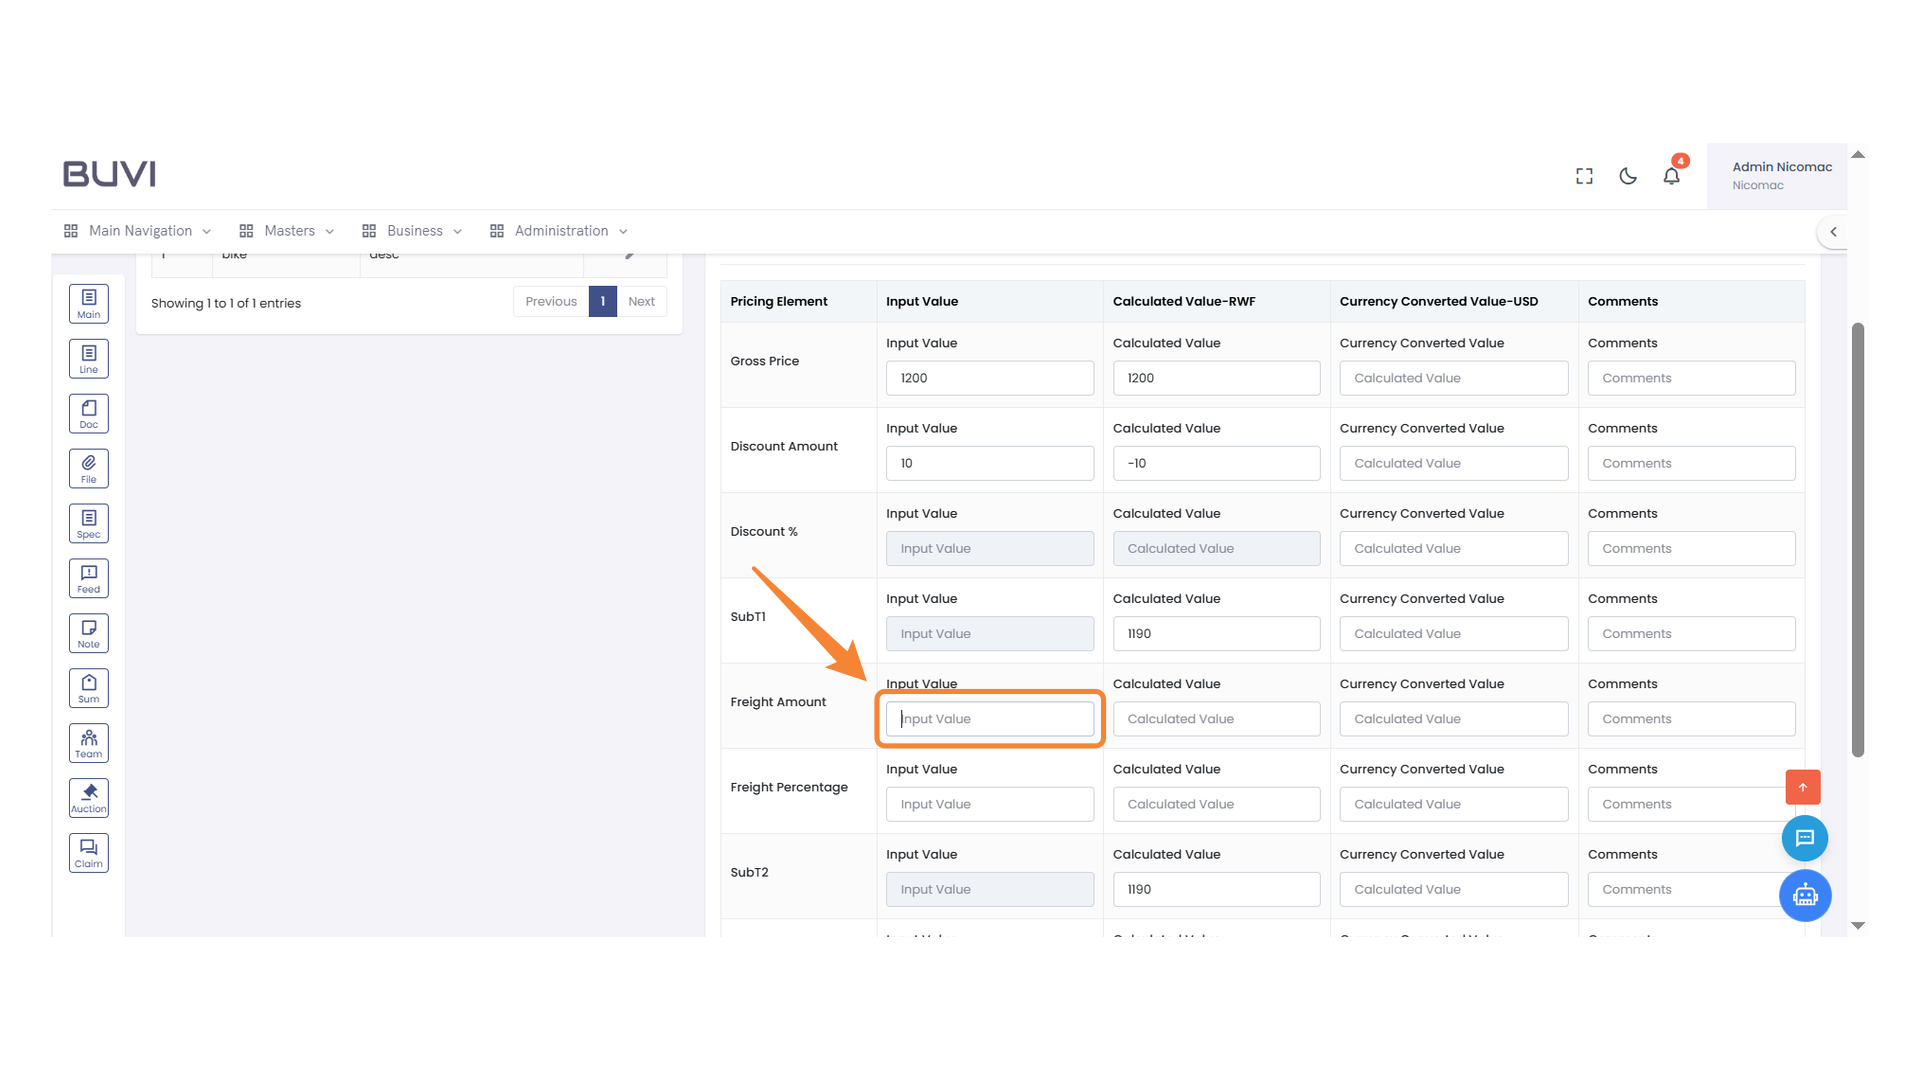
80. Freight Amount Input Section
Enter the input value for the freight amount.
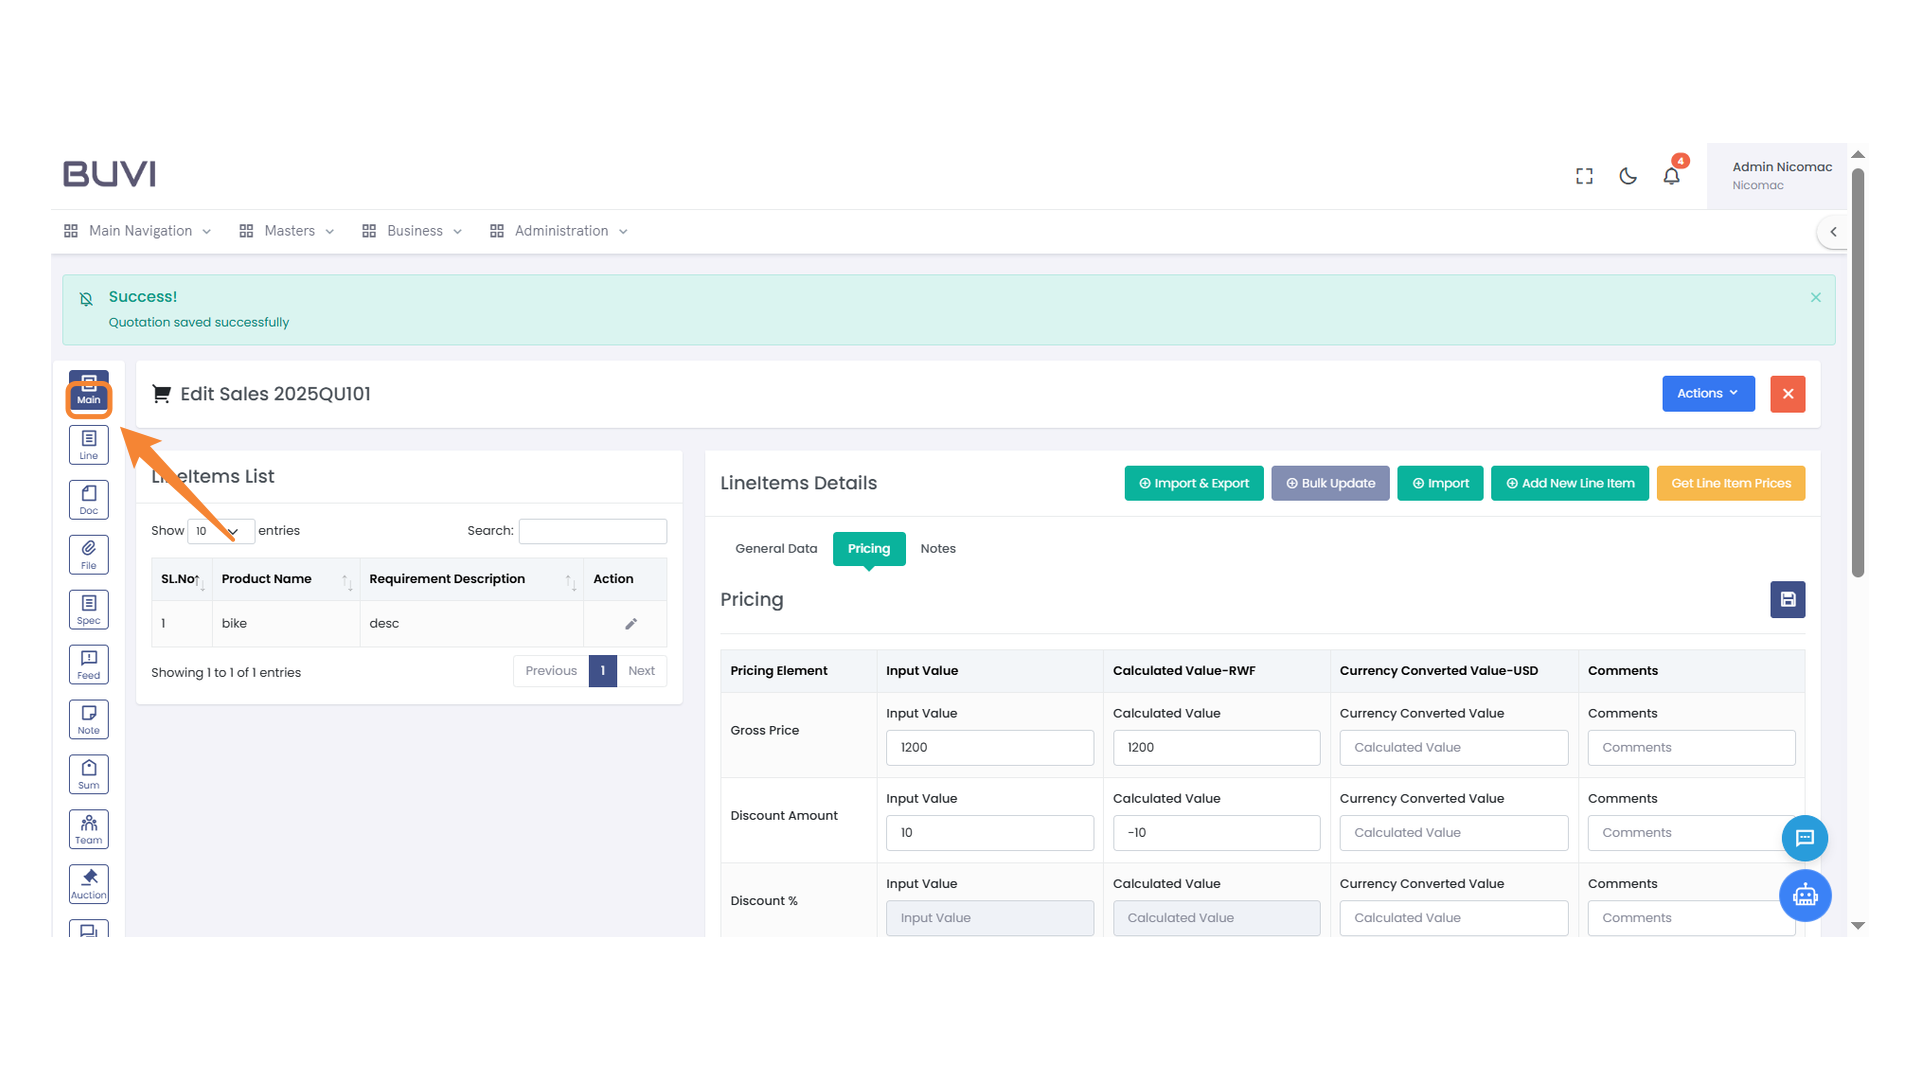
81. Save Button Icon
Click to save your current changes.
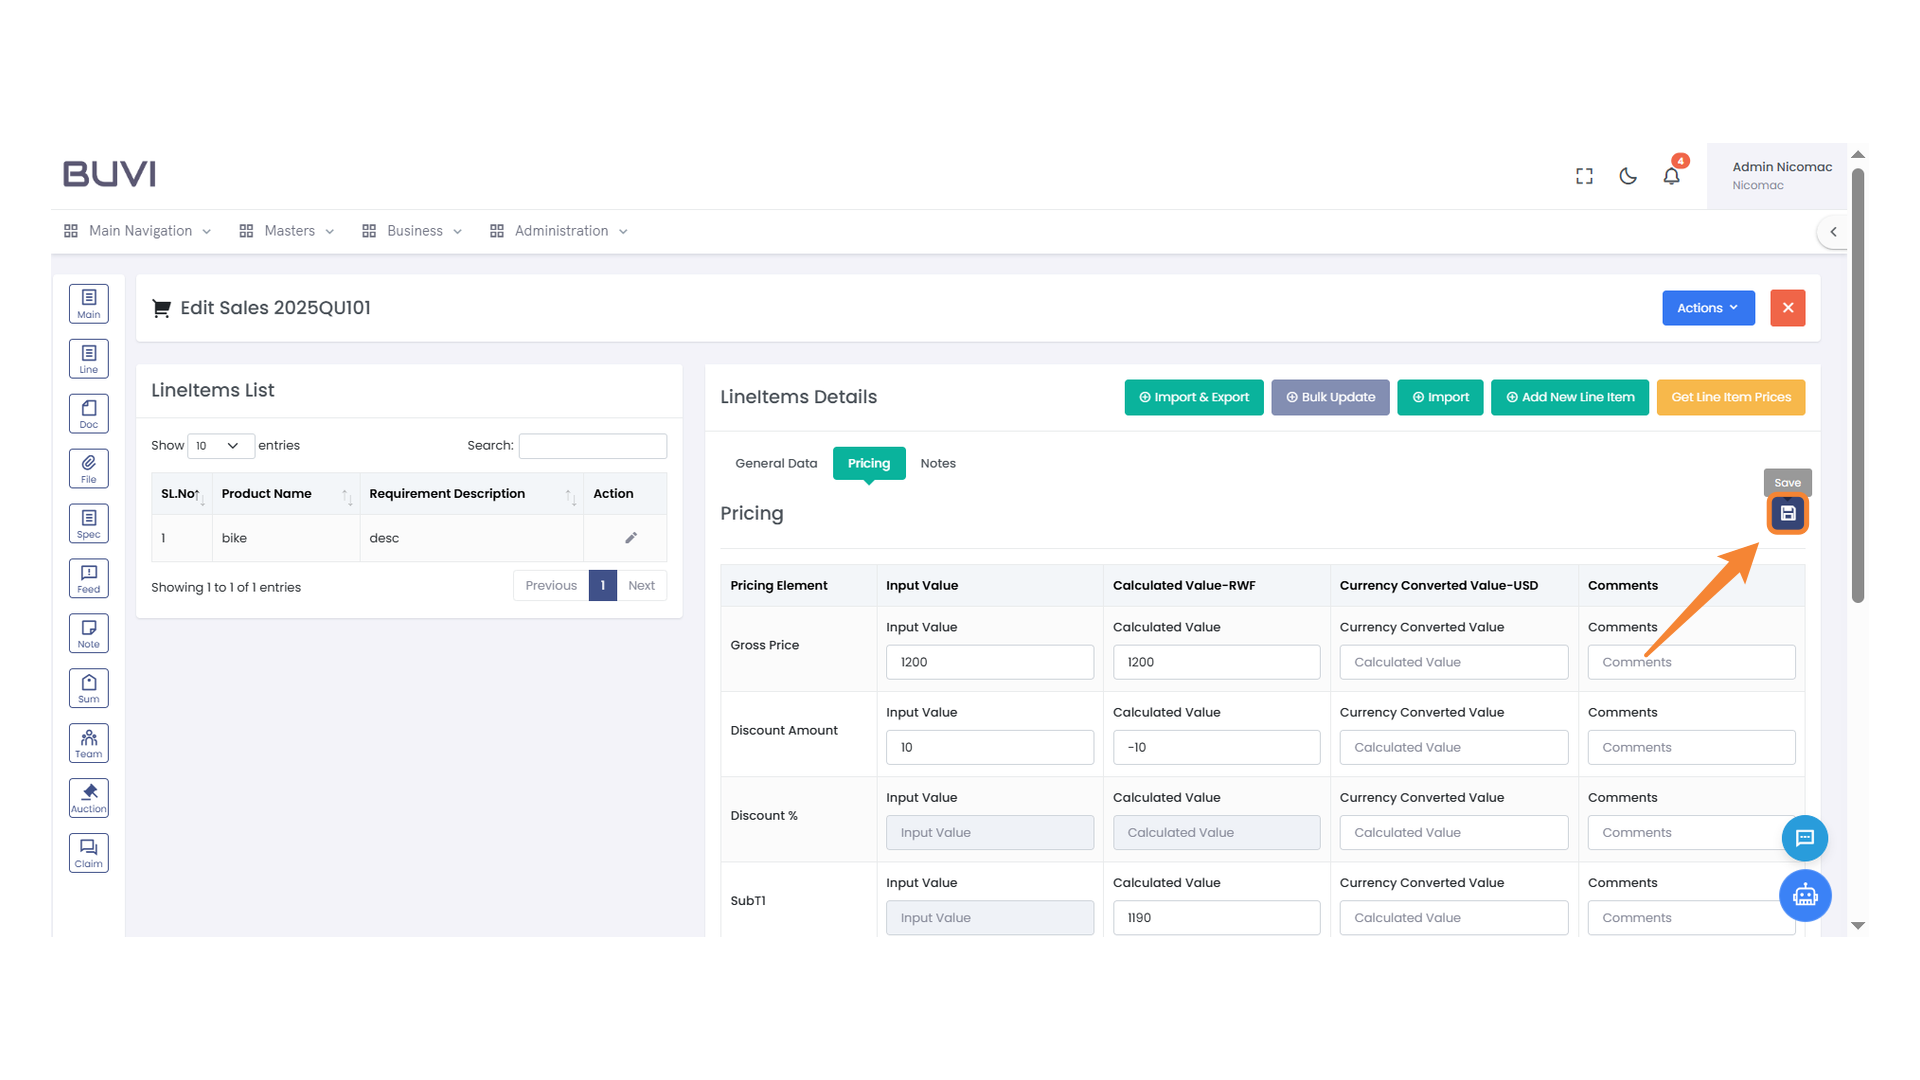
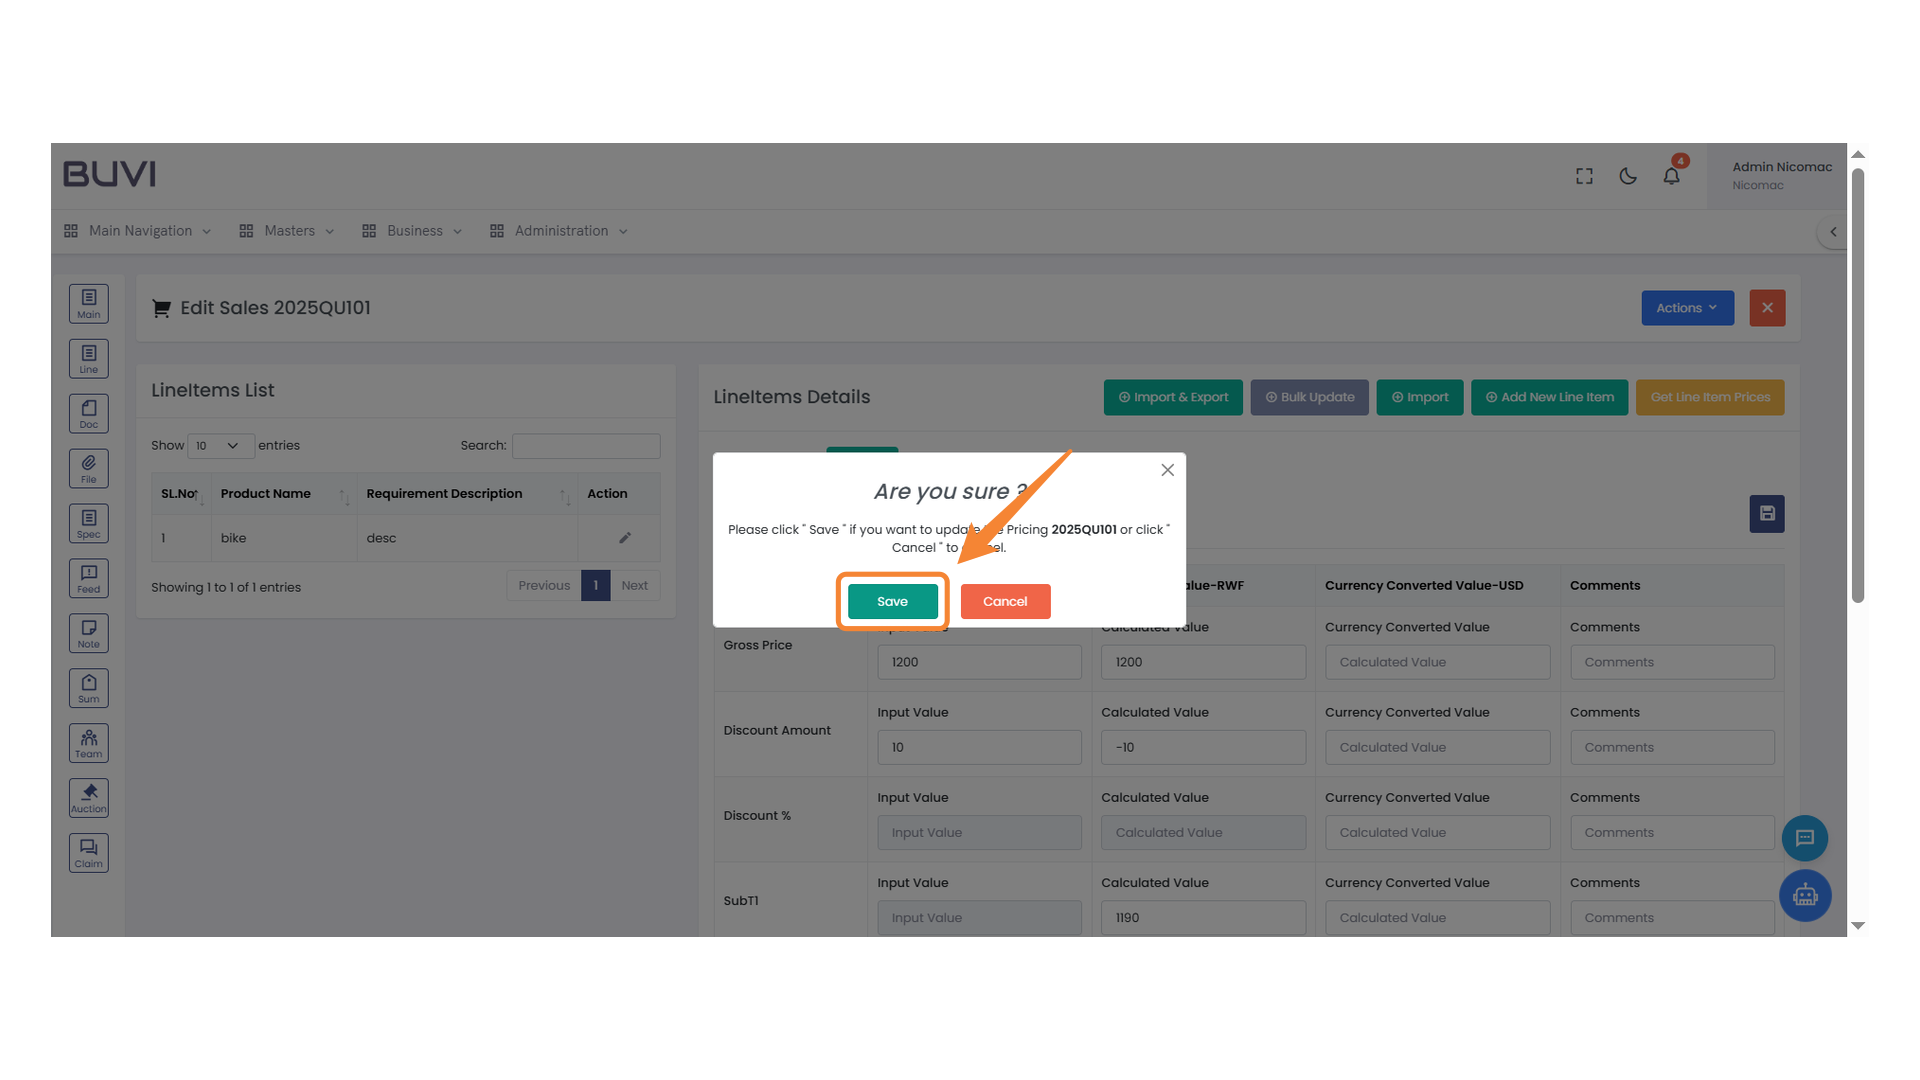
82. Confirmation Dialog
Click 'Save' to confirm and proceed with the update.
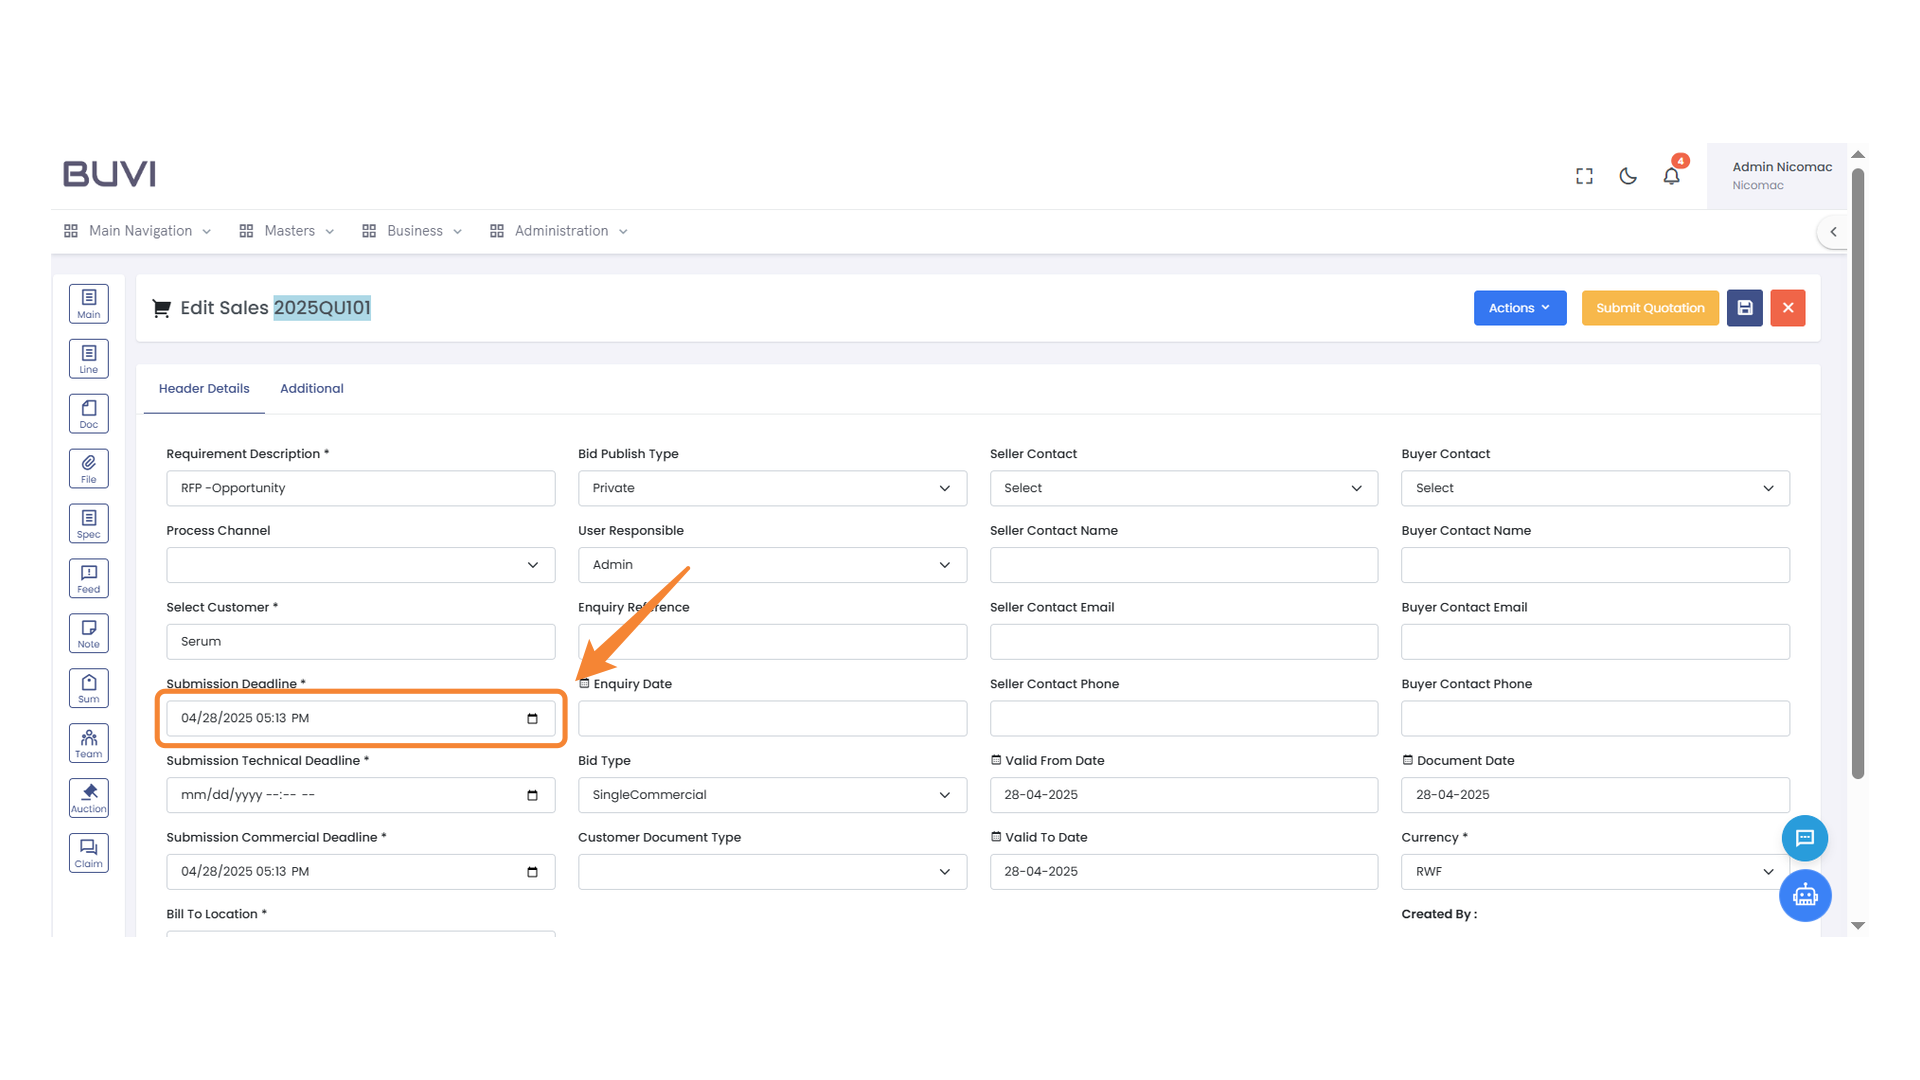
83. Submission Deadline Field
Enter the submission deadline date and time in the provided field.
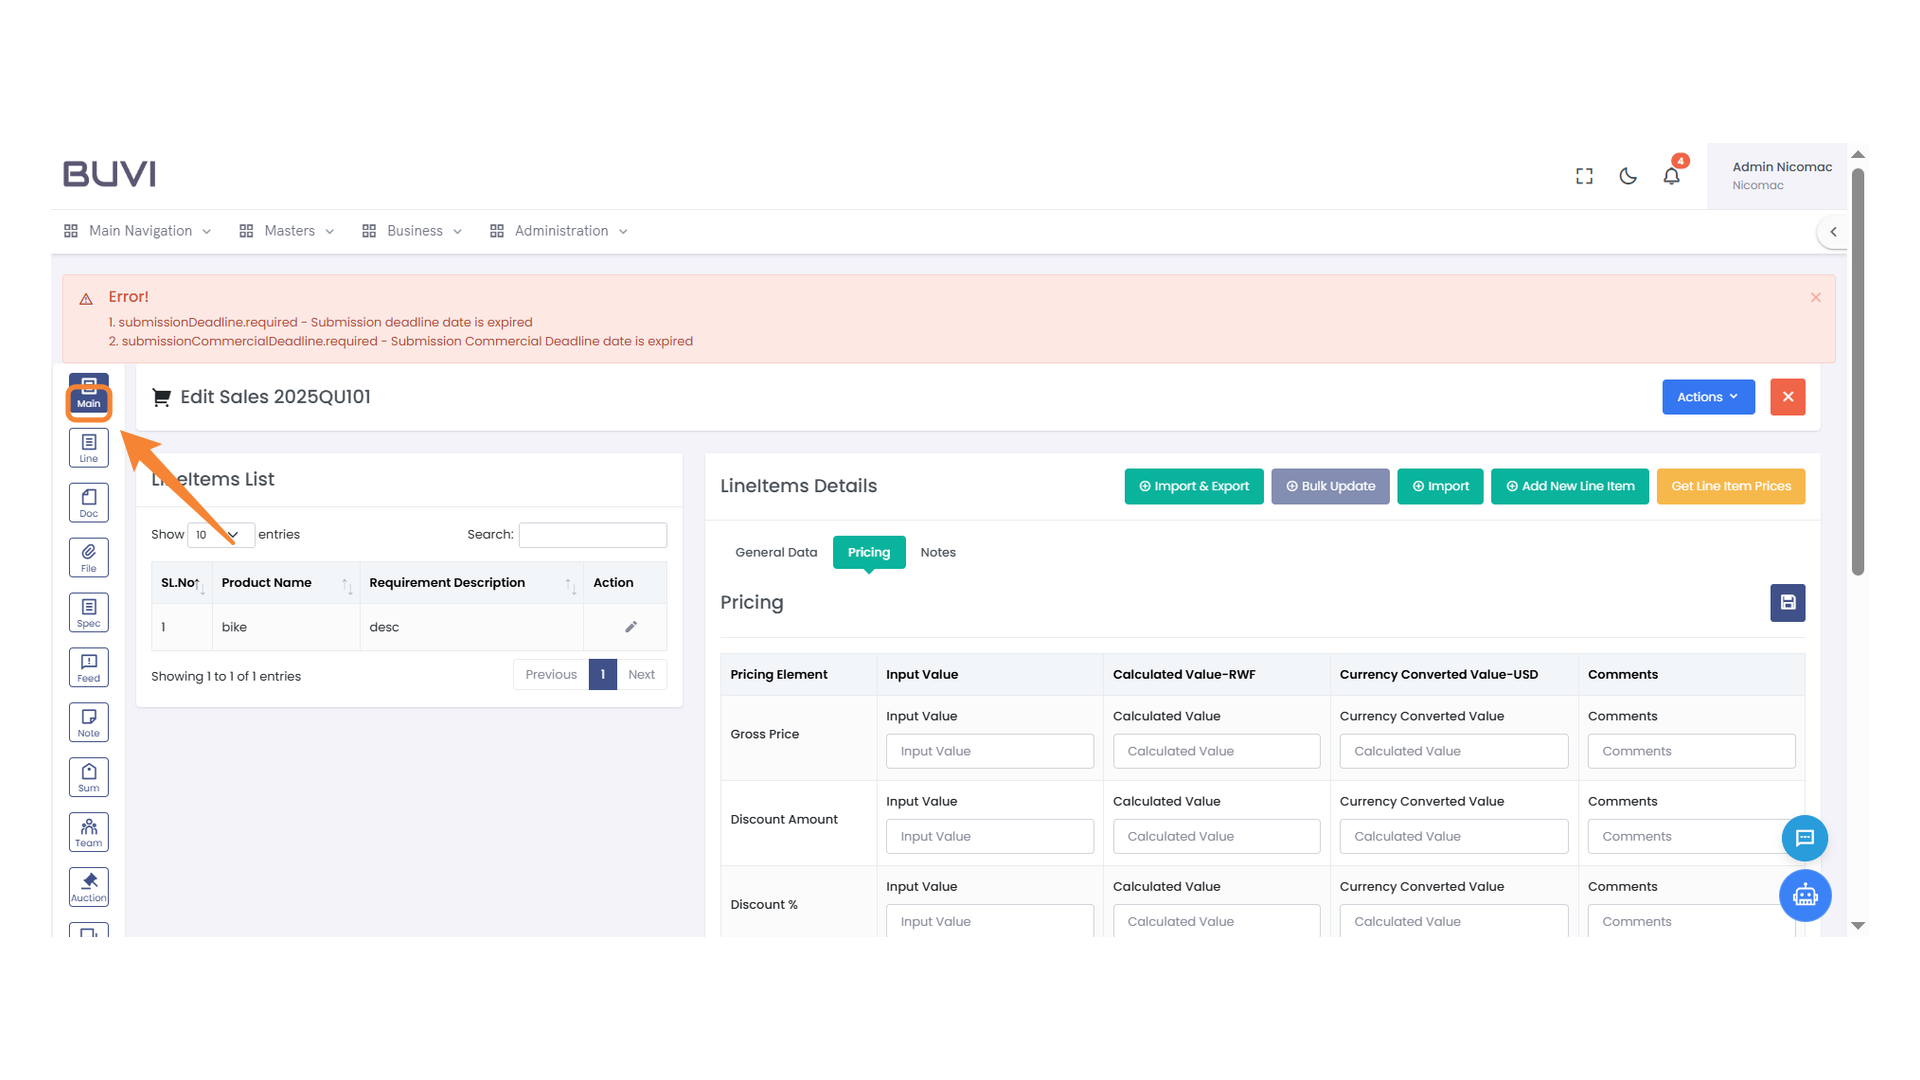
84. Main Navigation Icon
Select this icon to access the main navigation menu.
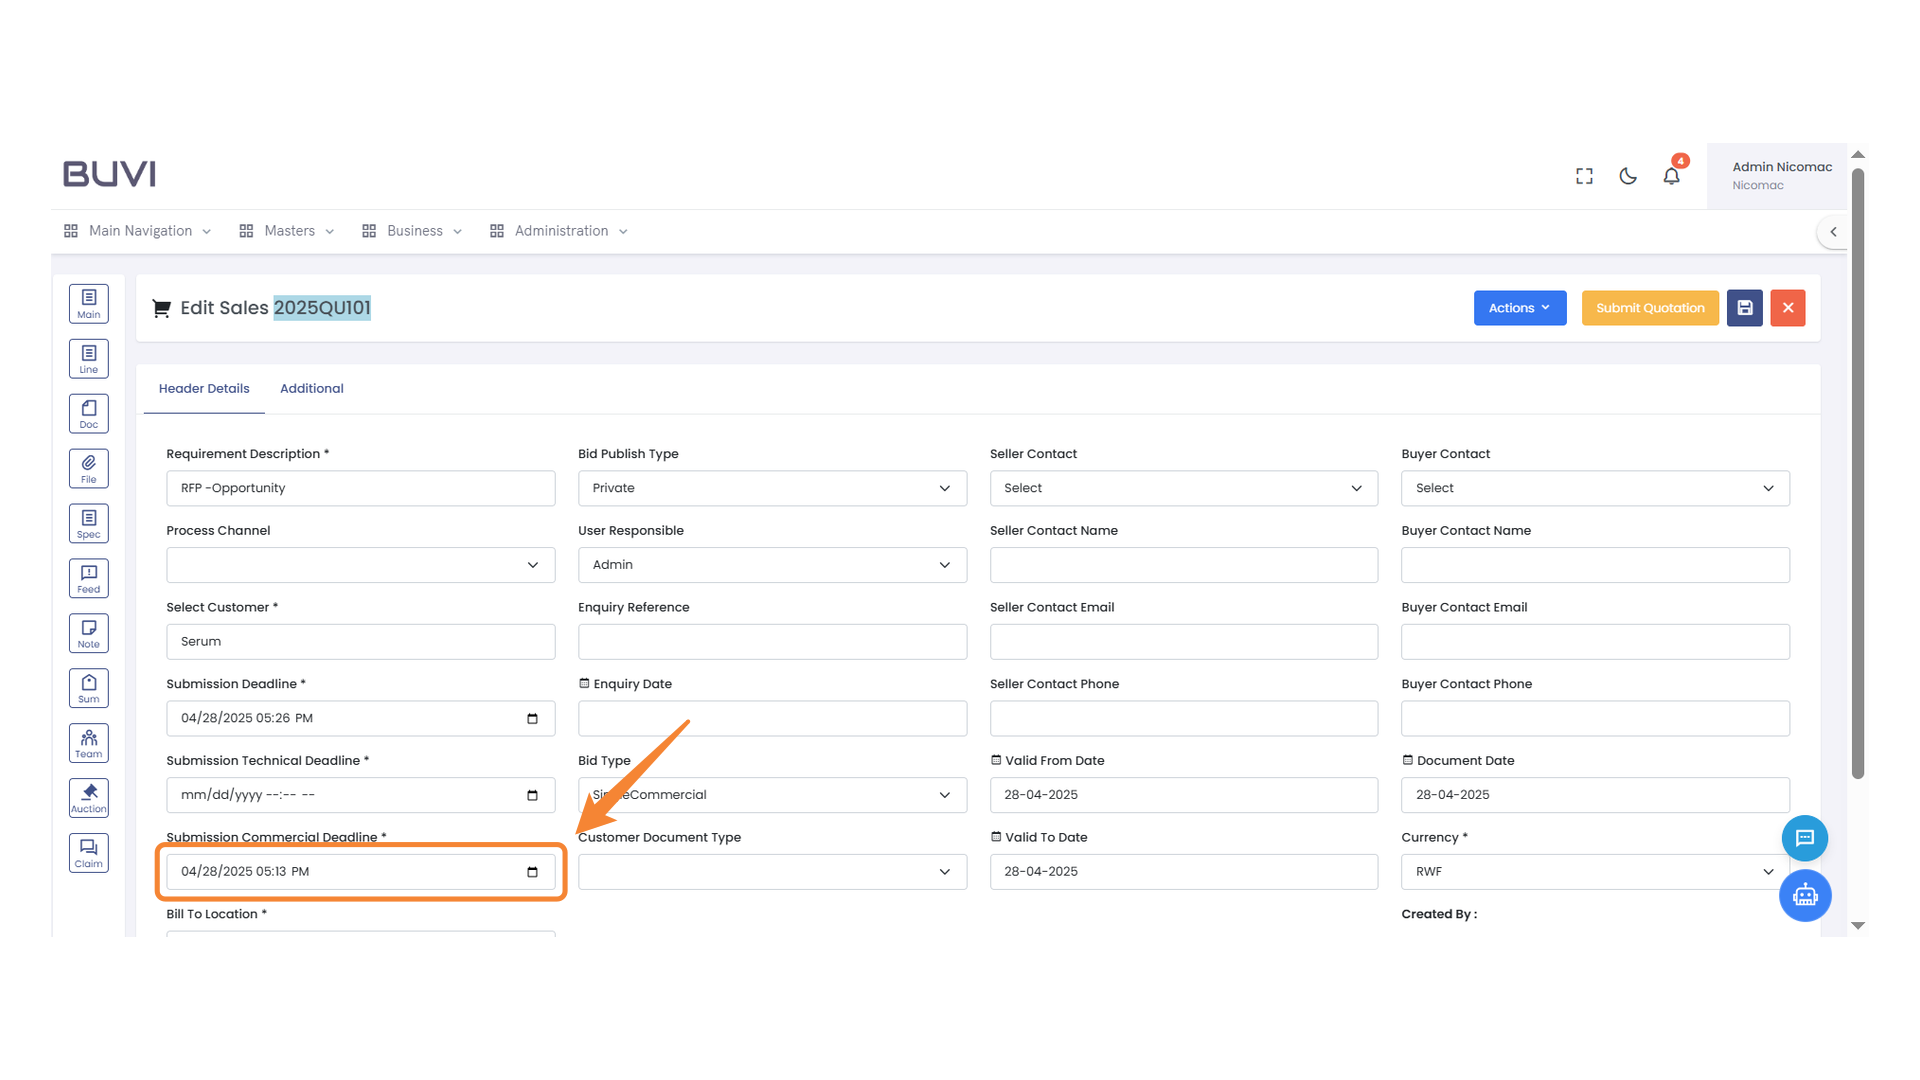
85. Submission Deadline
Enter the commercial submission deadline date and time.
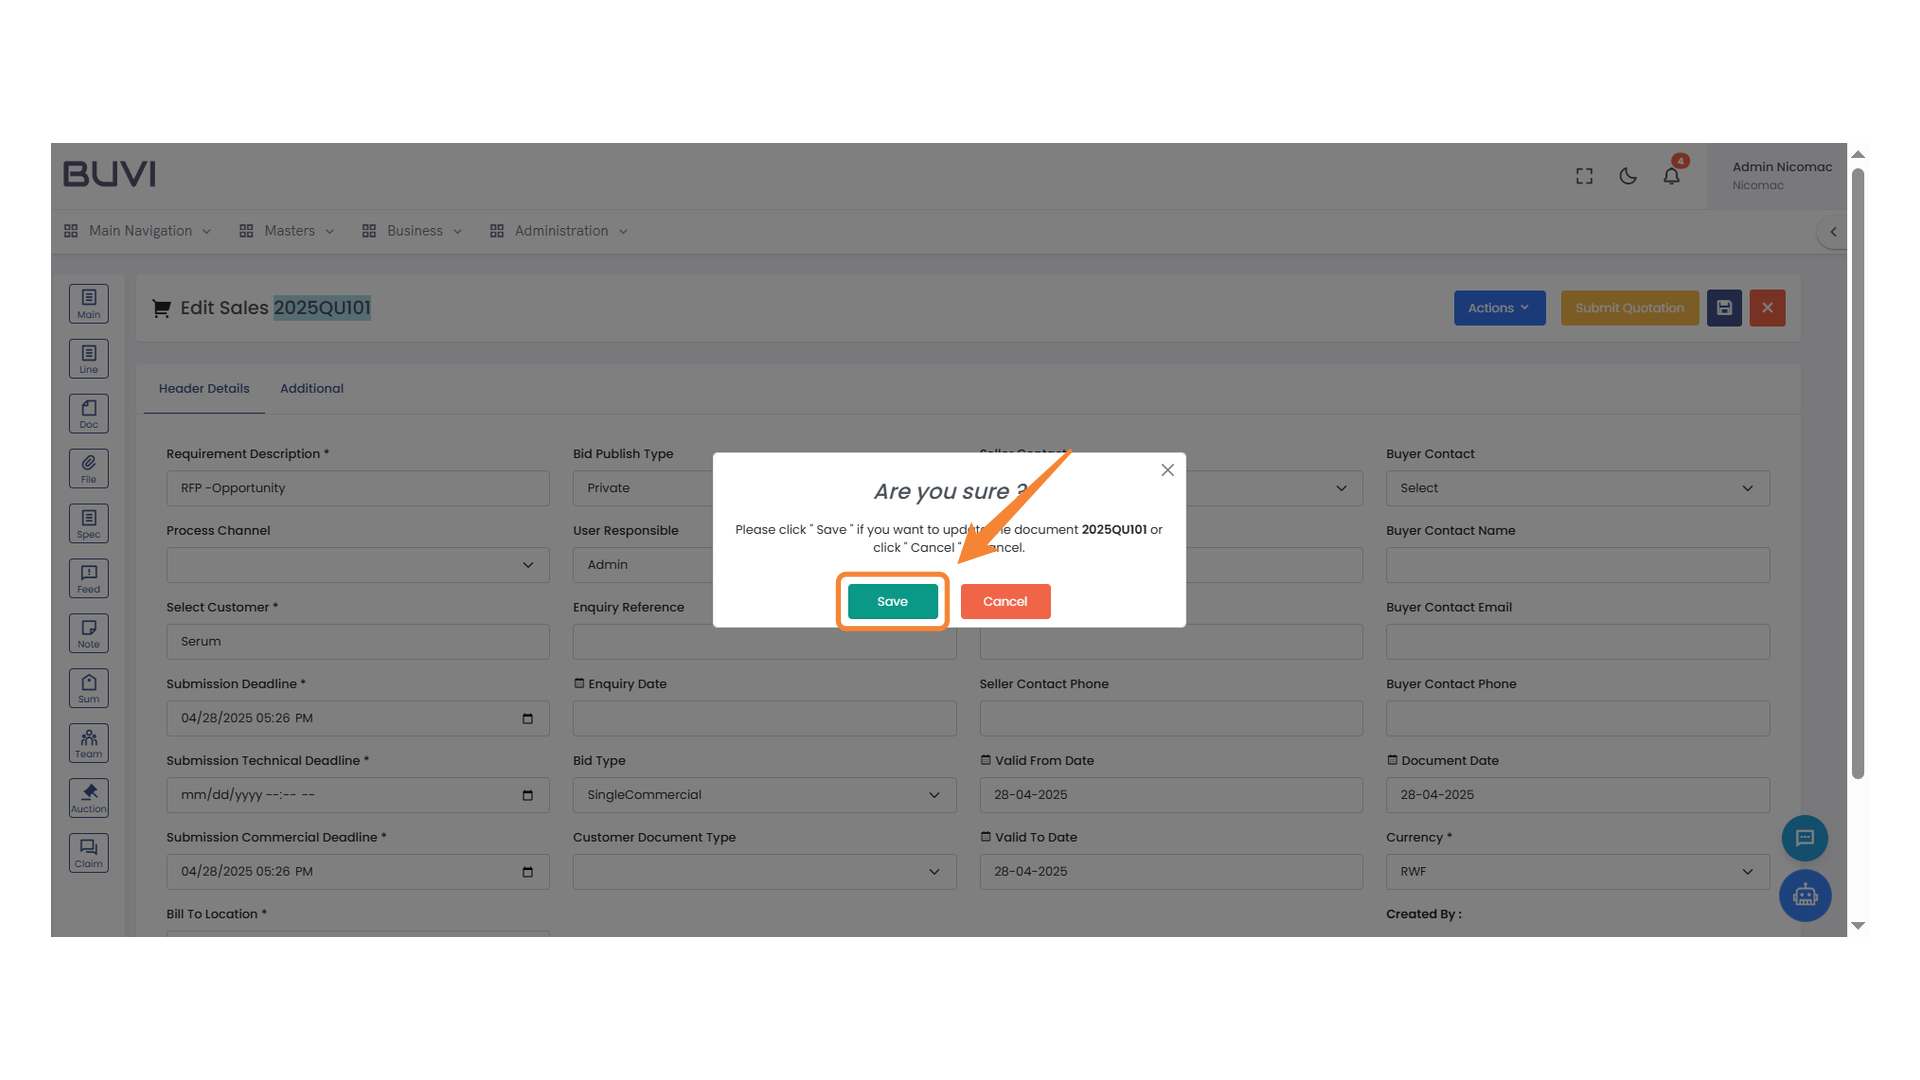
86. Save Button
Click to save the current document or data entry.

87. Confirmation Dialog Box
Press the 'Save' button to confirm your action.
88. Navigation Button
Click this button to view the line items.
89. Edit
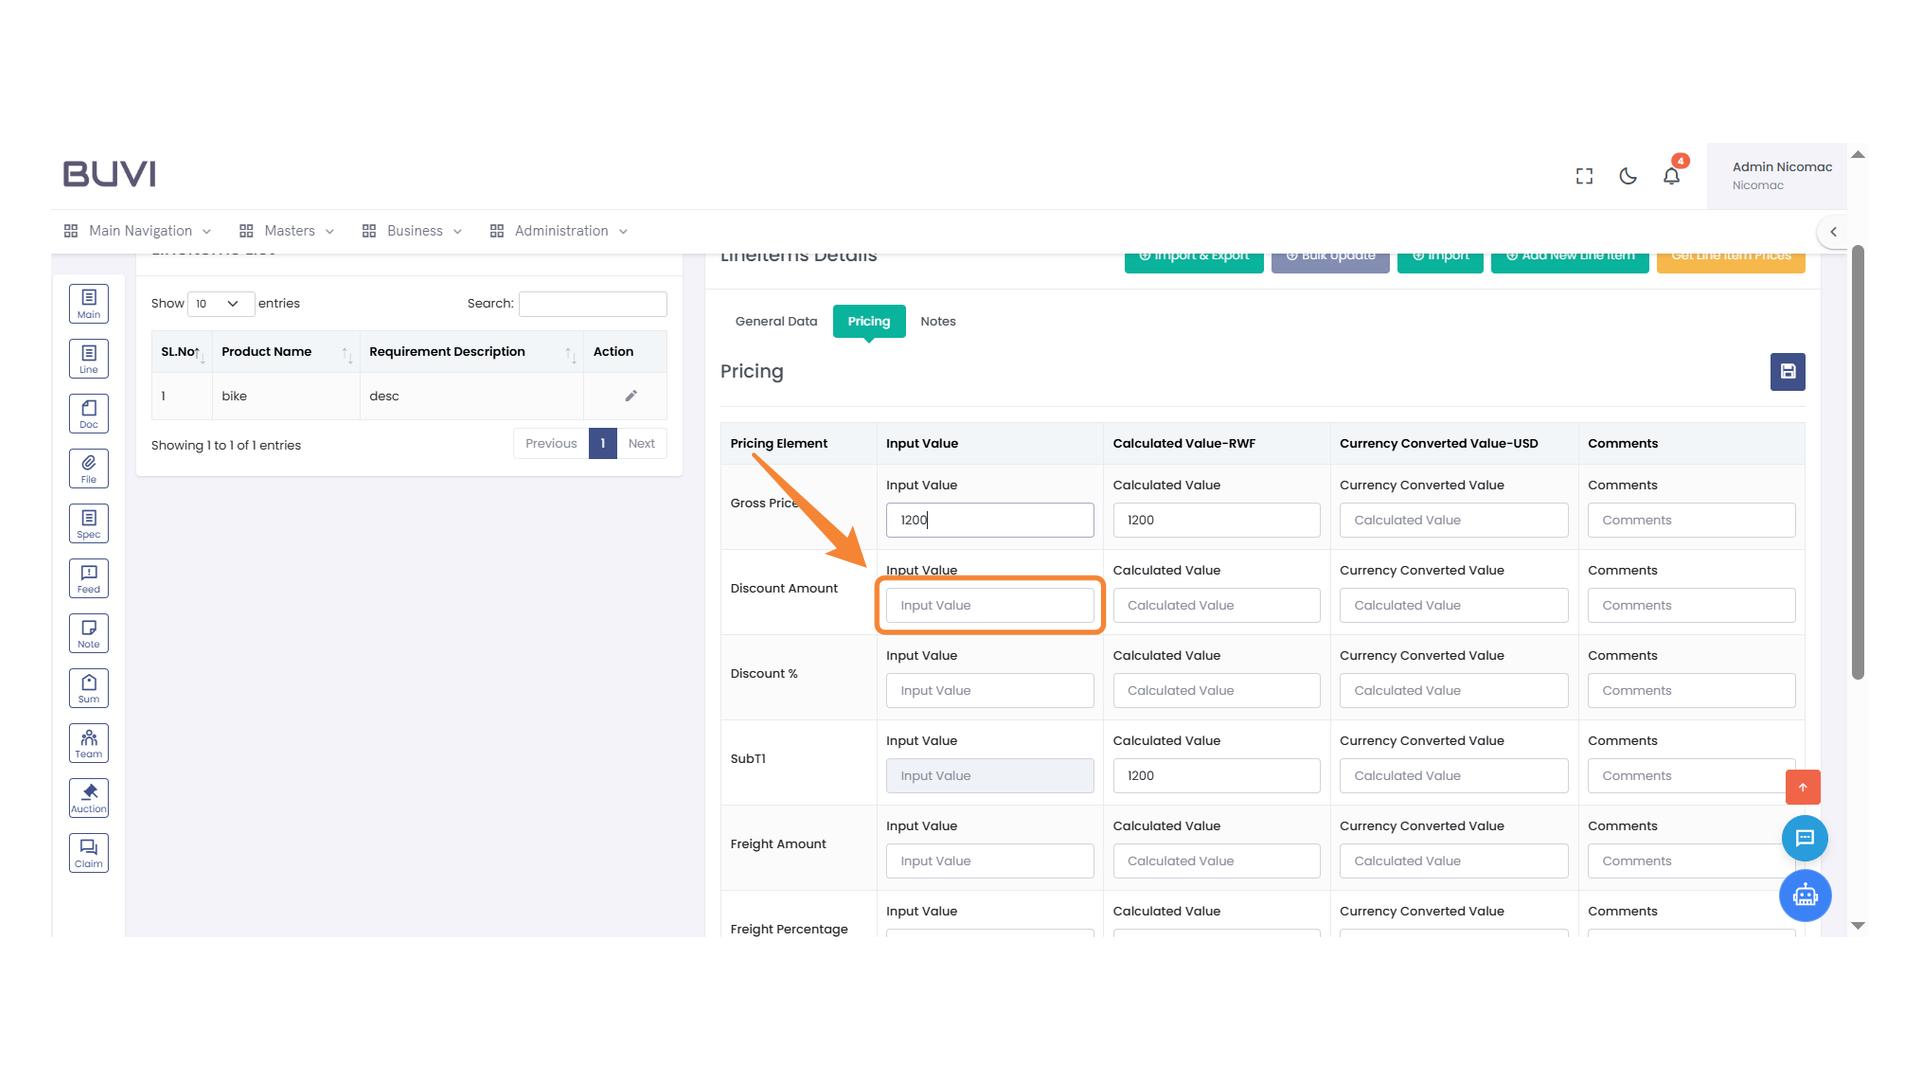
90. Input Field for Discount Amount
Enter the discount amount in the input field to adjust pricing.
91. Gross Price Input Field
Enter the input value for the gross price.
92. Discount Amount Input Field
Enter the discount amount in the input field to adjust the pricing calculations.
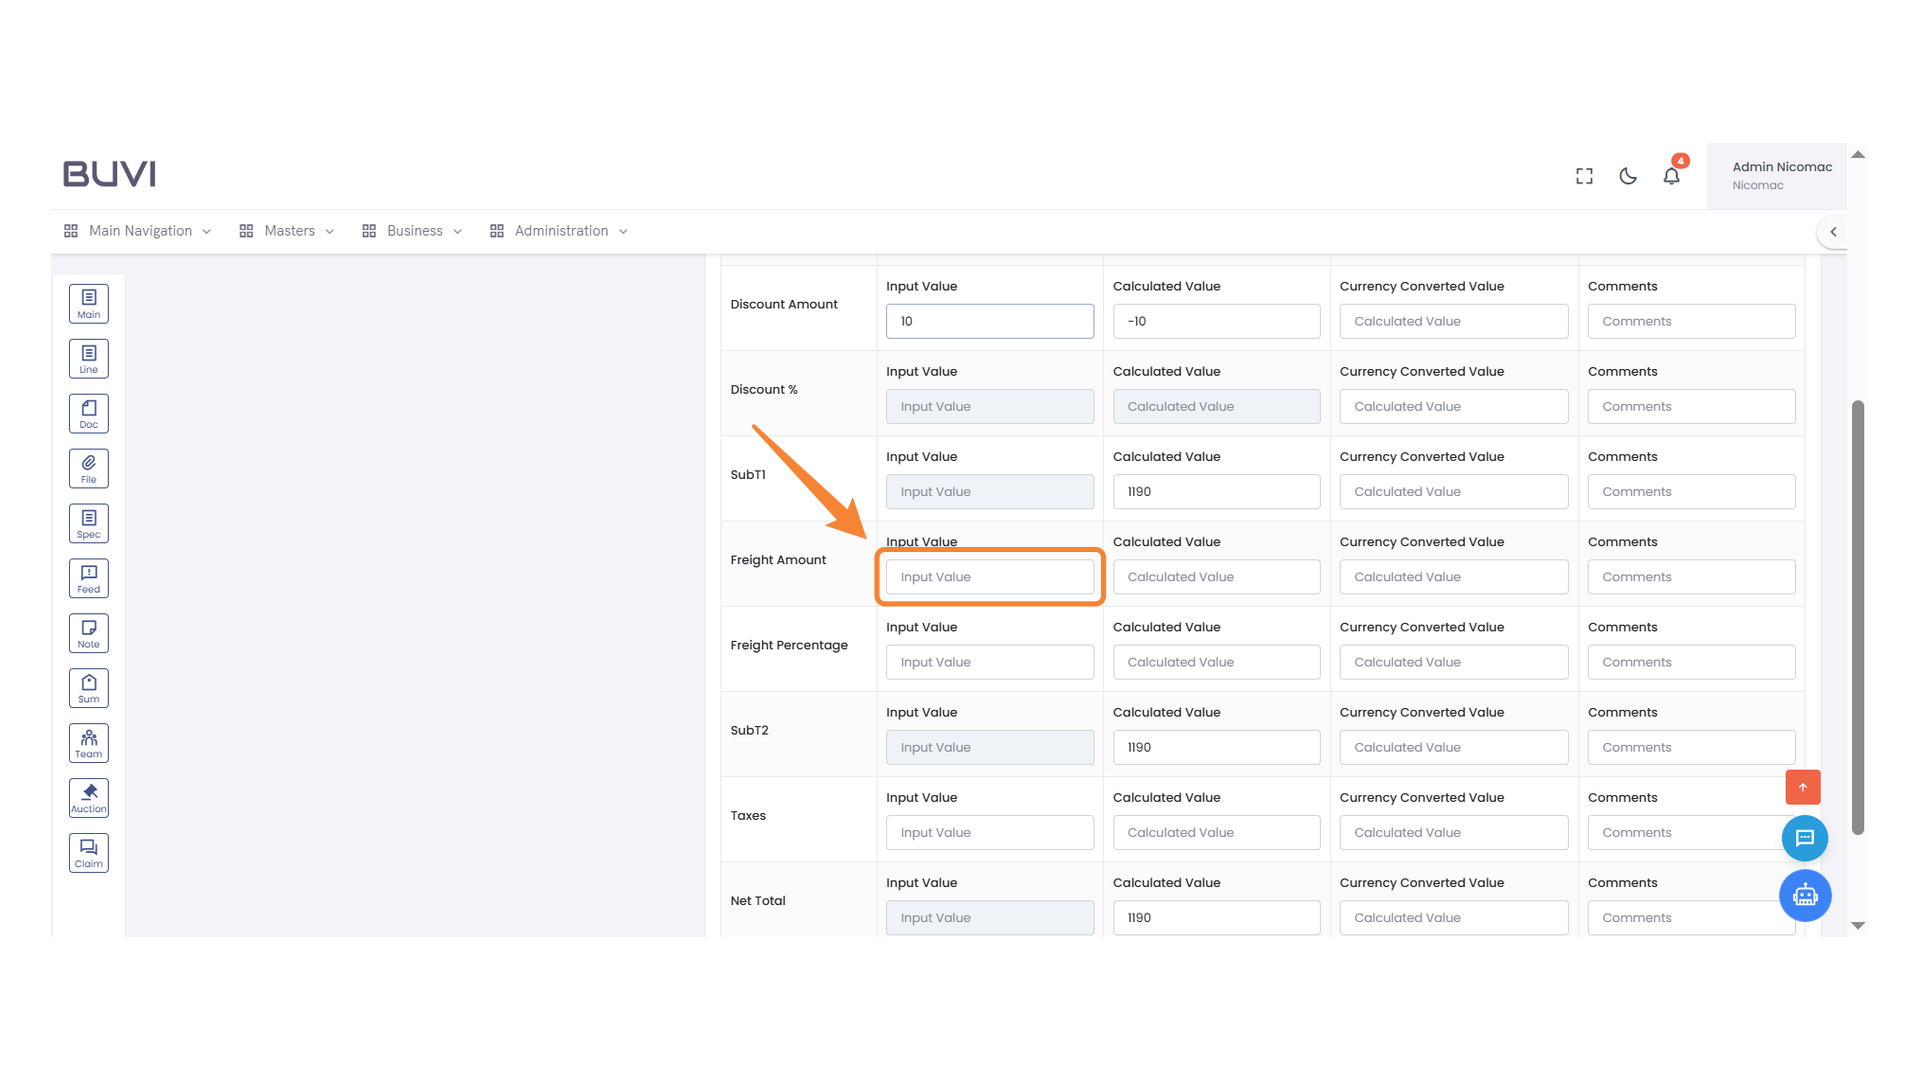
93. Freight Amount Input Section
Enter the required amount in the input field for freight calculations.
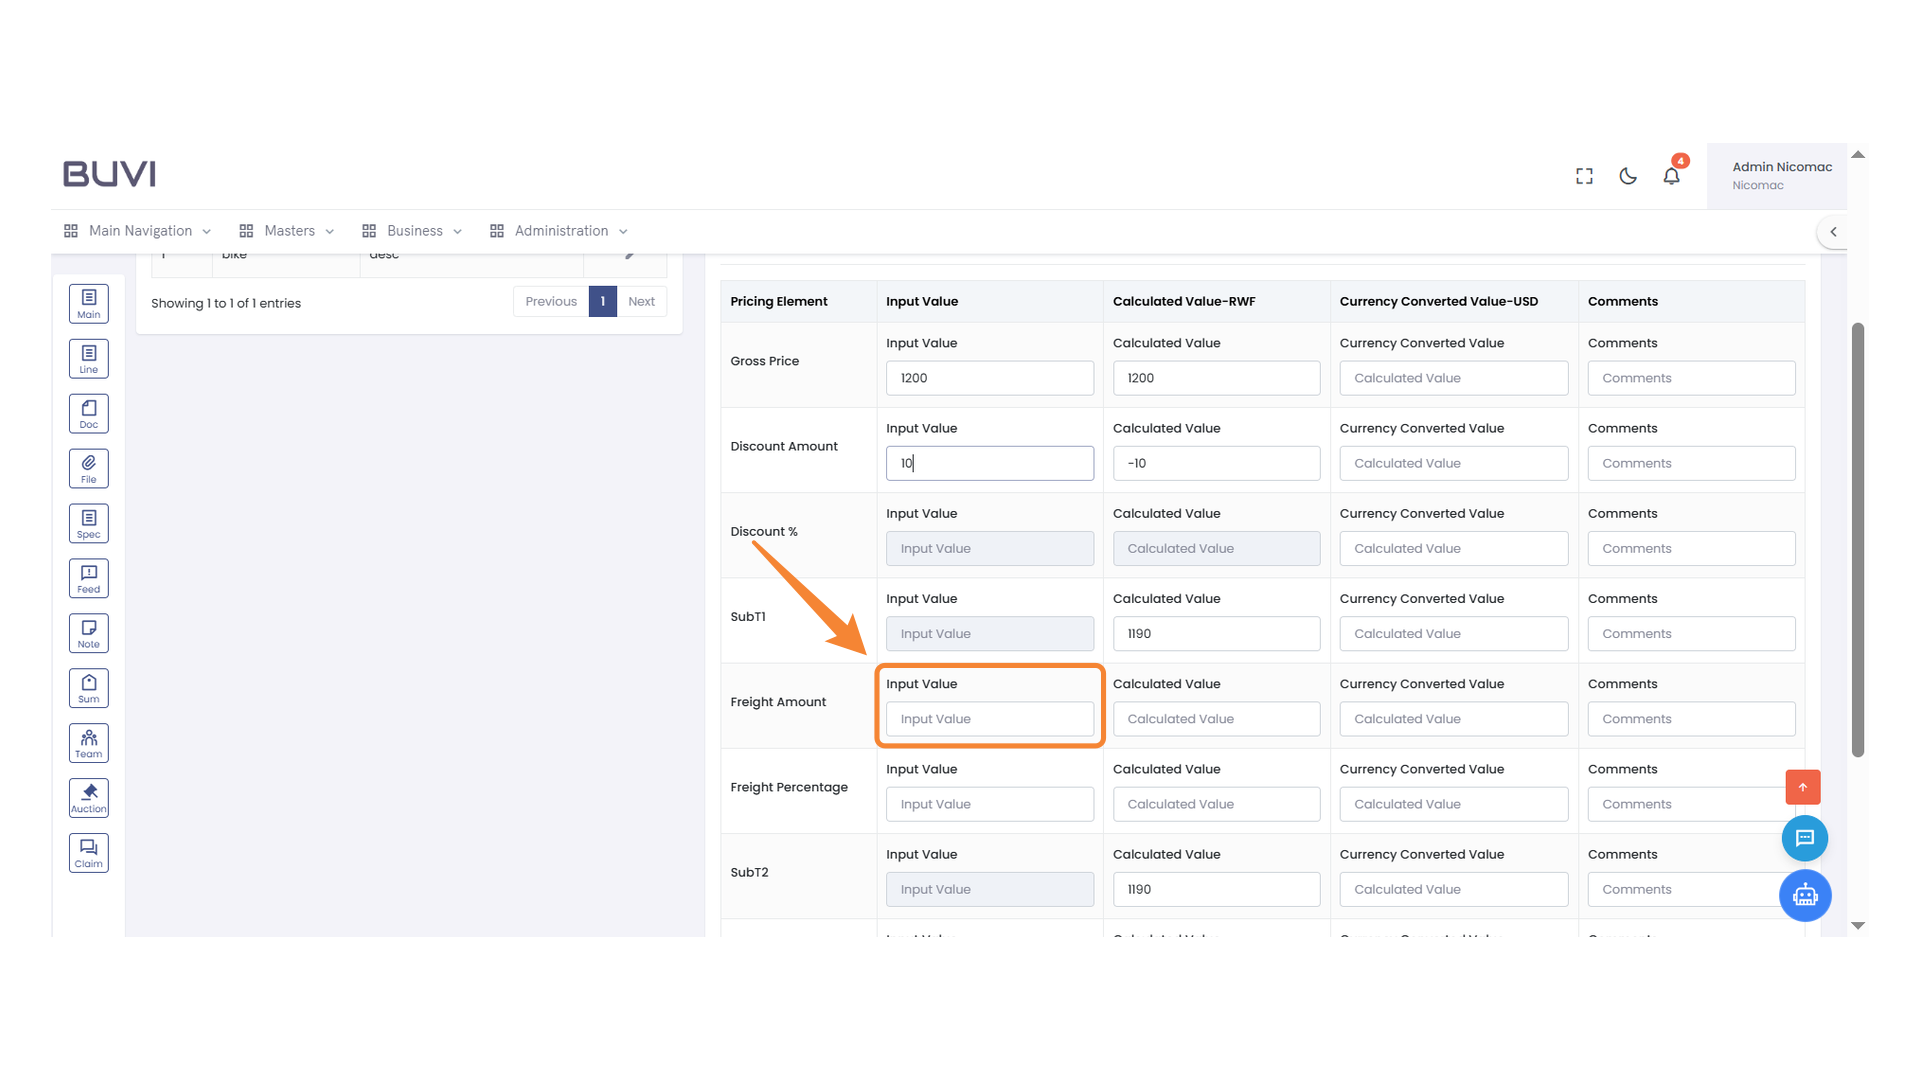
94. Freight Amount Input
Enter the input value for the freight amount.
95. Input Field for Taxes
Enter the tax amount to calculate the total.

96. Save Icon
Click to save your current changes.

97. Confirmation Dialog Box
Click on the 'Save' button to confirm your action and update the pricing.

98. Main Navigation Icon
Access the main navigation menu by clicking here.
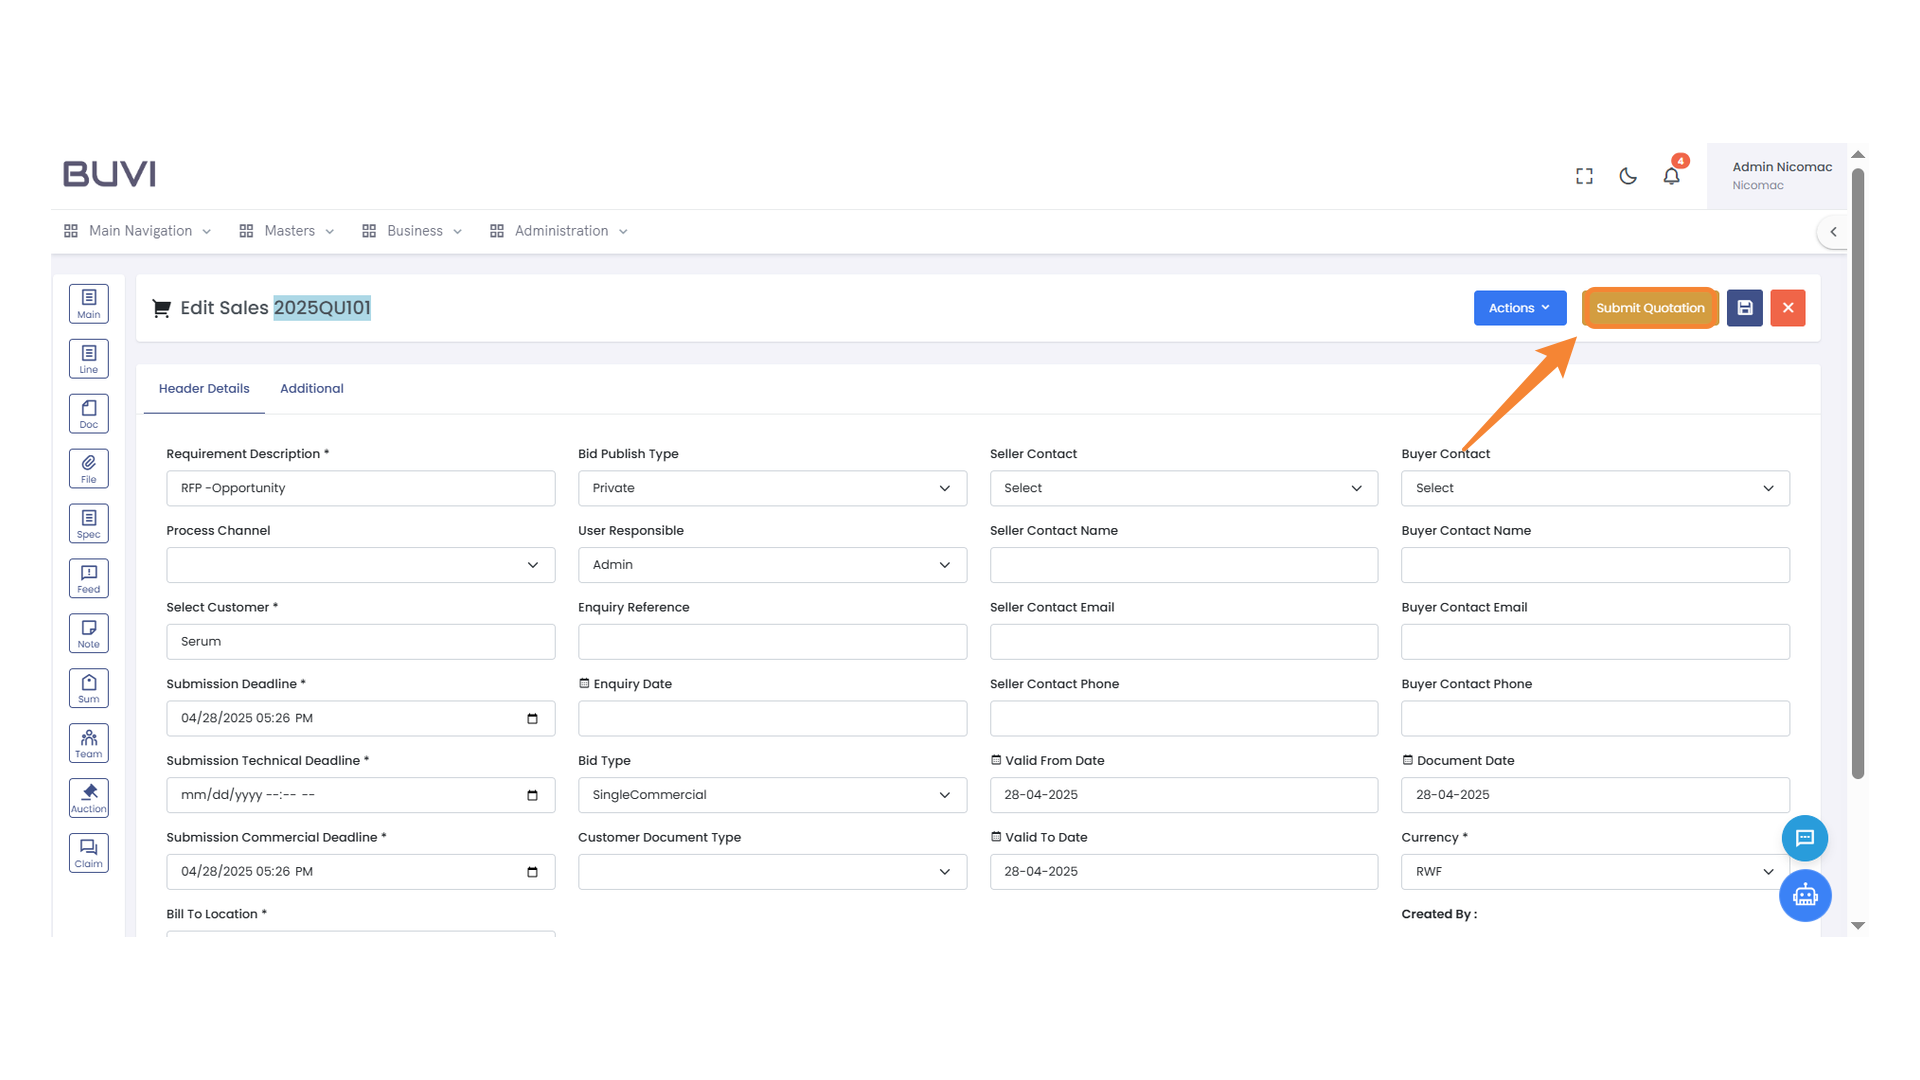
99. Submit Quotation Button
Click to submit the quotation after filling in all the necessary details.
100. Confirmation Dialog Box
Click 'Save' to confirm your changes.